


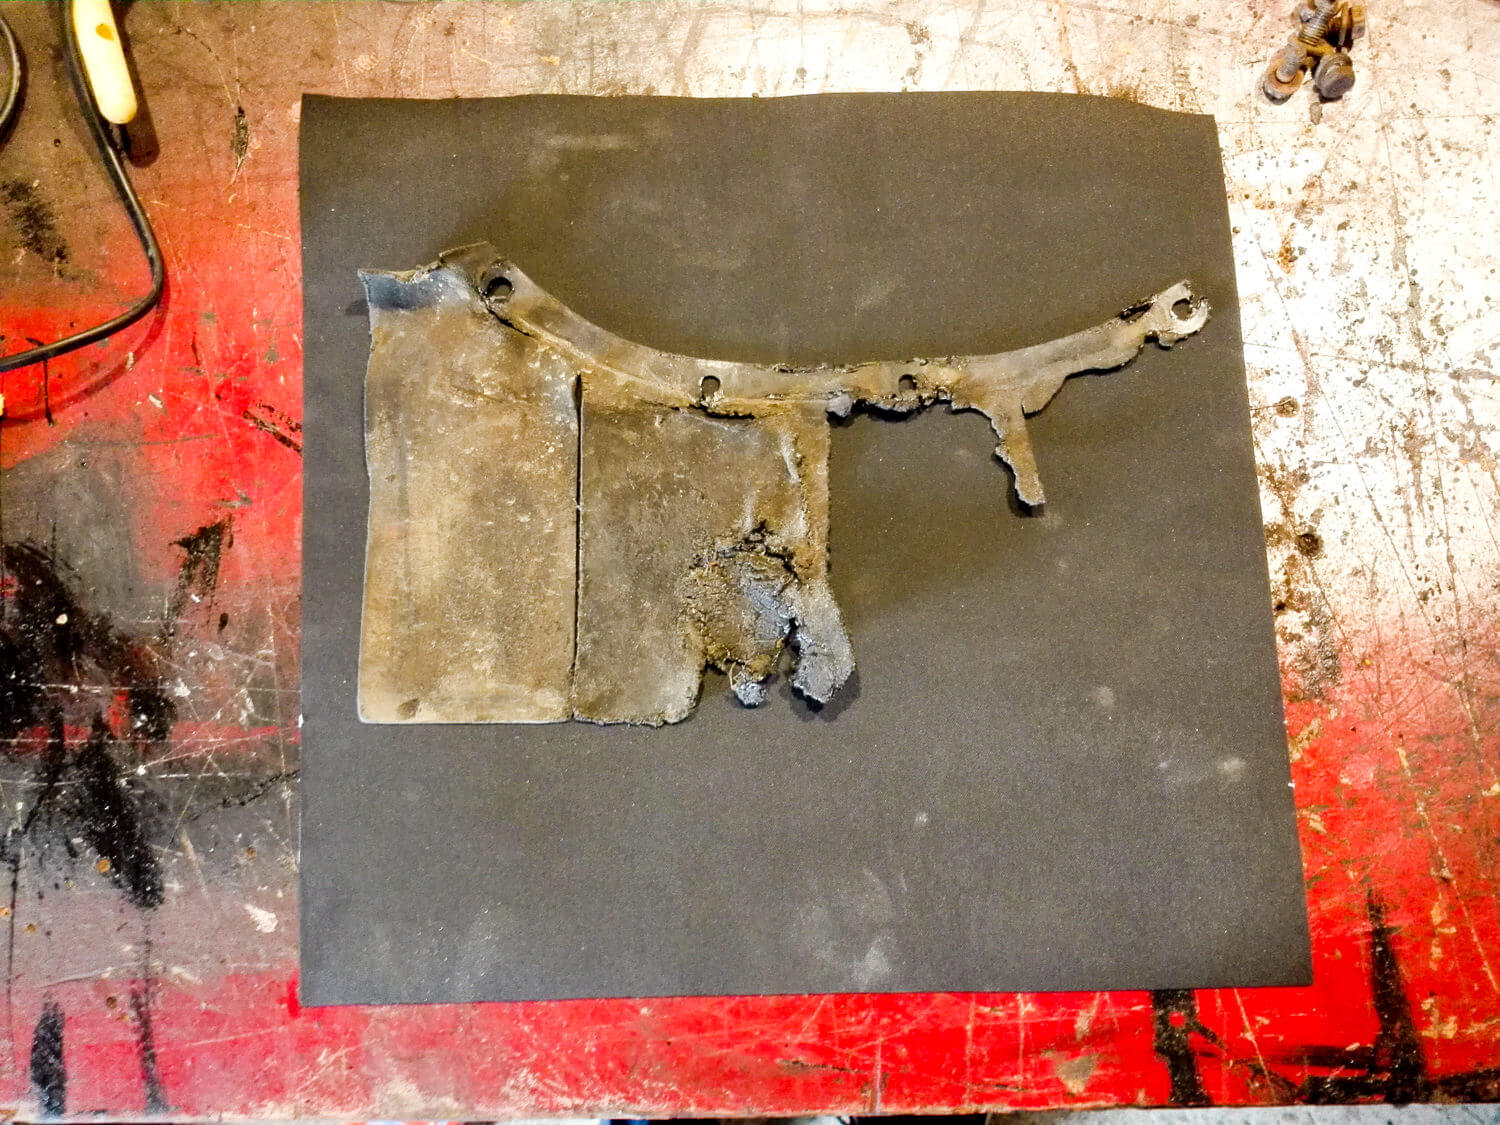
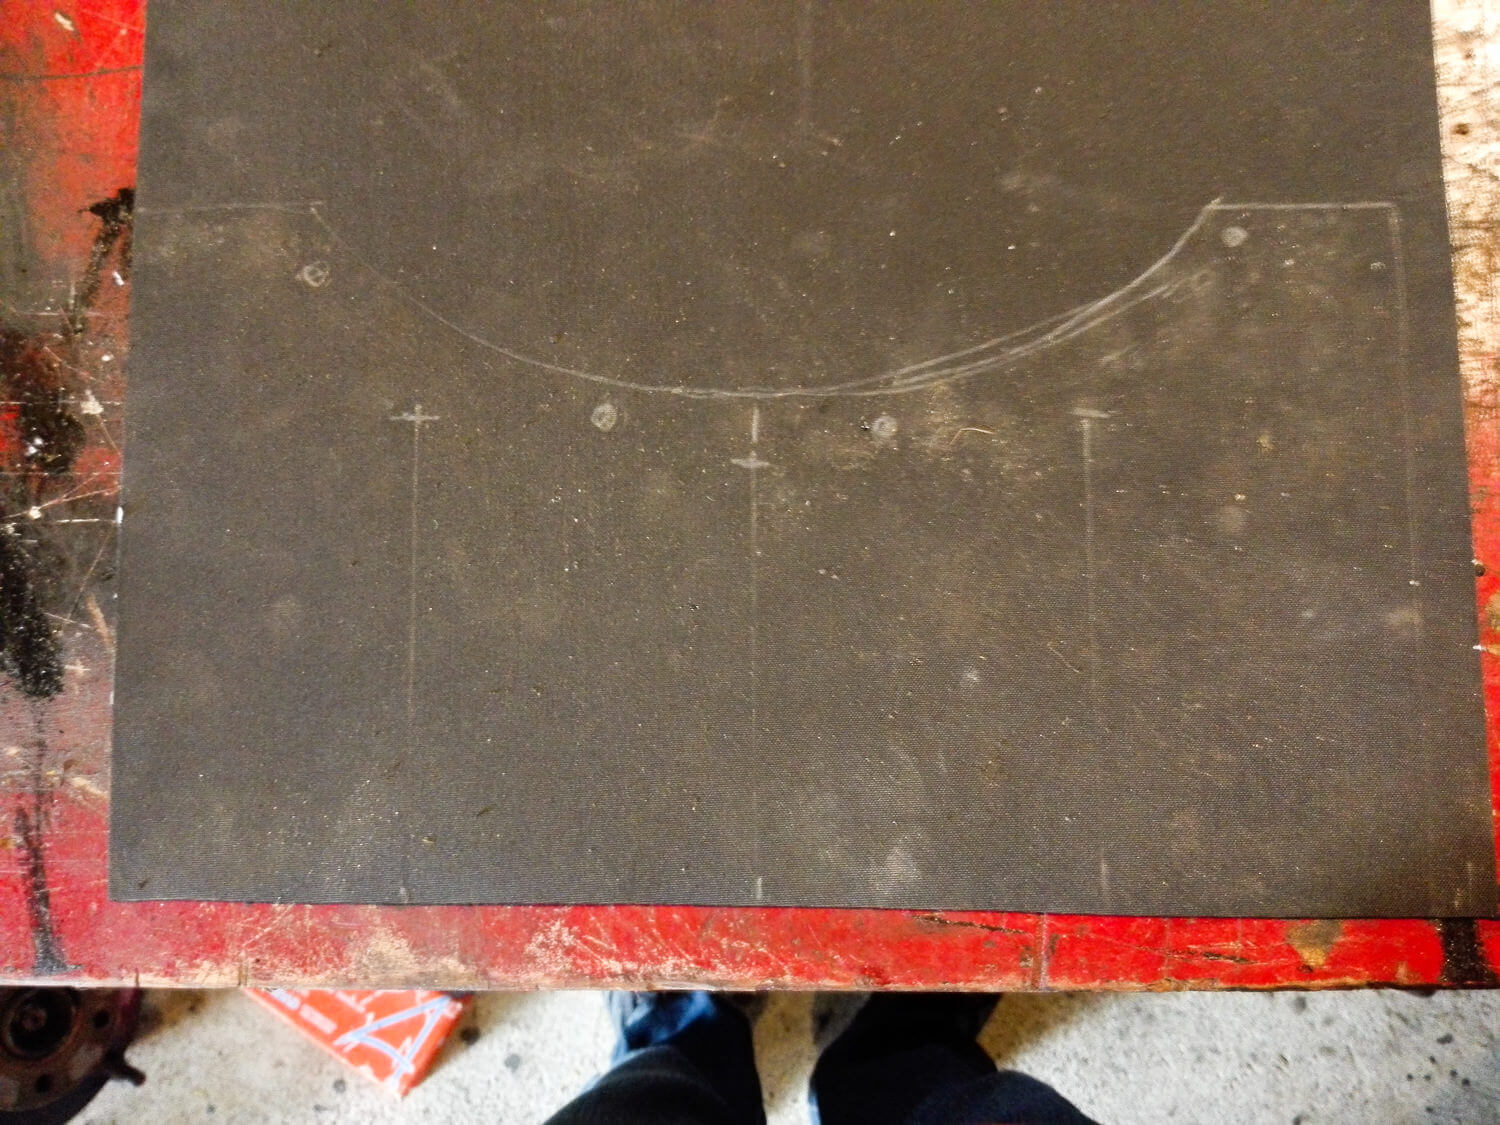
My first task this month was to get the radiator re-fitted. The correct Audi part for the rubber flap at the back of the radiator proved a bit hard to find, so I decided to make one. The nearest thing I found to the correct material was some rubber roofing stuff, which they gave me as a free sample from Mitre 10. I cut it to shape and fitted it to the radiator. It came out pretty well I think.

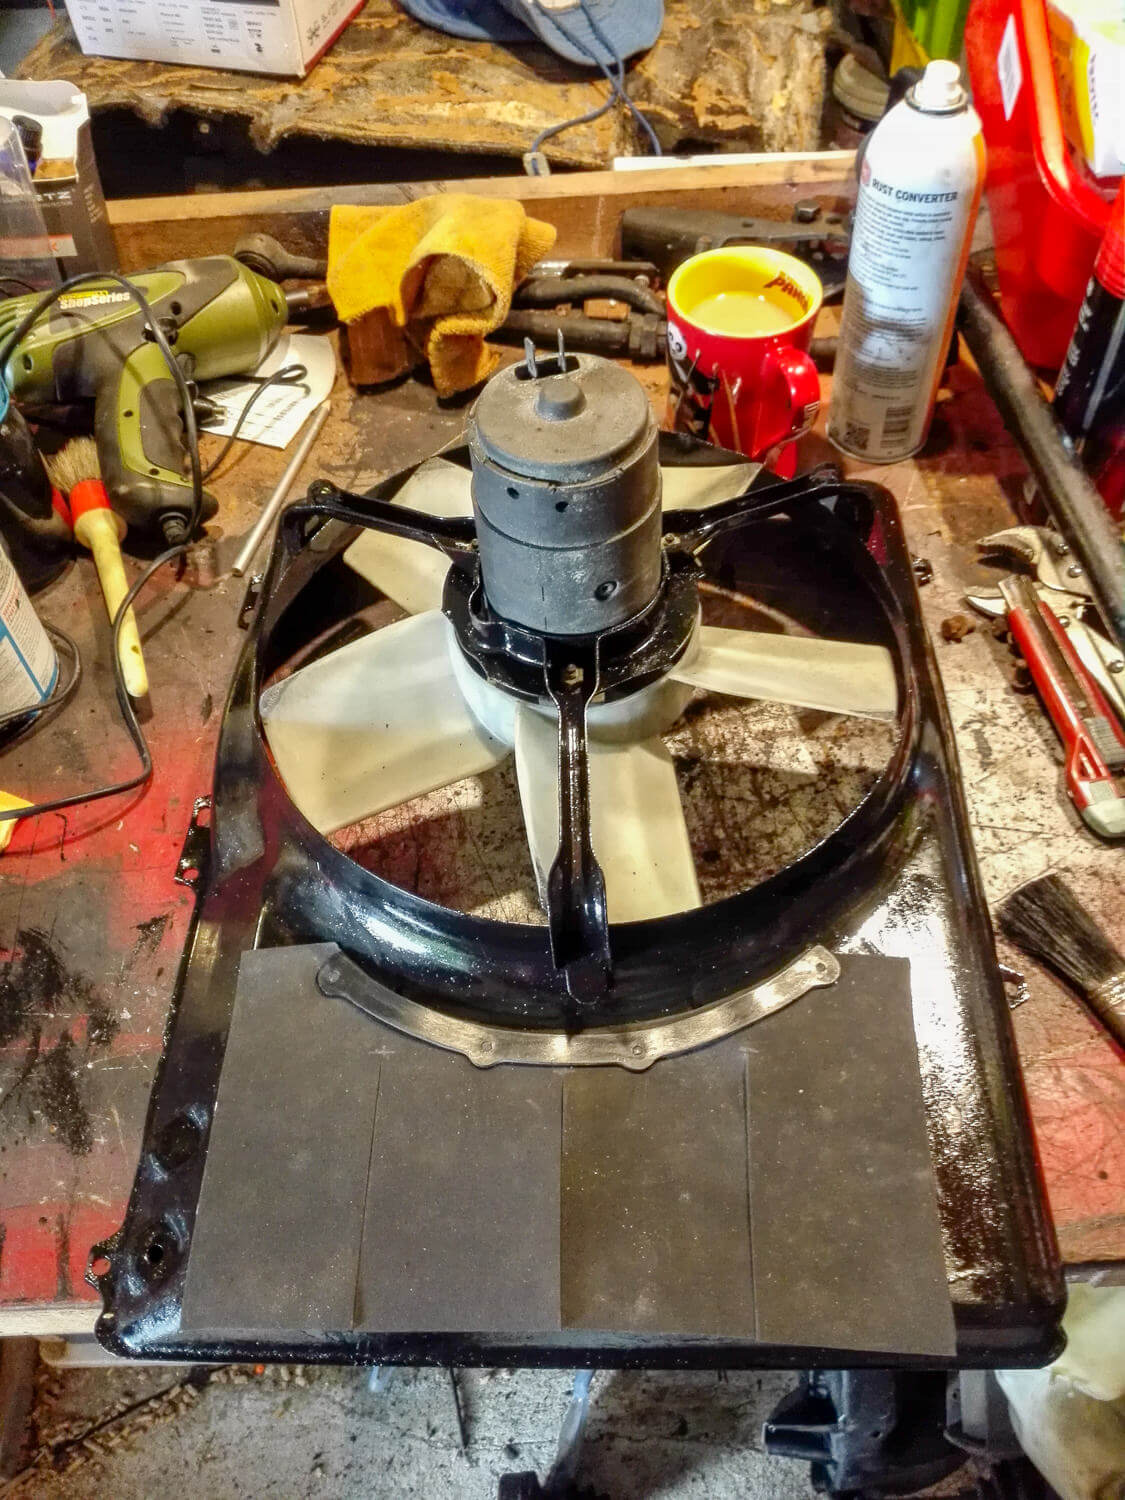
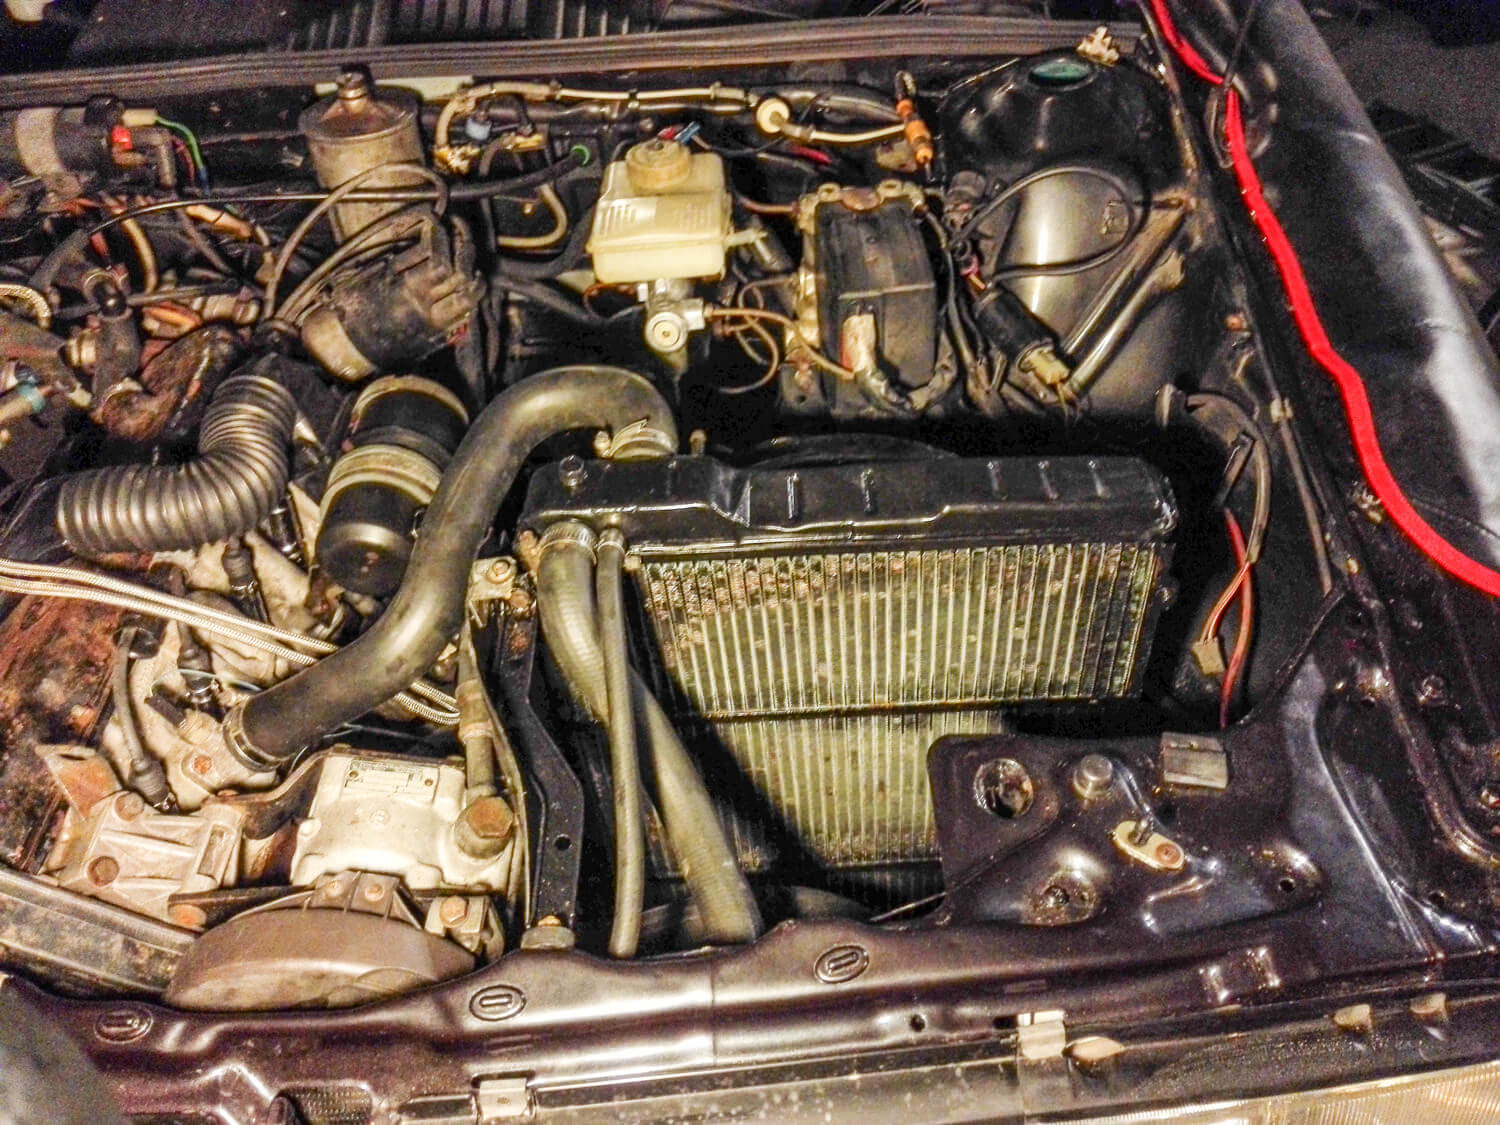
Re-fitted.
Next I dug out the cover. It’s made out of a sort of compressed cardboard and it was looking a bit tired. Plastic replacements are available from overseas but I decided to paint mine up to give it a bit more strength. Should last a while yet.


When the radiator was out I noticed that something was broken. Not a surprise.
I gave things a bit of a clean up and de-grease underneath the engine.
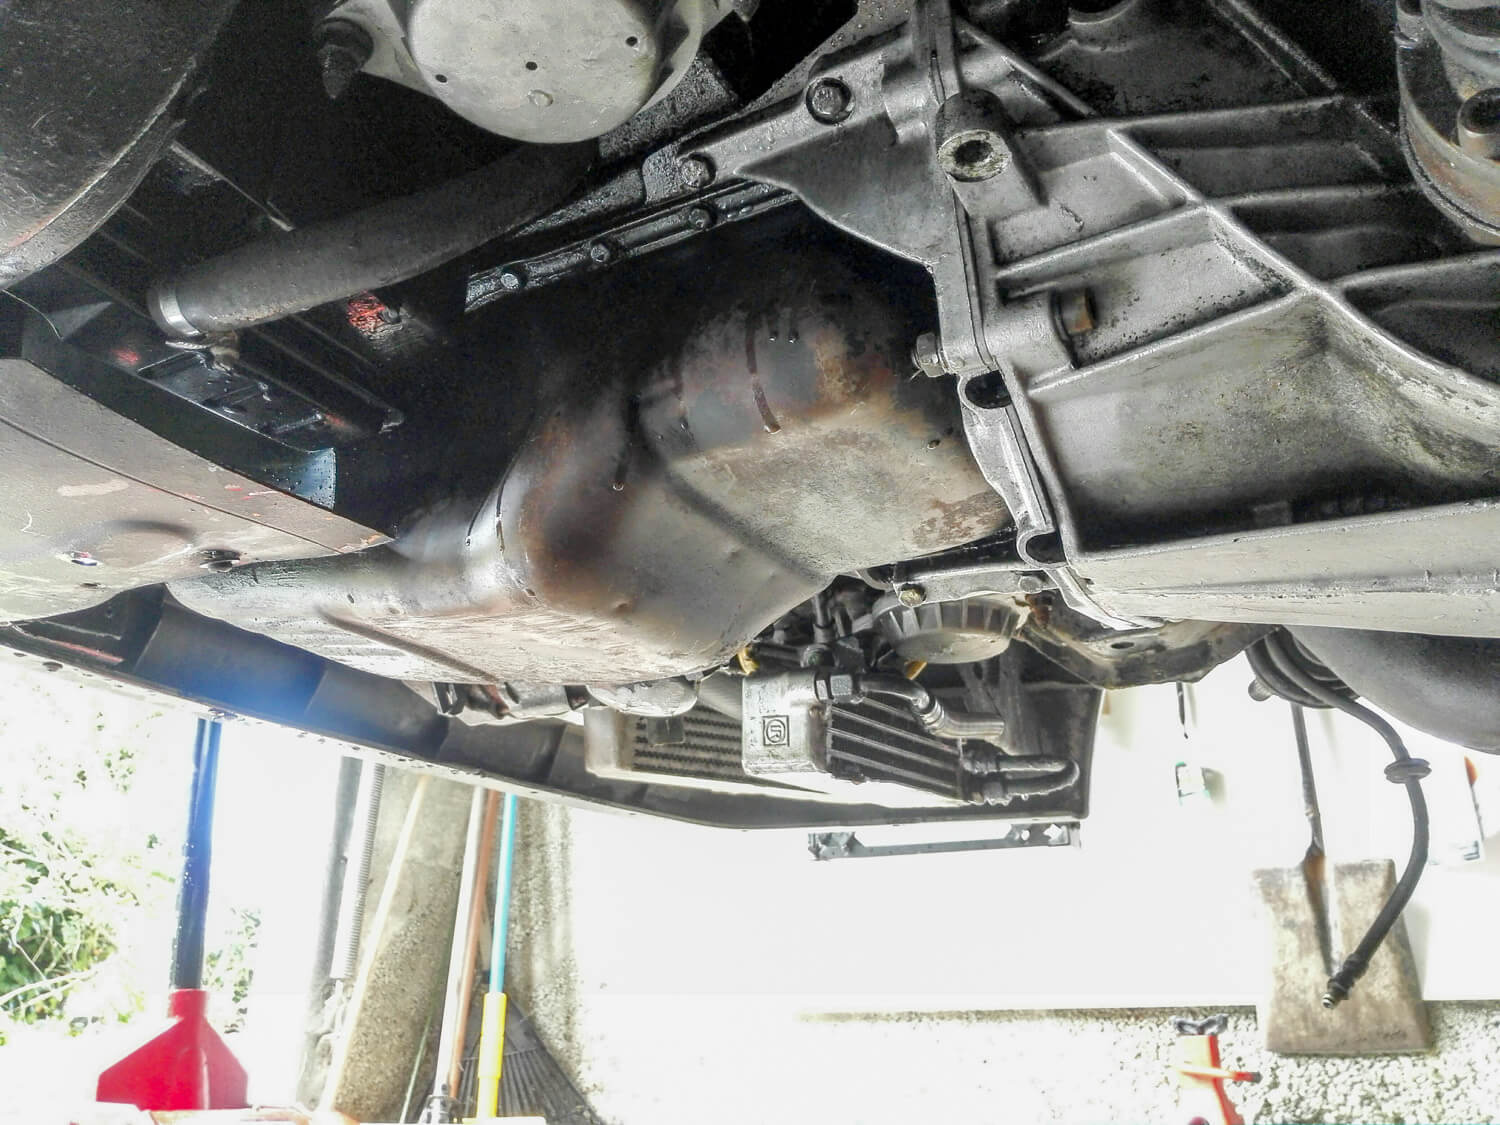
When under there I realised that there’s a big plastic air guide missing which should be under the intercooler and oil cooler. I found out that Classic Quattros in the UK made a reproduction part, so I ordered one, along with a few other bits and pieces that I need.
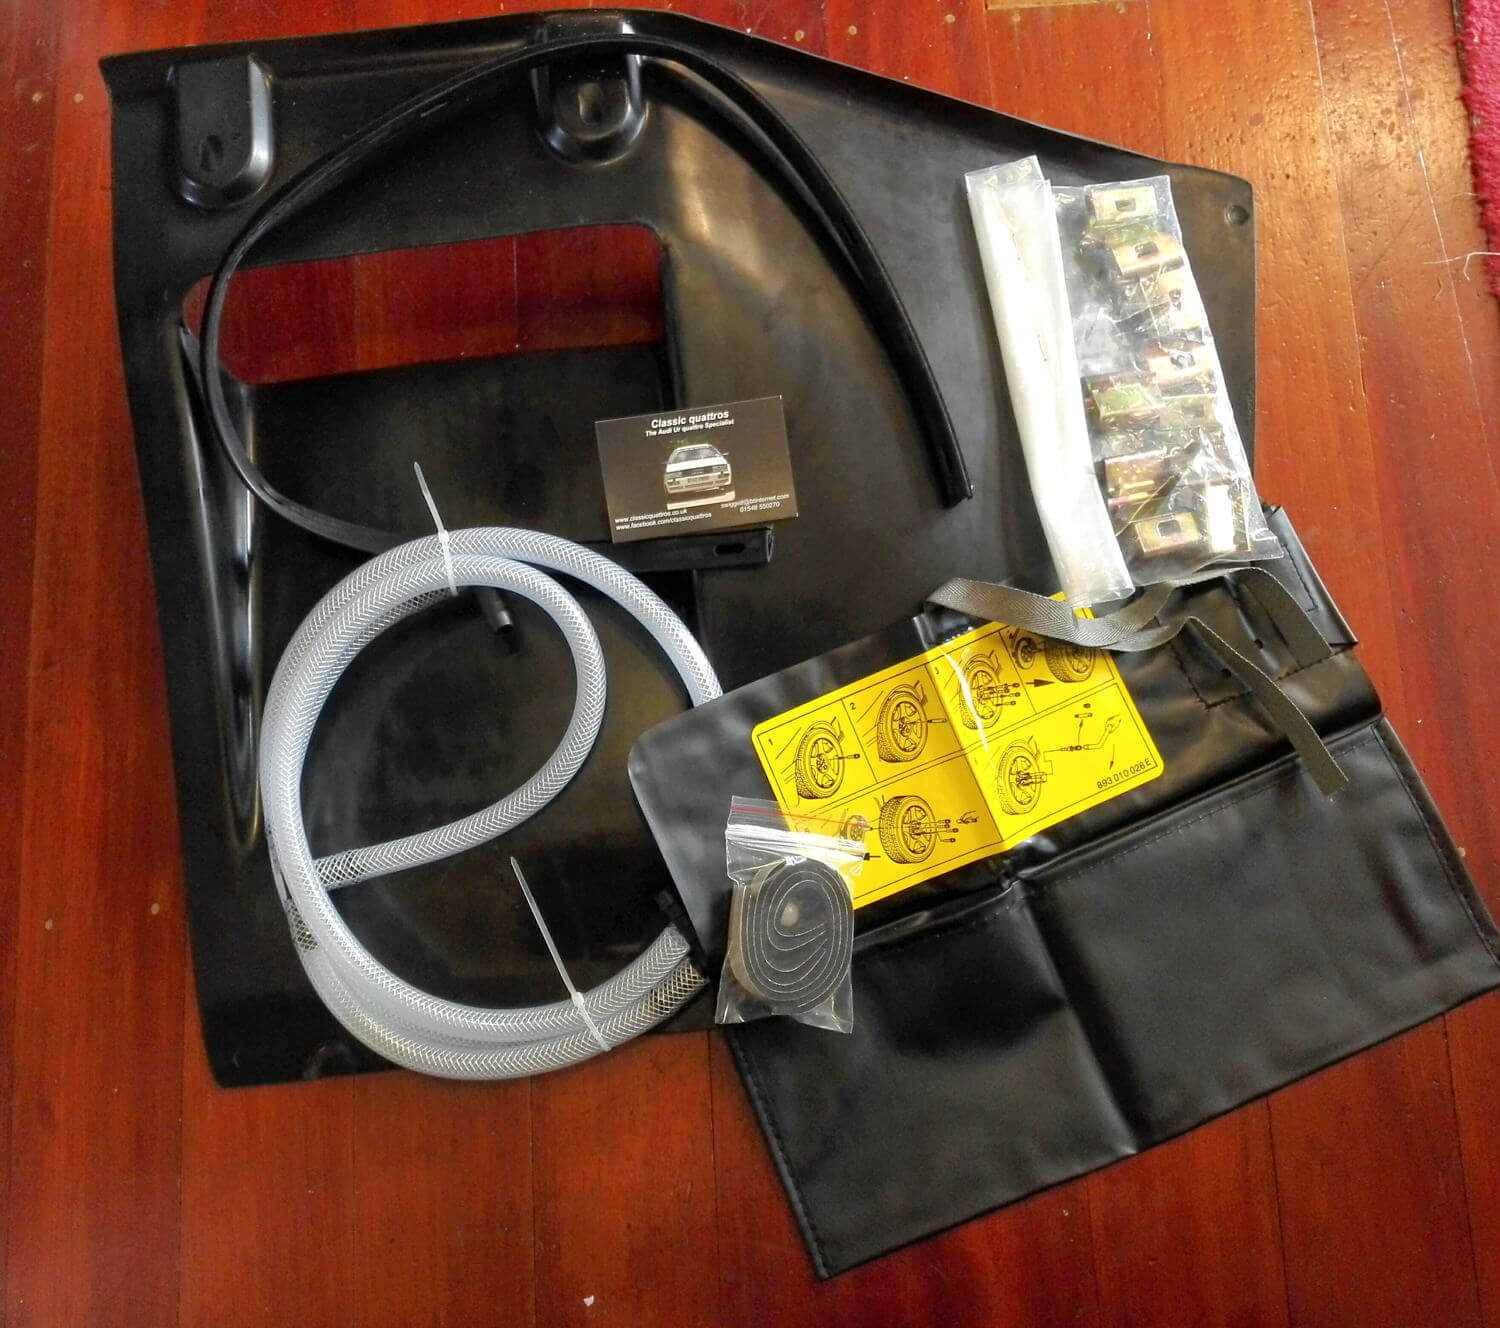
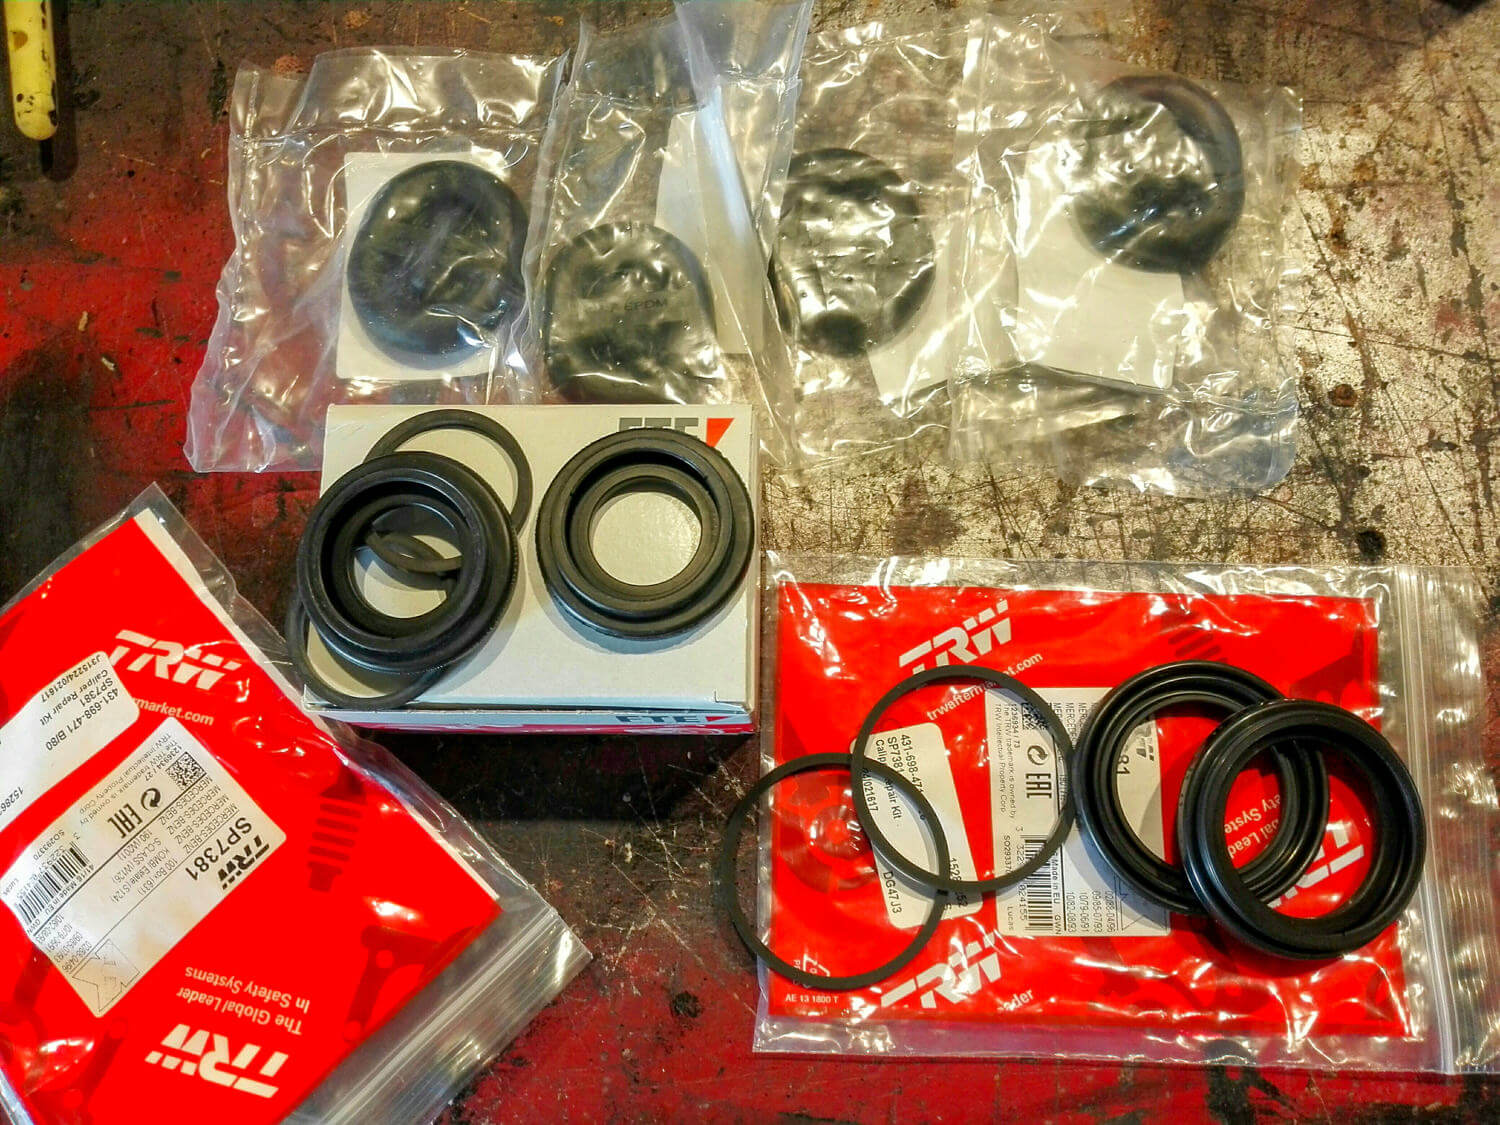
While I was buying parts from the UK I also grabbed some bits from Quattro Corner. Both of these companies are great, really knowledgeable and able to get and make parts that no-one else has.
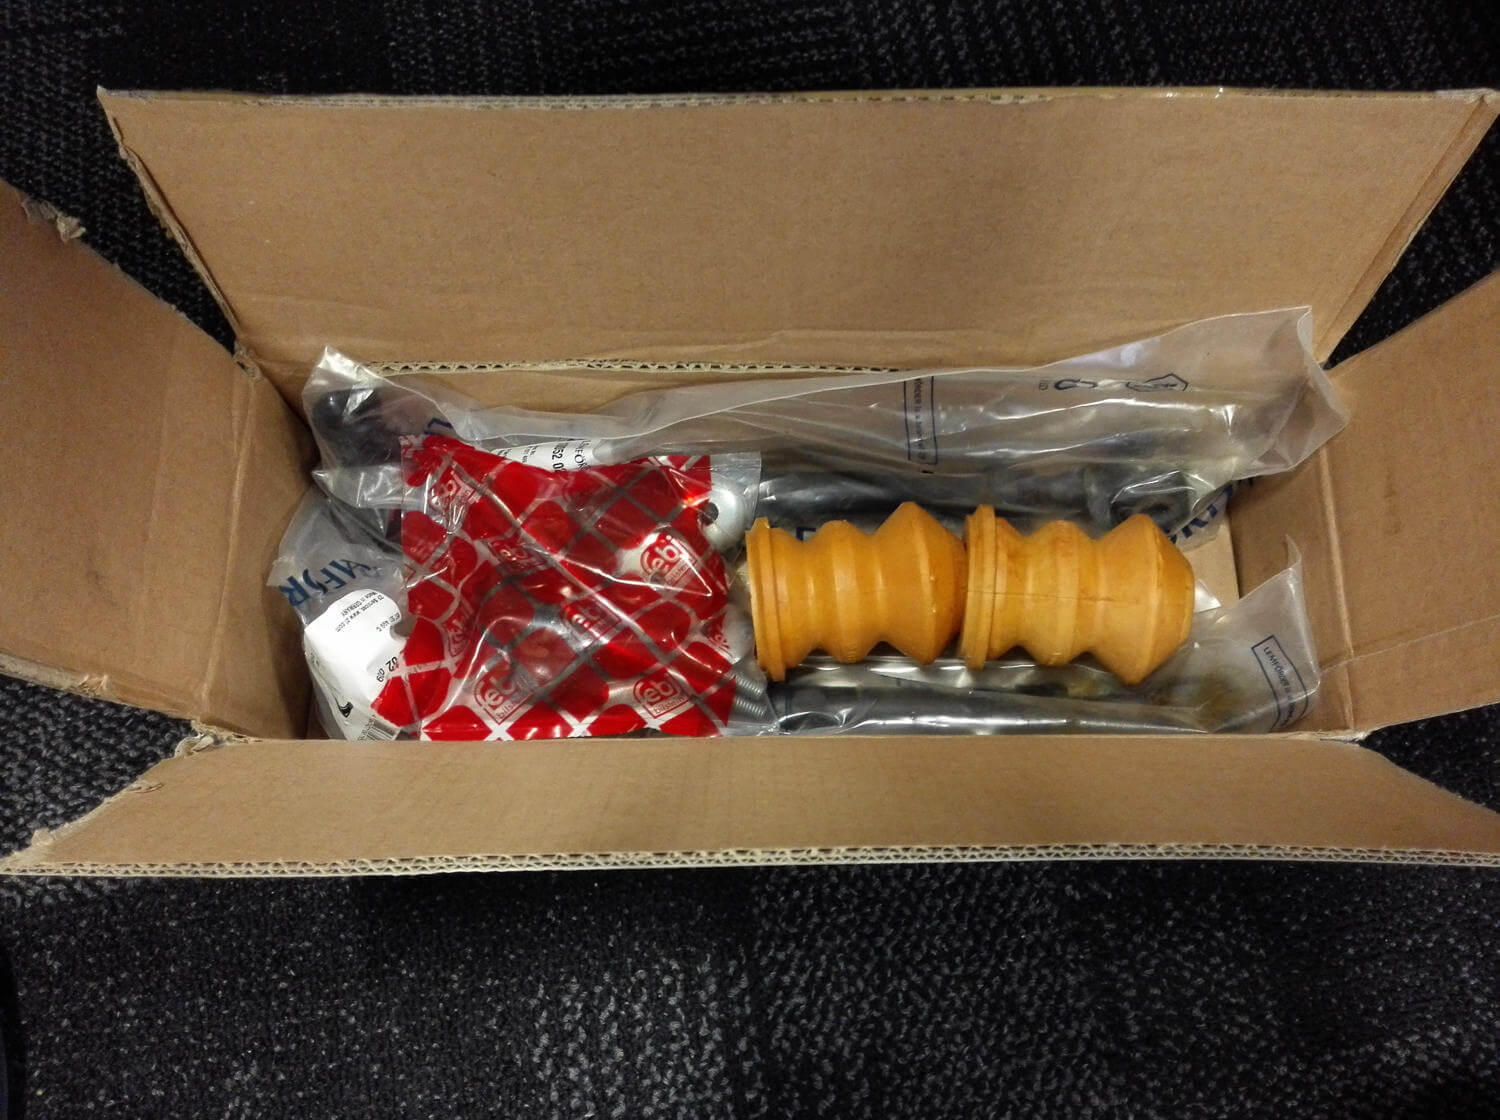
Some rubber bits and pieces arrived from FCP Euro.
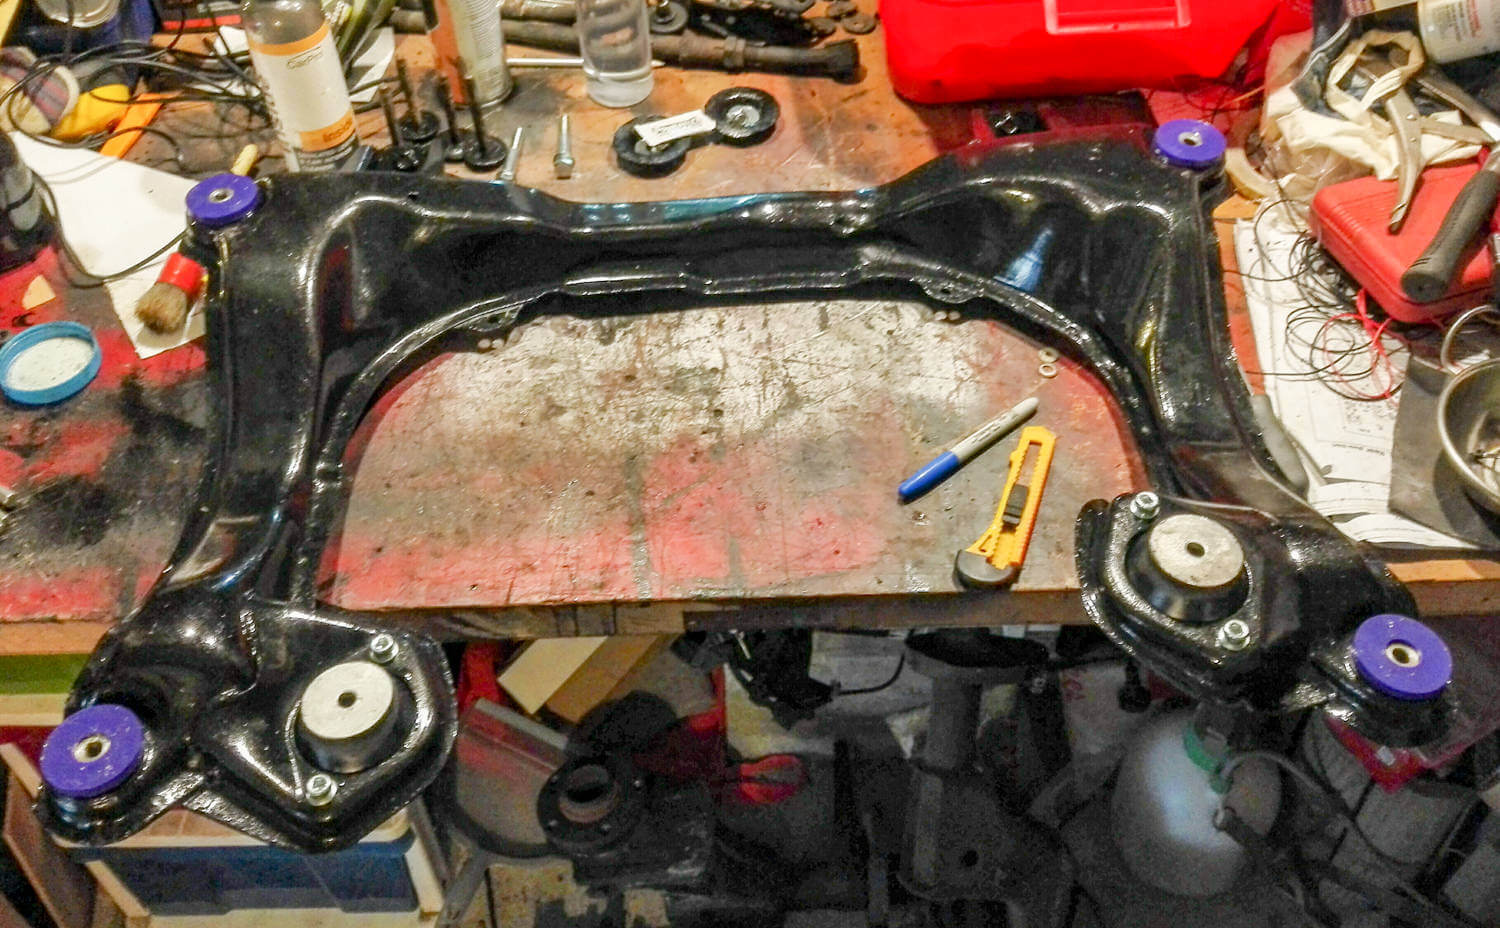
I fitted the bushes to the pained front subframe. It looks much better! i haven’t fitted it back on yet as it’s on easier to do a few other things first.
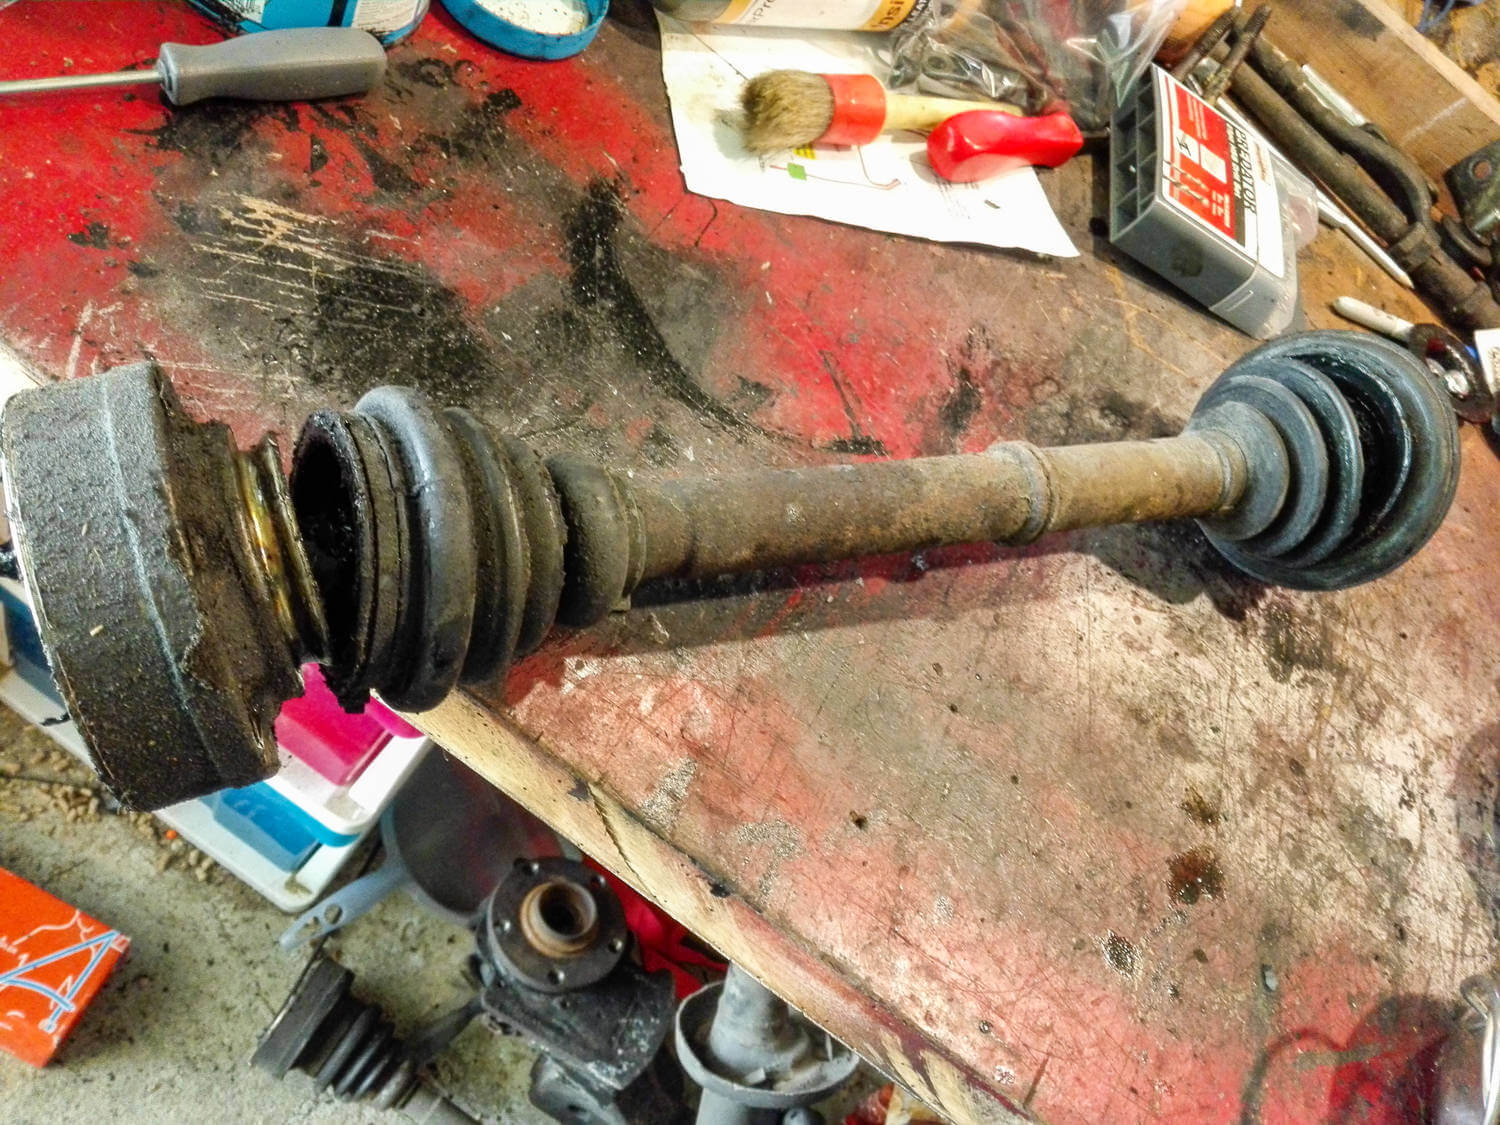
I removed the front drive shaft ready to do the CV boots. You can see where the grease all went.
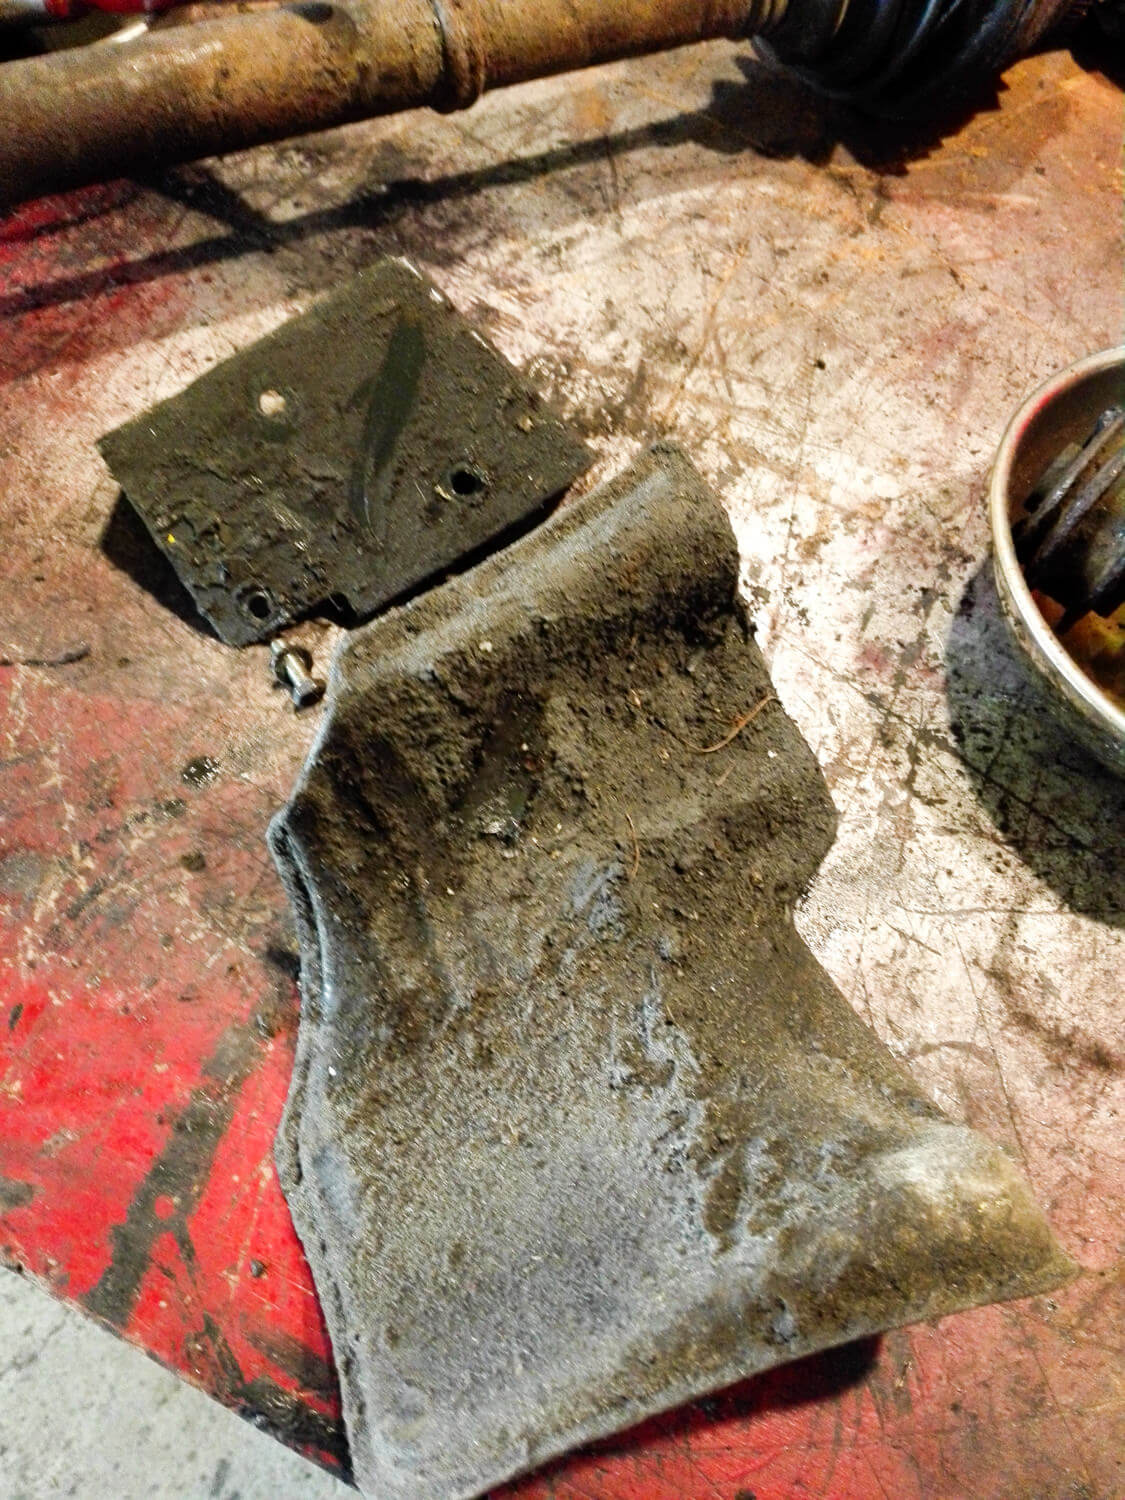
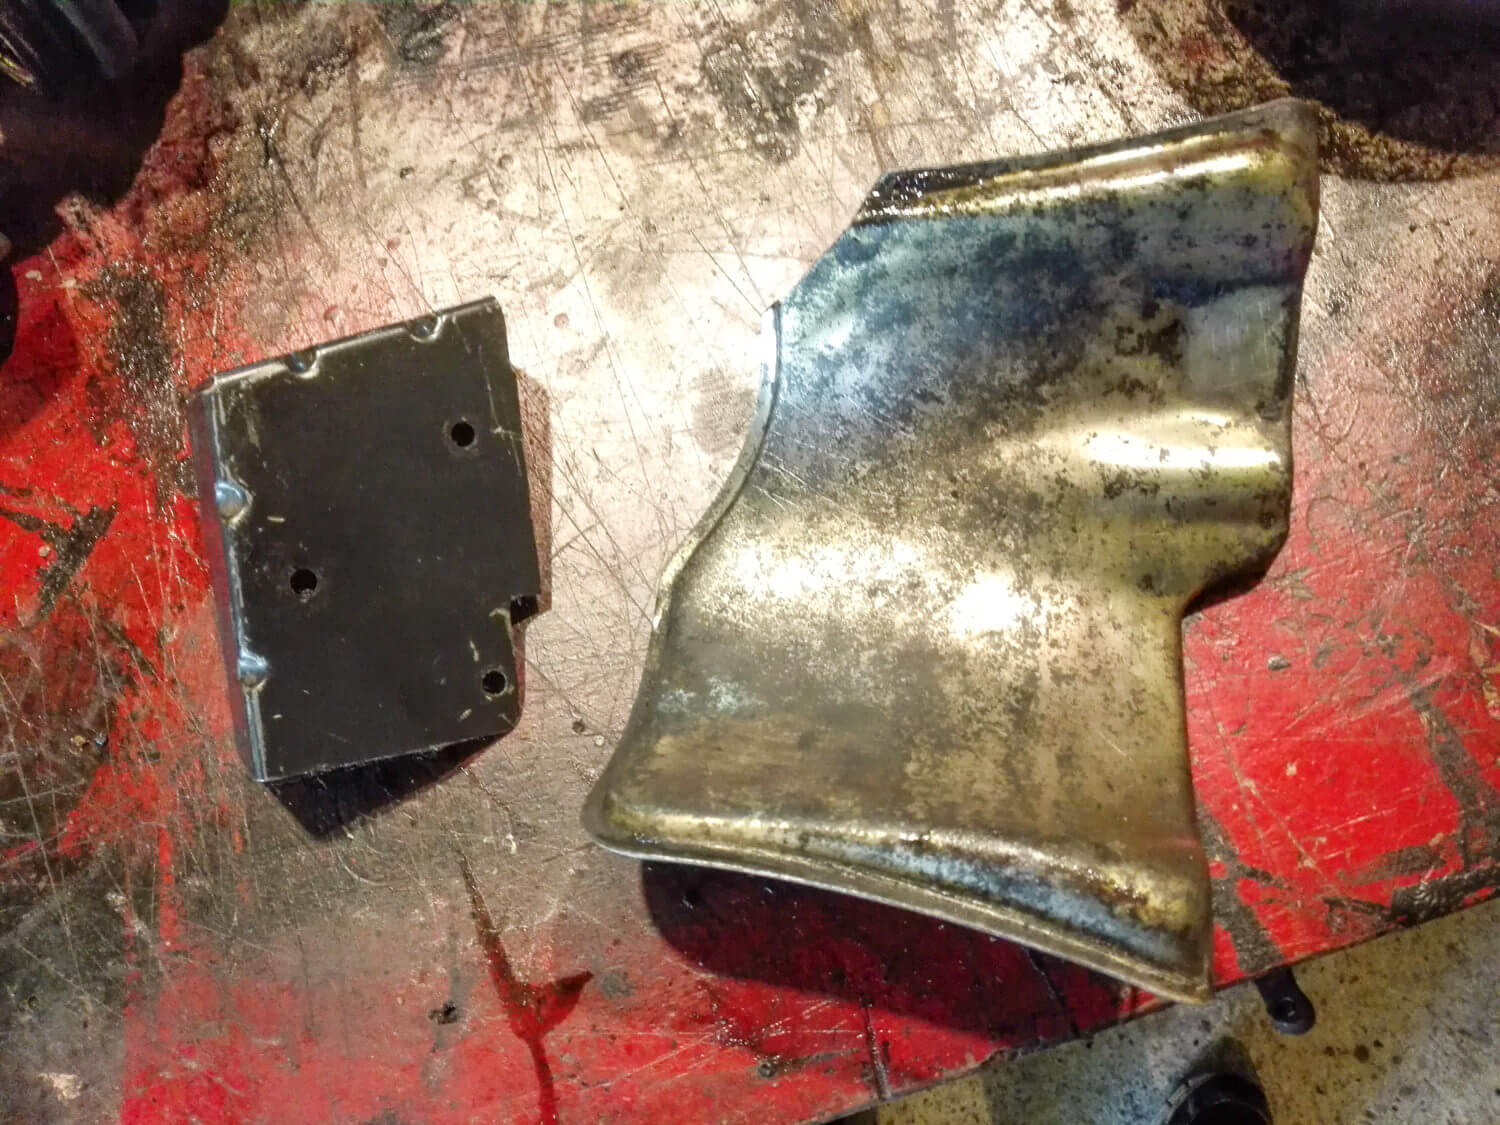
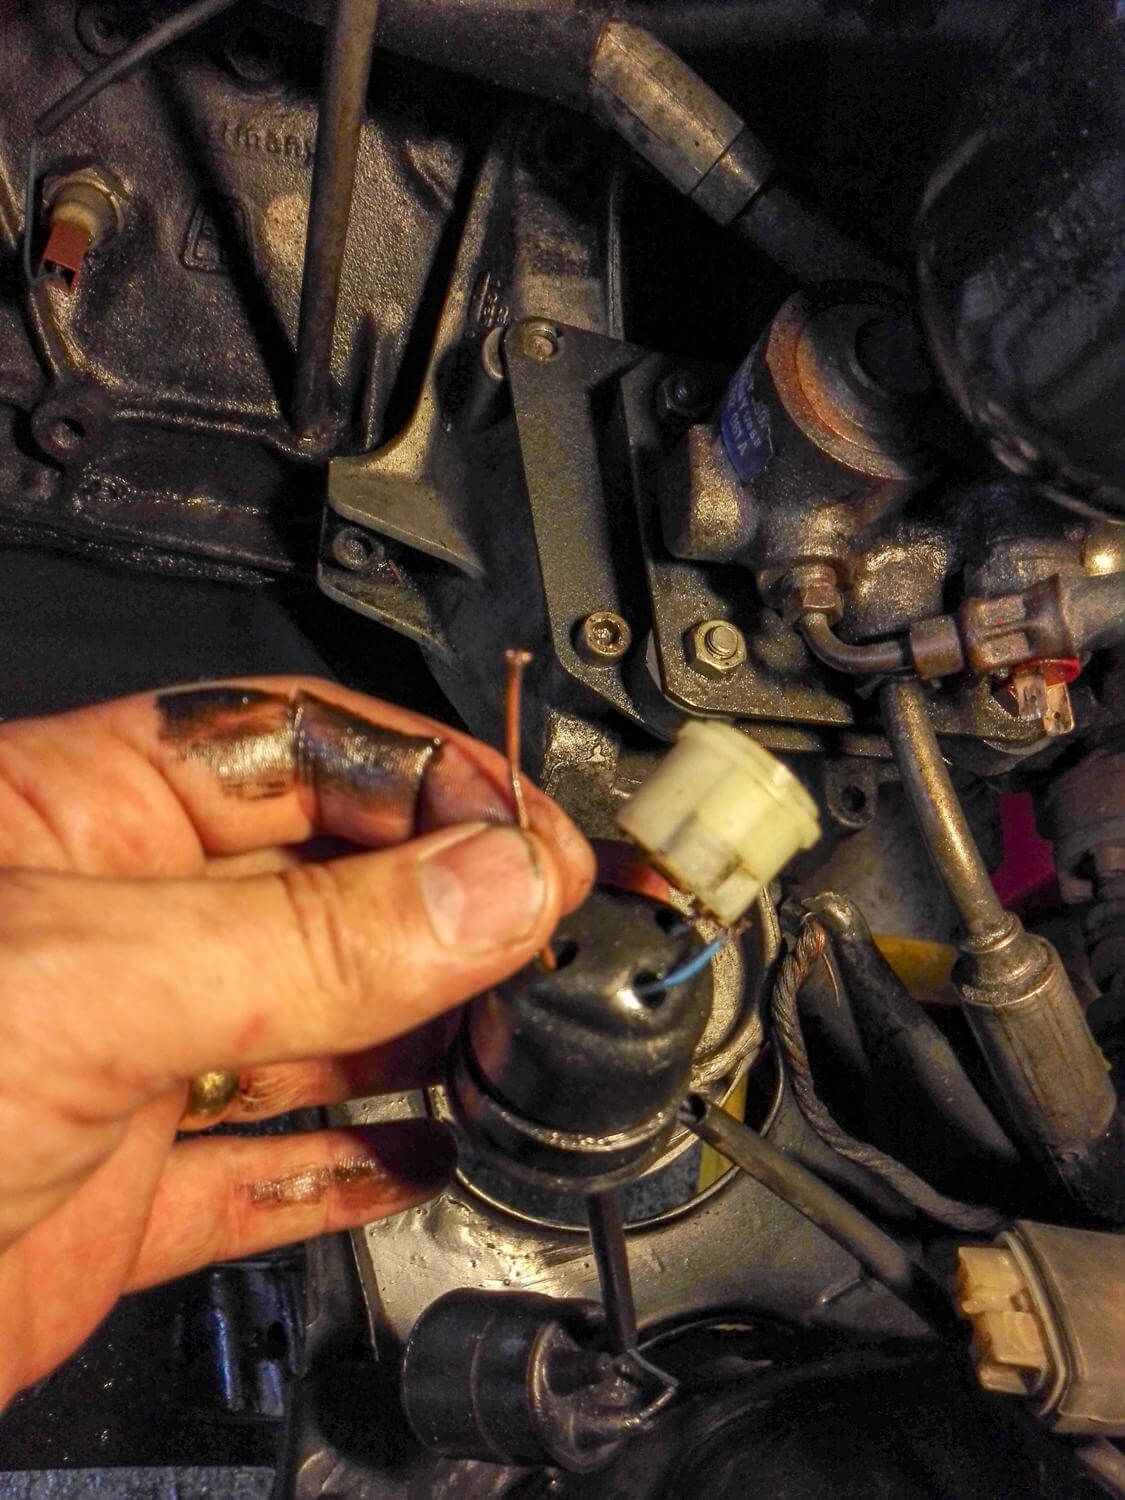
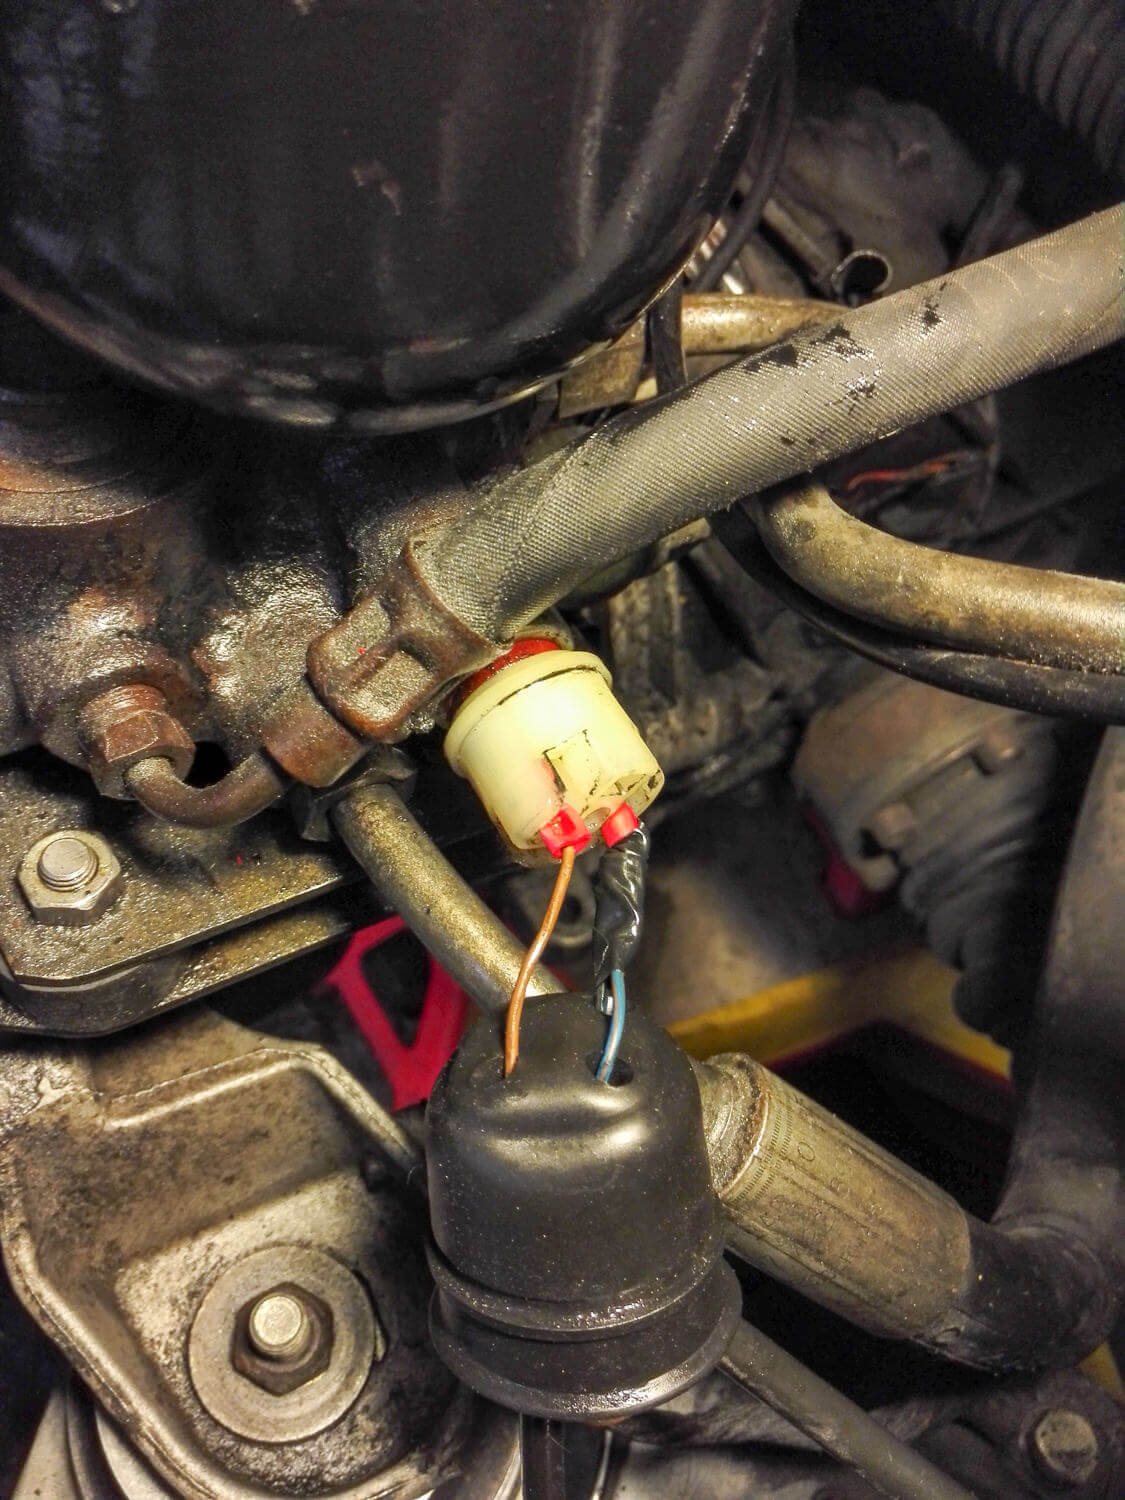
Ahh, now I see why there was no seal here. It’s not round!

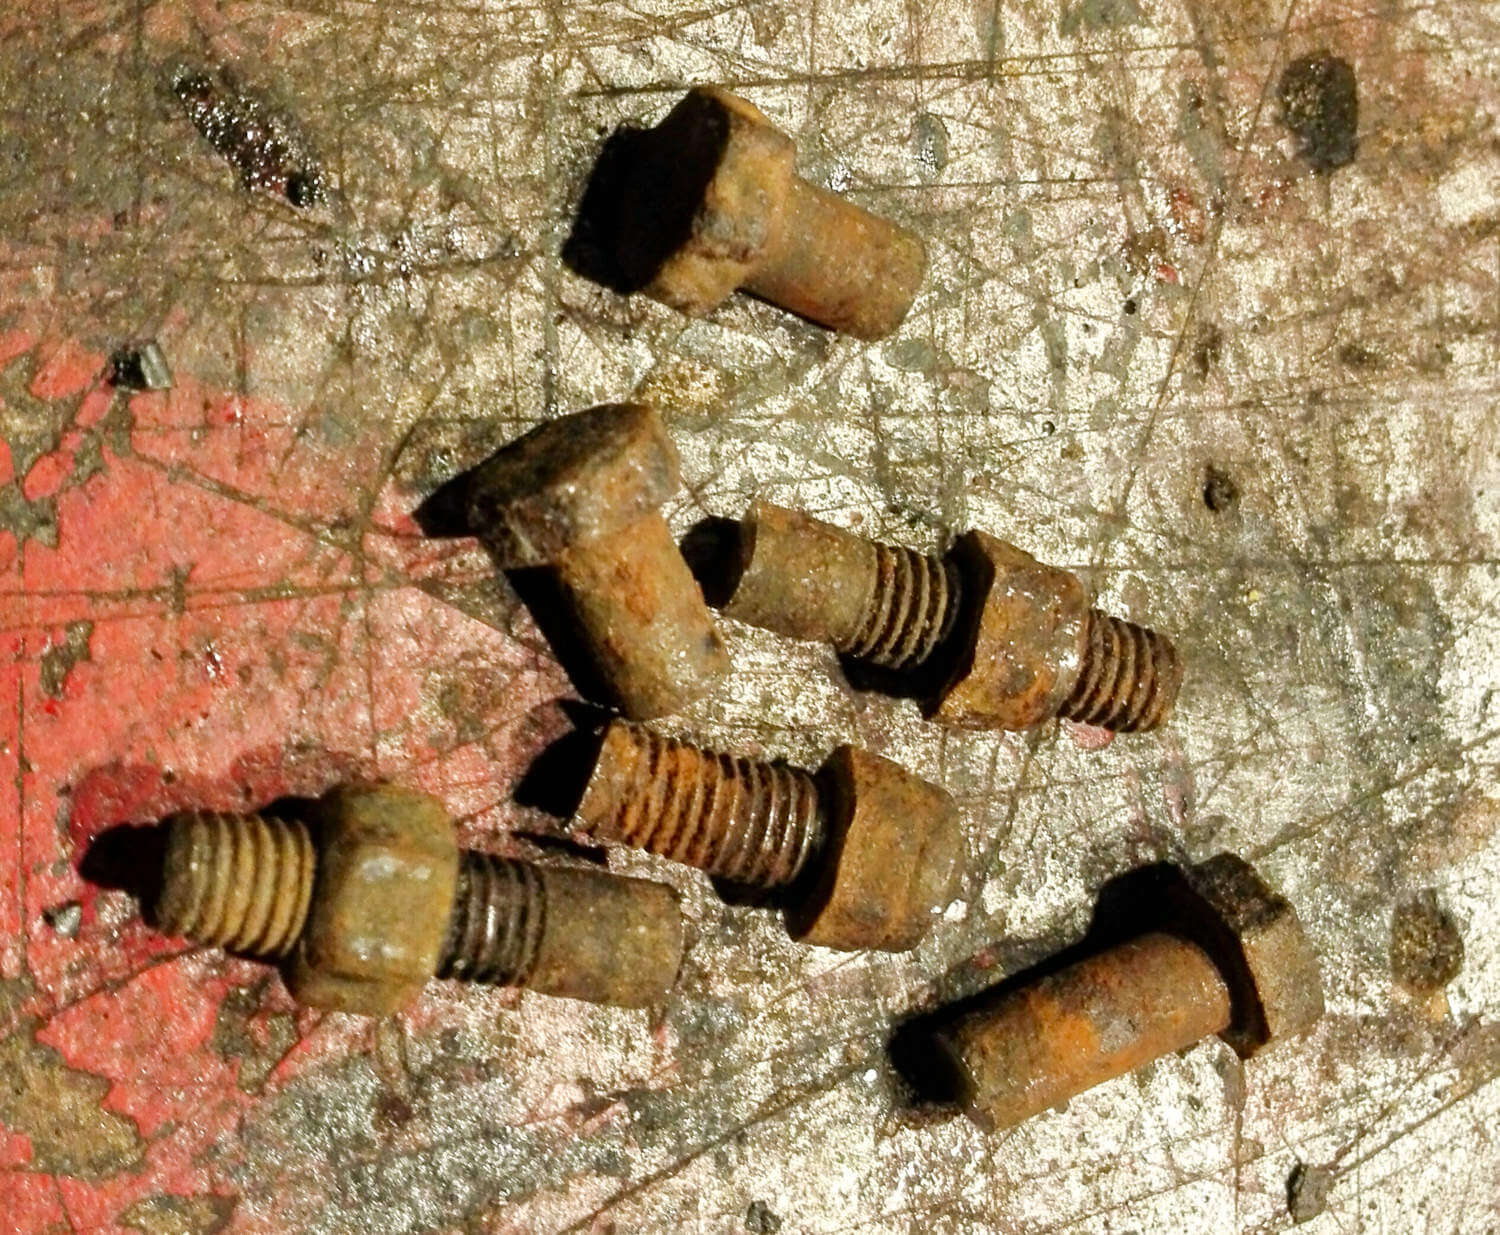
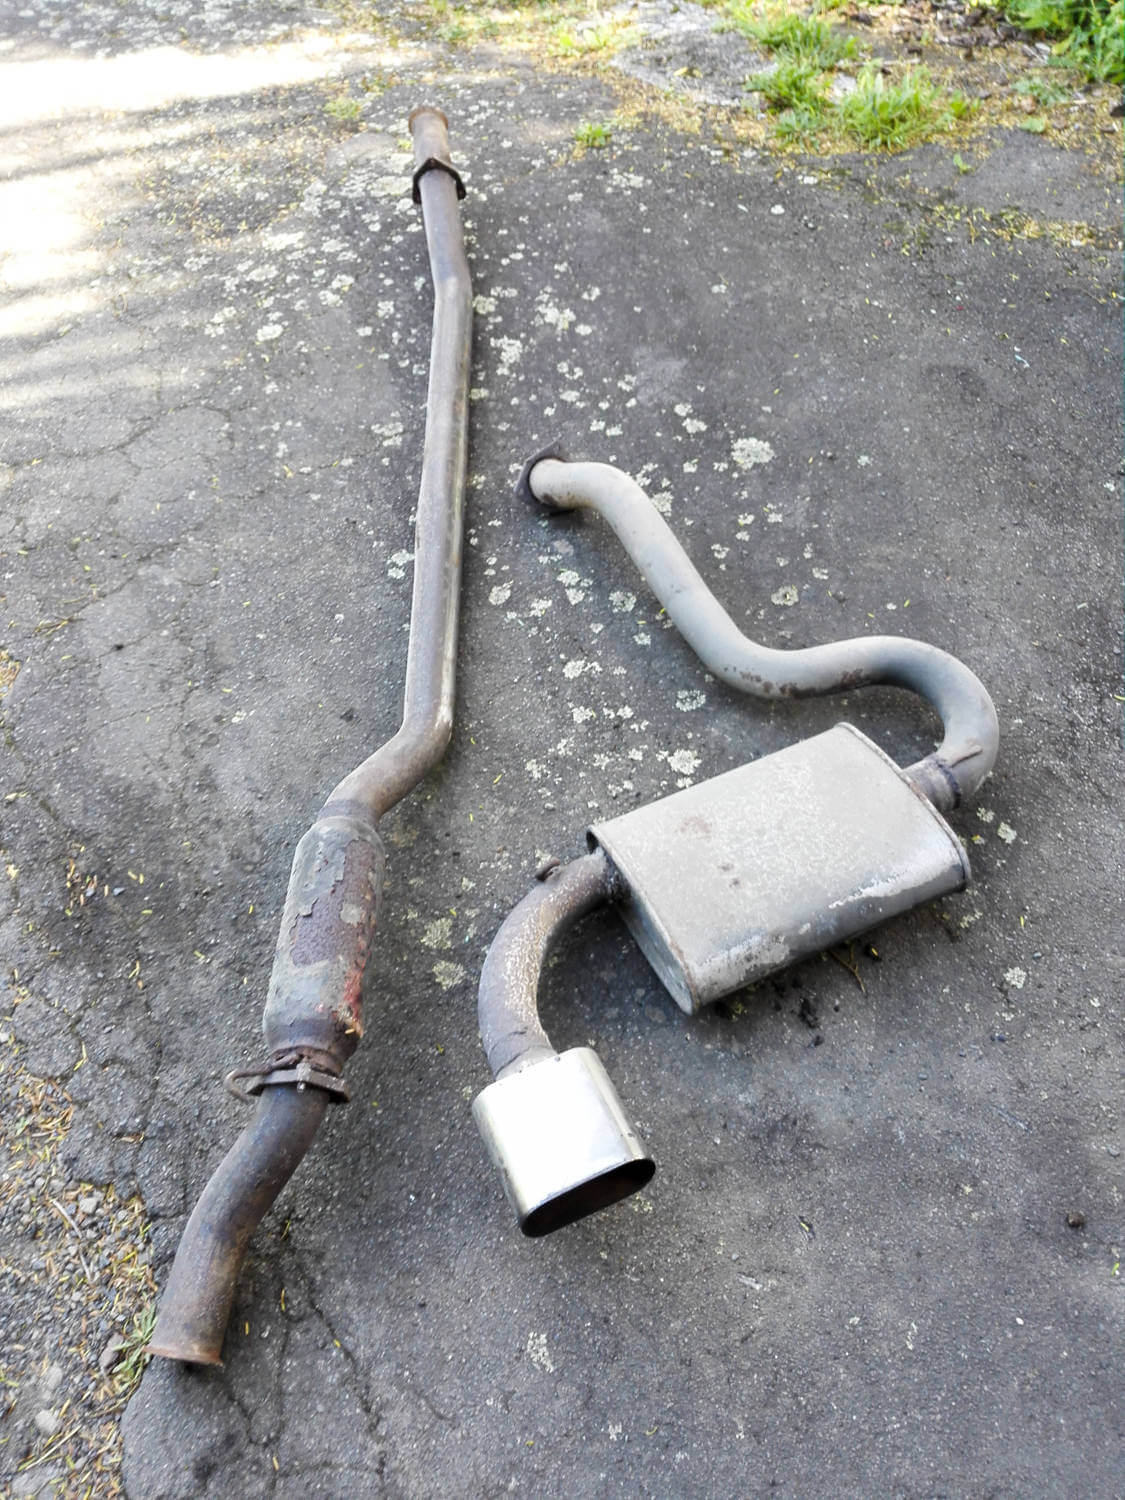
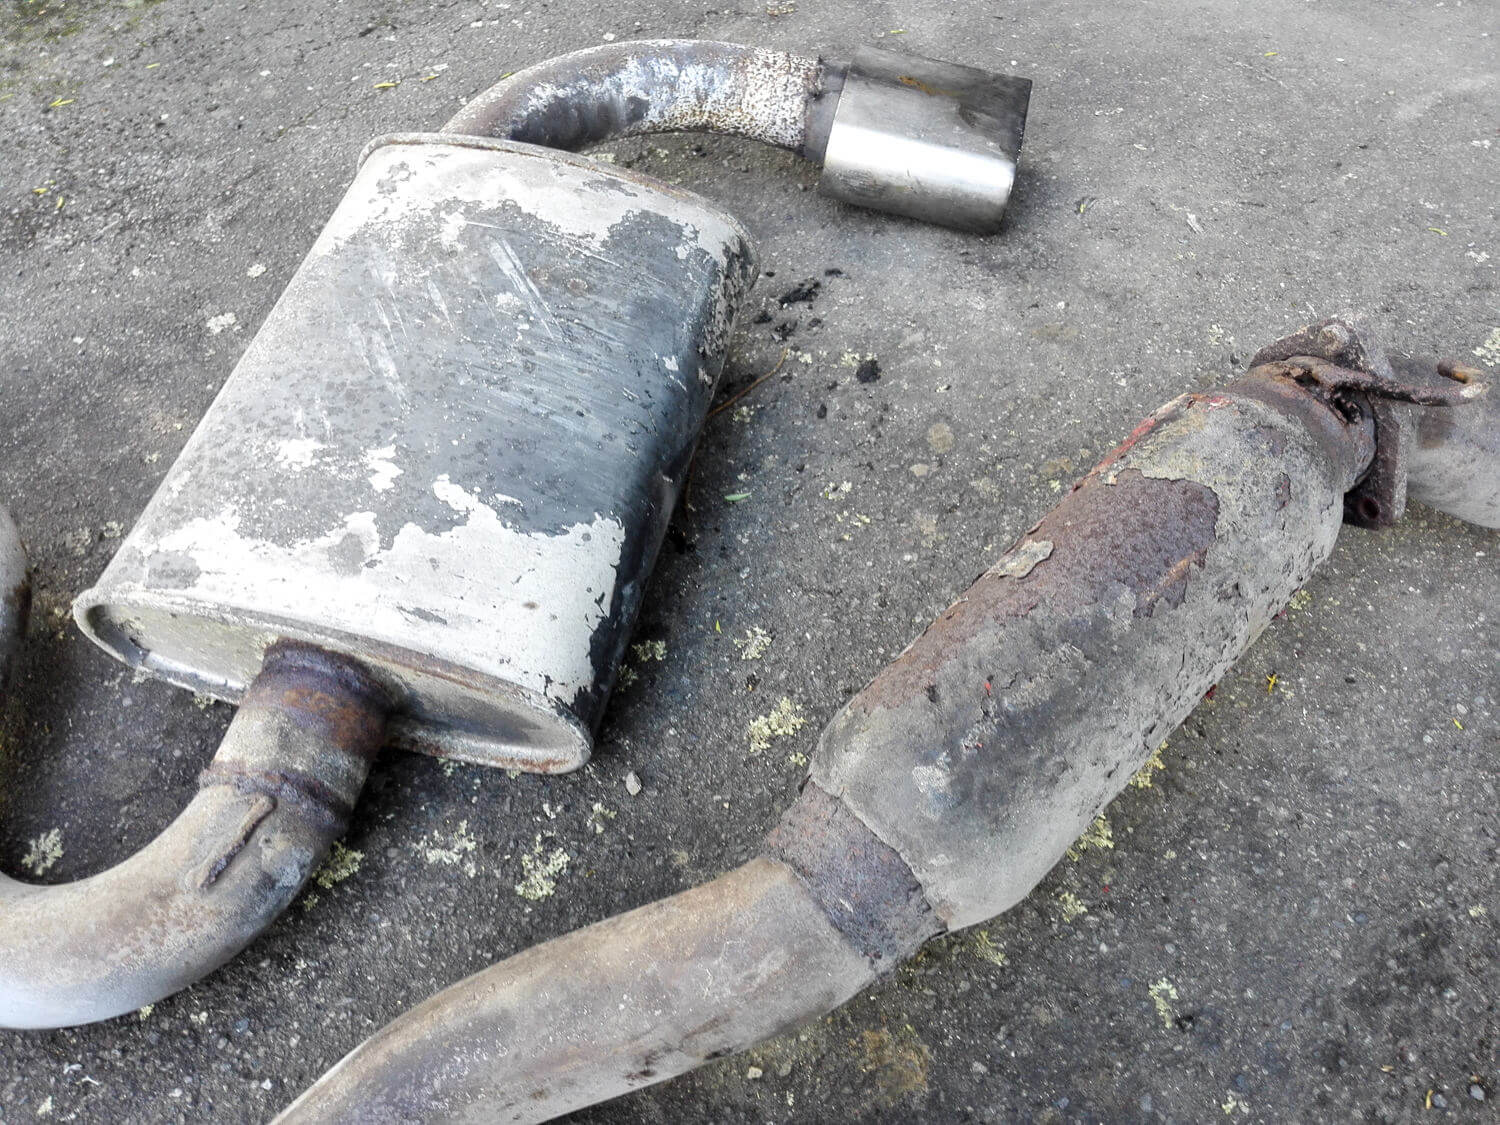
I finally got the exhaust removed. I had to saw the bolts off.
The exhaust is not in a good state. Surprise!

By this point I was starting to get a bit fed up with trying to separate some of the rustiest parts, especially the rear hubs and a couple of the ball joints. The tools I have just weren’t up to the job of doing it safely. So I decided to enlist the help of The Toy Shop Wellington. I also had a set of new wheel bearings for them to fit at the same time. Also as luck would have it, these arrived the day before I had planned to drop off the parts.
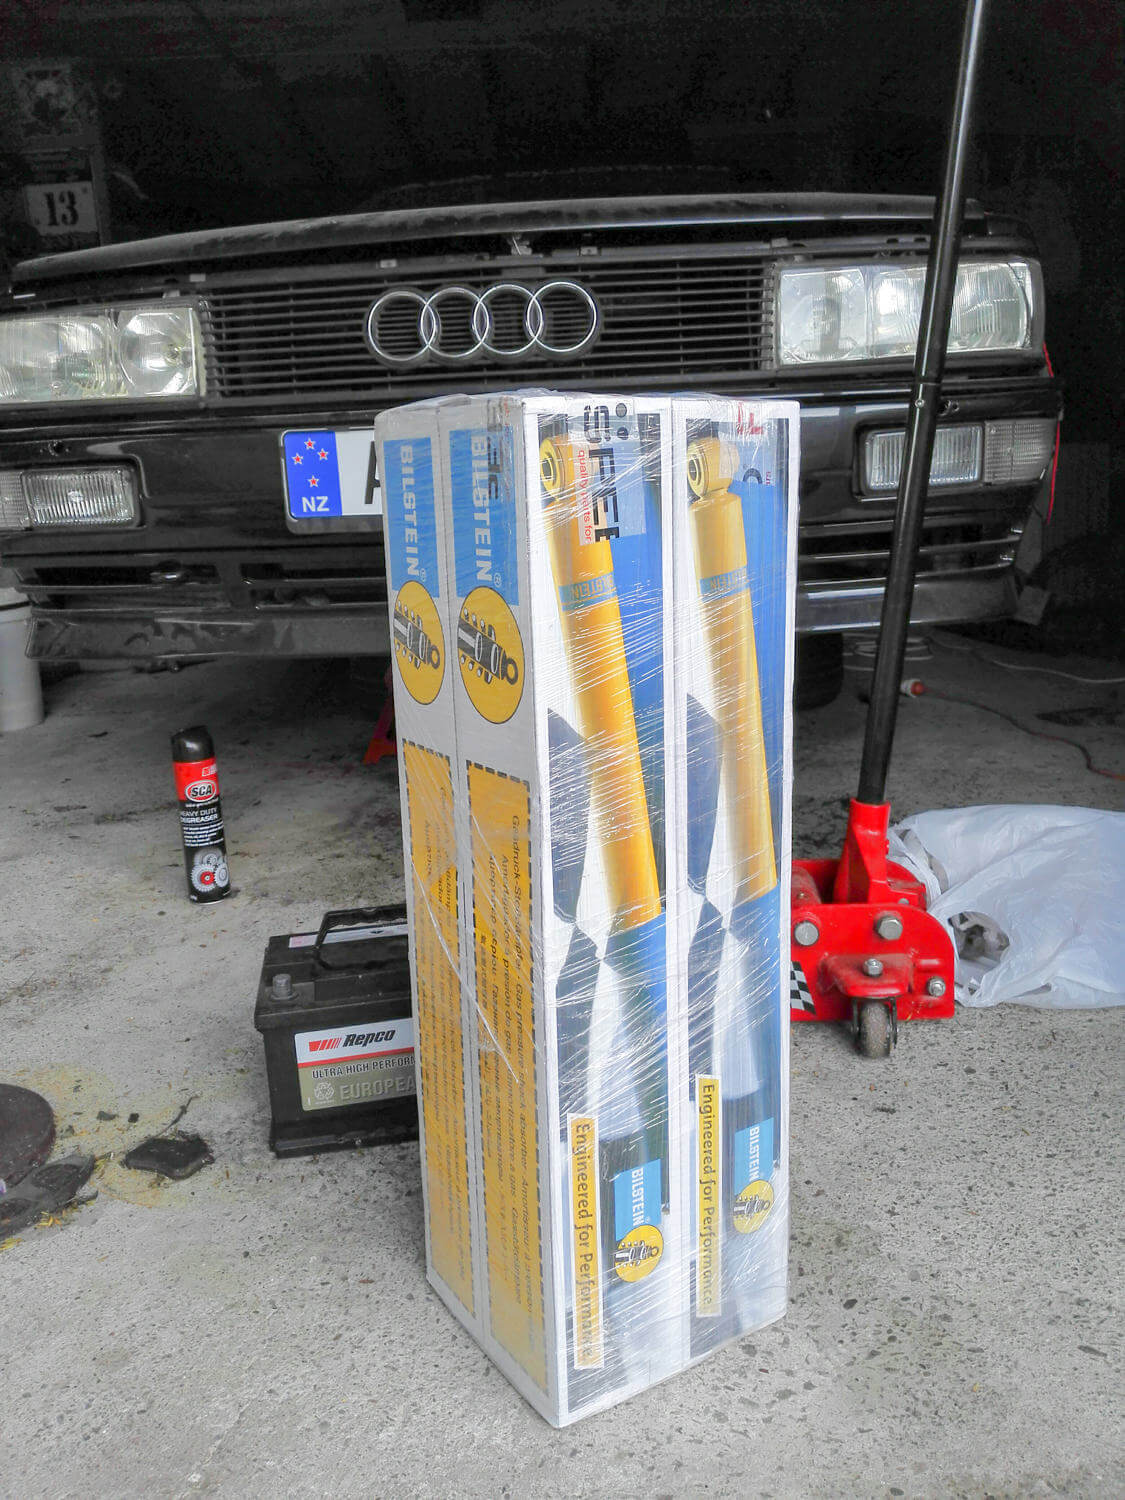

After a bit of searching and asking of advice I decided to go for Bilstein B6 shocks, which should work well with the other components I have. I even found them in New Zealand for a reasonable price, from speed.co.nz. Great service, and they arrived in a couple of days!
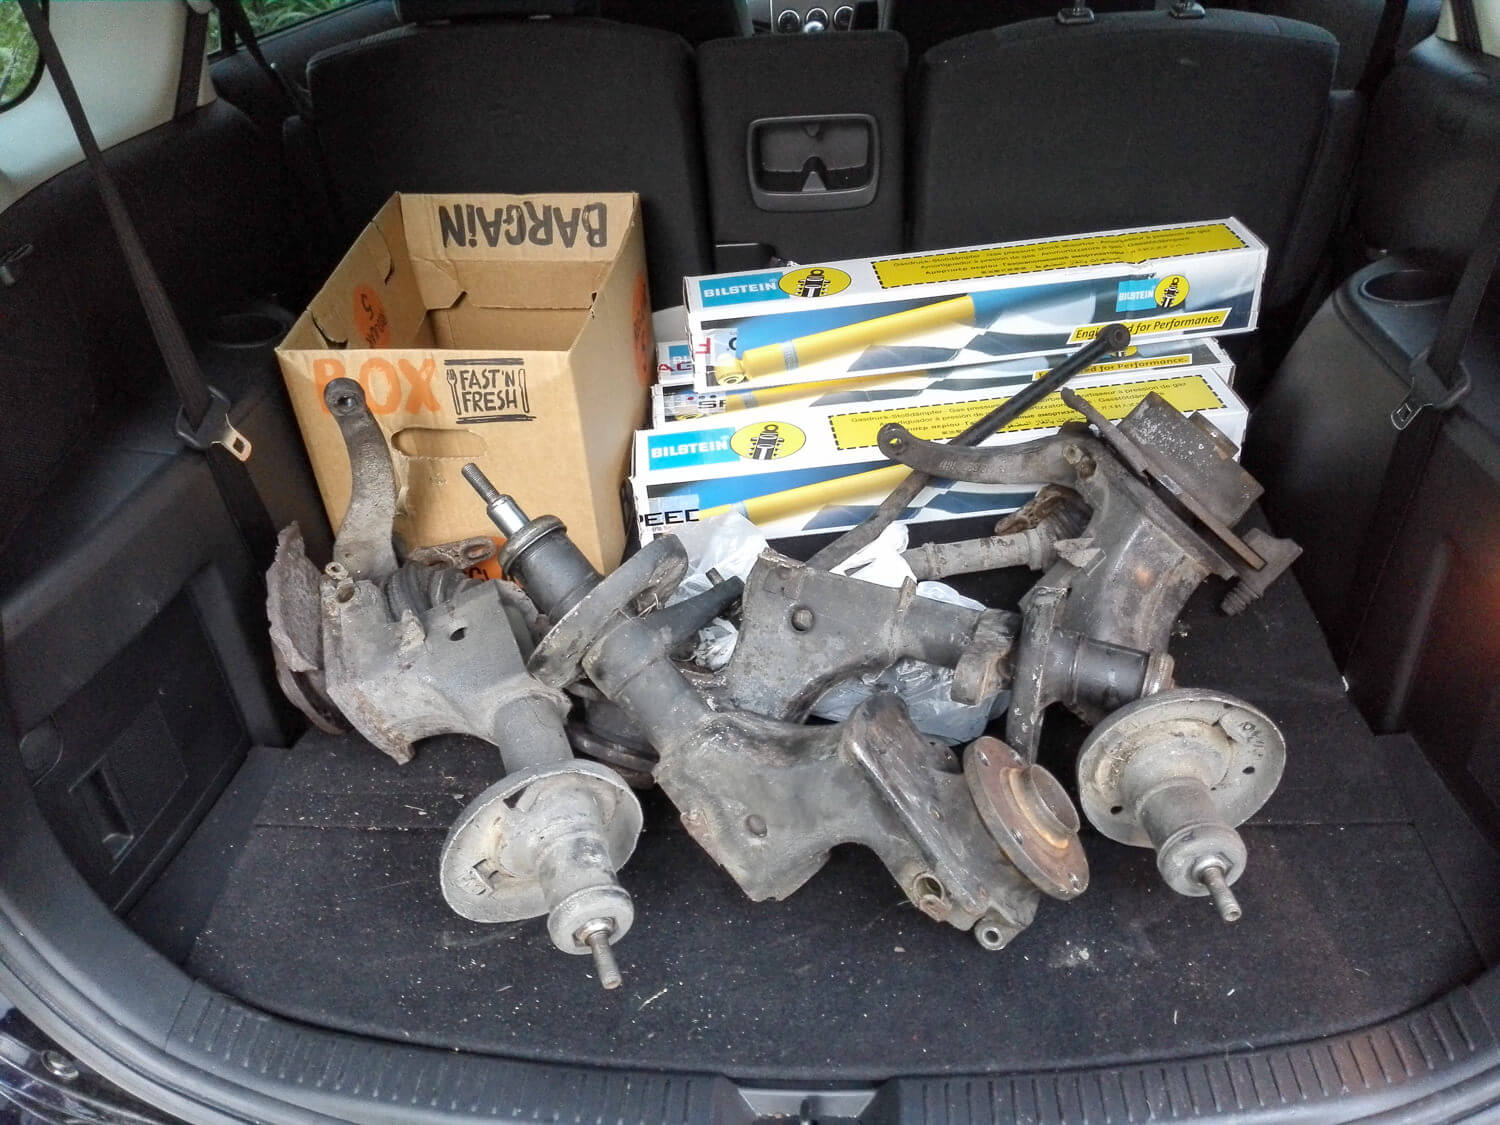
So into the car went a load of dirty, rusty parts. And a few nice clean ones.
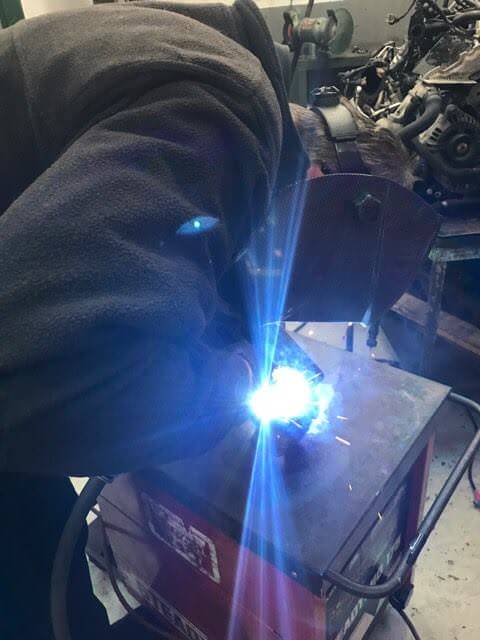
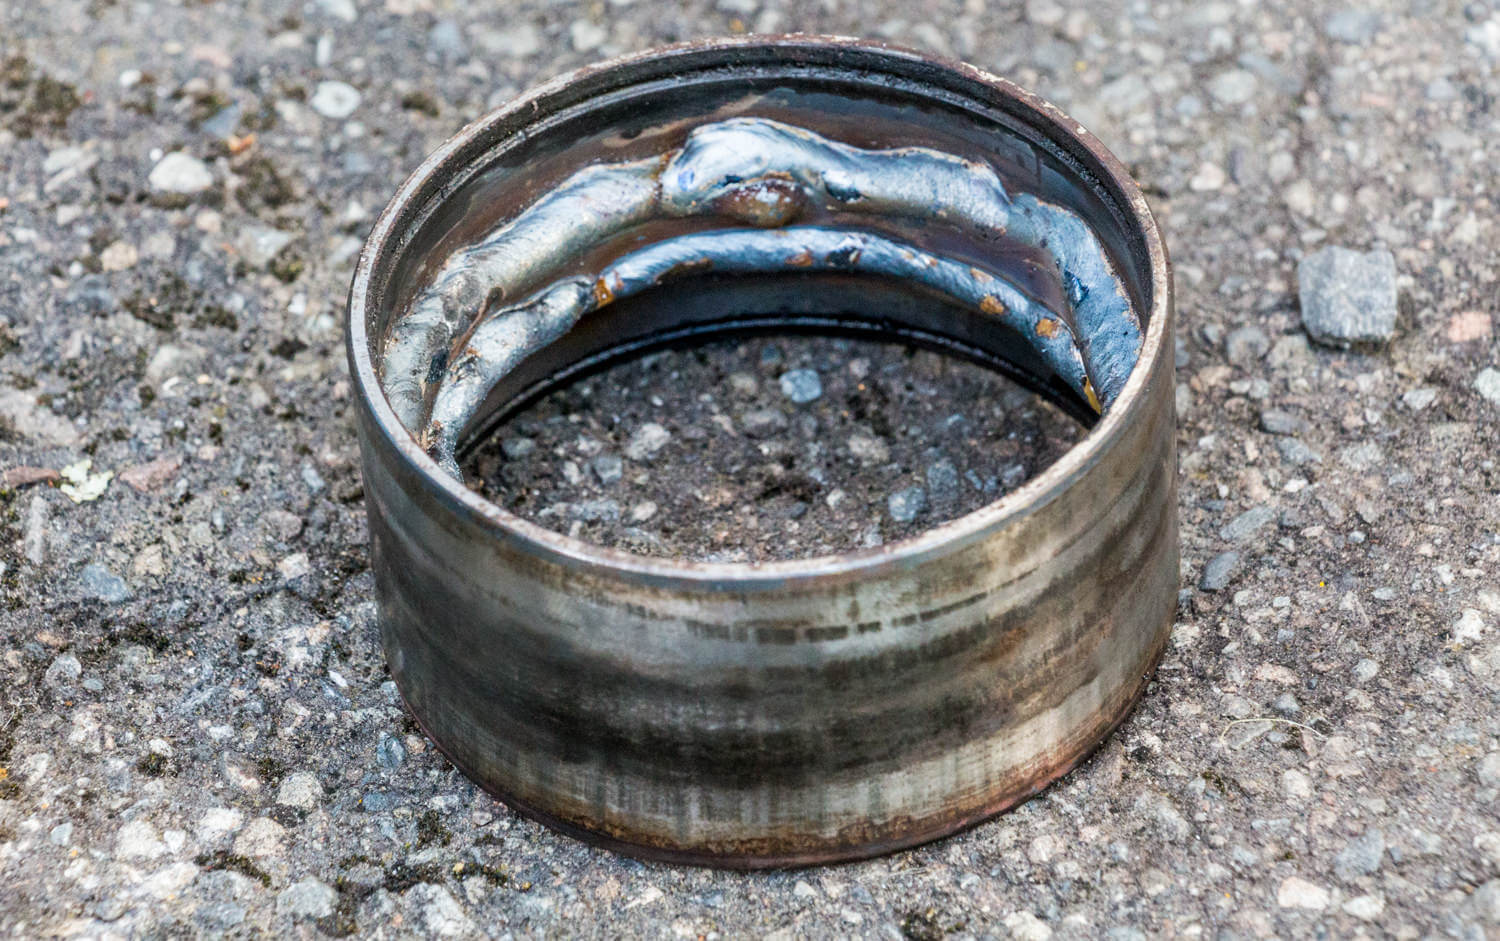
The Toy Shop were great, as always, even sending me progress photos as they worked on the parts. They had to get a bit creative to remove the wheel bearings as the ten tonne press failed to shift them! Adding a ring of weld around the inside of the bearing causes it to shrink slightly when it cools, then the bearing can be pressed out. Clever!
I don’t think I’ll be re-using these!

I made a mistake in ordering the same bearings for front and rear struts. The rears were correct but the fronts were larger. Fortunately Toy Shop were able to locate a set locally for me.

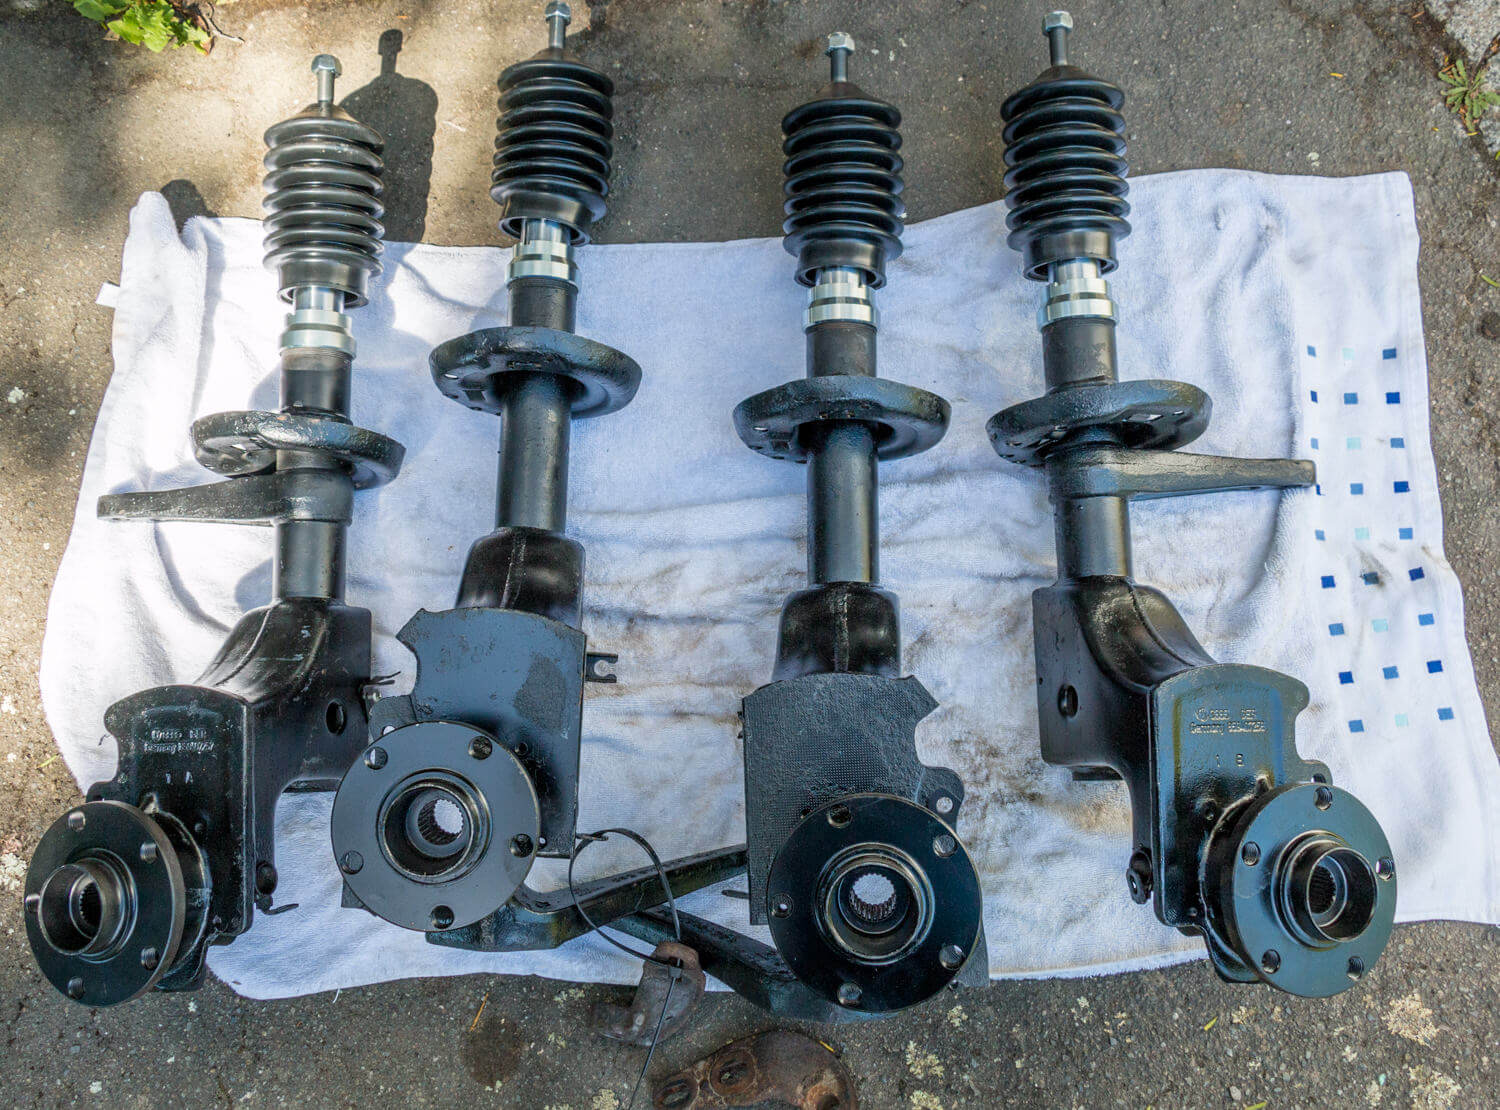
After a couple of days it was time to collect the parts, which were looking fantastic after being cleaned up and painted. There was about a day and a half of labour involved but the results speak for themselves. I want to do as much of this project as I can myself, but sometimes you just need someone with the proper knowledge and tools to get a job done right.

So a bit of progress this month, and after a few purchases I almost have all of the parts to start putting things back together. Next jobs are to make new brake hard lines, re-grease CV joints and fit new boots, remove, clean and re-fit the rear subframe with new bushes. Then try and remember how everything else fits back together.
Follow the full Project Rusty build here.


