

Detailing Tips
When it comes to Carbon Fiber, I’m a huge fan especially CF car parts! Mirror covers, bonnets, spoilers, fenders (the list goes on!) Not just for the fact they are lighter and stronger, but they add the extra wow factor to the overall look to a cars aesthetics. And to be quite honest, the last thing you want is your CF looking like it was just attacked with a sander or looking dull and tacky.
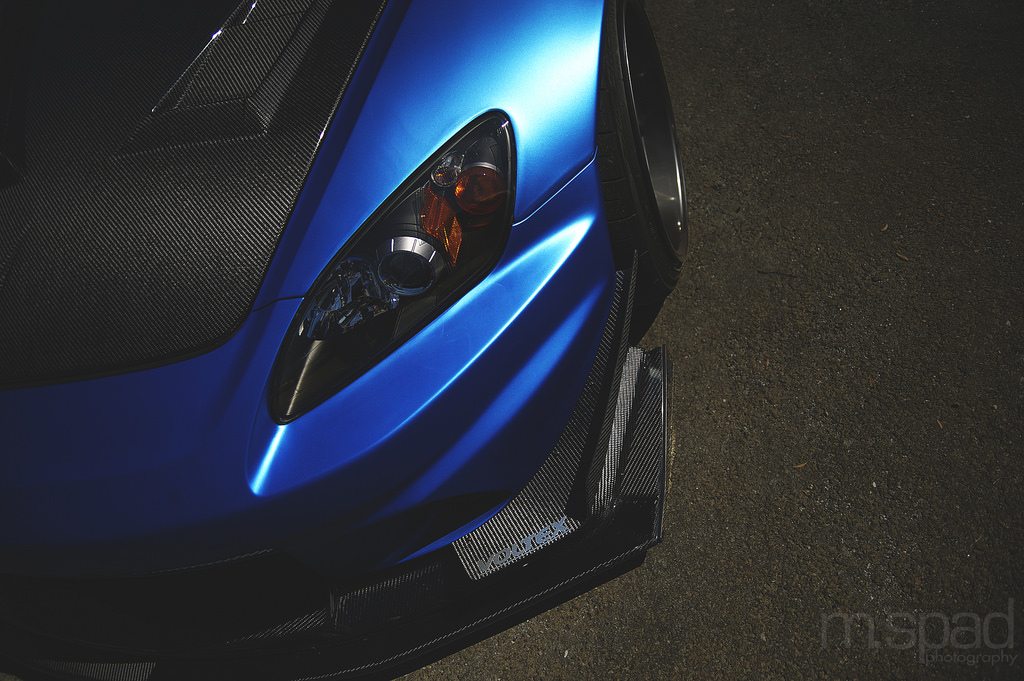
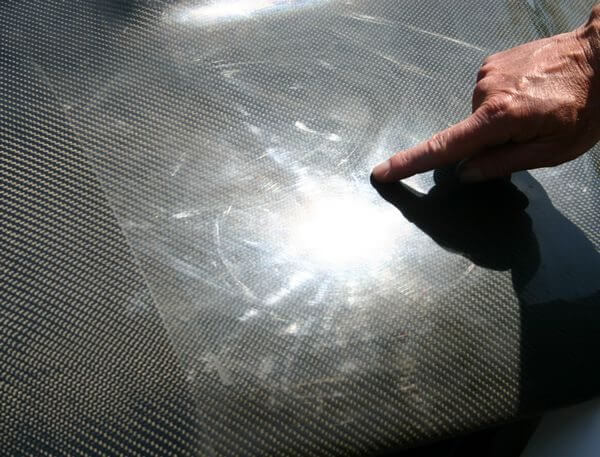
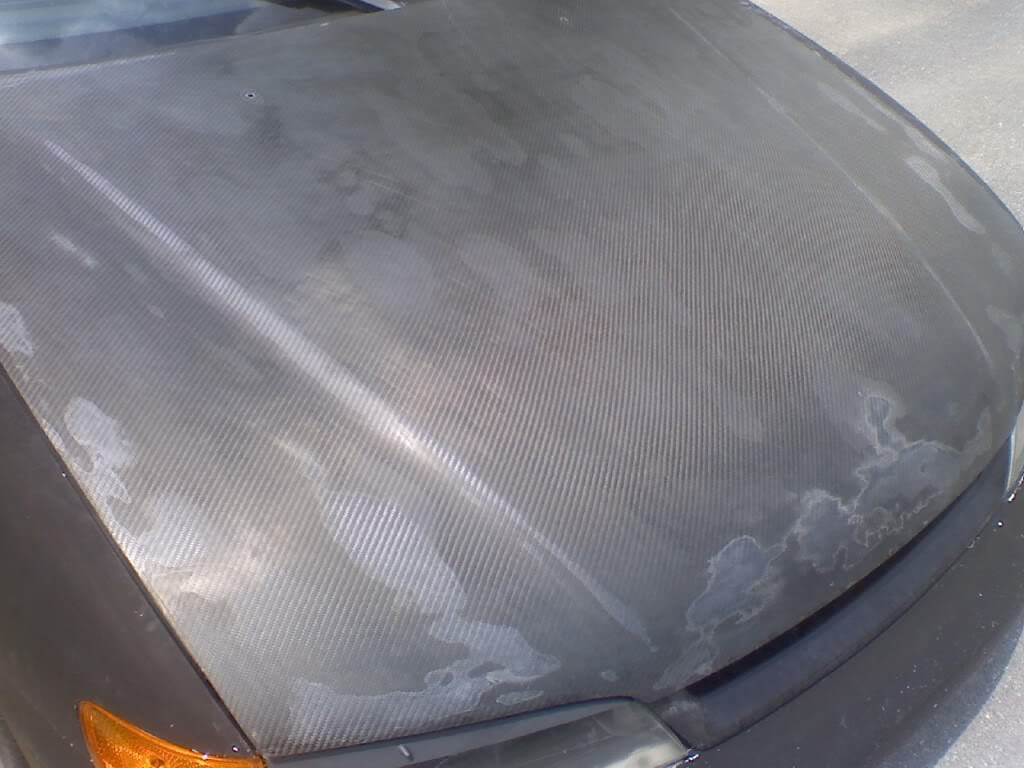
I have seen a fair amount of expensive CF parts get destroyed by UV Rays and more commonly failure to maintain CF in general. Whether its the owner not washing the car properly, or not removing the bird poo off the CF quick enough and just letting it bake in the hot glistening sun (big no no). Handy tip to keep a bottle of Spray Wax and MicroFiber cloth in the boot just incase.
So recently I picked up a couple of pieces of CF parts for my race car. A Password:JDM CF Gurney Flap, Password:JDM Intake Duct and a Mugen Style CF Front Lip, and what better time to show case how I protect my CF parts.
Note: The Intake Duct isn’t shown in the photos as I had already finished sealing it a couple weeks ago.
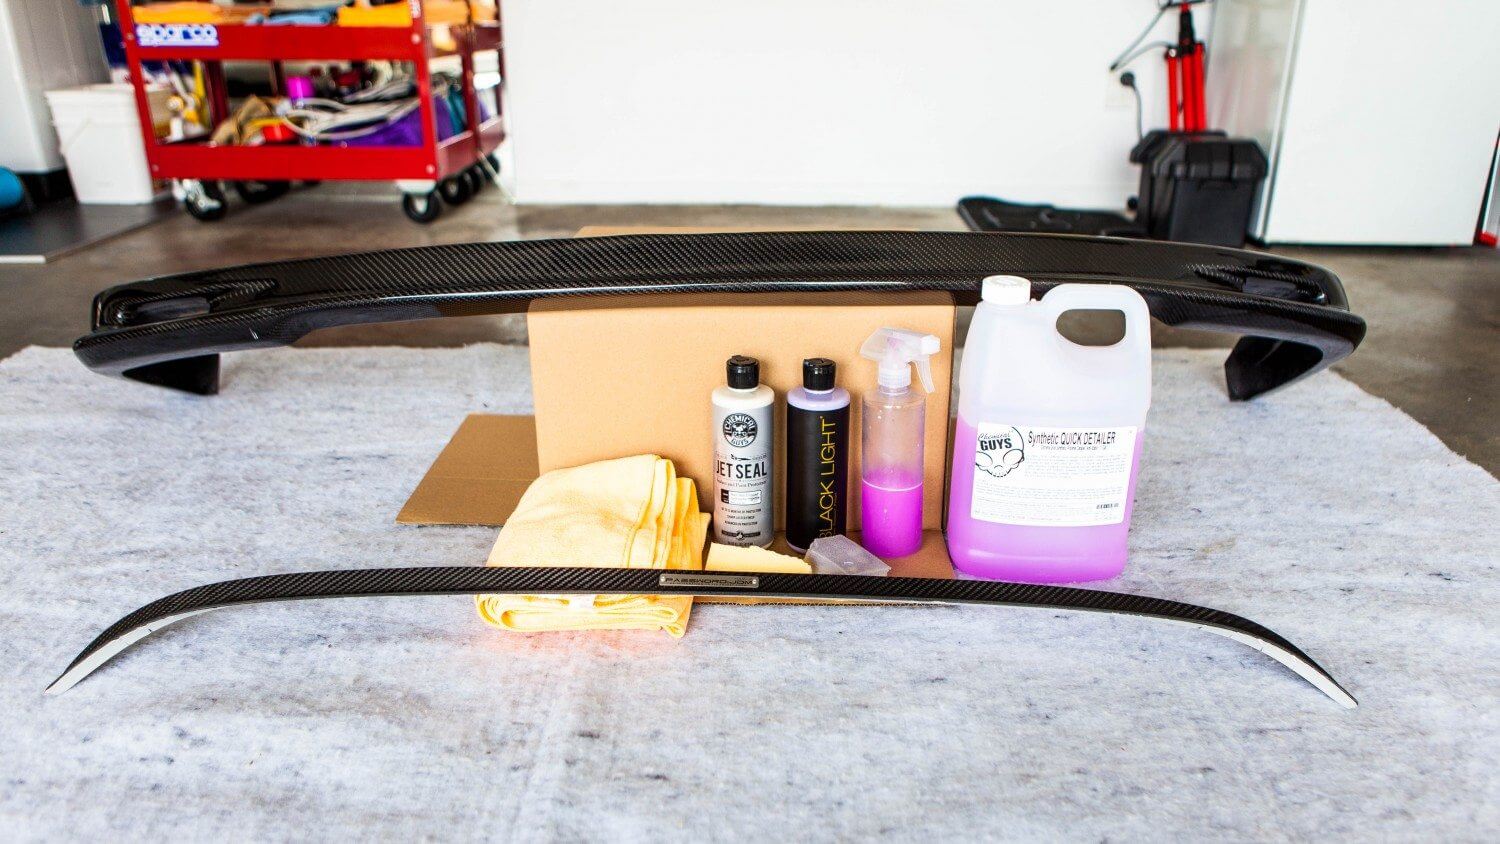
Items Needed:
– CarbonFiber parts
– Spray Wax – Any spray wax will do, in this I am using Chemical Guys Synthetic Quick Detailer
– Paint Enhancer/Wax (optional) – You can definitely increase the depth of gloss on CF, I decided to use Chemical Guys BLACKLIGHT
– Paint Sealant – In this case I used Chemical Guys Jet Seal 109
– 2-3 MicroFiber Cloths
– Large towel, blanket of some sort
– Couple of Boxes
Step 1 – Finding the space
Find an area to work in, with lots of space; I used the garage, being the man cave an all. Lay out your towel or blanket and place a box in the middle. I used the box as a bench or pivot point to place the CF parts.
Step 2 – Prep
2-3 squirts of spray wax onto a MicroFiber cloth, and lightly mist the spray wax over the CF part you are cleaning first. Gently wipe down the CF parts,
NOTE: Remember to not apply to much pressure when wiping down CF, you can risk scratching the CF.
Once finished wiping down, flip the cloth to the dry side and buff the CF down thoroughly.
Step 3 – Masking off
Take the masking tape and mask off any areas that you do not want any product to come in contact with. Badges, mesh, wires etc..
Step 4 – First Application
If you don’t have any paint enhancers, you can use wax ie: Carnauba. Grab your foam applicator pad and apply 2 pea sizes drops onto the applicator and gently massage the foam applicator over the CF.
NOTE: You don’t need to rub it in circles, you can glide it on left to right, the key is the amount of pressure to be applied.
The 2 pea size drops should be able to cover 1/4 of a section. At this point I have left the Chemical Guys BLACKLIGHT to set for 30mins, Carnauba on the other hand I would leave to set for 15mins – no longer than 20mins. Once time has passed, buff off with a new MicroFiber cloth, make sure that you get in every nook and cranny with the cloth. If you want to repeat this step, you’ll need to allow the CF to cure for 10-15mins after buffing the residue off, then you can repeat this step as many times as you heart desires, depends on how patient you are! I’ve done 3 coats of BLACKLIGHT on the CF.
NOTE: Please use a MicroFiber cloth when buffing, if you were to use a normal towel, it’ll result in creating scratches on the CF, it’s like wiping it down with sandpaper.


Step 5 – Final Application
Pretty much like Step 4, but we replace the Paint Enhancers/Wax with a Paint Sealant. In this case I used Chemical Guys JetSeal 109 (A great product that not only protects, but also increases the gloss)
Paint Sealants are pretty special, as they act like a secondary clear coat, to help protect the CF from harmful UV rays, which is a main cause for a lot of CF fading, clear coat peeling, oxidising etc.. There are quite a few paint sealants out there to choose, so be careful when selecting a sealant, as some are designed for Wheels, Plastics, Fabric etc…
Take your applicator pad and apply 3 pea size drops of JetSeal 109 and gently lather the product over the CF. 3 pea size drops should cover 1/4 of the CF. At this point, I leave the sealant to set for 45mins as I want it to set to the CF properly. Once finished, I buff to a shine with a new MicroFiber cloth
NOTE: Do not wash or allow the CF to be exposed to the elements for 24hours, as we want to allow the product to properly cure.
You can reapply a second layer of sealant once the CF has had 24hours to cure, I would advise no more than 2 coats, repeating the same process and allowing the proper setting and curing time.
NOTE: Paint sealants don’t last forever, they typically have a life span of 8-15months, then you’ll need to reapply another layer of paint sealant.

Step 6 – Quick Spray Down
Once you have allowed the proper curing time for the CF, grab a clean MicroFiber cloth along with your Spray Wax and give the CF a wipe/buff down. Remember to spray one side of the Mirco Fibercloth first, then lightly mist spray wax over the CF. Work away wiping it down, then flip the cloth to the dry side and buff away excess spray wax. Make sure you do this step once a full 24hours has passed, you don’t want to be interrupting the curing process.
Now you can enjoy your CF’s glossy deep shine and know it’s well protected from the harsh elements outside. It doesn’t stop there, you’ll need to regularly wash and maintain your car’s appearance as well to make sure that all your hard work hasn’t gone down the drain.


