
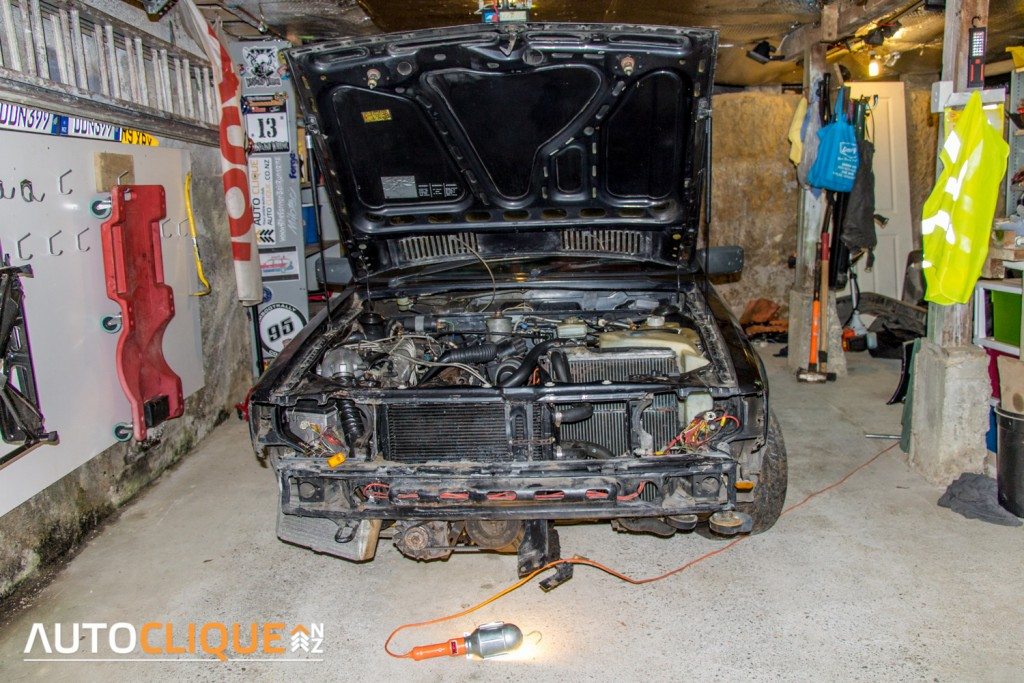
After the initial excitement of simply being the owner of an Ur Quattro subsided slightly, it was time to have a really good look at the car and start to strip it down and find out what lies beneath the surface.
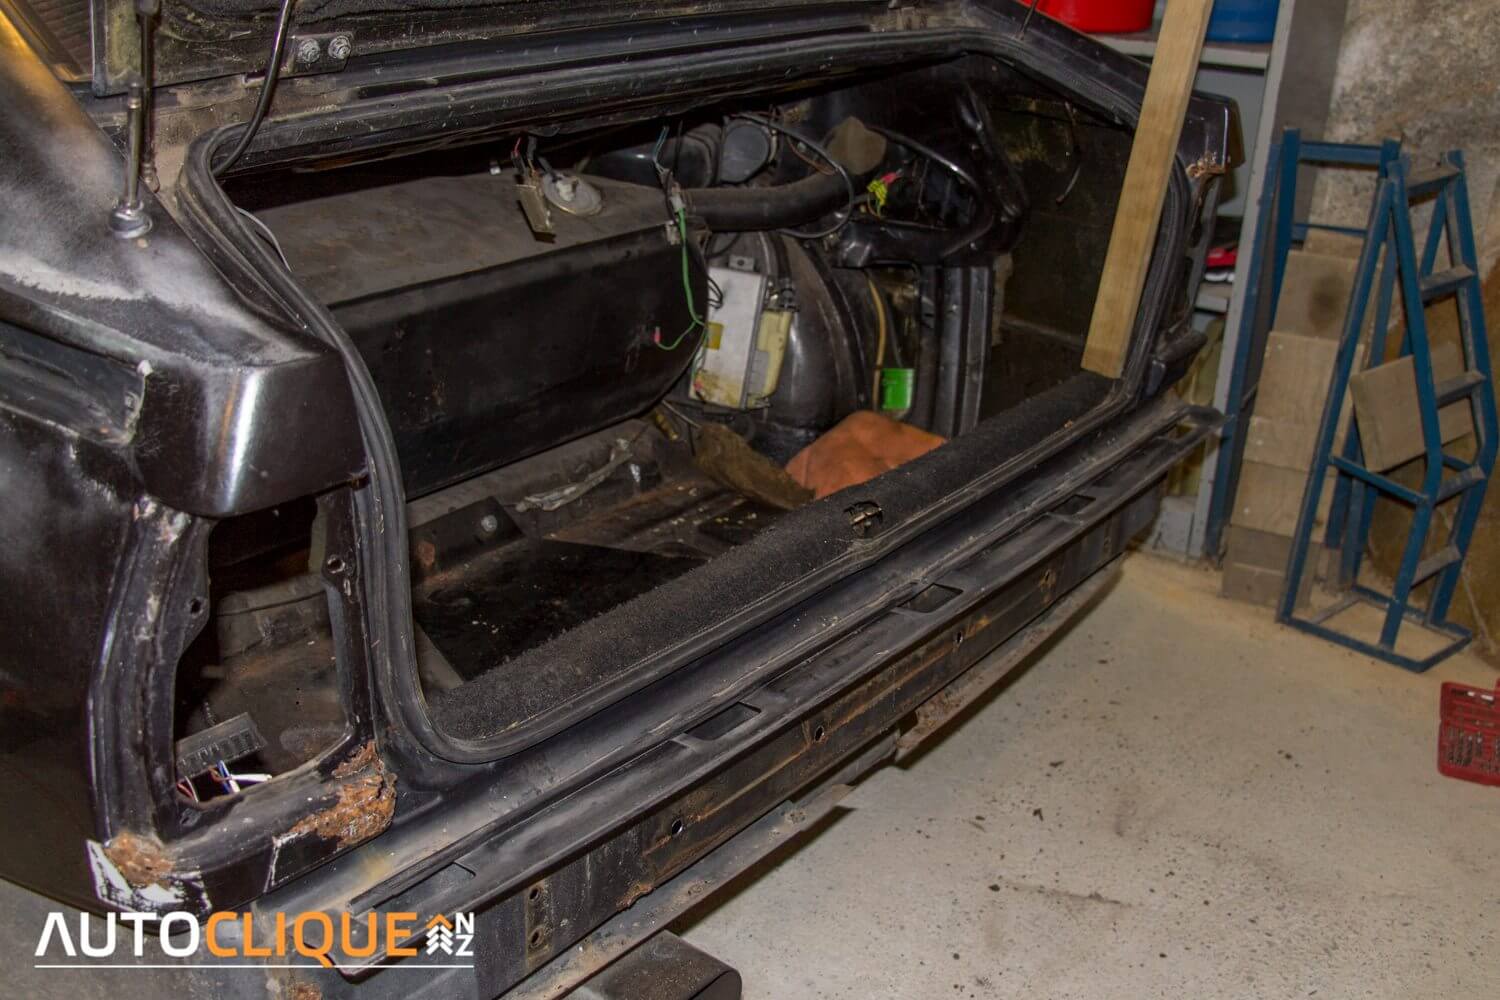
So out came the tools! I decided to start with the boot and get rid of the towbar, so I removed the various items that came in the boot, the trims, then the lights and bumper.
The towbar wiring was easy as it was connected with Scotch Locks and must have just hung out of the boot when in use.
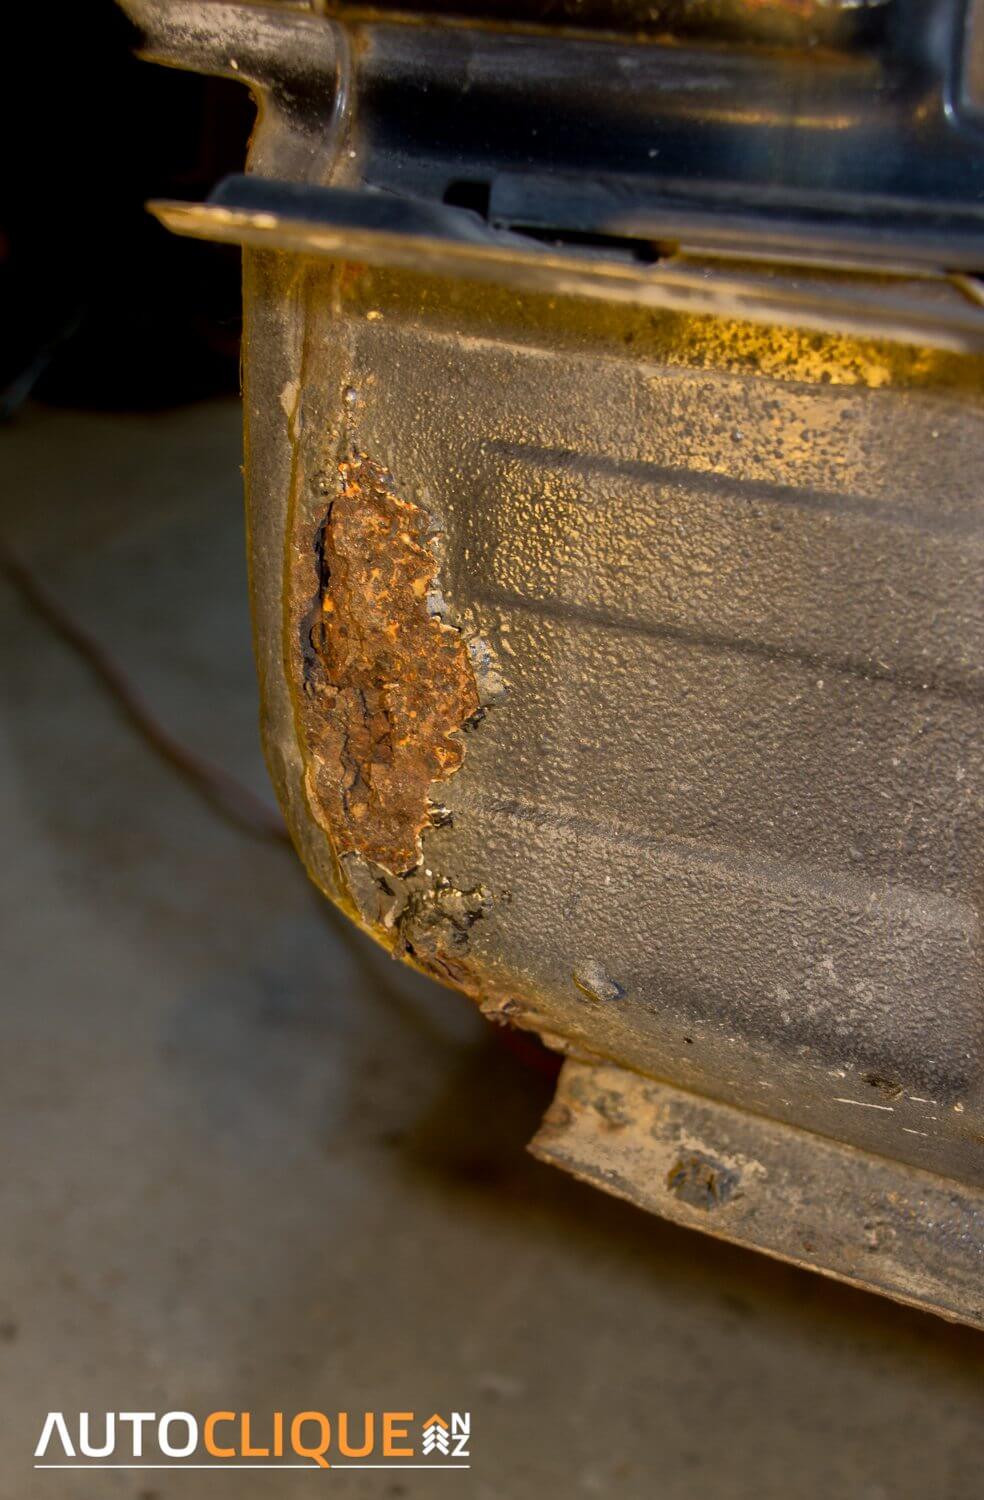
It looks like the boot has been flooded many times, as both sides have had a section cut out and patched.
Removing all of this revealed the worst of the rust around the boot, and a lot of holes drilled for that towbar, which weighs about 30 kilos!

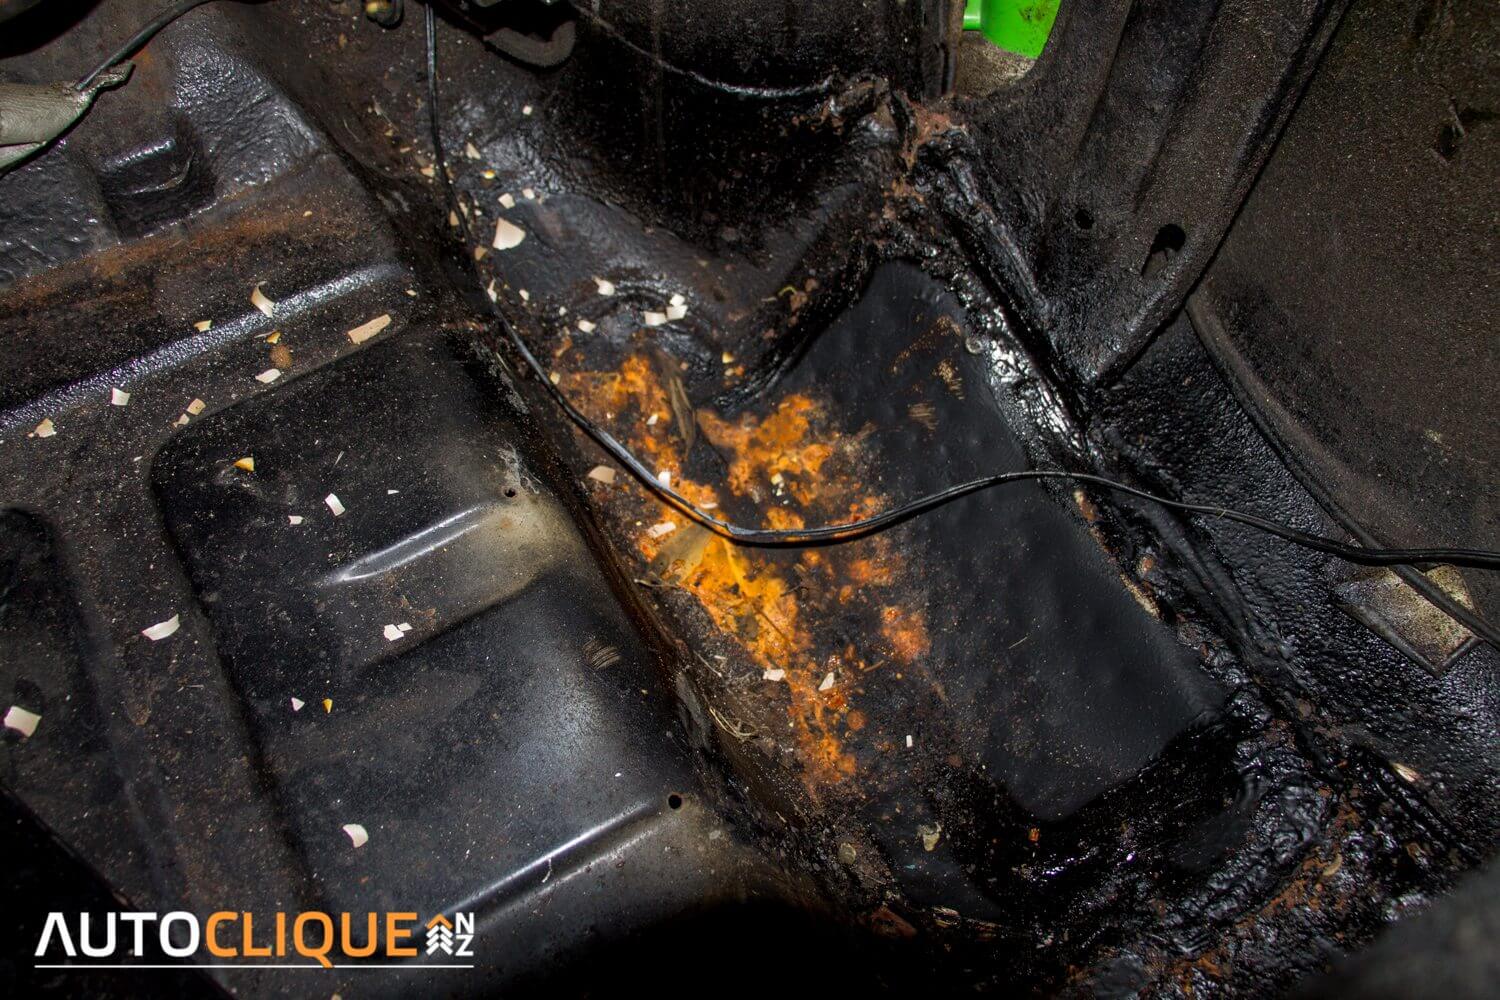
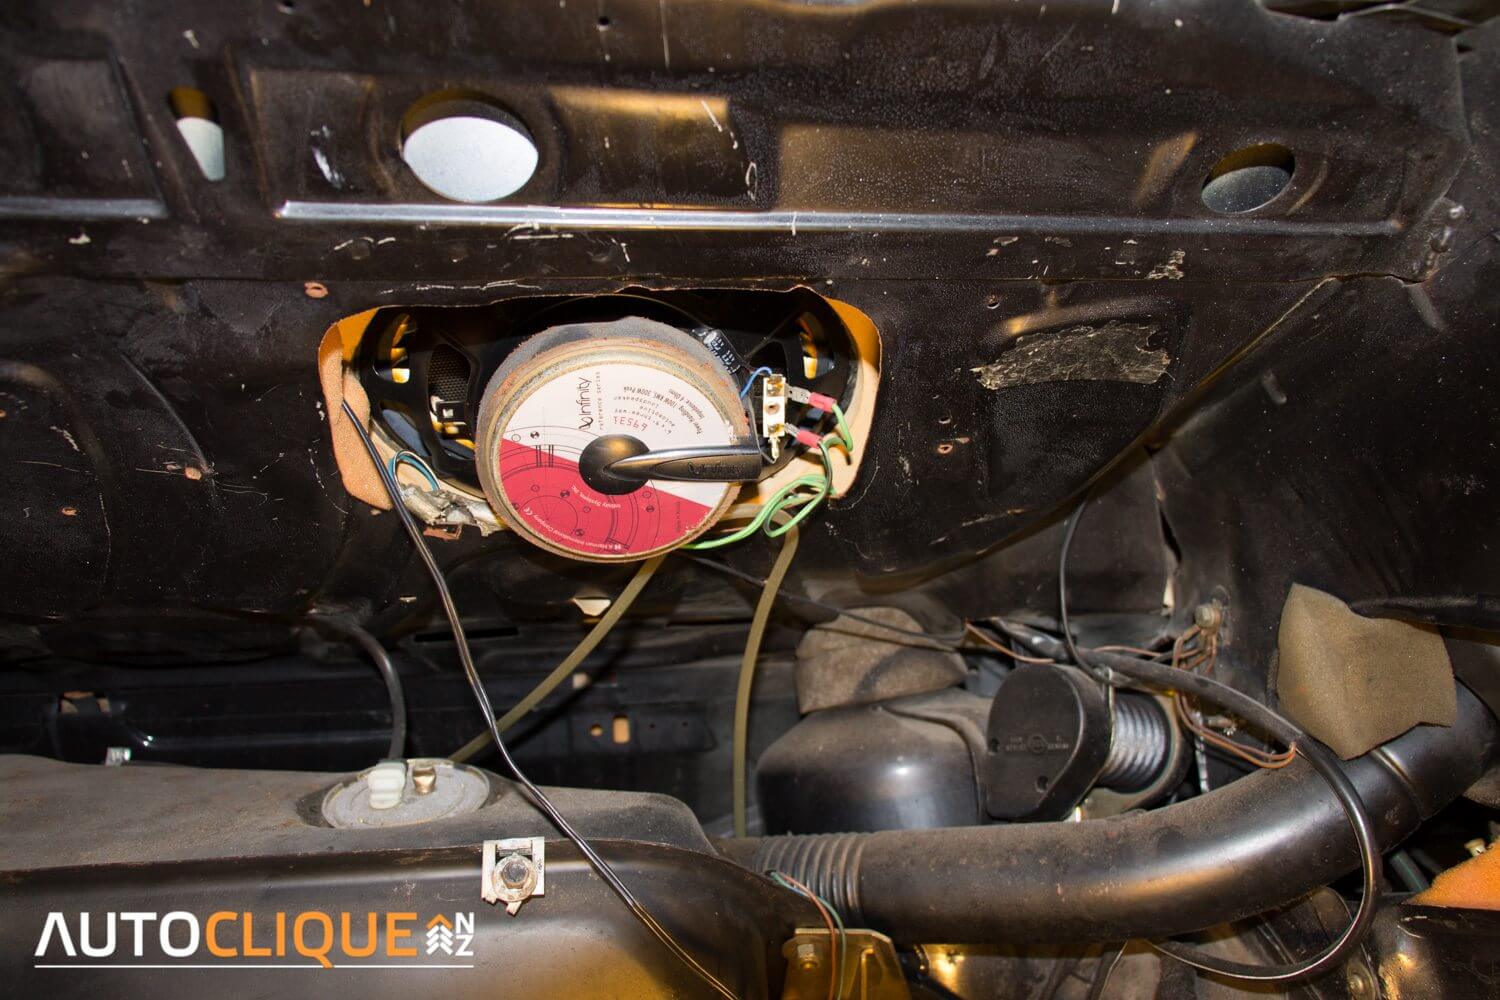
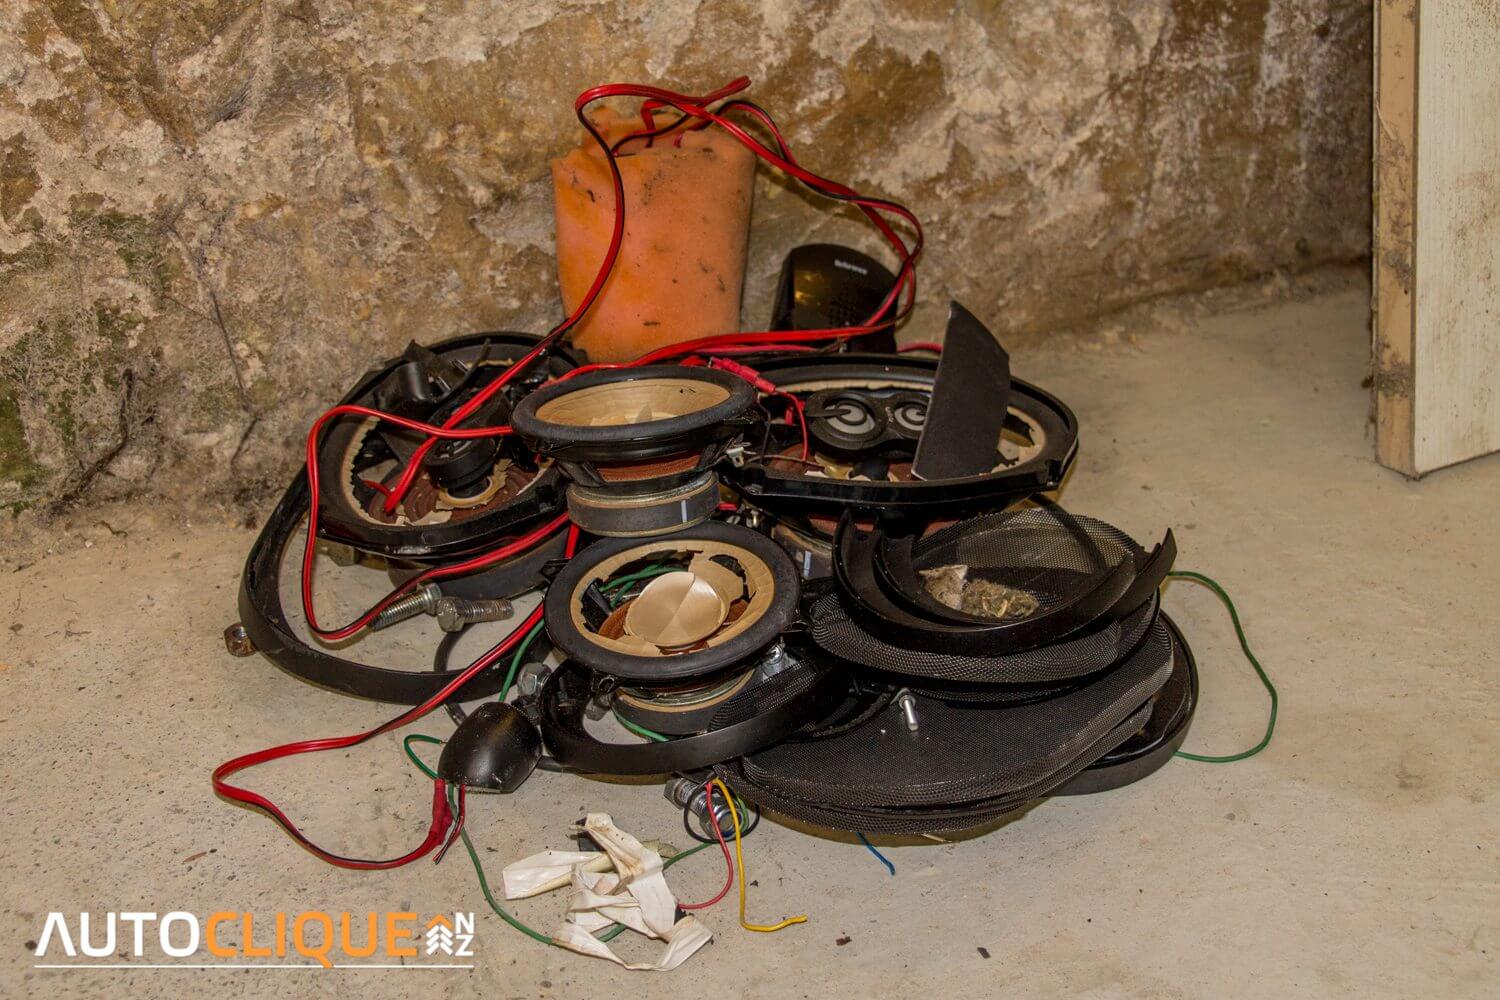
Next I decided to pull out the aftermarket audio that had been fitted in the car at some point in its life. At first I kept wondering what the little scraps of beige plastic were that I found all over the boot, then I looked at the speakers and realised it was the speaker cones that had gone brittle then fallen apart! The speakers and wiring came out pretty easily but I was cursing the person who cut two different sized holes in the rear shelf to get the 6x9s in there!
I had a bit of a surprise when I dropped down the panel under the steering wheel and found this mummified mouse!

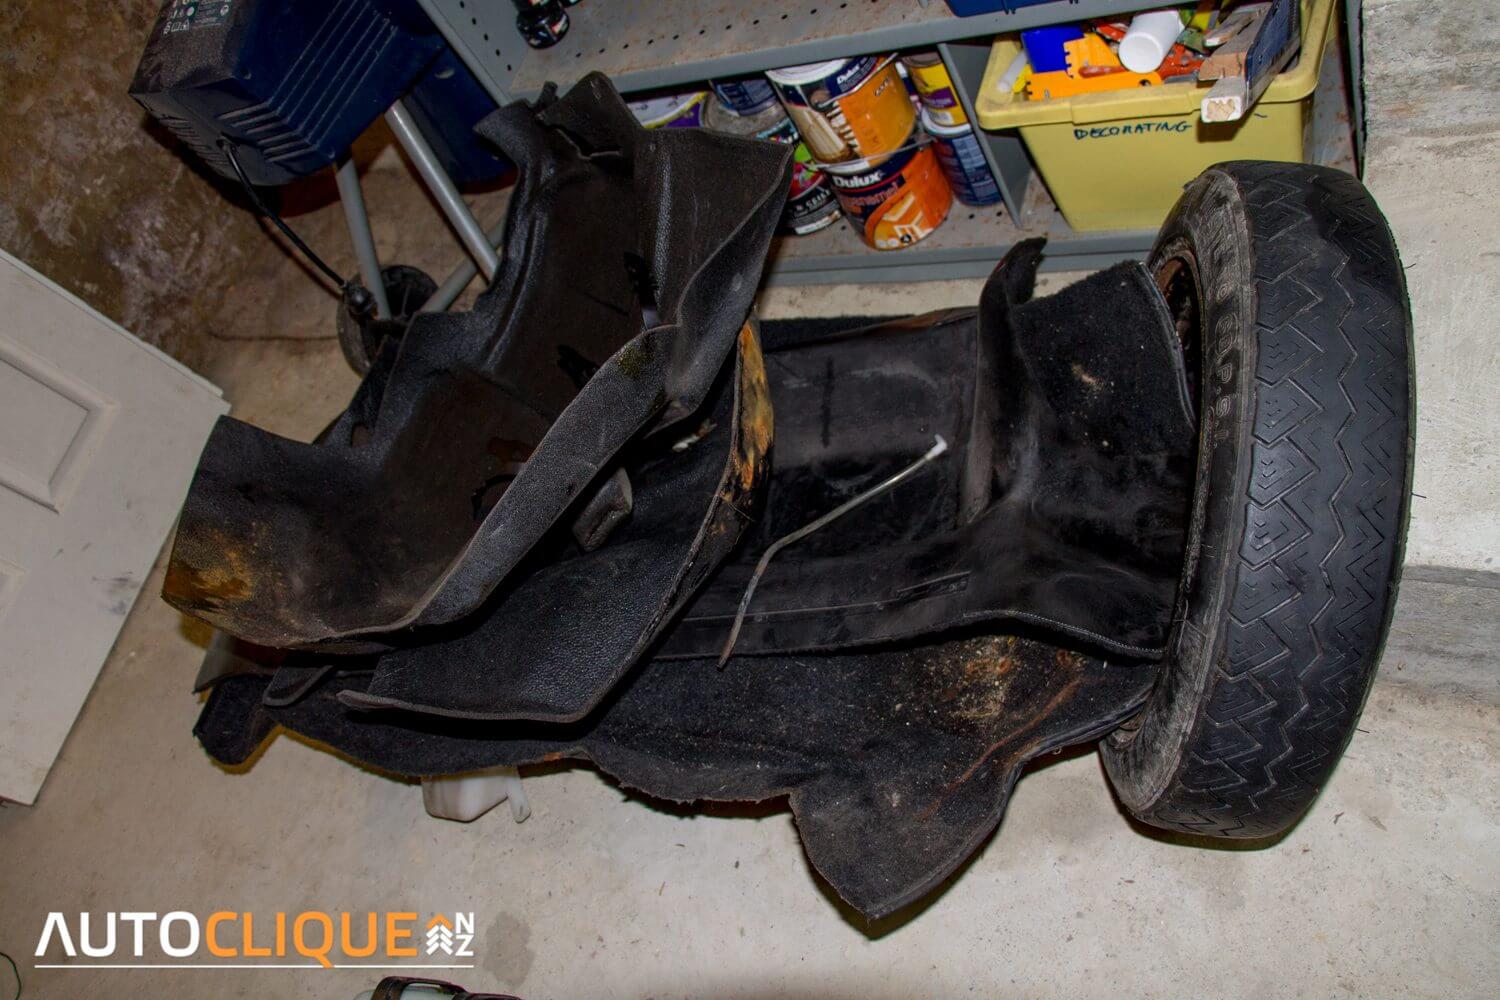
The rear seats and parcel shelf trims were next, along with the rear side panels so I could have a look at some of the floor and the inner skins of the sides. I was pleased to see that the inner skins and sills look good with loads of sealant on them and minimal rust. It looks like whoever put the tape over those external holes did it early enough to stop major damage.
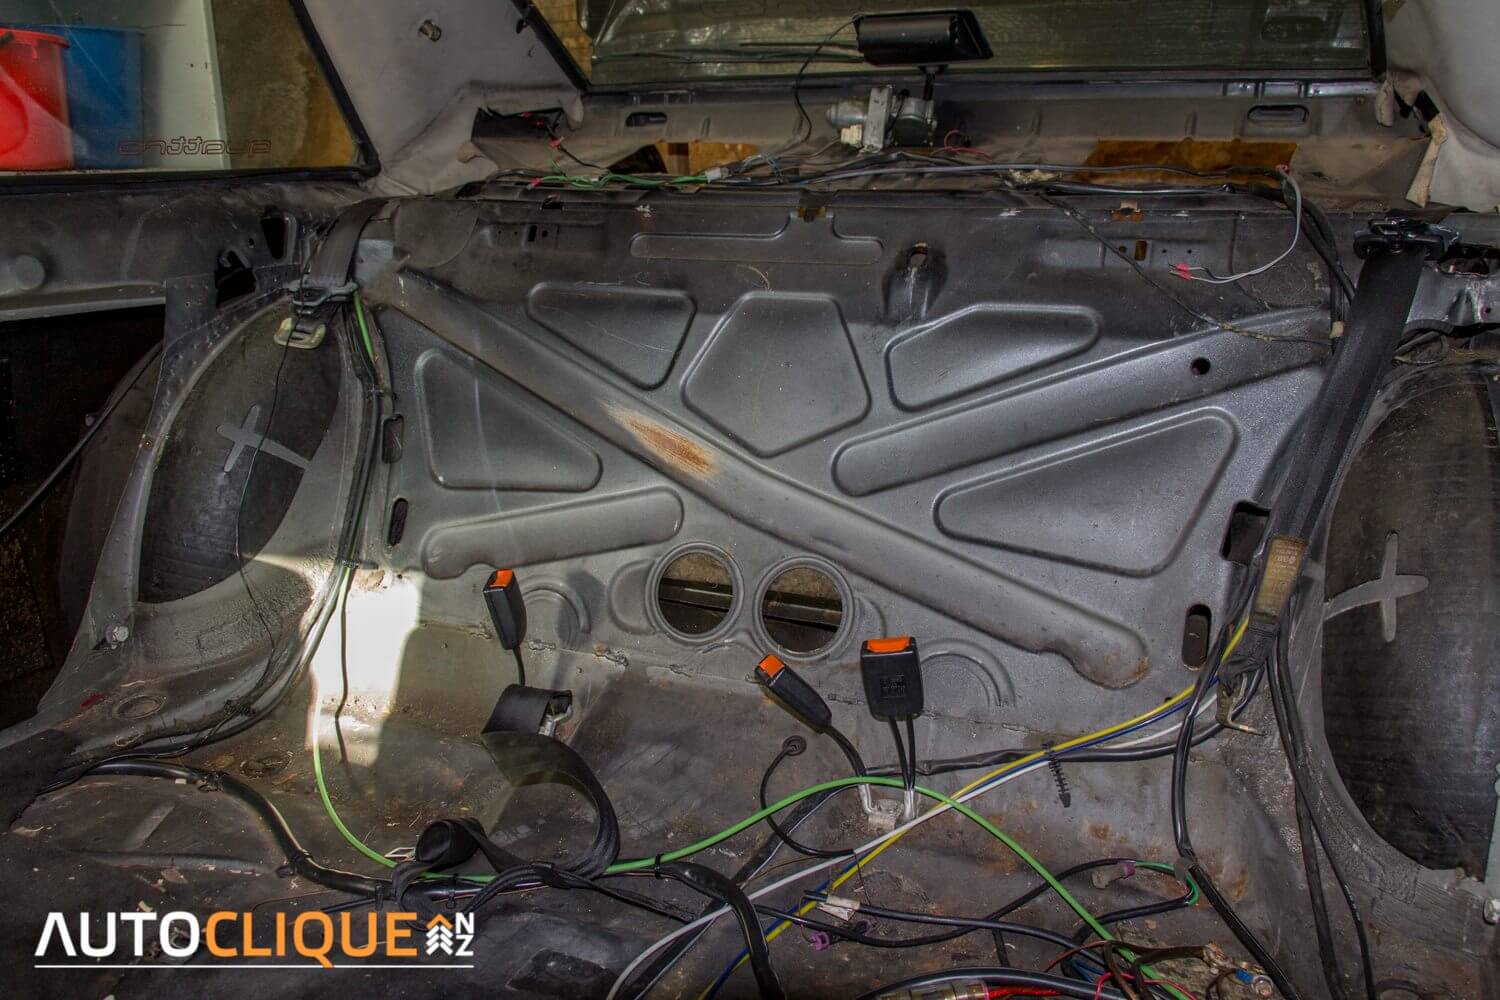
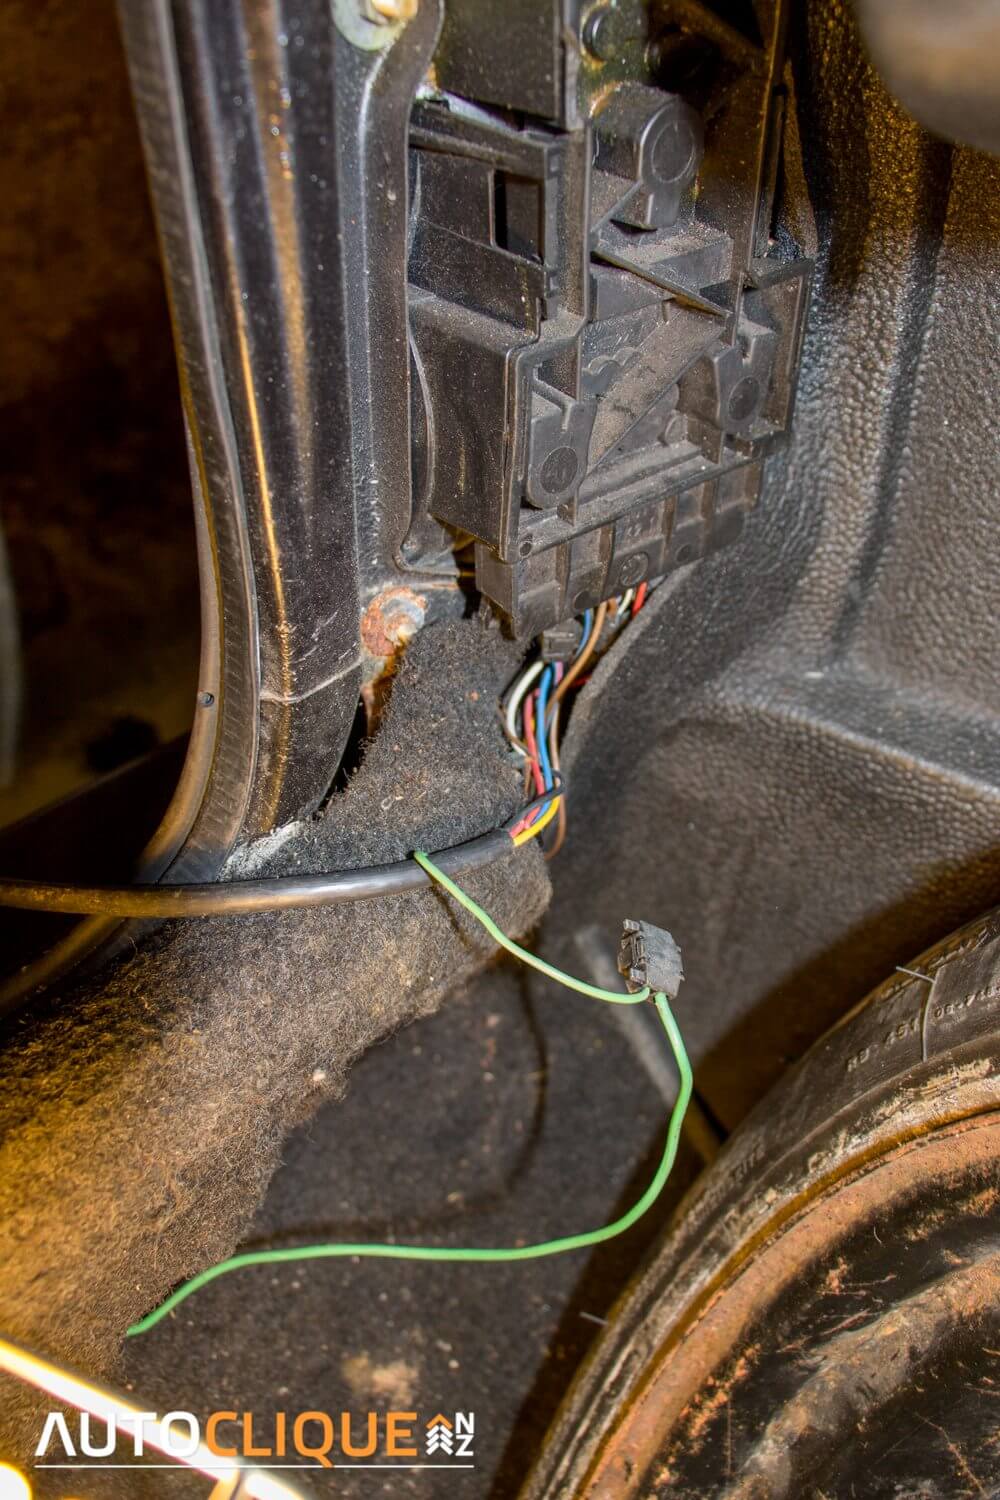
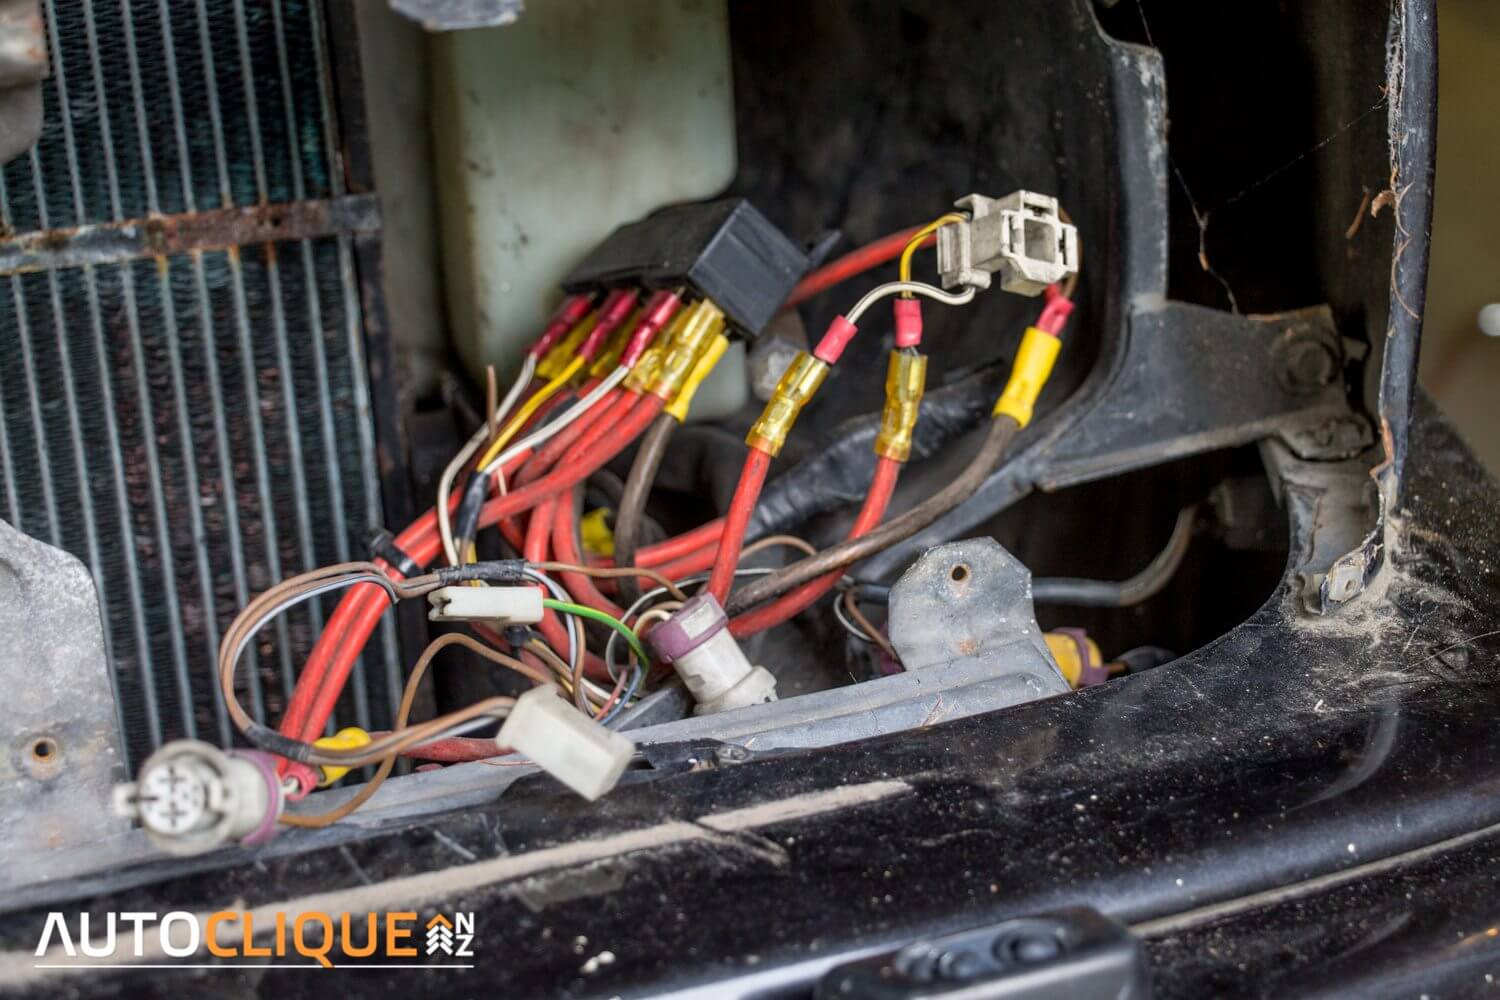
The more trim I removed, the more interesting the wiring was looking. Someone has rewired the headlights with thicker cables. I’m told that this is fairly common as the standard ones can end up only delivering about 9v to the lights.
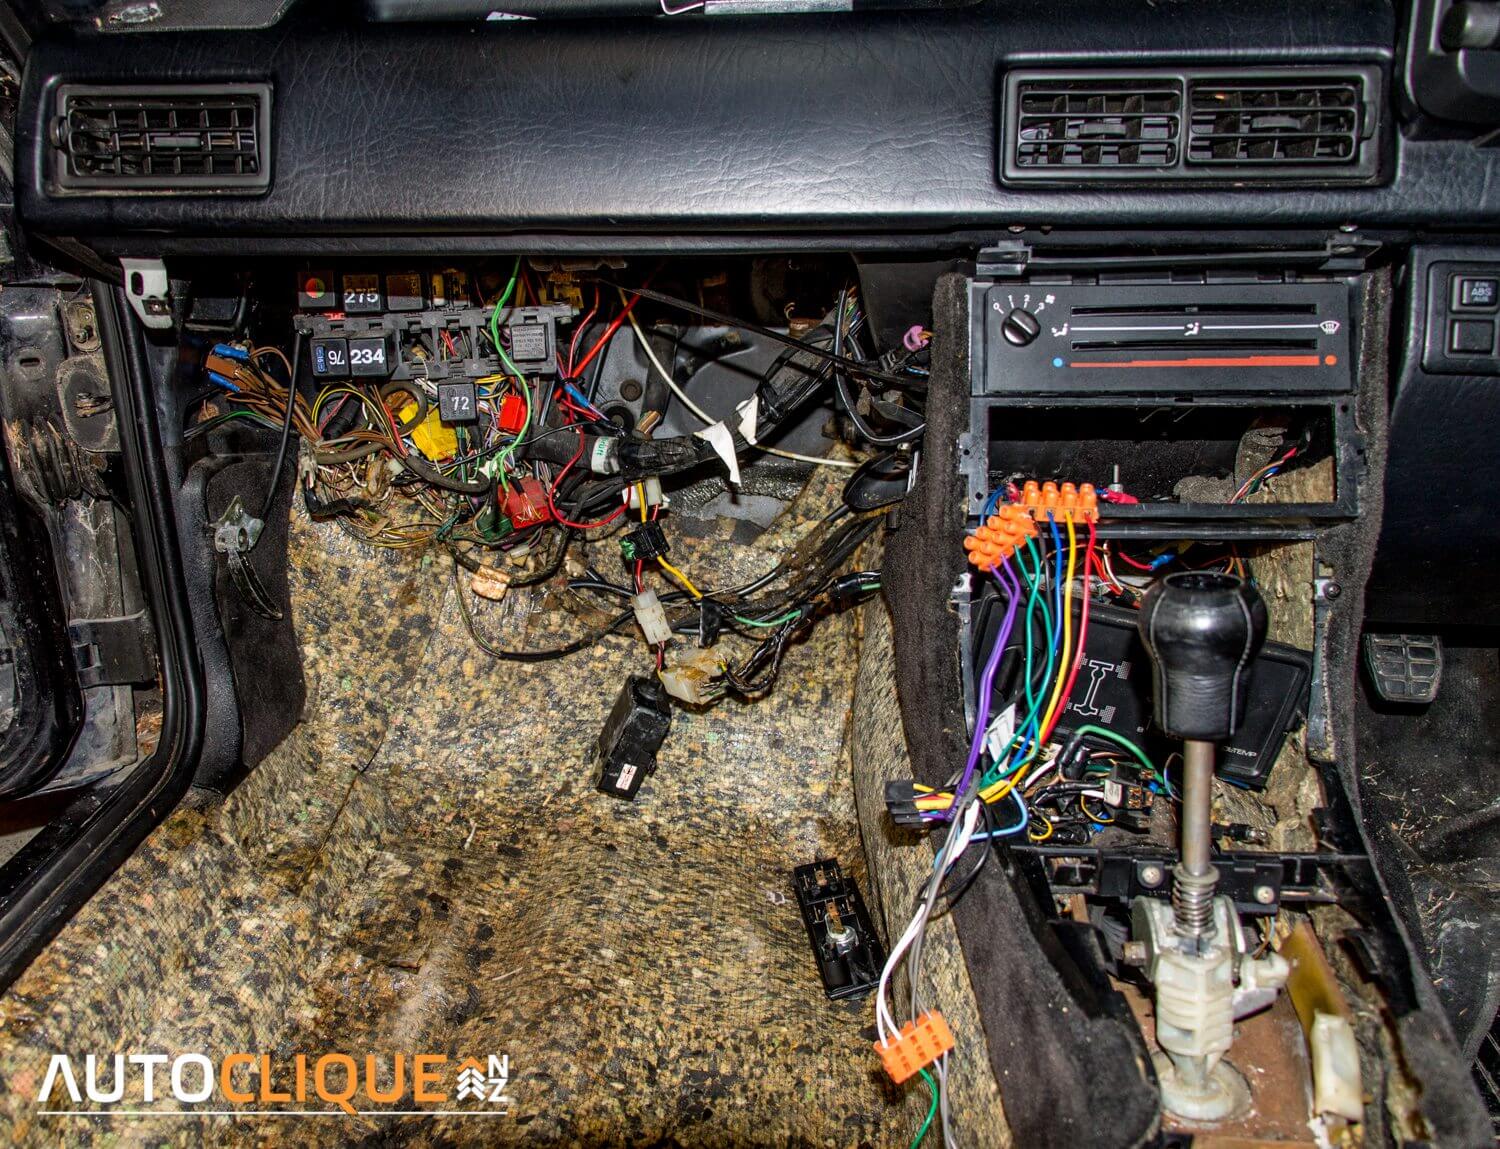
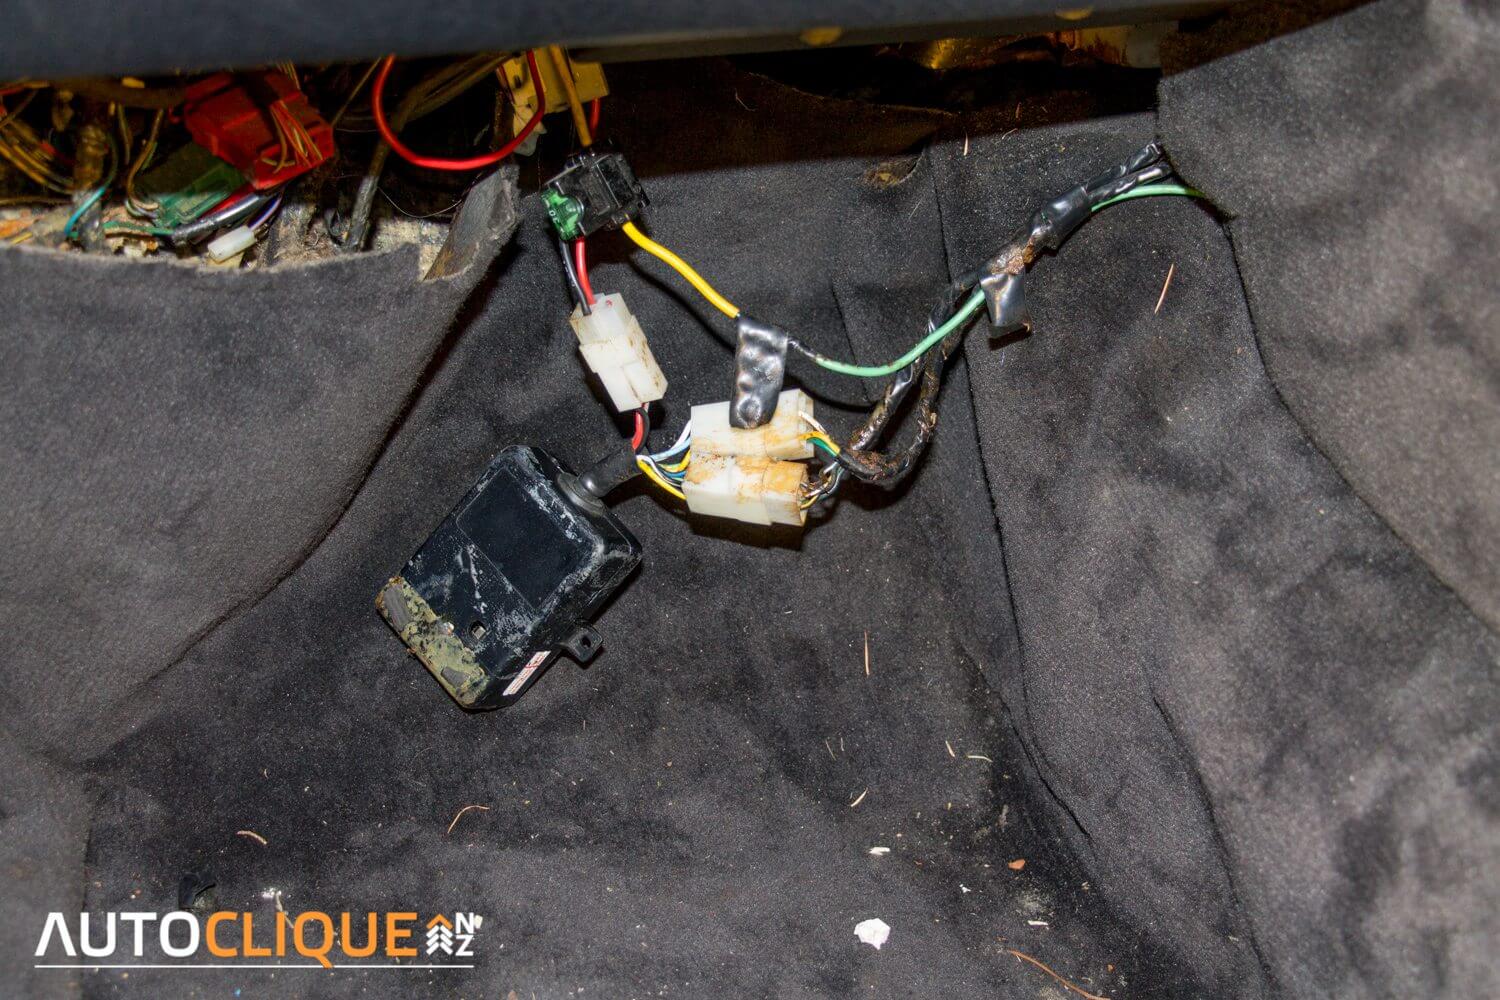
Then there’s this spaghetti! This scares me but I’m looking forward to getting it sorted out!
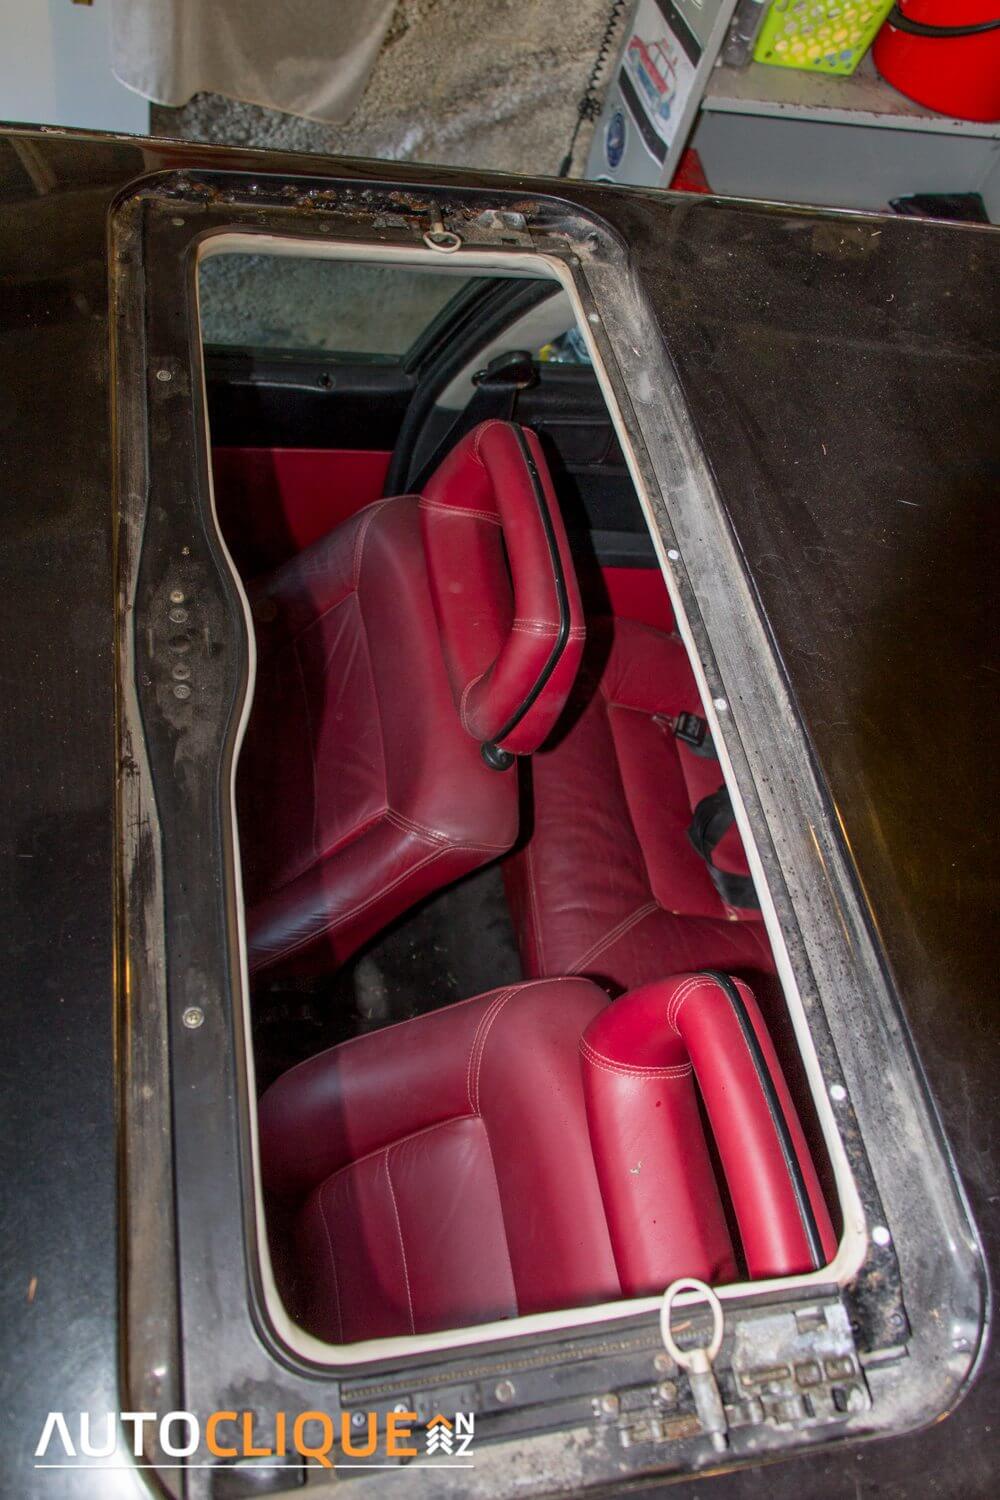
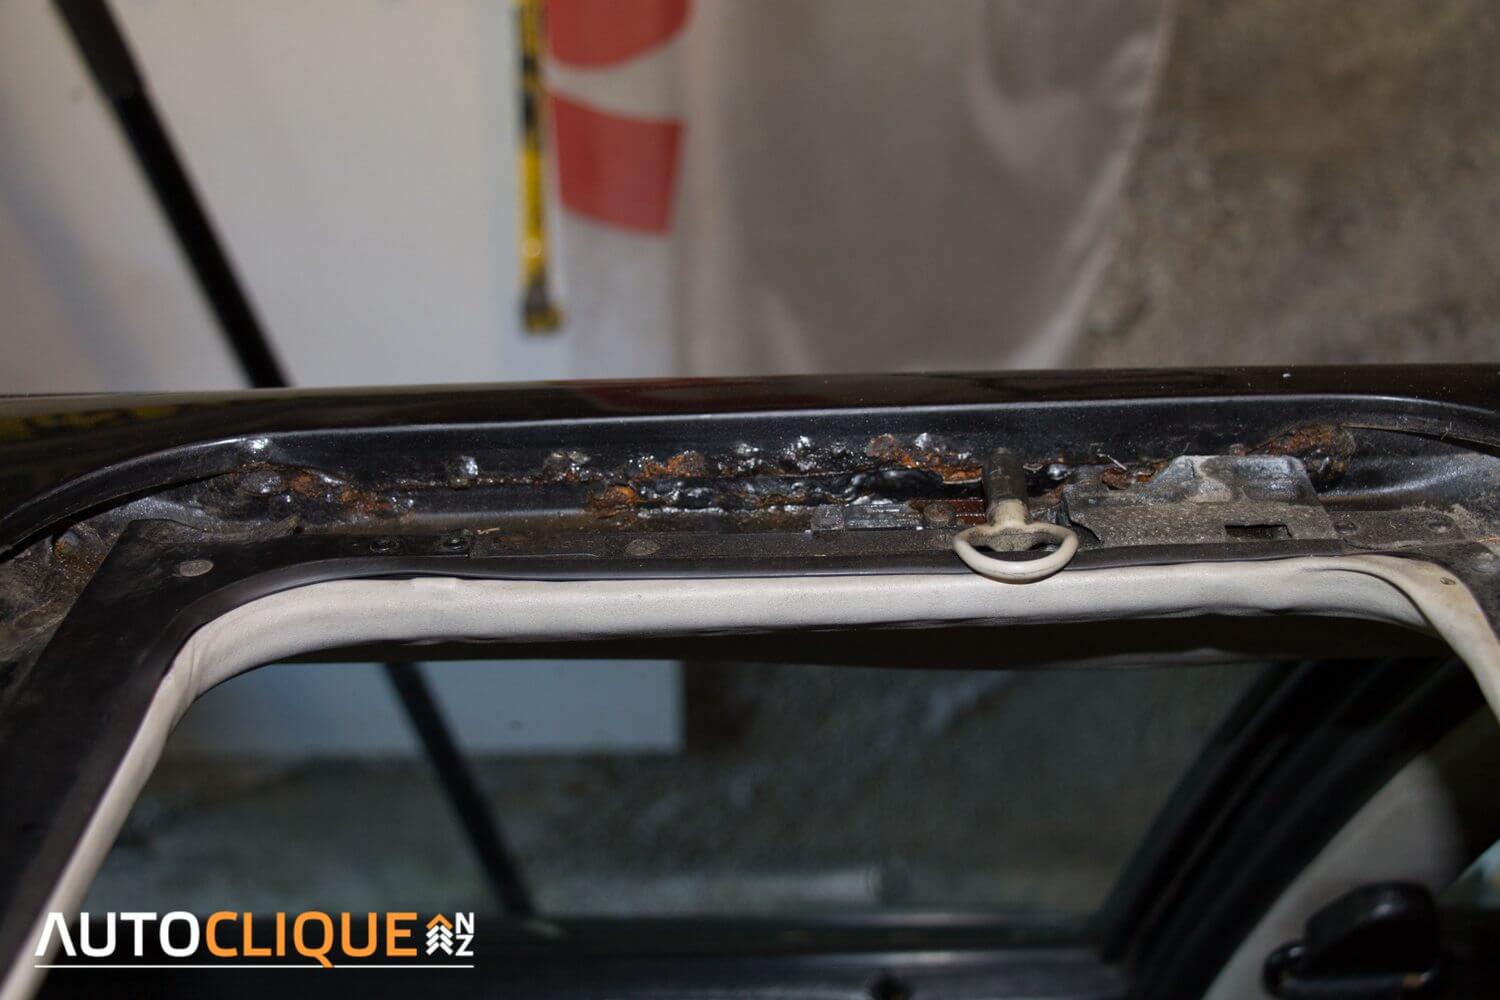
Finally, for now, I turned to the sun roof. It was jammed shut and I was worried that it was broken or seized, but a bit of patience and a lot of wiggling and it came out, and now the mechanism works well. It needs a new seal, which is an expensive item these days, but at least they are available.
Overall I’m feeling quite reassured by what I’ve seen so far. The rust could be a lot worse, the car is generally solid, most things work. The electrics are definitely going to be a mission. But it’s coming apart easily and at least some of the faults are easily solvable with some time and effort.
Follow the full Project Rusty build here.
My build thread is on our forums here.