
I don’t feel like I’ve got a lot done over the last month, but there are a few things. Rusty had to be moved out of the garage for a day for our new underfloor insulation to go in. I had installed the spare driver’s seat that I had from the donor car but one of the cats had decided to pee on it when it was sitting in the garage! So I pulled out the proper leather seat and decided to clean it up and install it. This was also a good opportunity to get the seatbelt attached to the seat.
As you can see it was pretty filthy!

I had both the Carpro Inside and Leather Cleaner and Chemical Guys Leather Cleaner so I decided to do an unscientific test to see which one worked best on my seat. I used the Chemical Guys scrubbing brush to work each one into the leather before cleaning off with a damp microfiber cloth. After two really good scrubs, this was the result.
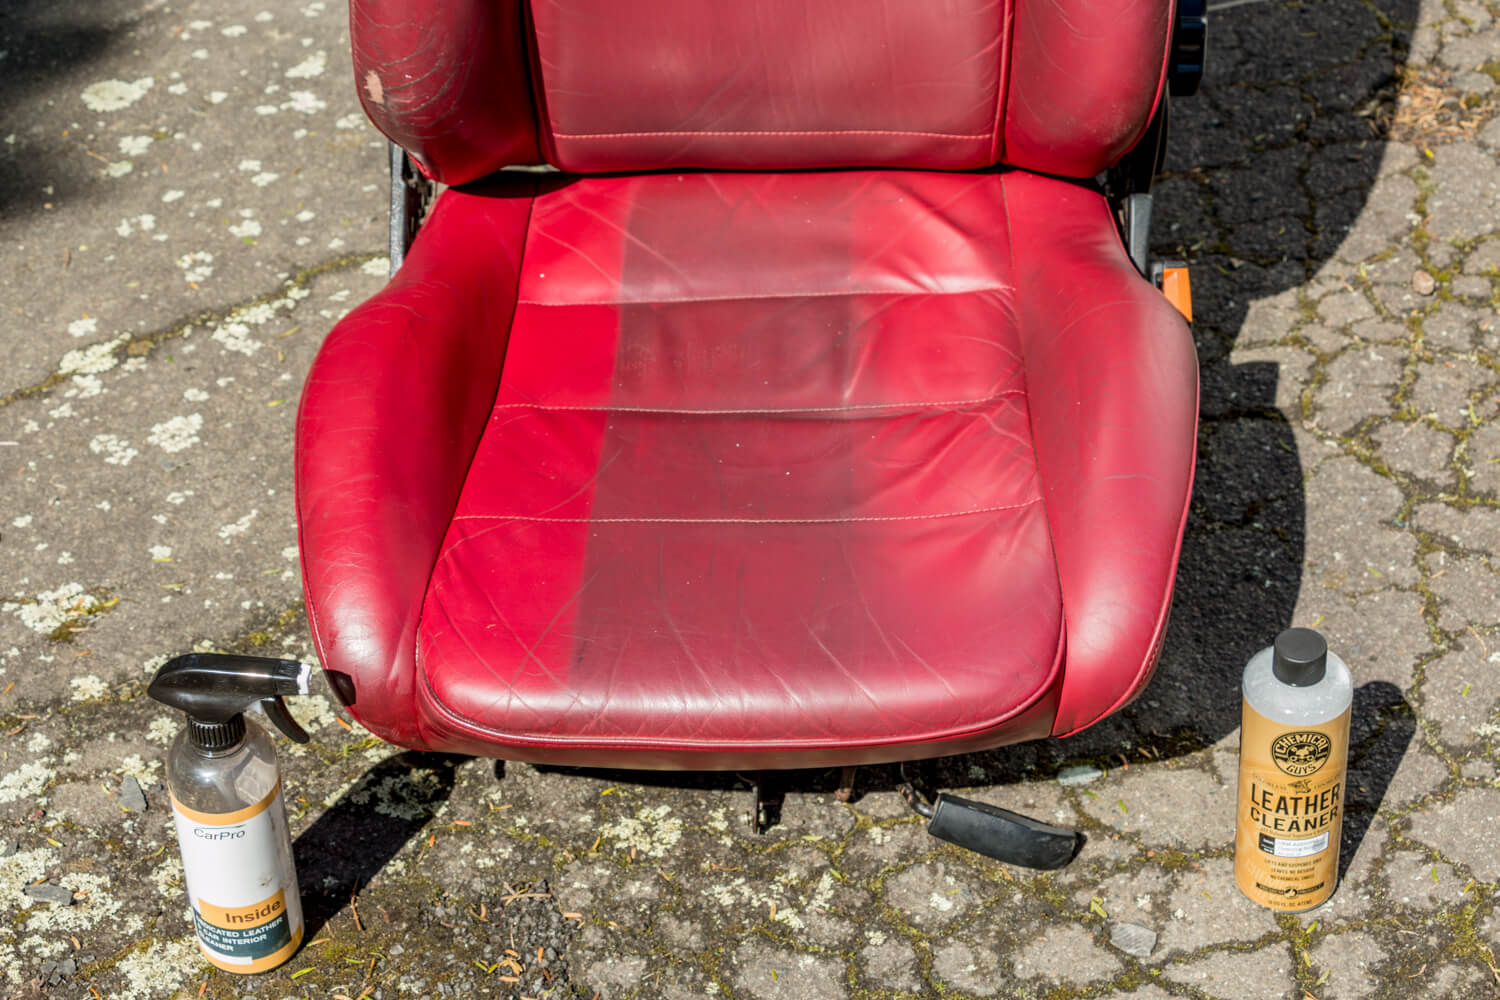
The Chemical Guys cleaner was pretty good but the CarPro product worked best in this instance.
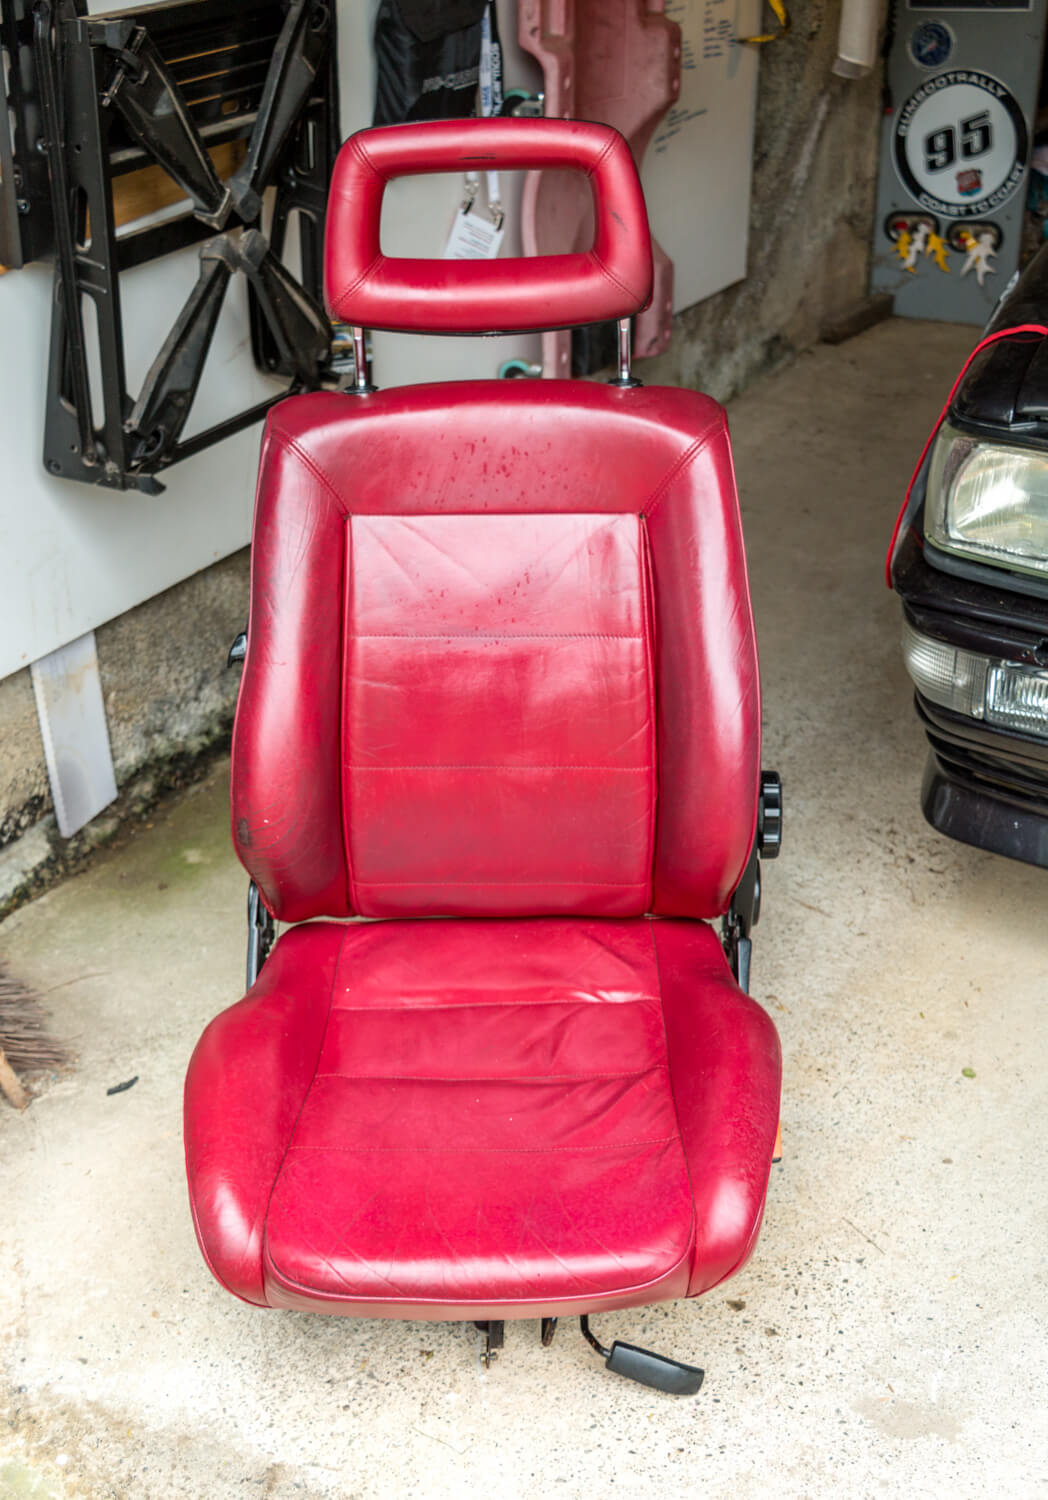
After a lot more scrubbing the seat wasn’t exactly clean but it looked a heck of a lot better!
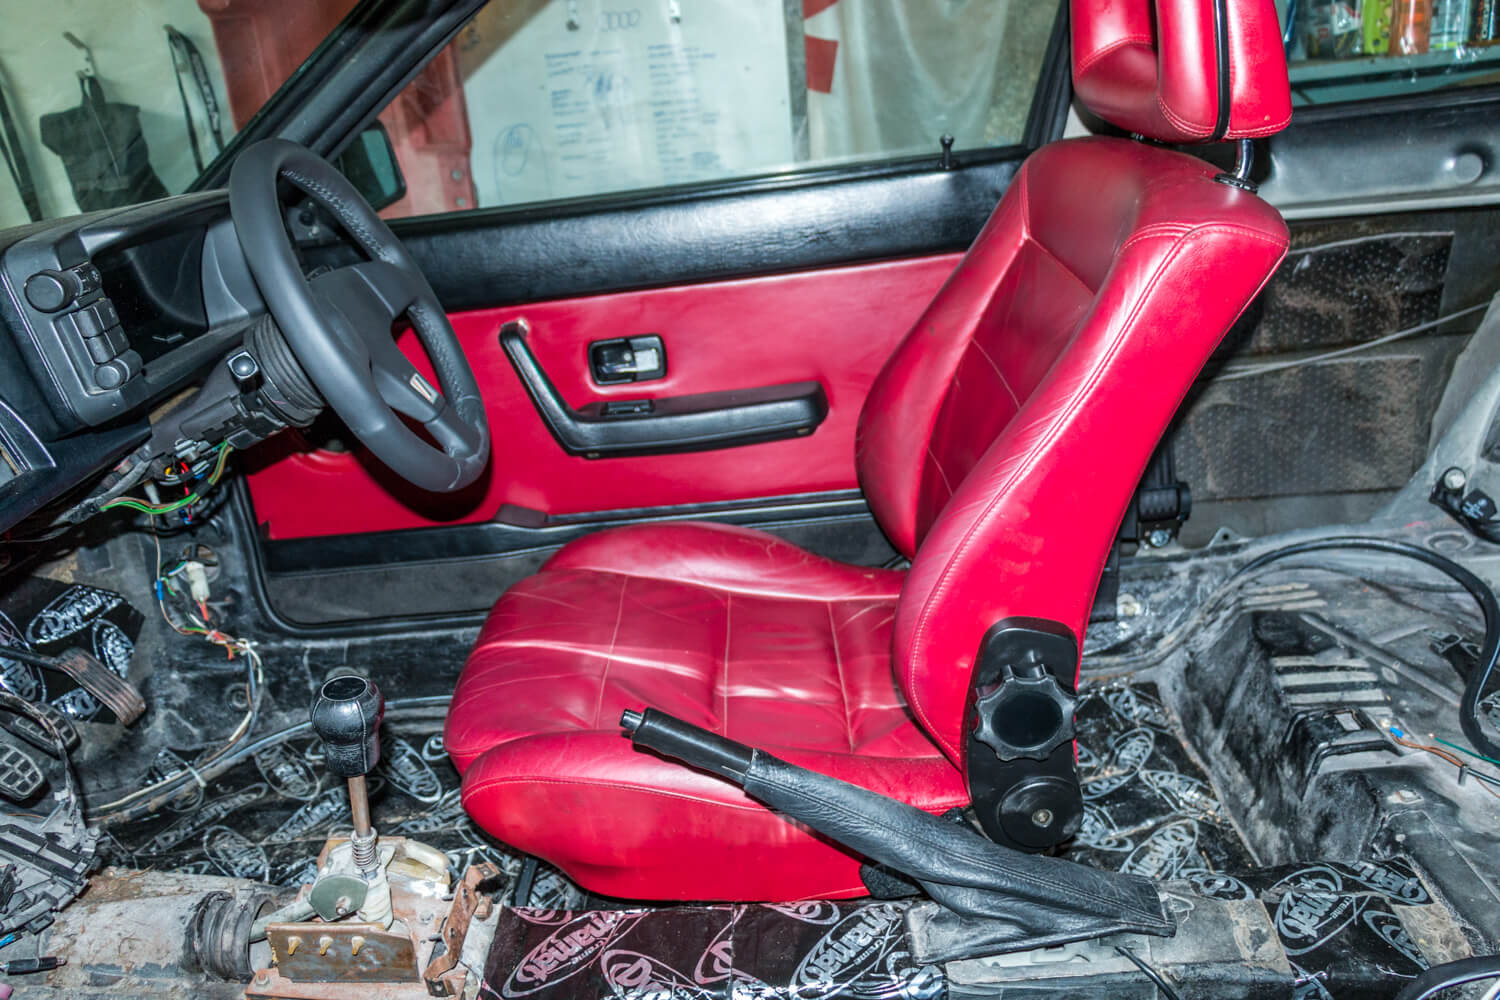
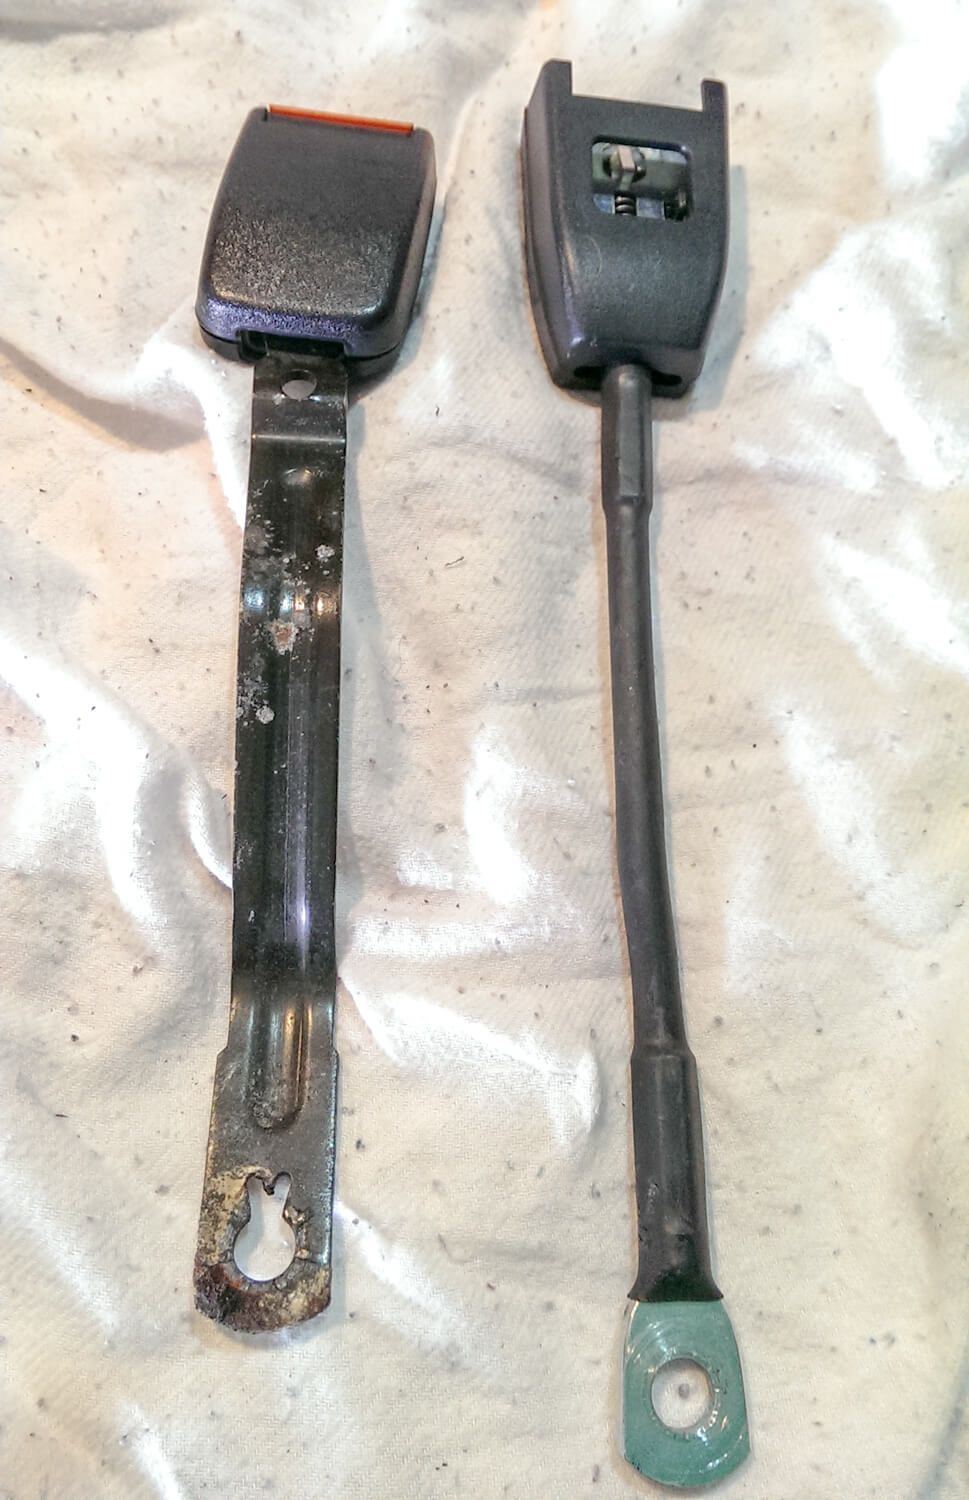
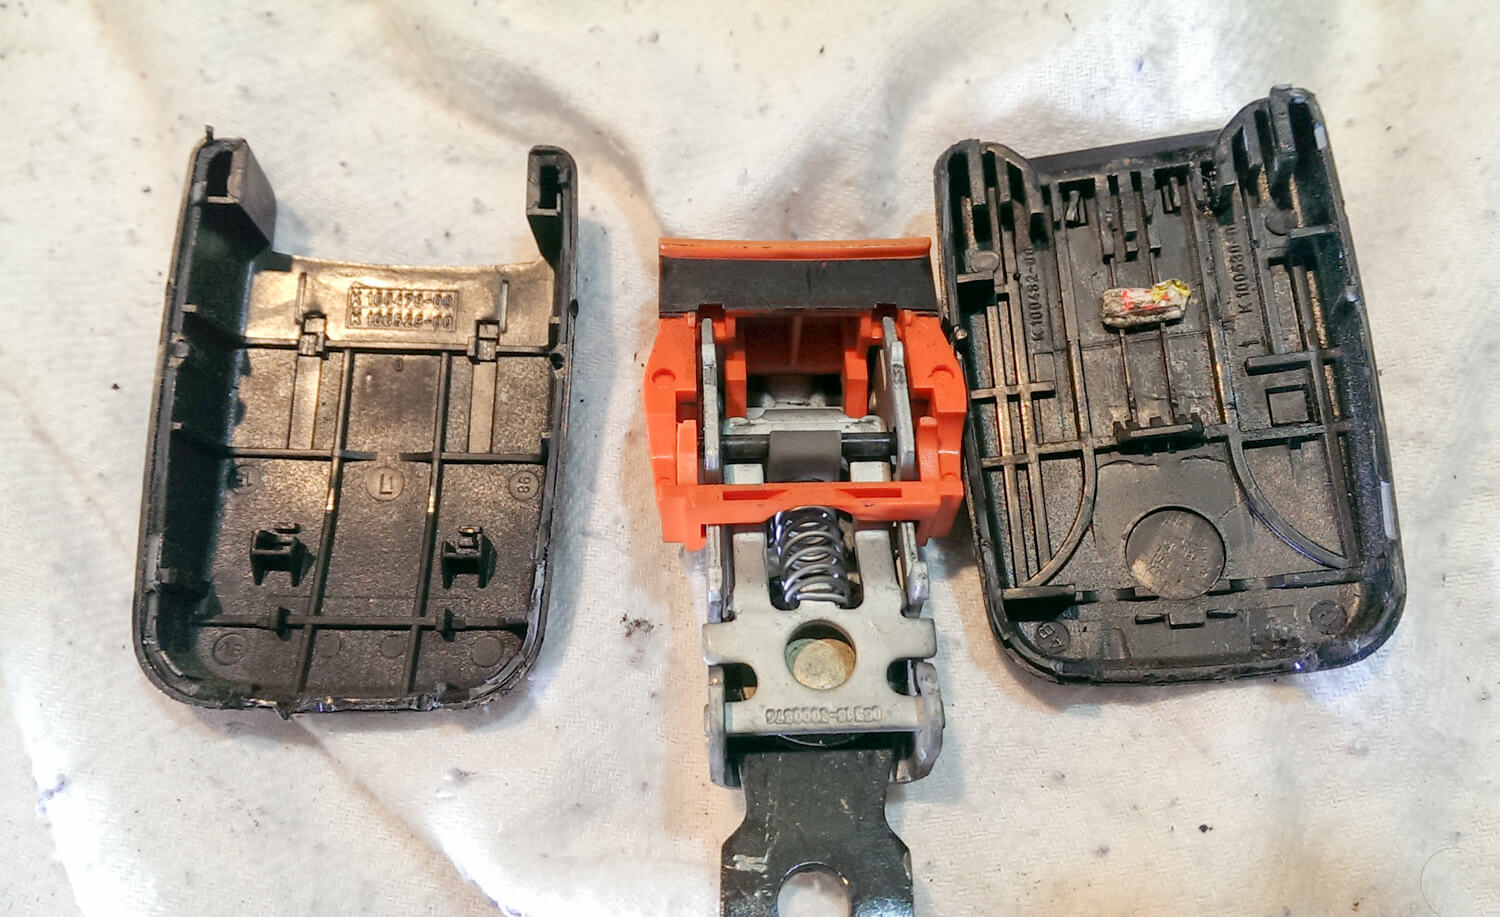
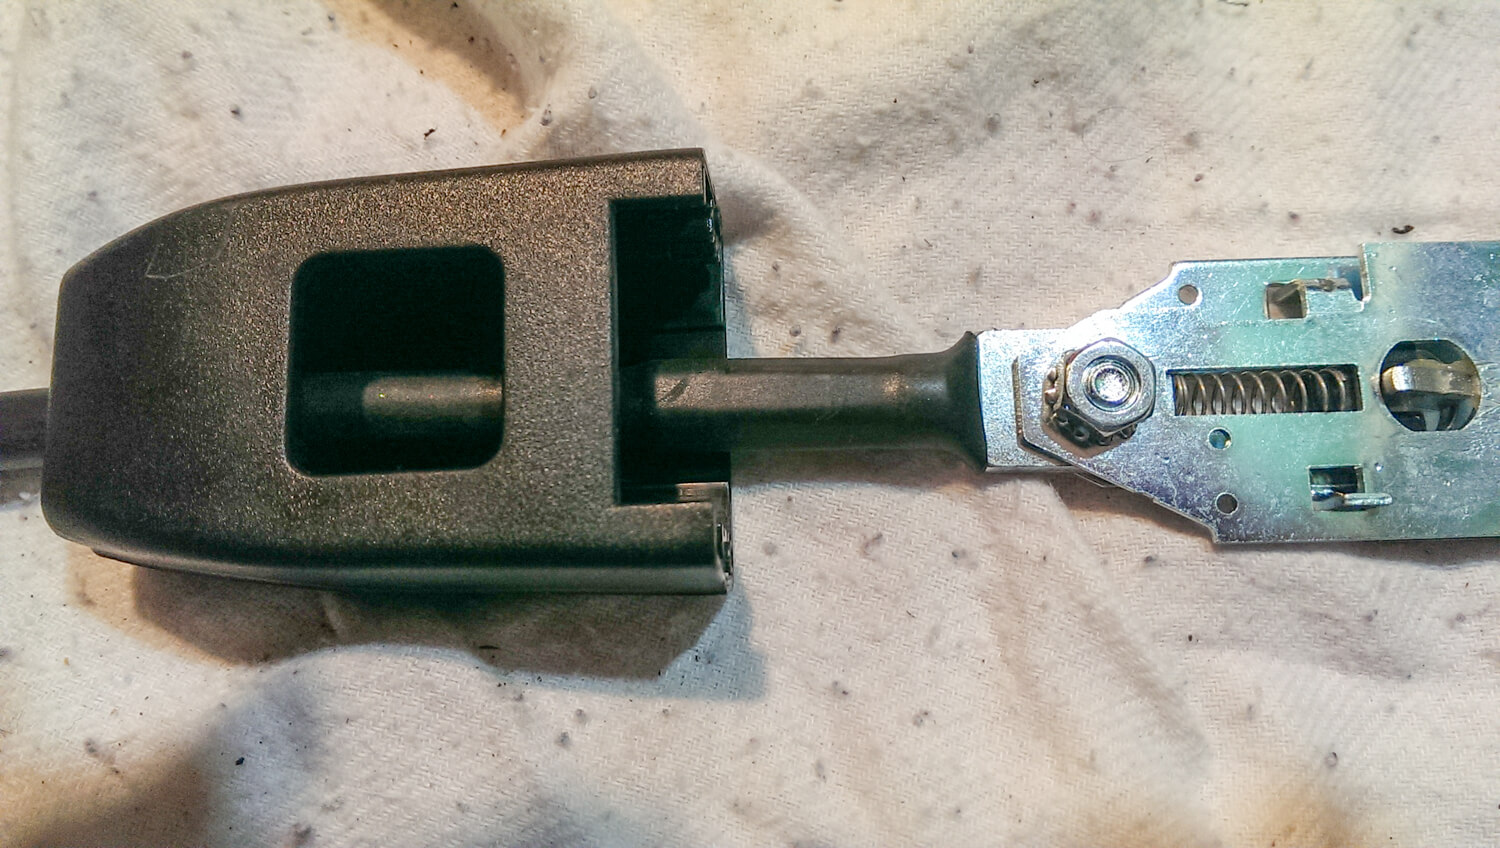
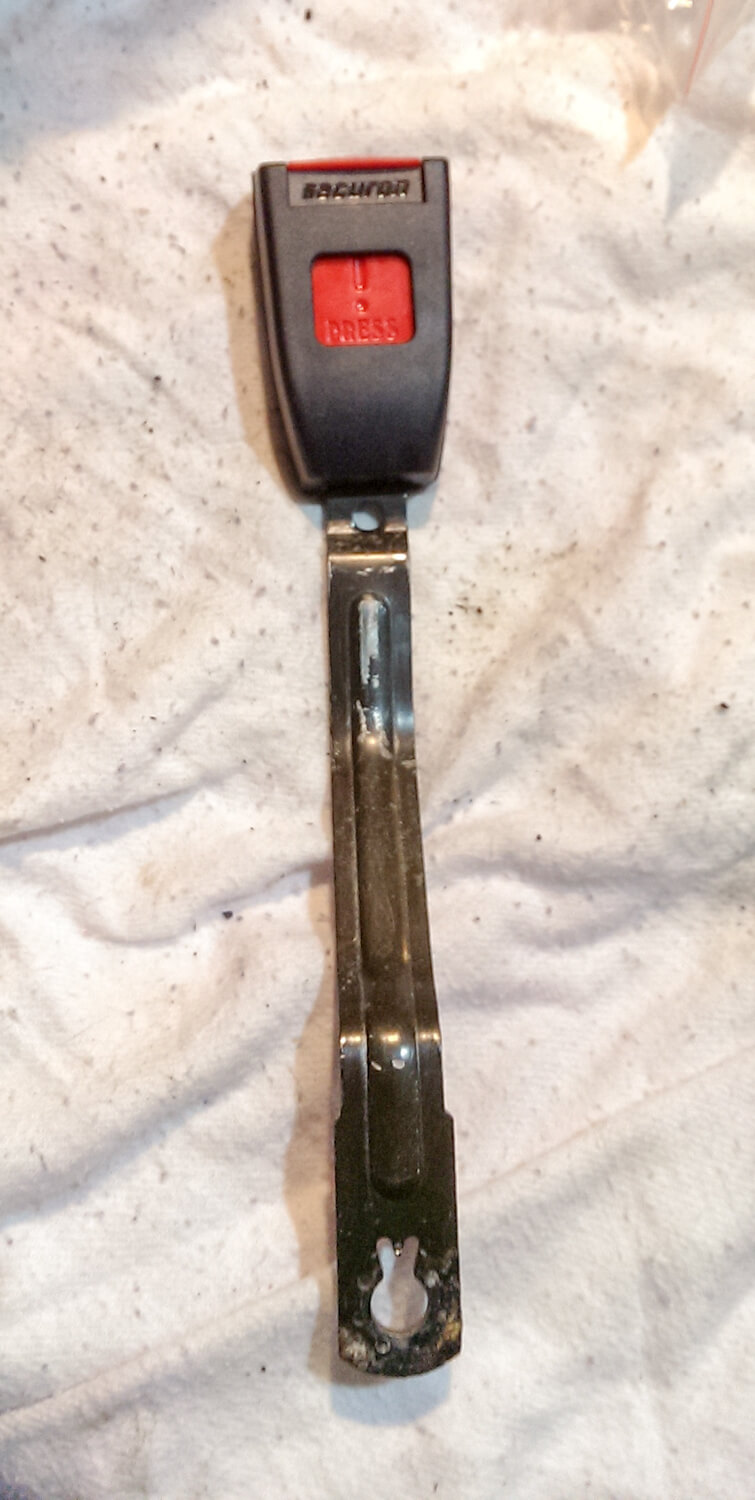
I fitted the seatbelt buckle to the seat, slid the seat forward and realised I had a problem. It didn’t fit!
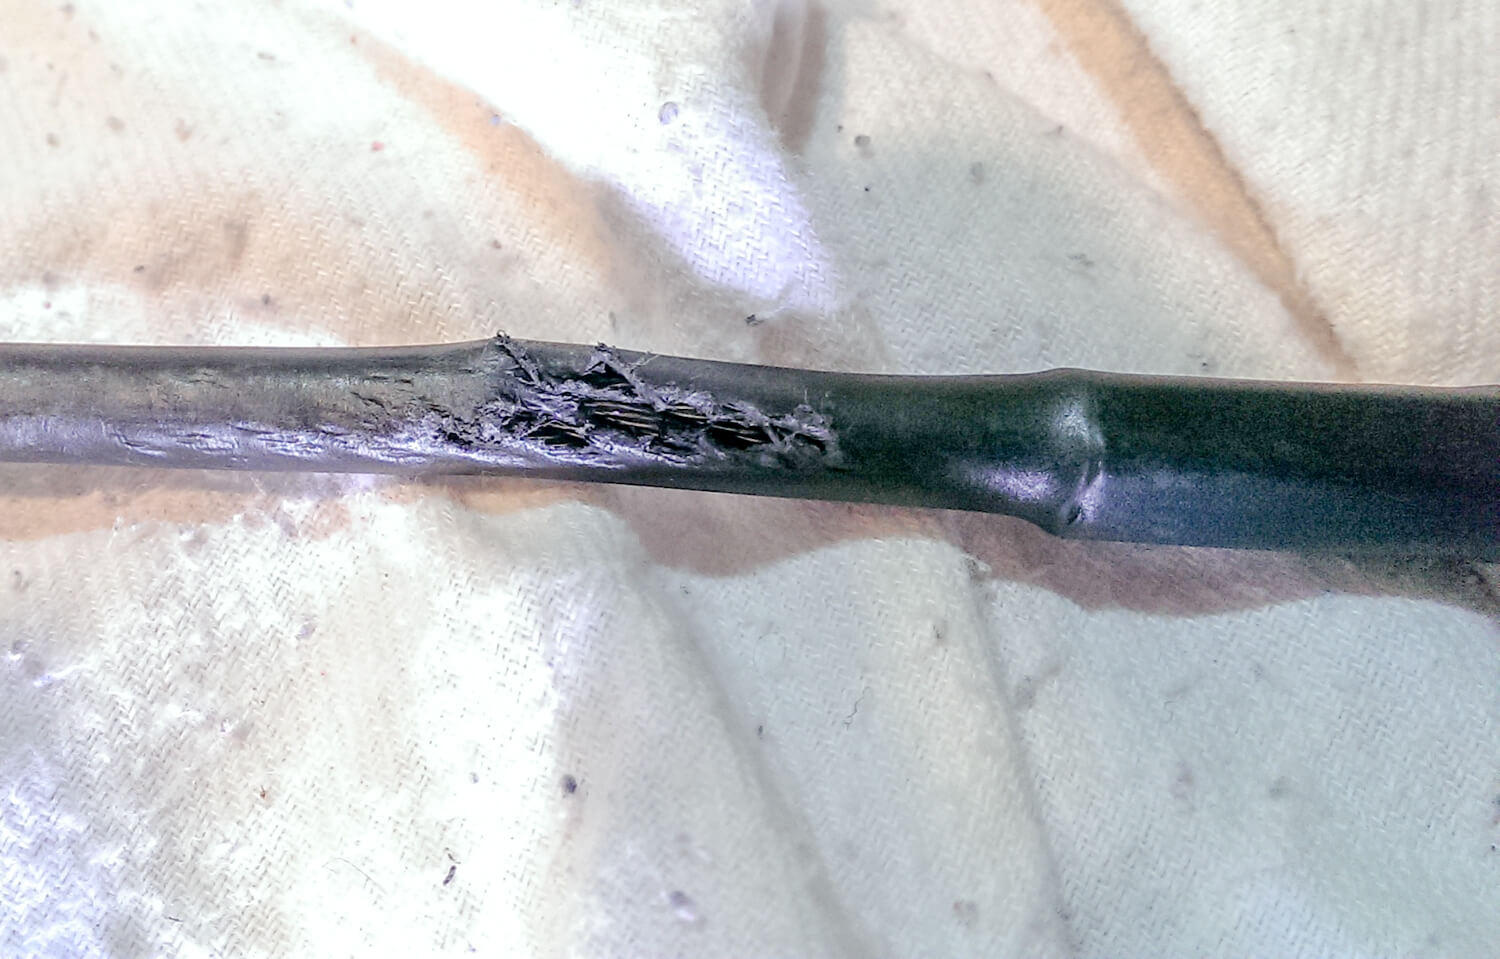
So the next job was to take it, and the old one apart and make a single one that worked properly and would fasten safely.
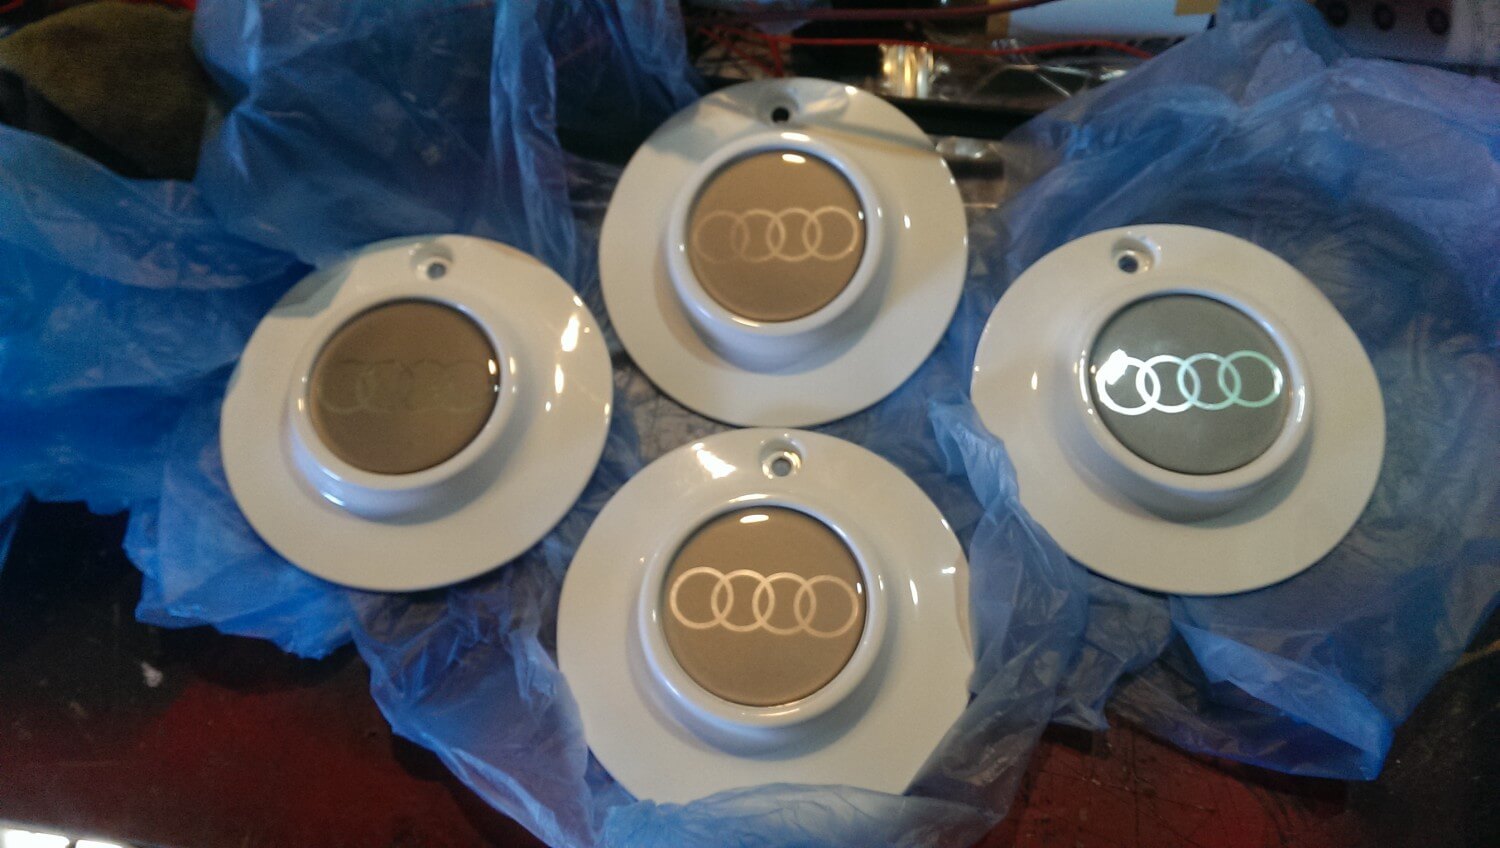
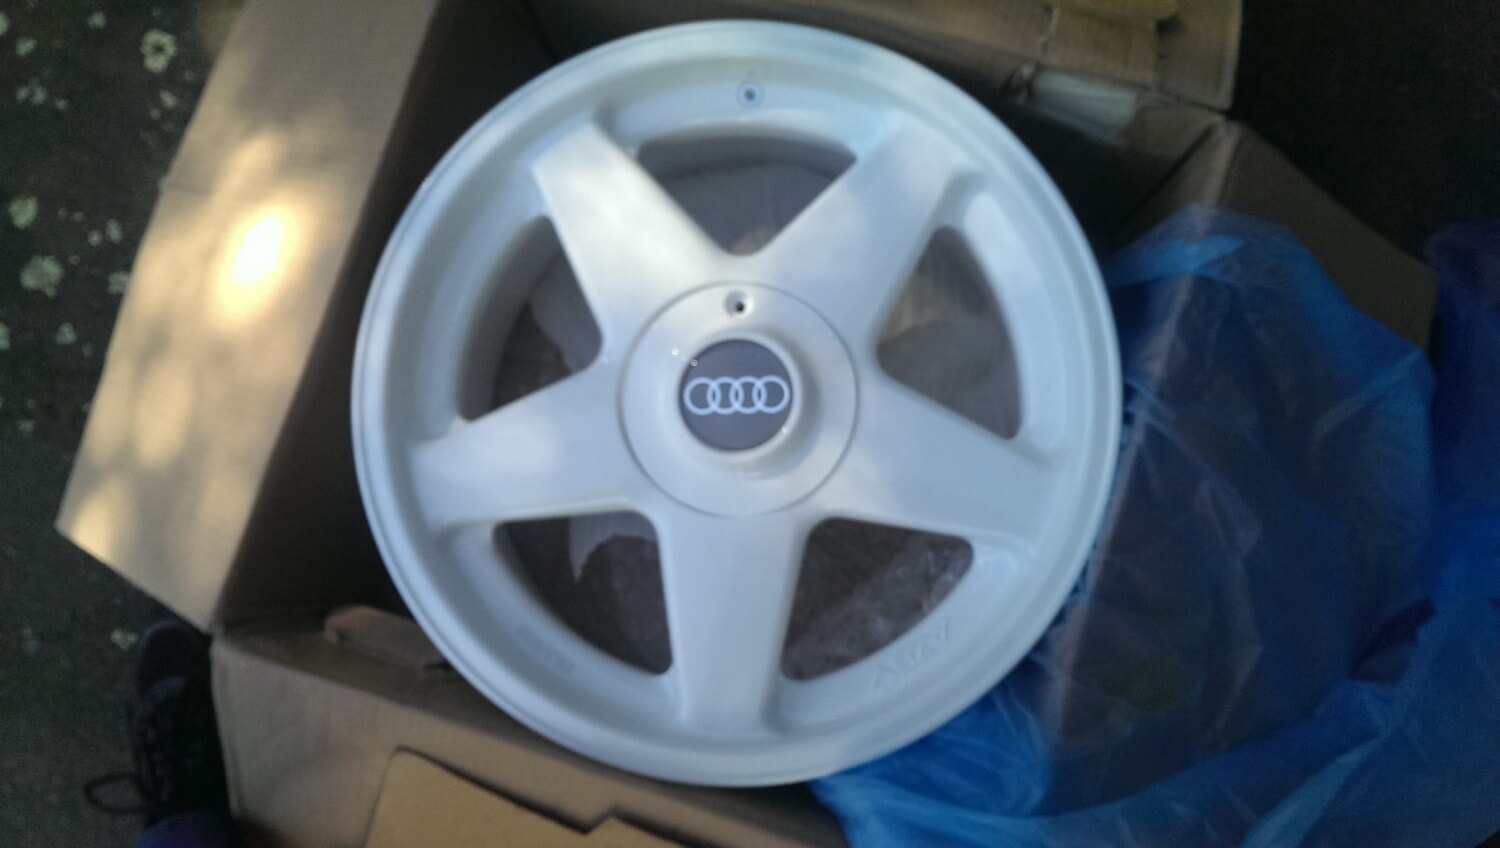
I got some wheel centres (from Ebay). I’m having a bit of trouble sourcing tyres in the correct size but I have some on order now. Just have to wait for them to come in.

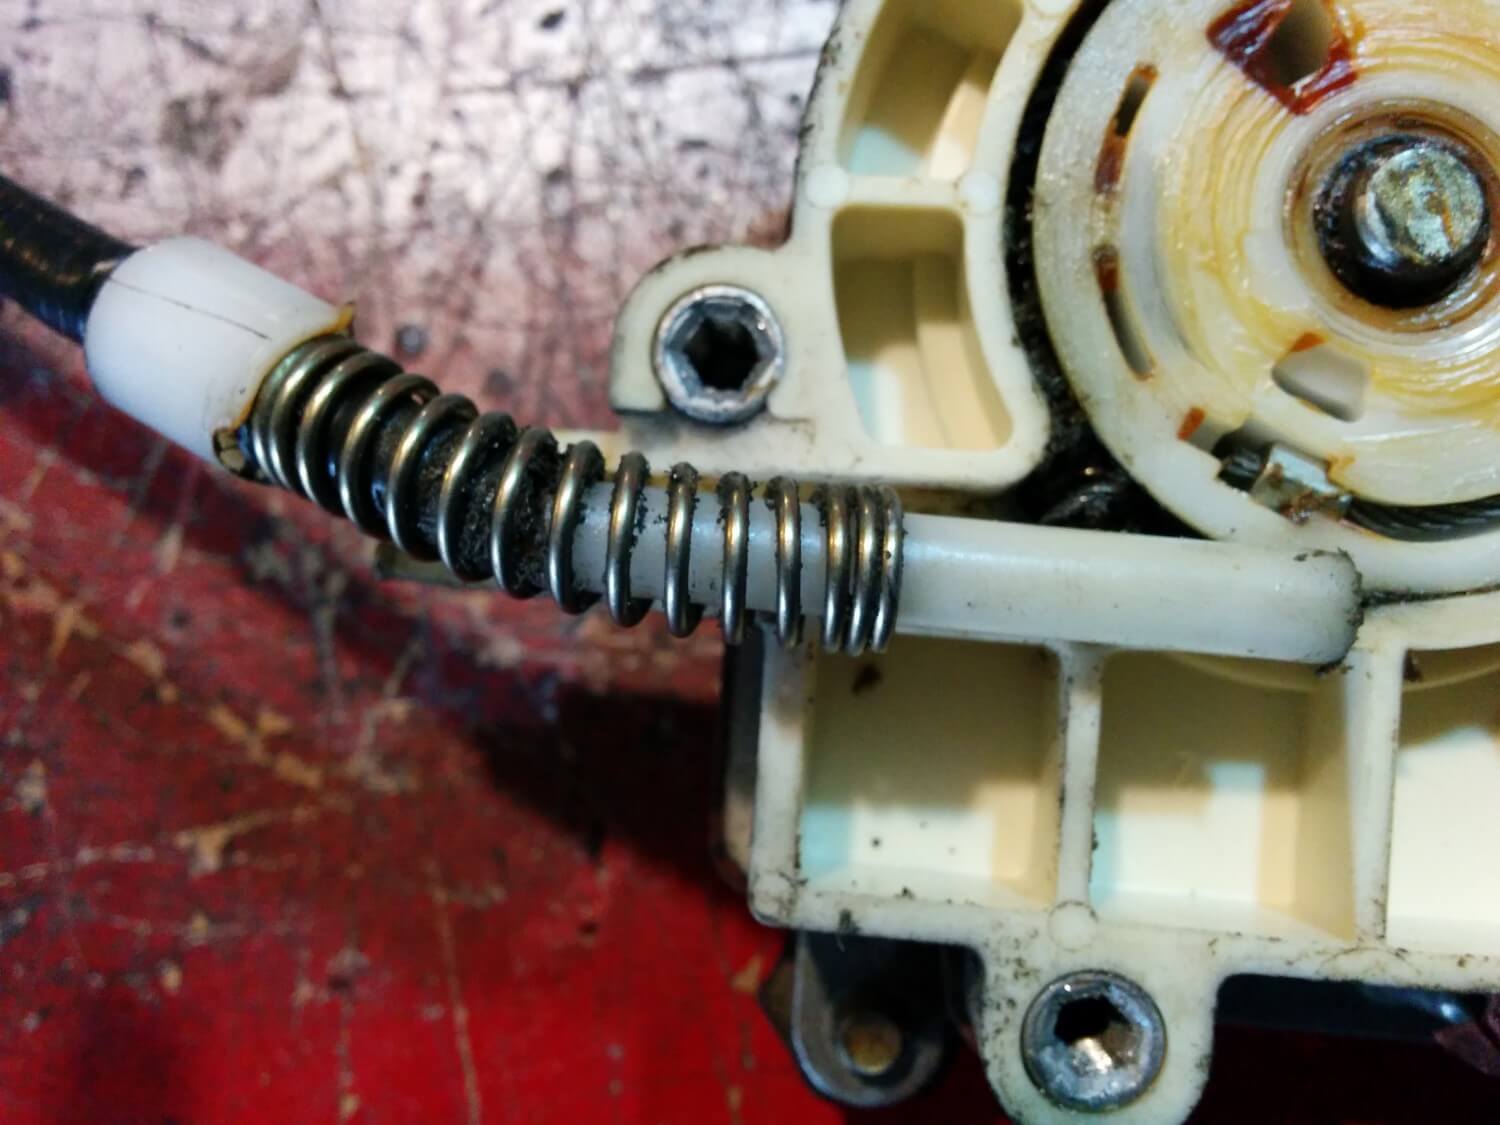
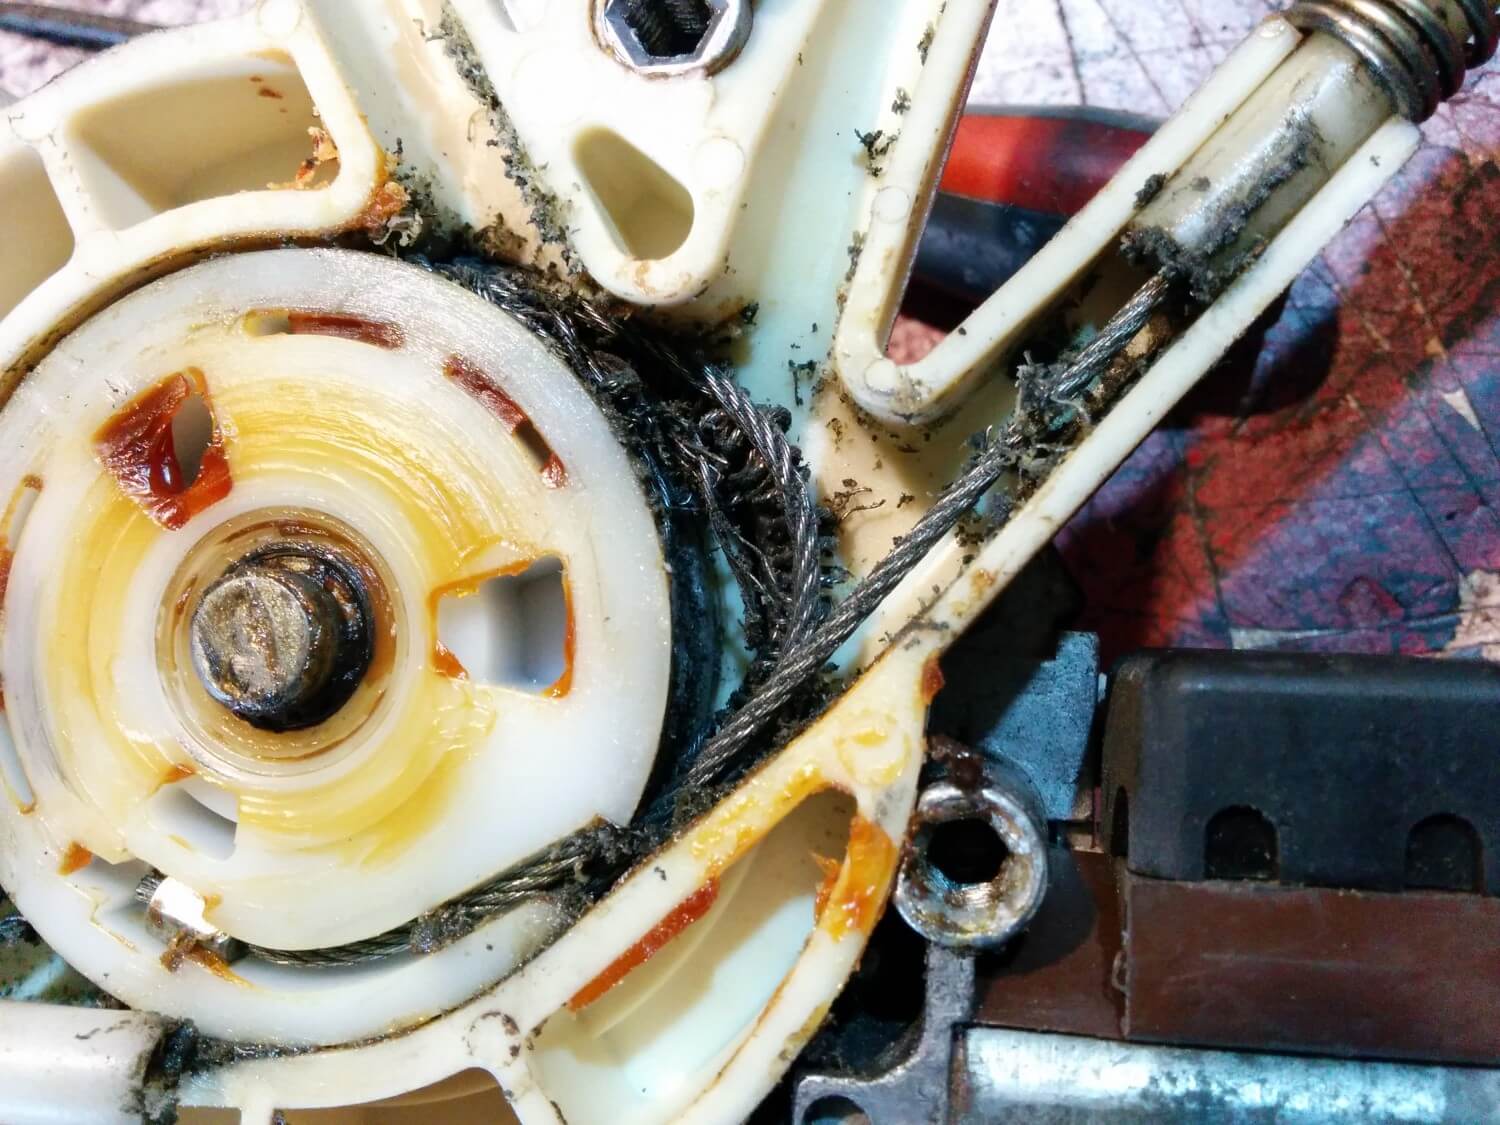
I was having a few problems getting the passenger side window to close, so I pulled the window and regulator back out, and removed the cover from the regulator. Oh dear.
So onto Ebay, and I found this remanufactured part. Worth a shot, it’s on its way to me now.
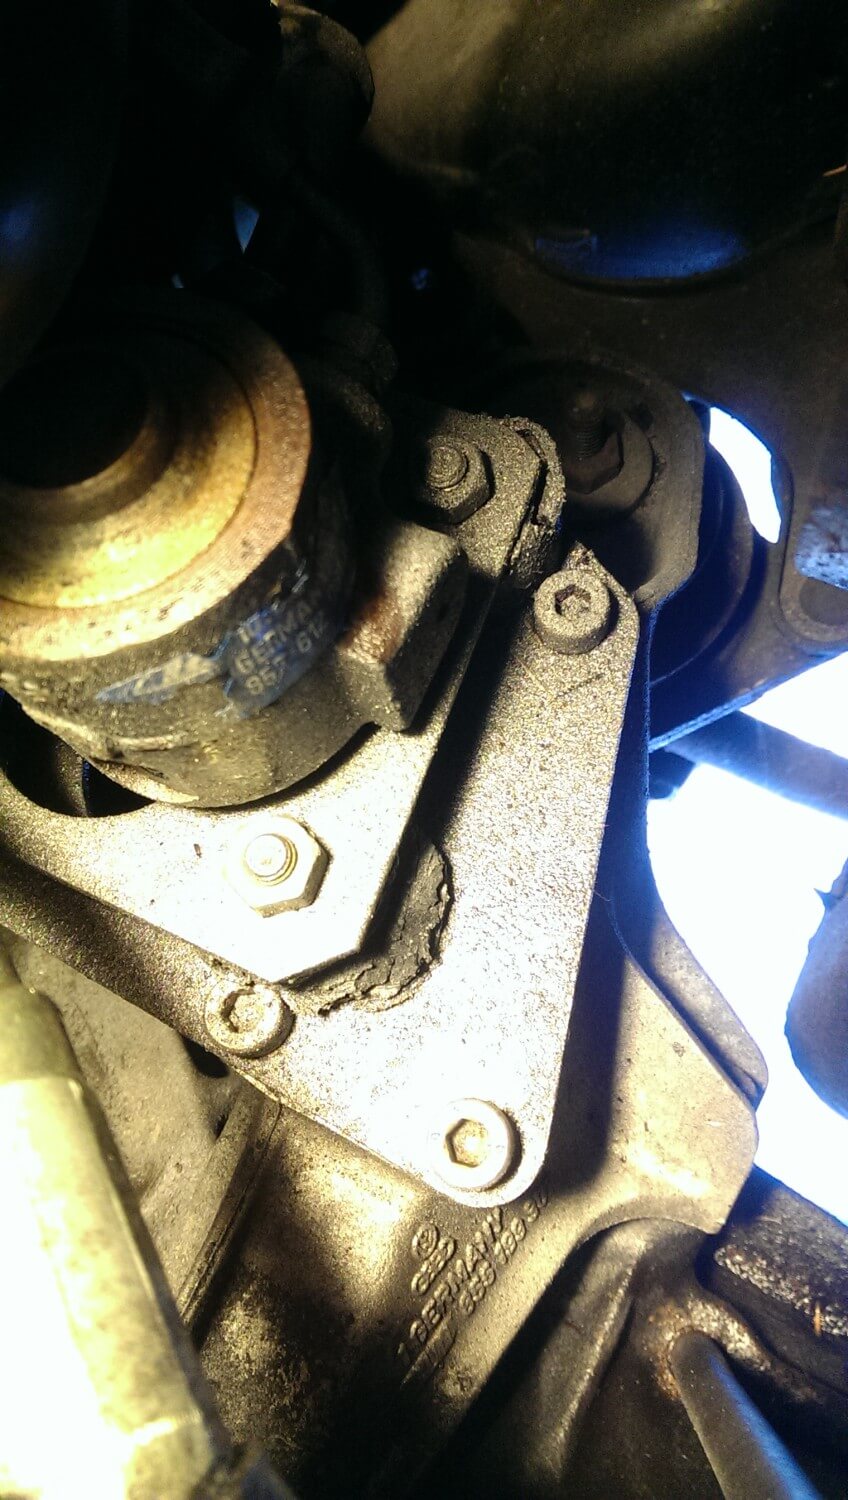
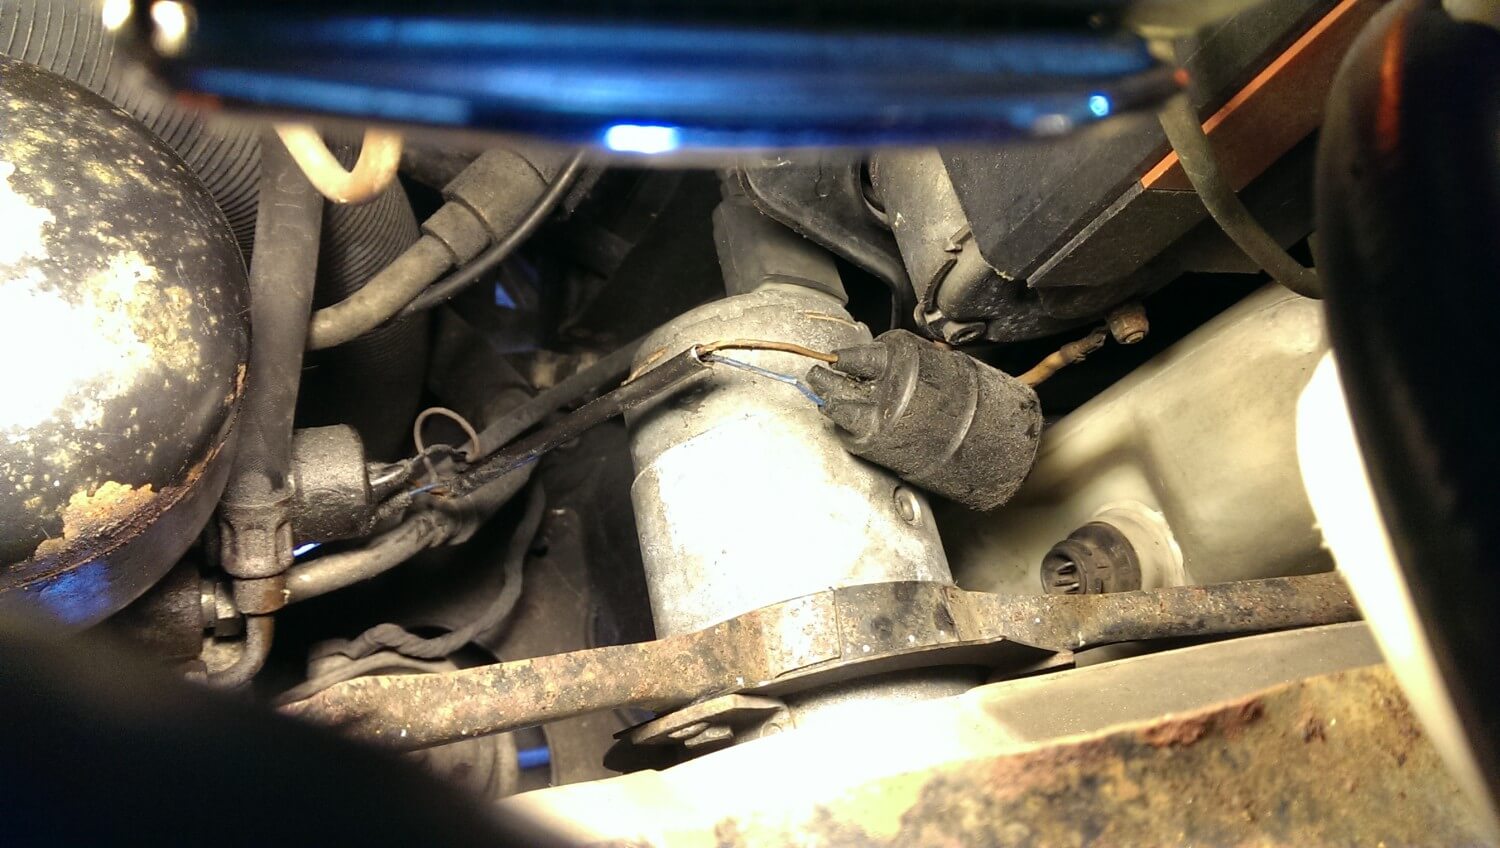
Next I decided to look at the noisy power steering. It makes a horrible, constant buzzing sound. First step was to drain the power steering fluid, then fill up with new. I jacked up the car to get better access, and had a look around the underside. It’s kinda oily and filthy, and all the bushes are shot. Lots to do there!
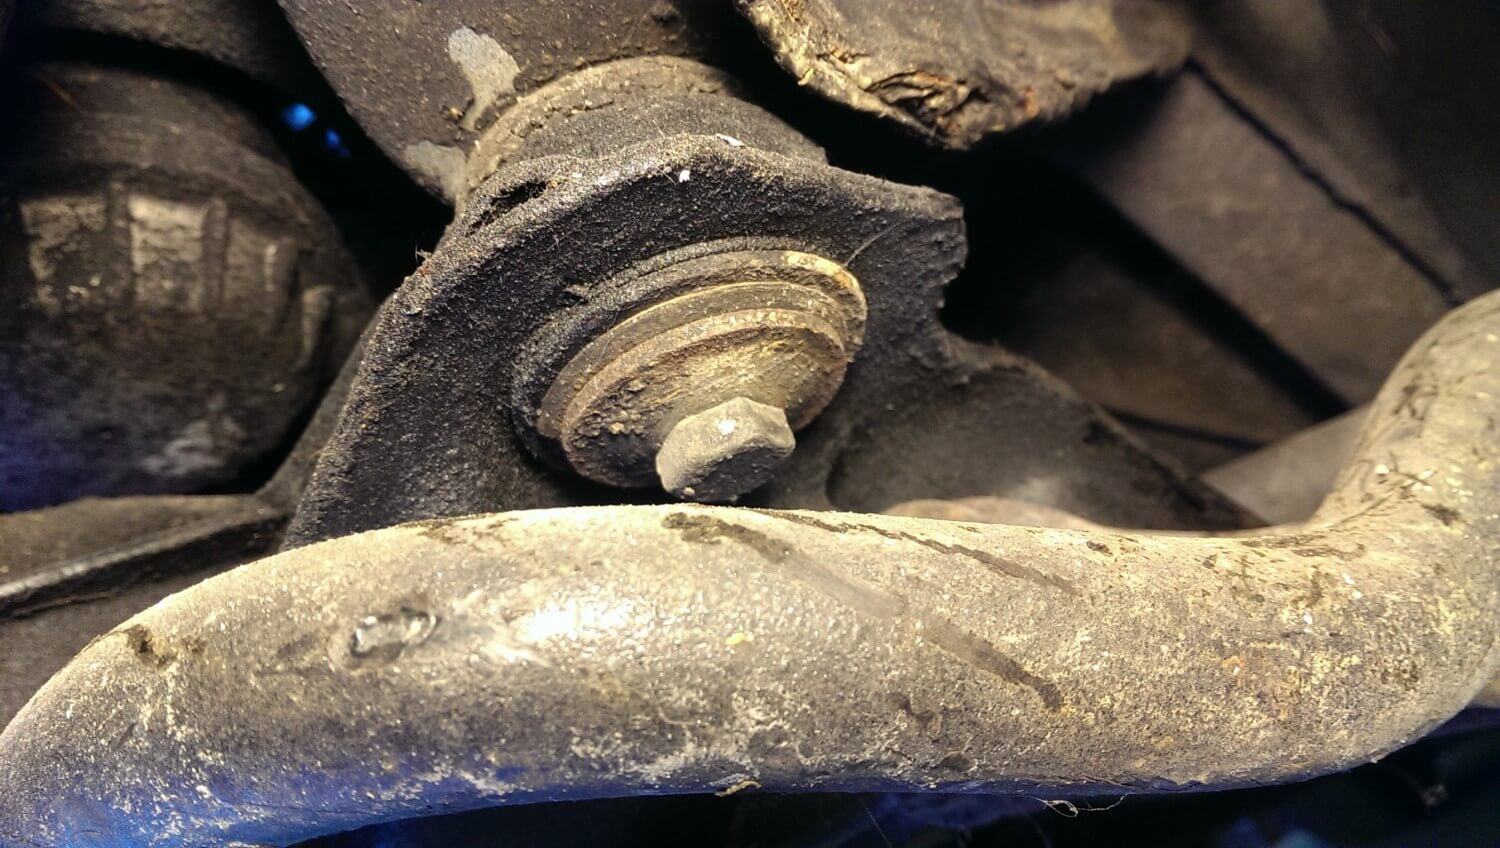
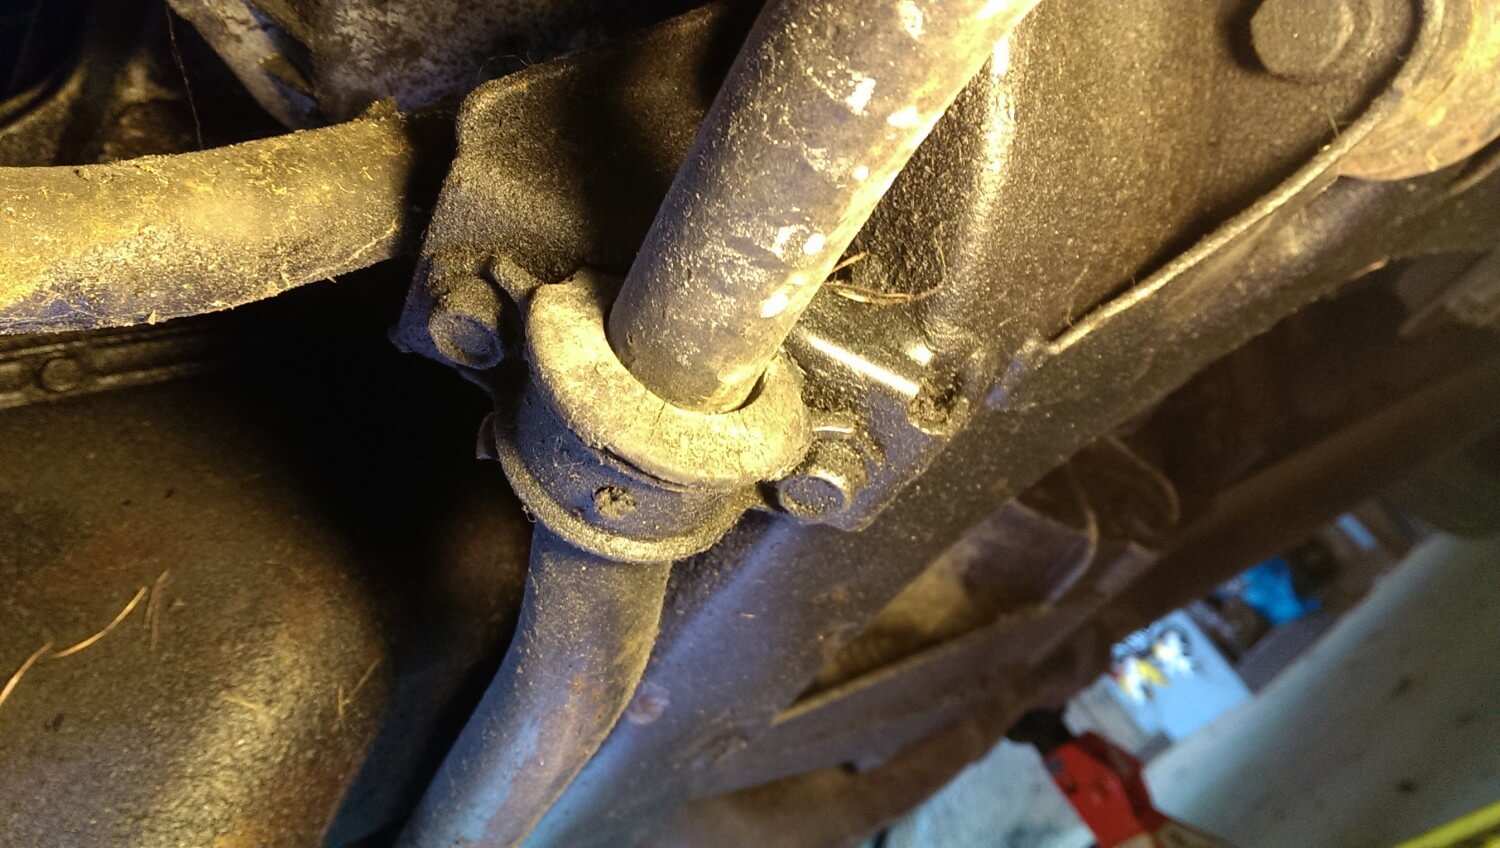
After re-filling the fluid, running the car for a bit, topping up again, I think the issue has gone. Result!
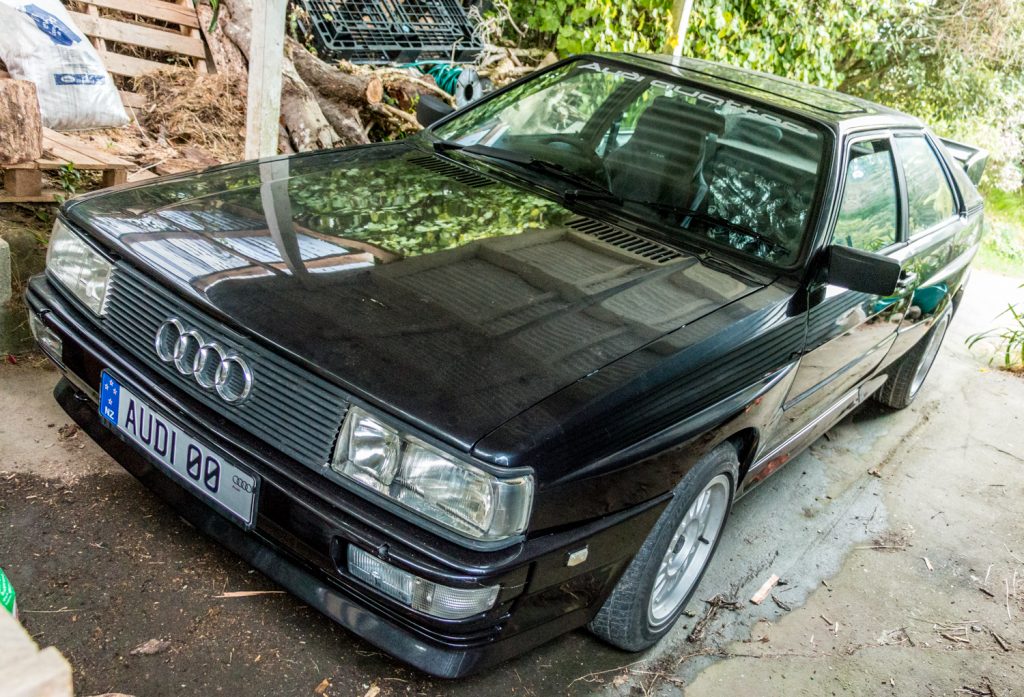
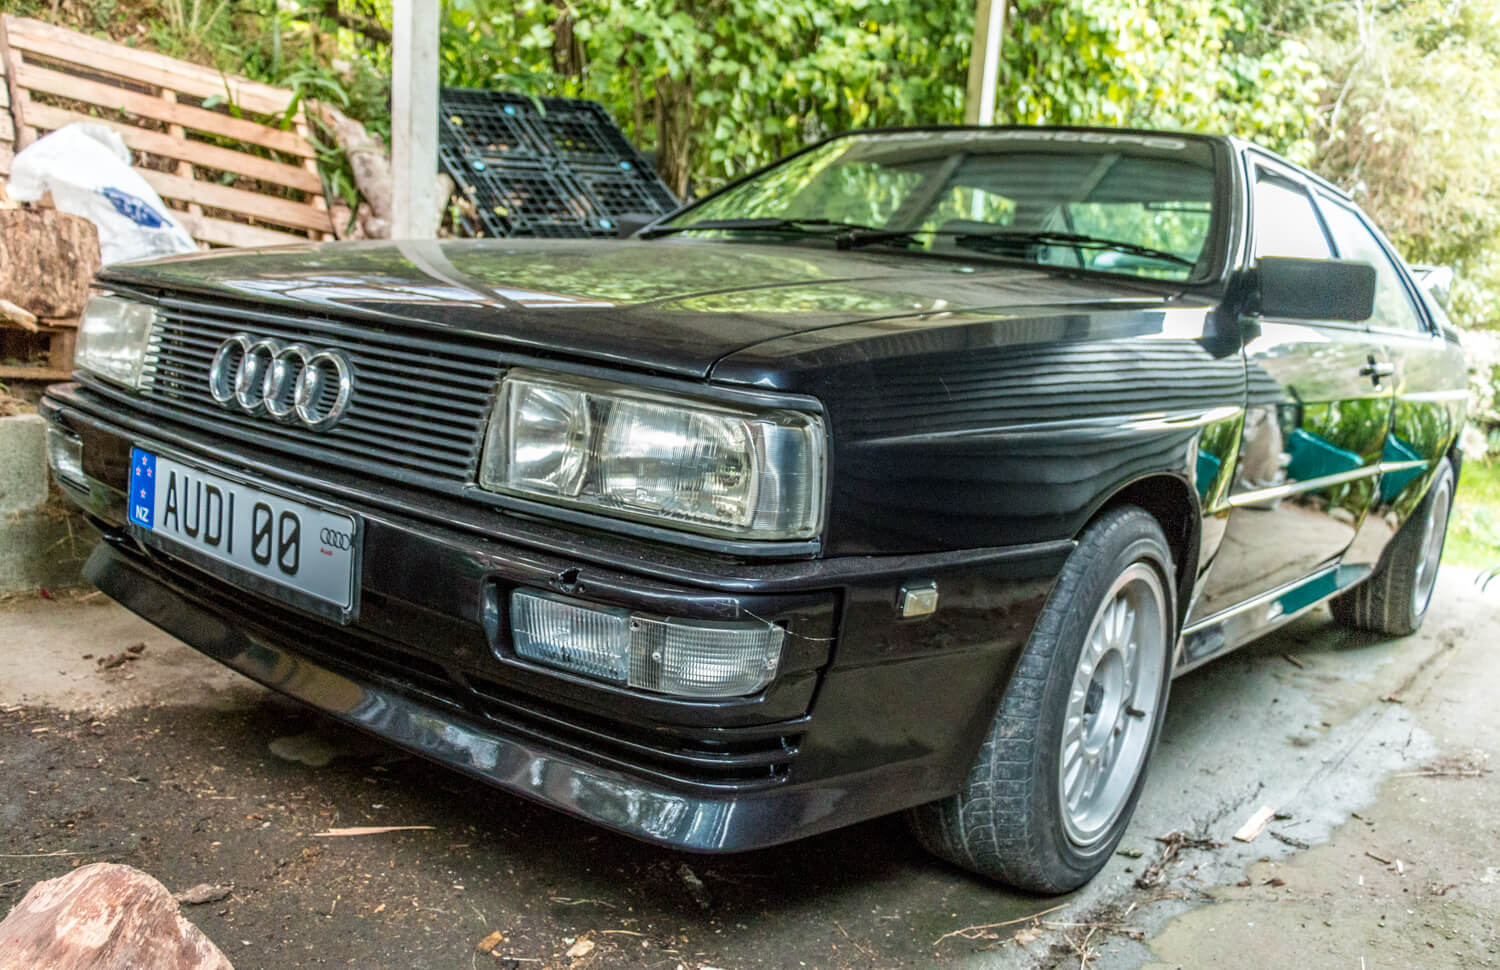
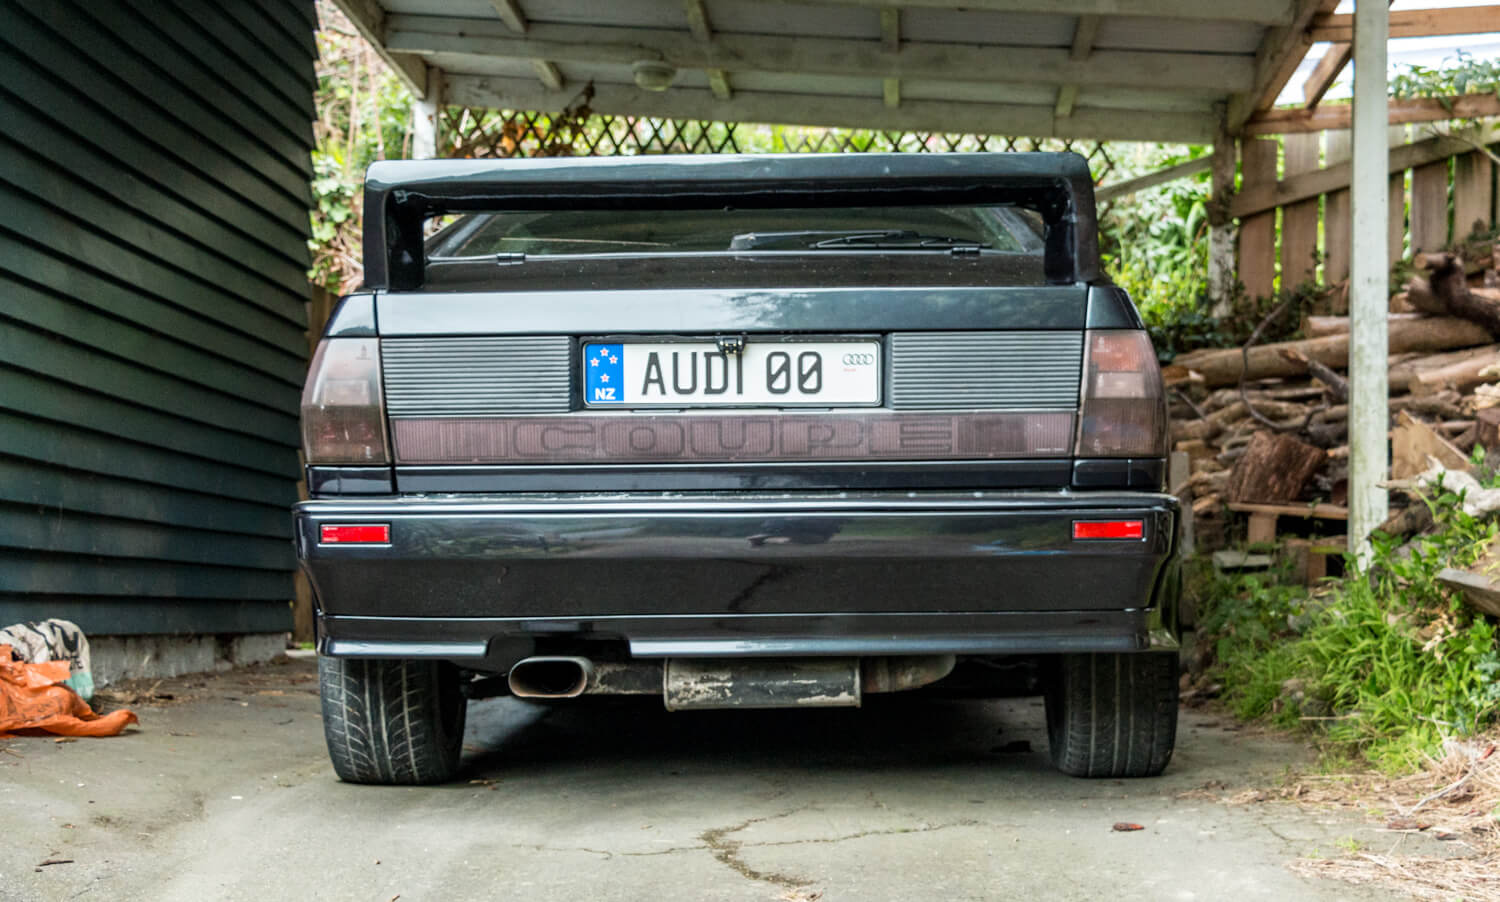
Here’s a couple more photos of the car in actaul sunlight.
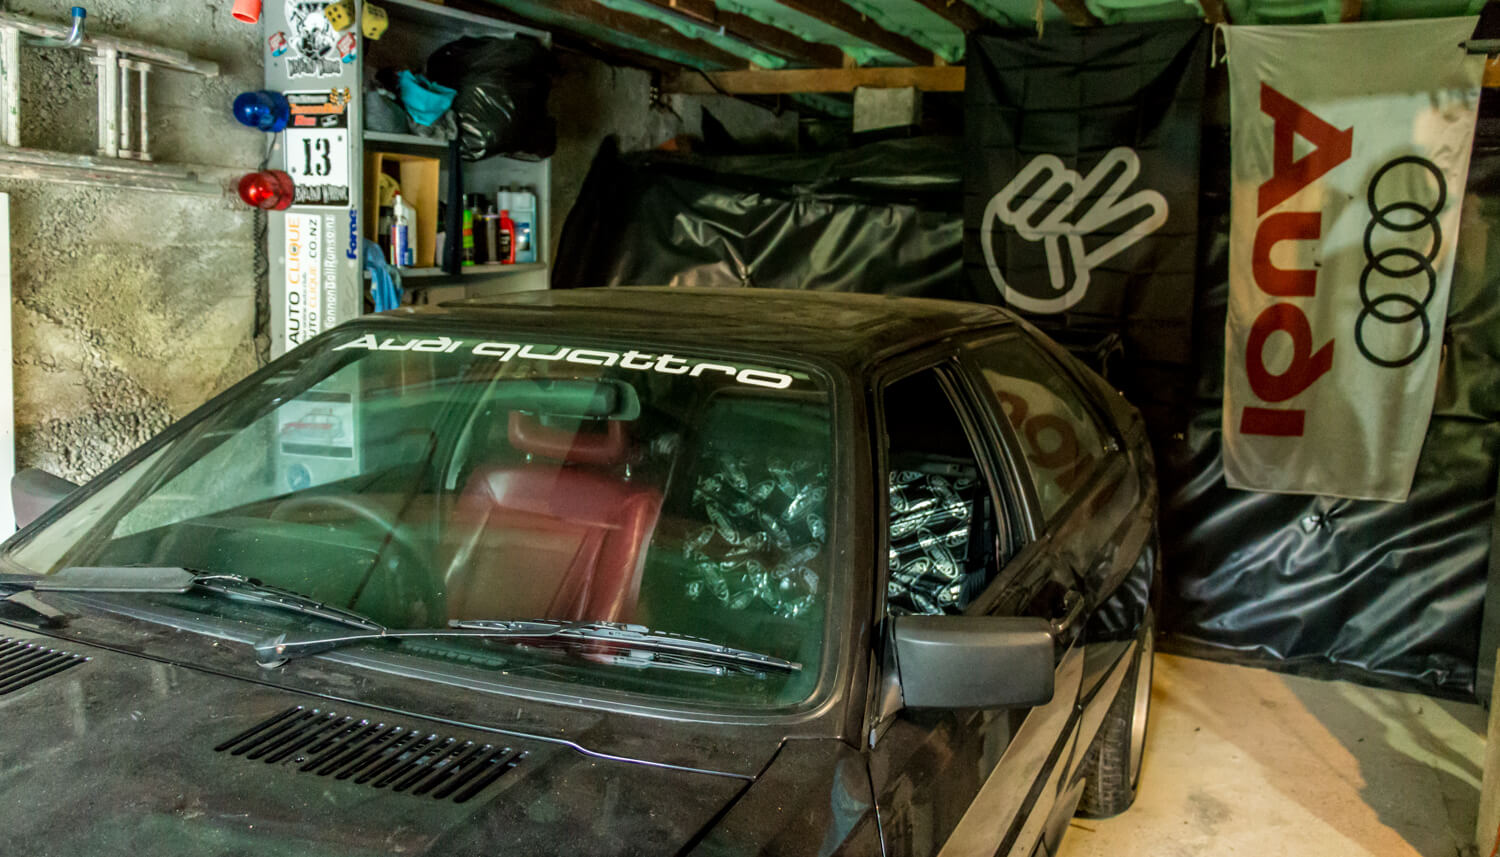
And finally, with my new insulation above, and new damp shield stuff to hopefully keep the garage drier, I put up my new MCM Chopped flag 🙂
Next job is to drive the car down to Kohl Road and Custom to get a new custom carpet made. Once that’s in I can fit the centre console and I’ll have somewhere to start putting all of those wires.
Follow the full Project Rusty build here.