


Technically I had planned to do the fuel system first before the last episode which was water supply, but whilst thinking things through in my mind I realised that I needed to have the water pipes in place first so now it’s time to run the main fuel lines. There was a decision to make about using either hard or soft fuel lines and I decided to use hard fuel lines between the front and rear. That seemed like a good idea at the time, but it turned out to be a real challenge to be able to bend the tube with such tight bends and also having bends at both ends of the pipe makes it really difficult to remove too, but we got there in the end.
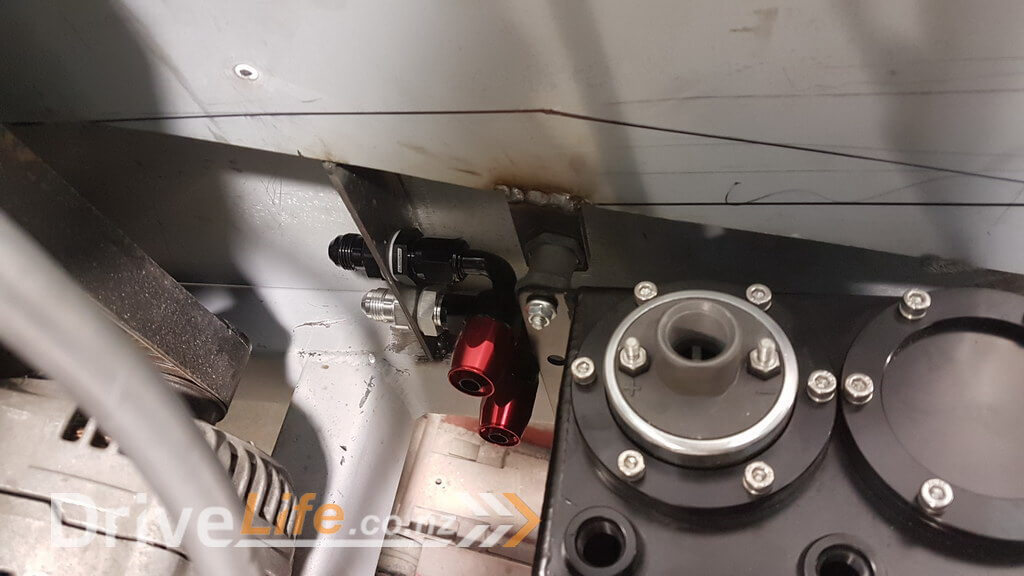
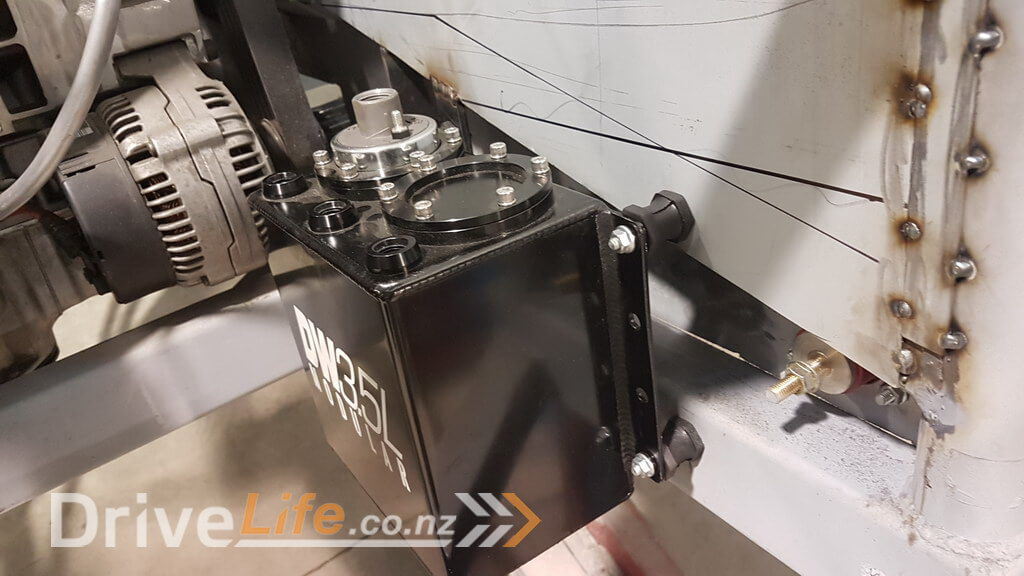
To make it easier to visualise, the black fitting connected to the hard line is the return line, the silver fitting is the fresh fuel. If I had been really fussy I guess I would have used black connectors all the way through for return fuel and all silver for fresh fuel, but I’m not that fussy and it was cheaper / easier to buy all the same fittings, it just worked out that I had 2 seperate colours for the hard line fittings so decided to make it easier to distinguish.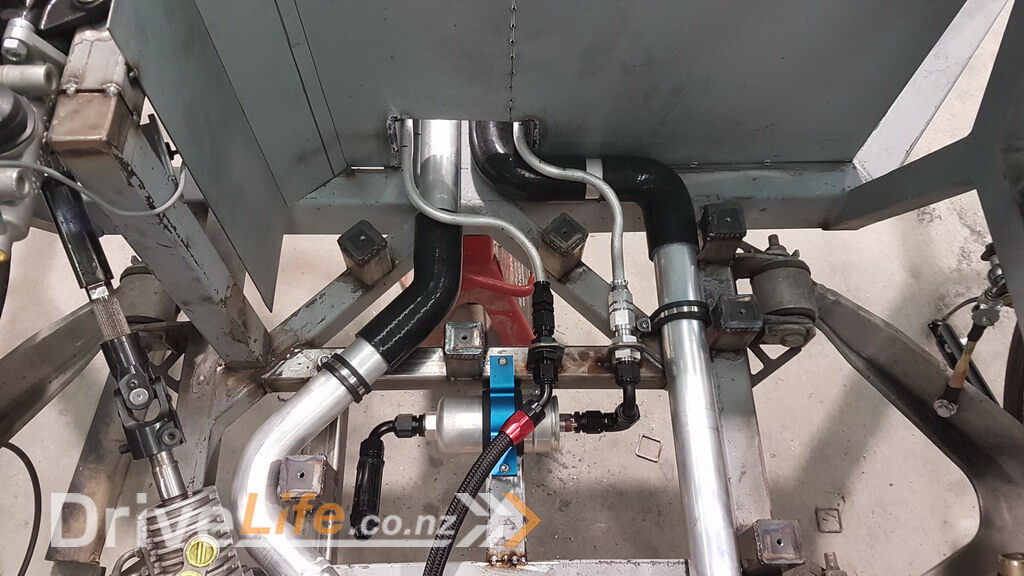
Now you’ll notice in the photo above that things look pretty tidy and I was really happy with the result until I put the fuel tank platform on and realised that the new fuel lines hit the bottom of the fuel tank platform……. arrrggghhhhh !
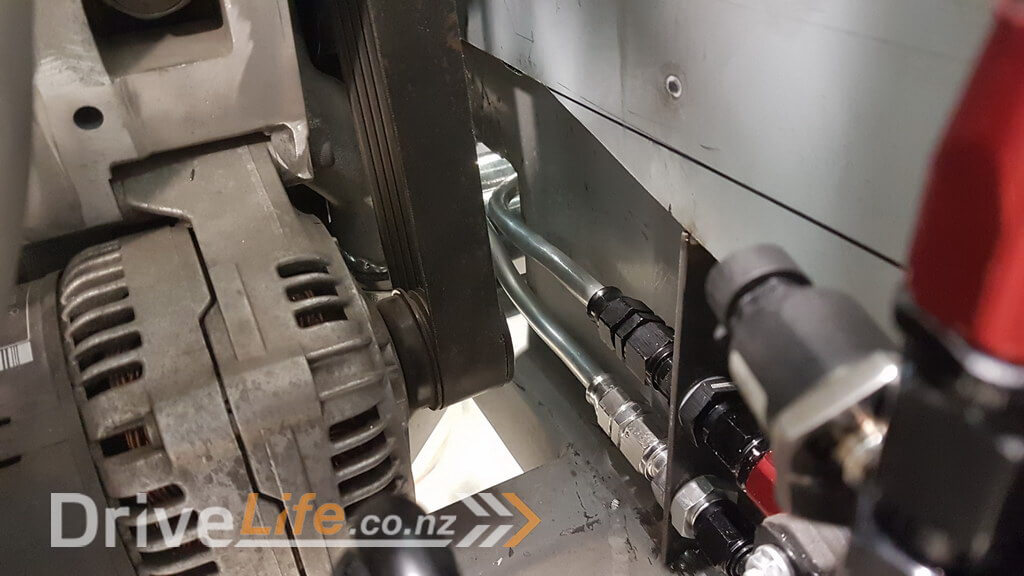
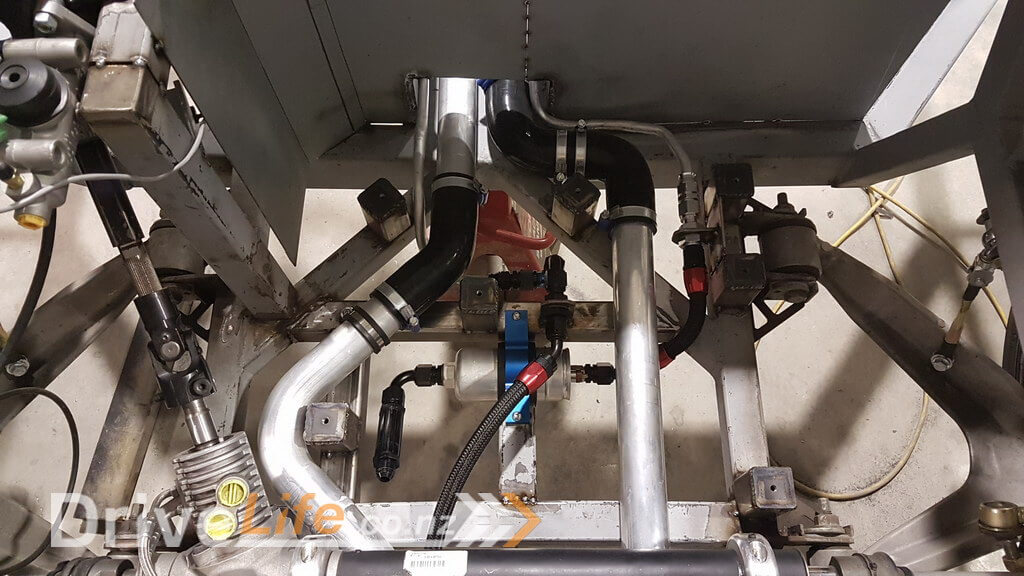
So I needed to start again on this end of the car to get the fuel lines lower down. The fittings on the end of the hard line are a one time deal, so if I had to change the length of the pipe I would need to purchase some more fitting parts, so luckily I was able to re-route and still keep things the same length. So instead of bringing the left one (as you look at it in the photo) over the top of the water pipe, I was able to route it down beside and then underneath the pipe and come back up. The right hand side was a bit more of a problem. I spent a couple of hours trying to work around the water pipe and realised it wasn’t going to work and so I had to move the water pipe and then re-route the fuel line behind it. This was the end result.
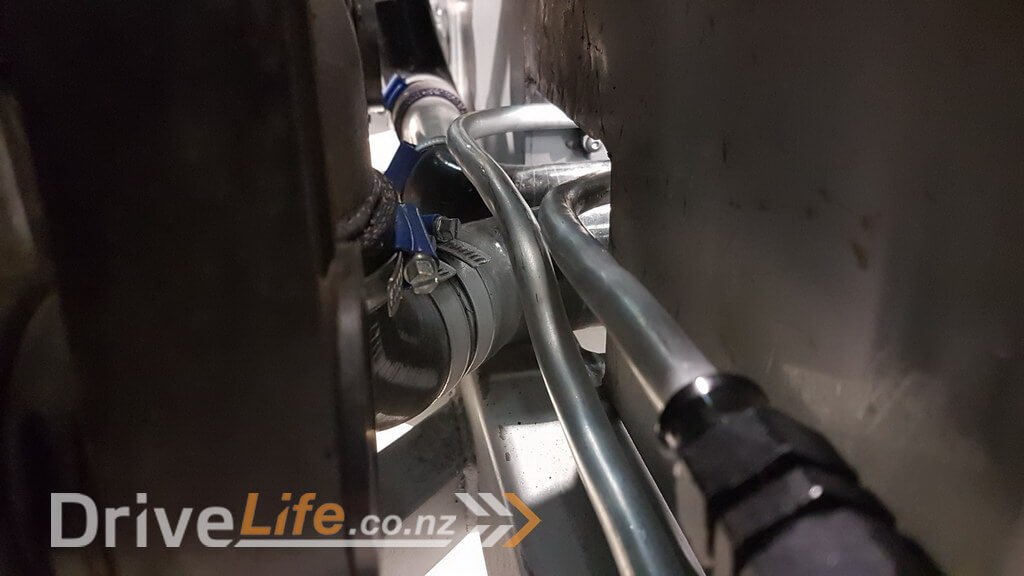
I was now happy that the fuel line wouldn’t hit the bottom of the fuel tank platform which was great, but then when I put the tank in place it was clear that the right side water pipe was now going to hit the bottom of the tank since I had move it towards the centre ! The joy of custom cars !
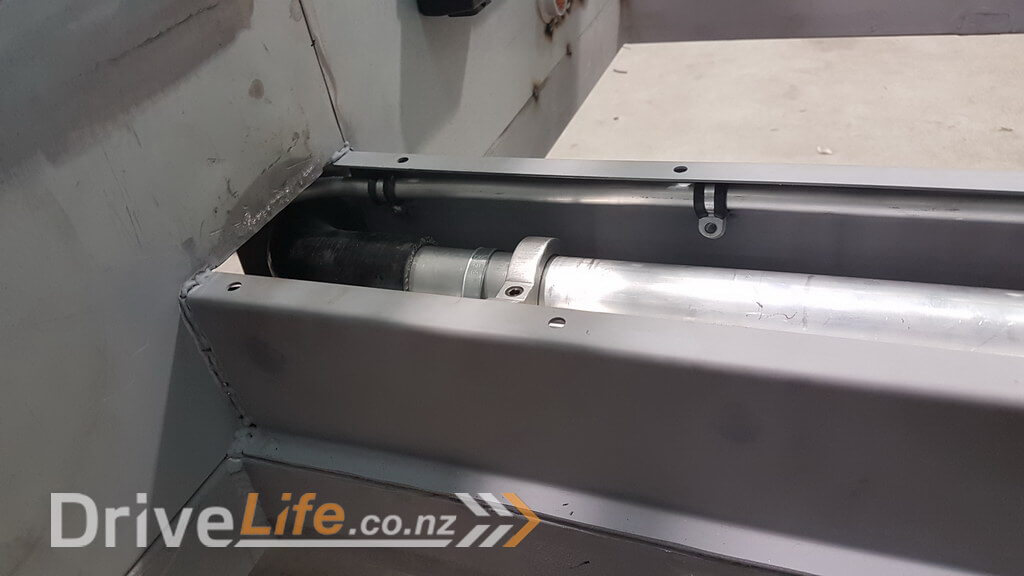
So now I needed to modify the water pipe to cut in so it was back towards its original position. Now it all fits !
We are running what is called a “surge tank”. This is a small tank which holds fuel after the main fuel tank. Fuel surge can be experienced during hard corners or launching of the car and it’s where the fuel surges away from the fuel pickup and in turn can cause the engine to lose fuel supply and in turn cause damage to the engine. To get around this issue you can do a couple of things. One is to use foam or baffles inside the main fuel tank. This helps the fuel to stay around the pickup and it can’t surge away as easily. The second approach is to use a “surge tank” as we have done. We’ve actually baffled the main tank also, but we’ll cover that in another episode.
The surge tank is literally just a small fuel tank with its own pump. This small pump is constantly filled from main tank and then the surge tank feeds the engine. This means that if you ever have fuel surge from the main tank, the surge tank is still full of fuel and so the engine will not starve of fuel. Pretty simple solution to solve an important issue. And the bonus is that it gives us an extra 3.5 litres of fuel which is important with such a large engine.
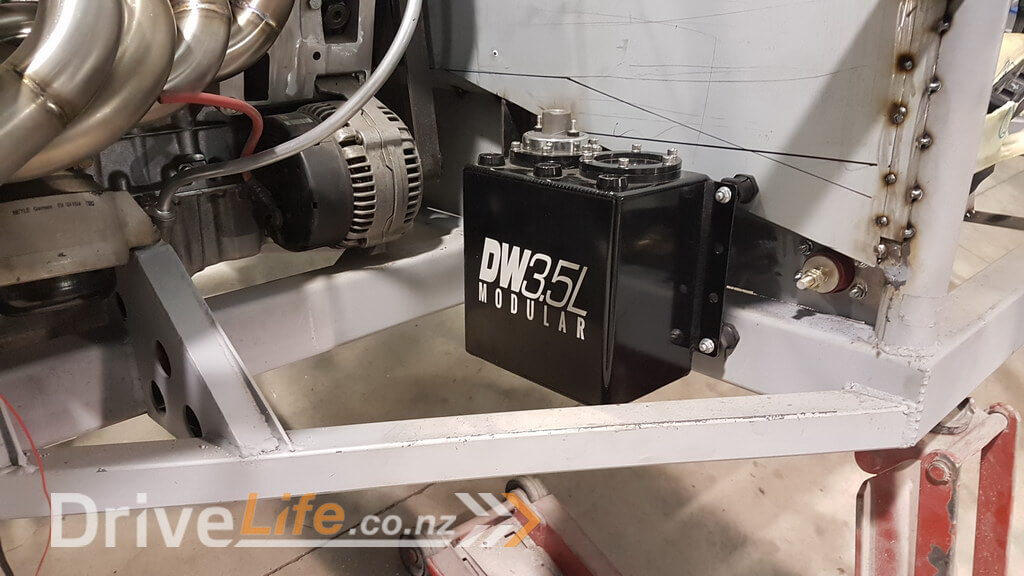
This surge tank can actually take 2 pumps in case you are feeding a large horsepower engine (750HP or more), however our engine won’t be producing that level of power so we only needed one pump.
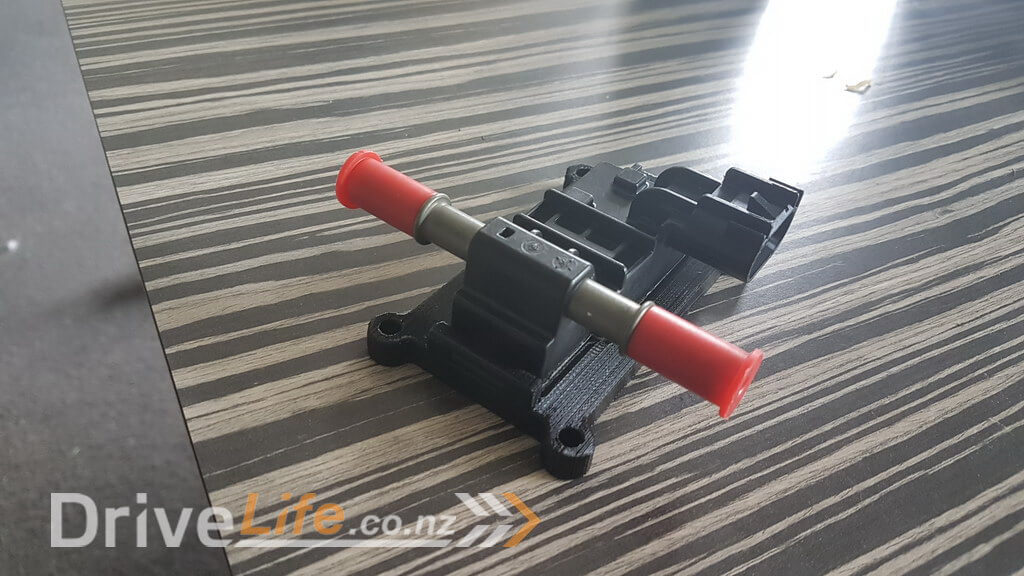
One thing we did include at the last minute was a “flex fuel” sensor. This is a small sensor that sits in line with the fuel supply and measures the amount of ethanol in the fuel. Ethanol fuels are becoming more common for street driven cars and for track and performance it’s not uncommon to see people running E85 which is 85% ethanol. We don’t really plan on using E85 or other fuels on a regular basis, but it was reasonably straight forward to add this now, so we were just trying to cover our bases.
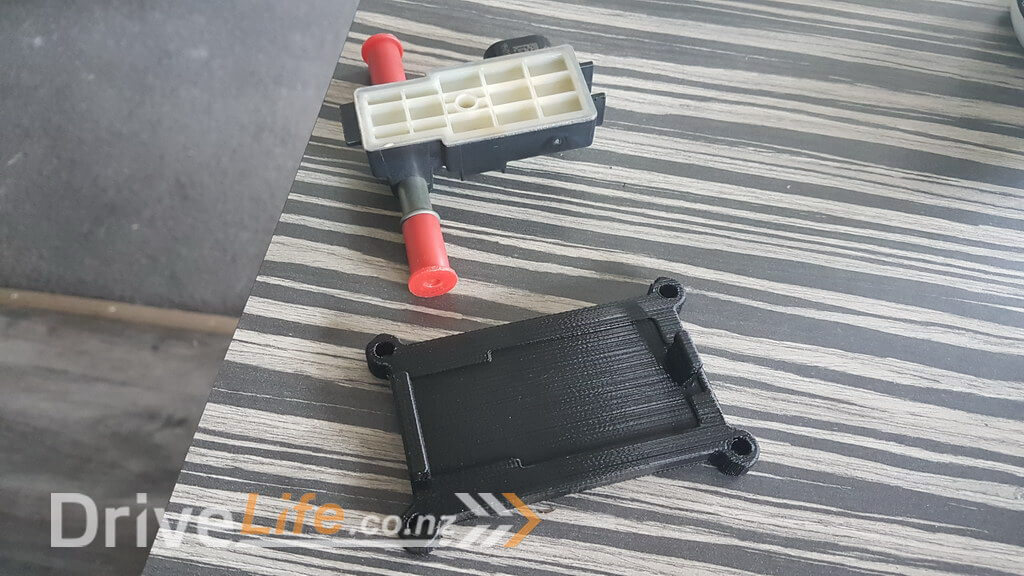
Here is what the sensor looks like, but there was no way to mount it to the car, so I designed a mount and 3d printed it. Usually I would 3d print something for mockup and then get a metal one made for the final car, but I think for this item we should be able to just keep it in place. It’s actually a better material for the job.
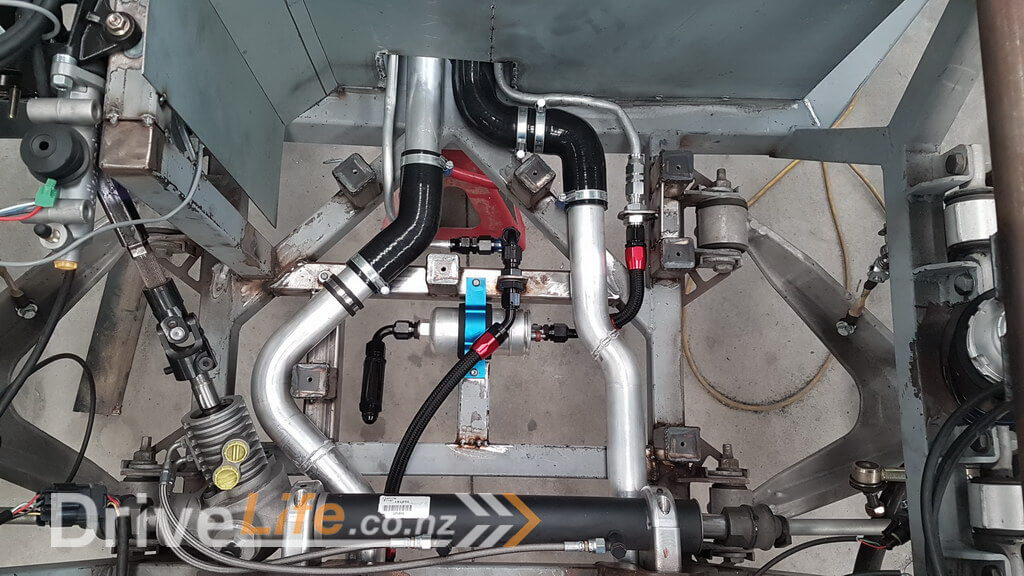
Here is the final layout of the surge tank and lines, sensors etc.
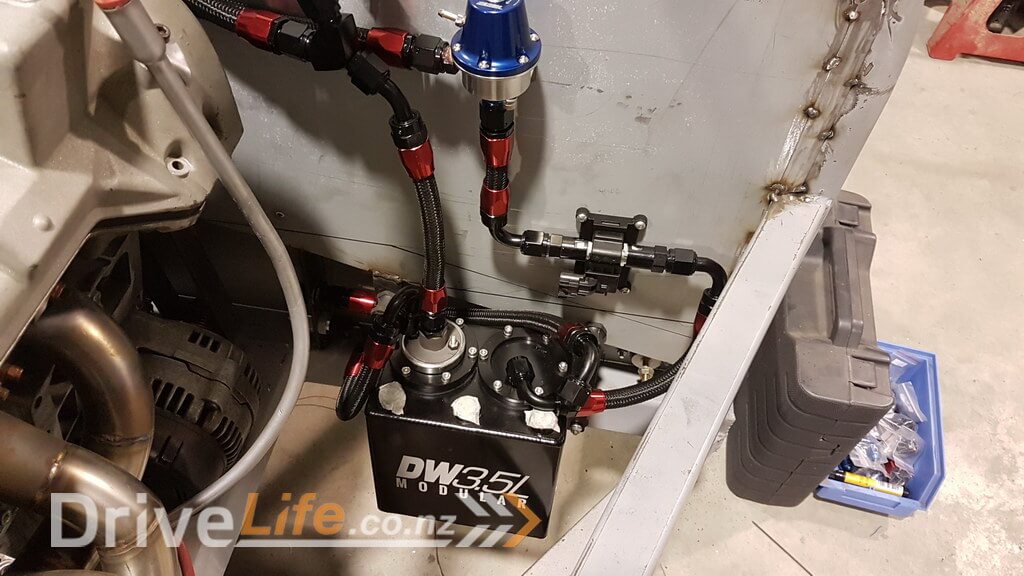
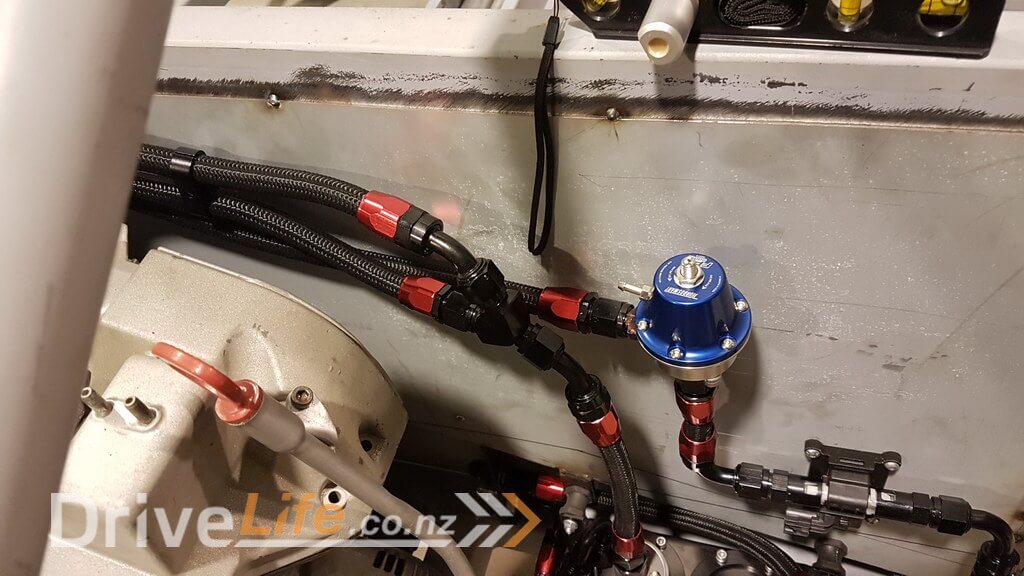
For those technical people wanting to know what it all does I will go through it. The 3 lines at the front are – on the left is where the fuel from the main tank comes in, then in the middle is where the fuel will go back to the main tank and the right line is where the fuel comes back from engine. This fuel come through a fuel regulator which is the blue item shown in the photo above, then into the flex fuel sensor and then back into the surge tank. The main feed into the engine is the line that comes straight out of the top of the fuel pump.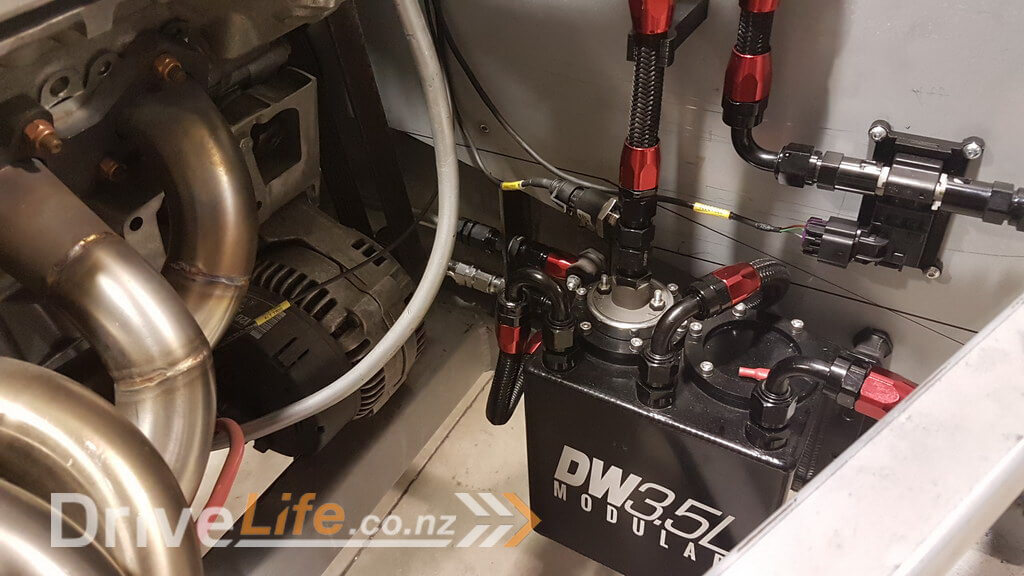
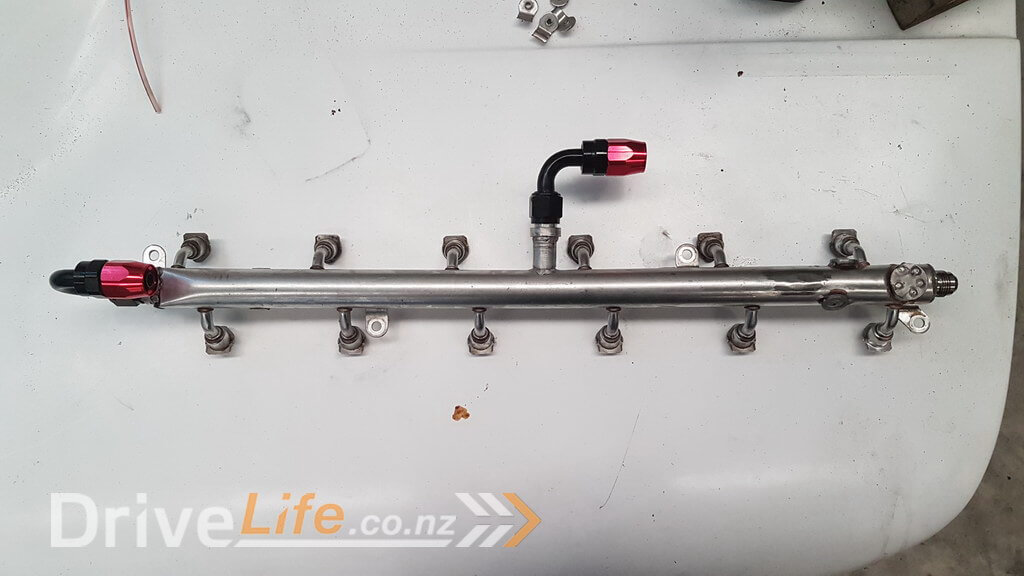
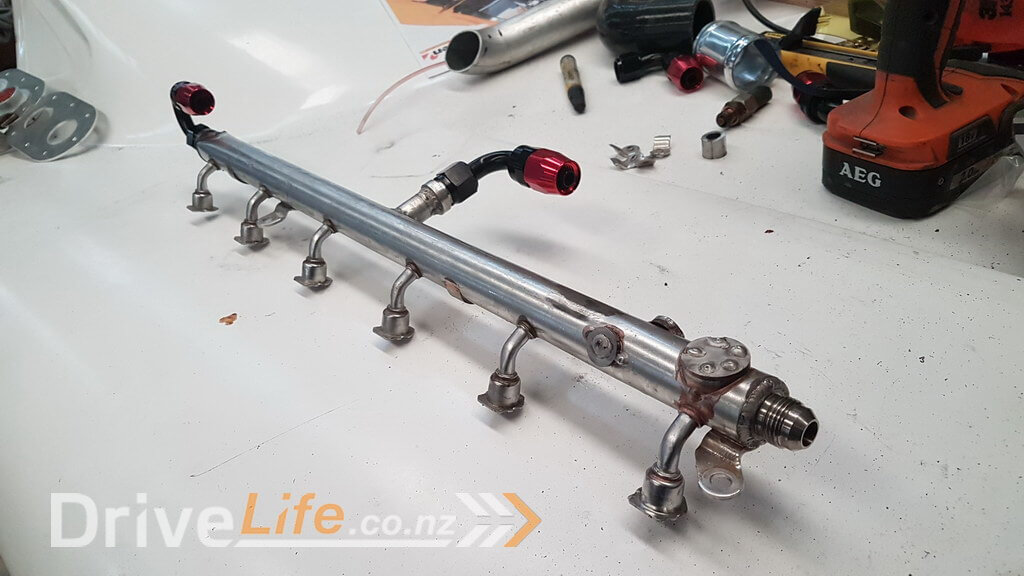
The last part of the fuel supply system is the fuel rail from the engine that attaches to the injectors. The OEM fuel rail is really nicely made and there was no reason to replace it, but we did modify it to allow fuel to be fed in from both ends of the fuel rail and the return to the surge tank coming from the middle. This way we can be sure that all the injectors are getting the right amount of fuel. Once again, we didn’t think that we were going to have issues with fuel supply to the injectors, but having fuel come from both ends of the rail makes sure we won’t have issues, so we took the safe bet.
There’s a newer entry in this story, please click here – FZ12 – Part 25
If you’ve missed the last part of our story then click here FZ12 – Part 23
or if you want to go right to the beginning then click here FZ12 – Part 1


