


We’ve already covered quite a bit on the fuel system for this car and this episode should cover the last part. We’ve already covered the main tank, the surge tank, soft lines, flex fuel sensors, fuel rail and injectors and this episode is going to cover the hard lines that I decided to run from the back to the front.
I am yet to decide if this is a good idea or a bad idea in the long term. There are obviously only 2 options here. Either I run the same braided lines that I’ve used on the rest of the car, or I use a “hard” aluminium line. I decided against the braided line since there are potentially some issues with fuel vapour managing to leech through the soft rubber inner in some cases and I didn’t want to risk having a fuel smell inside the cabin. It was highly unlikely that I would be an issue, but I didn’t want to take the risk so I decided to go with a hard line instead. That decision saw much swearing, sweating, even a little crying, but we did get there 🙂

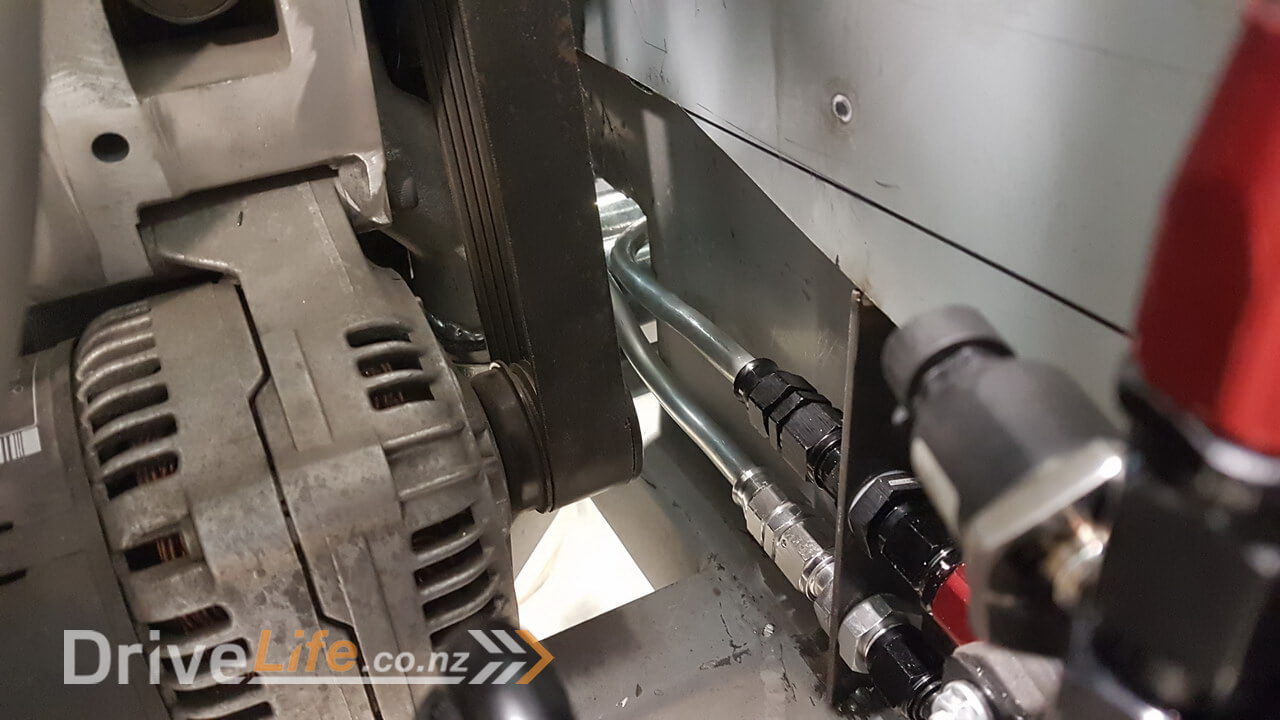
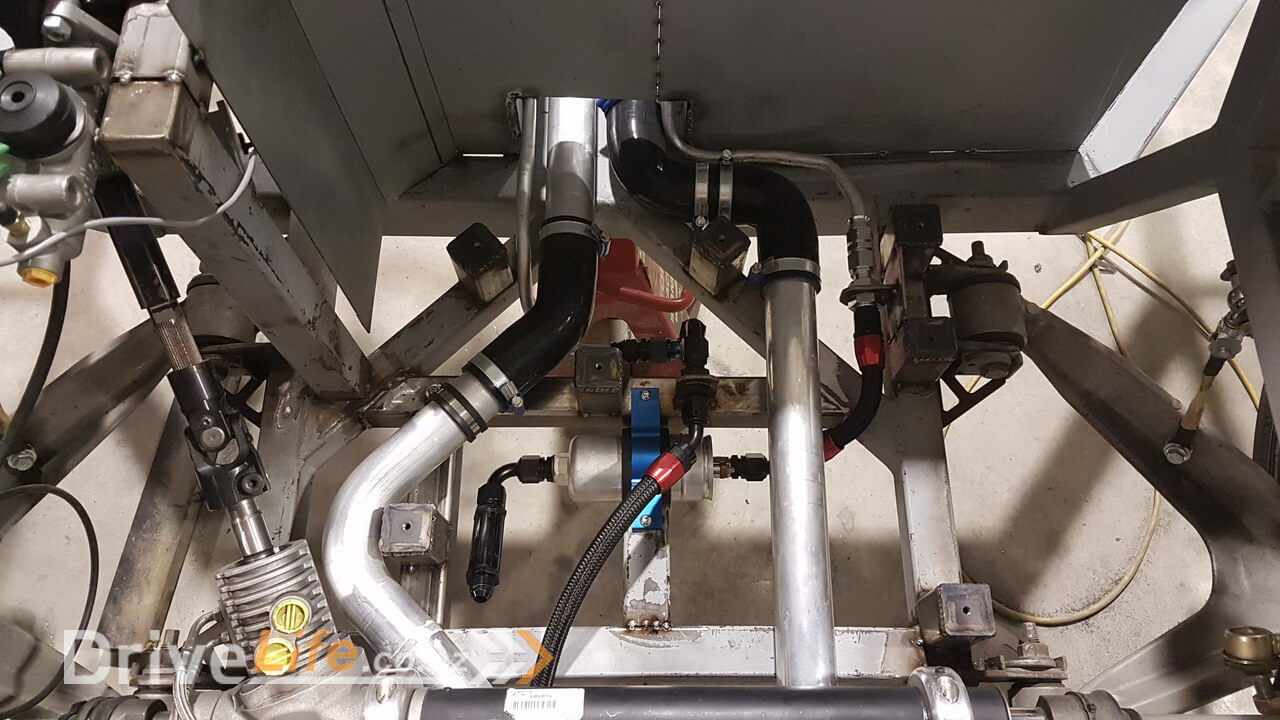
The photo makes the lines look like they’re touching each other and other rubber pipes, but in fact they clear quite well. I tried to run fuel coming from the main tank down one side of the tunnel and fuel going back down the other side of the tunnel.

The LVVTA (Low Volume Vehicle Technical Association) are the agency responsible to making the rules and processes that we will need to follow to be able to legalise our vehicle once it’s completed and their rules say that fuel lines must be retained every 300mm so I created points along both sides of the tunnel to be able to clip the hard lines to so I could meet the safety requirements.
That part all went reasonably well, but the next part was a little more difficult as I couldn’t get easily get to the hard line with the pipe bender so I was having to try and remove the pipe to bend it and then putting it back, then marking, then removing it again, wash and repeat till I got it right. Well, what I thought was right !
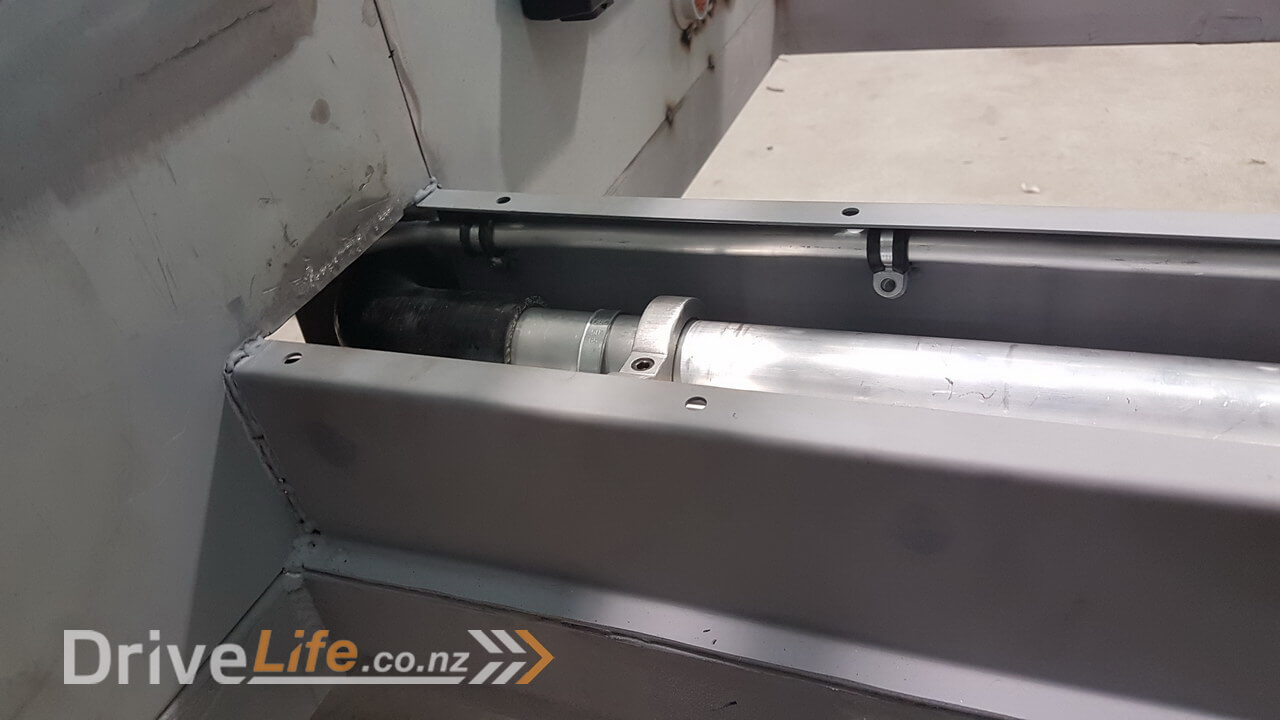
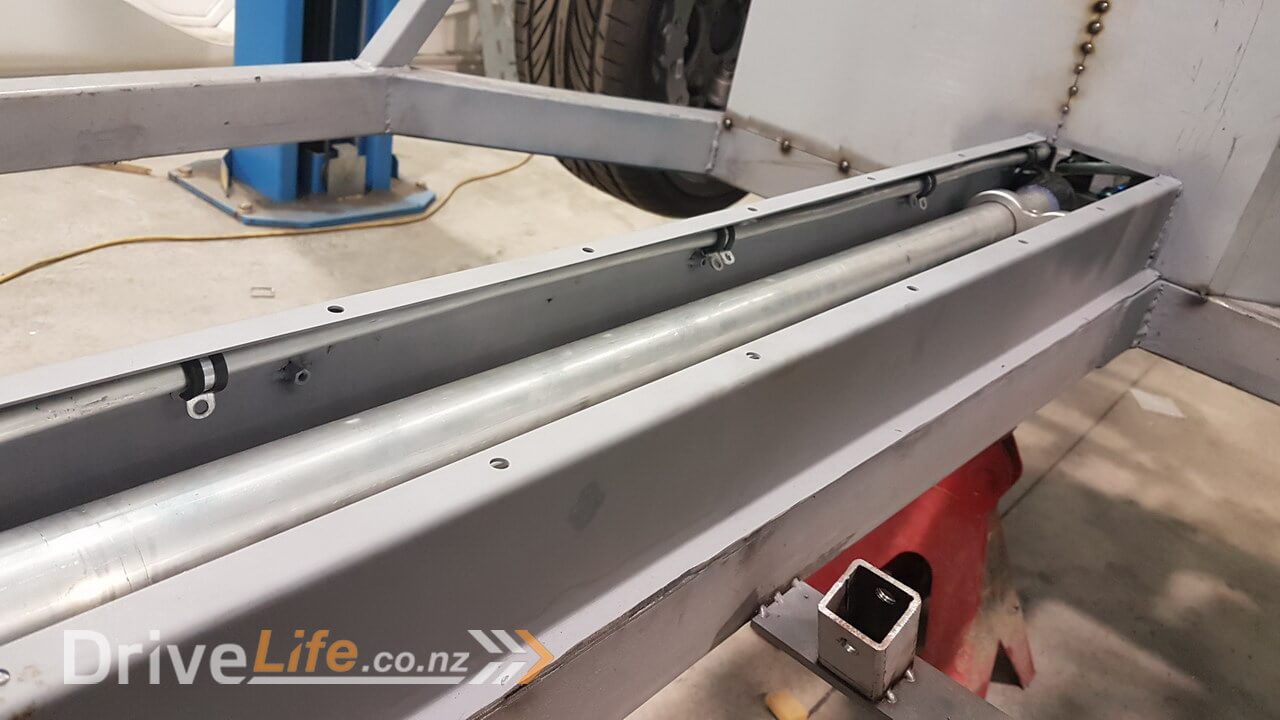
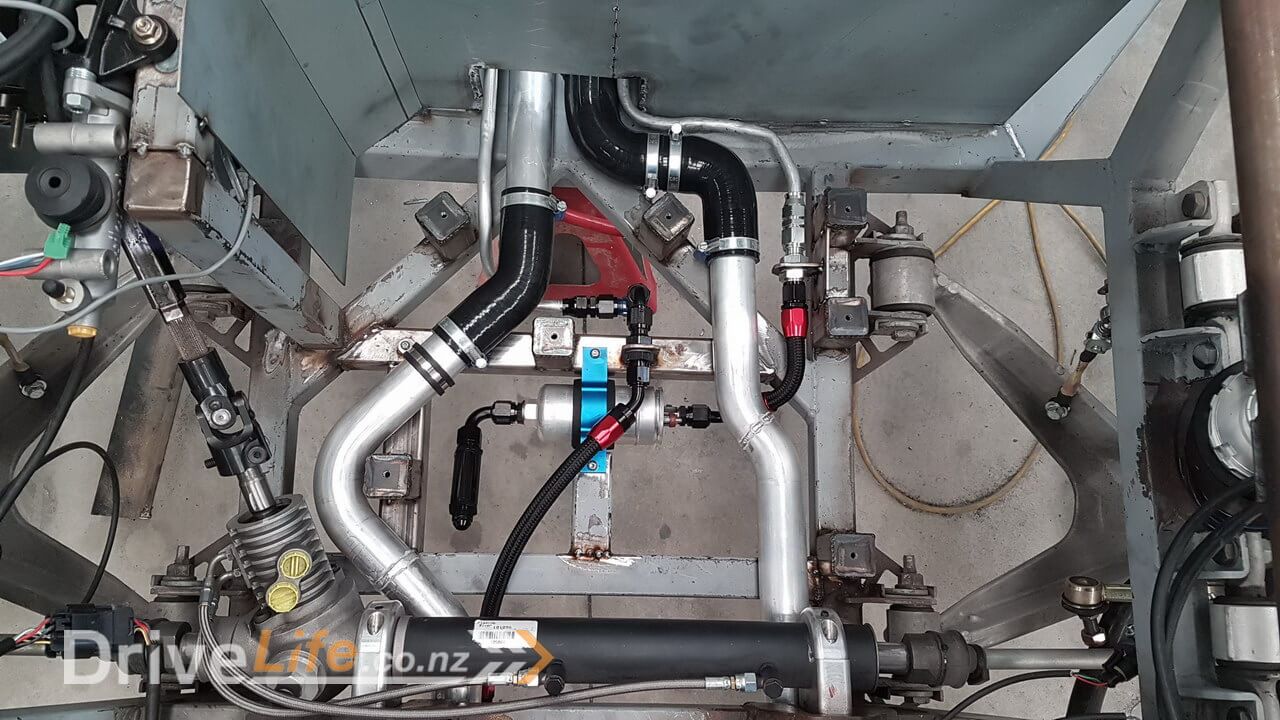
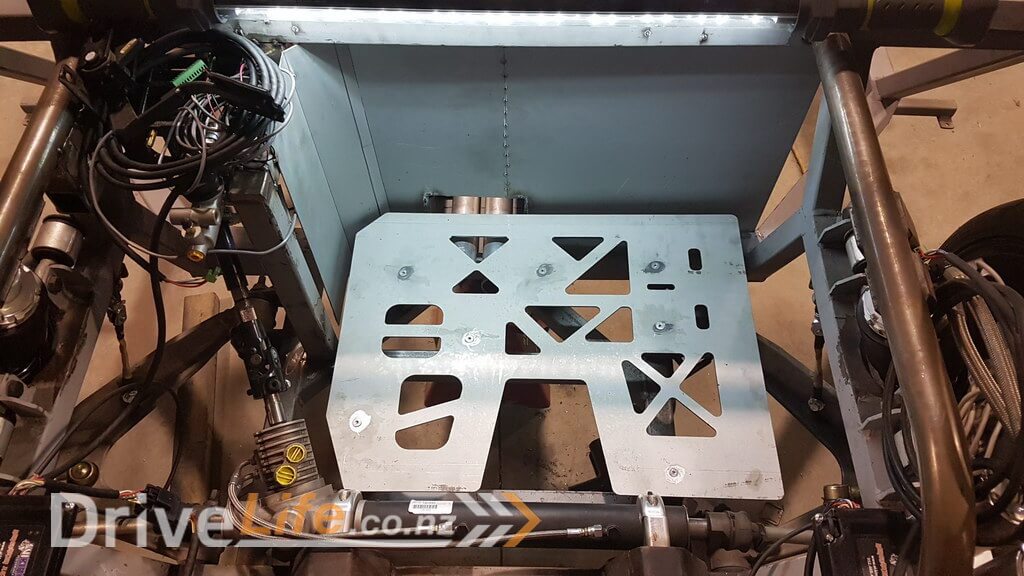
As you can see from above it looks great……but……. what I failed to take note of was how high the hard fuel lines were. Unfortunately once I put the fuel tank platform in place it hit the new hard fuel lines. Rookie mistake ! So I moved the right side water pipe (as you look at it in the pictures) inwards, and moved the hard fuel line to the outside so it could get lower. The other hard fuel line I re-routed so it went underneath the water pipe and then came back up.
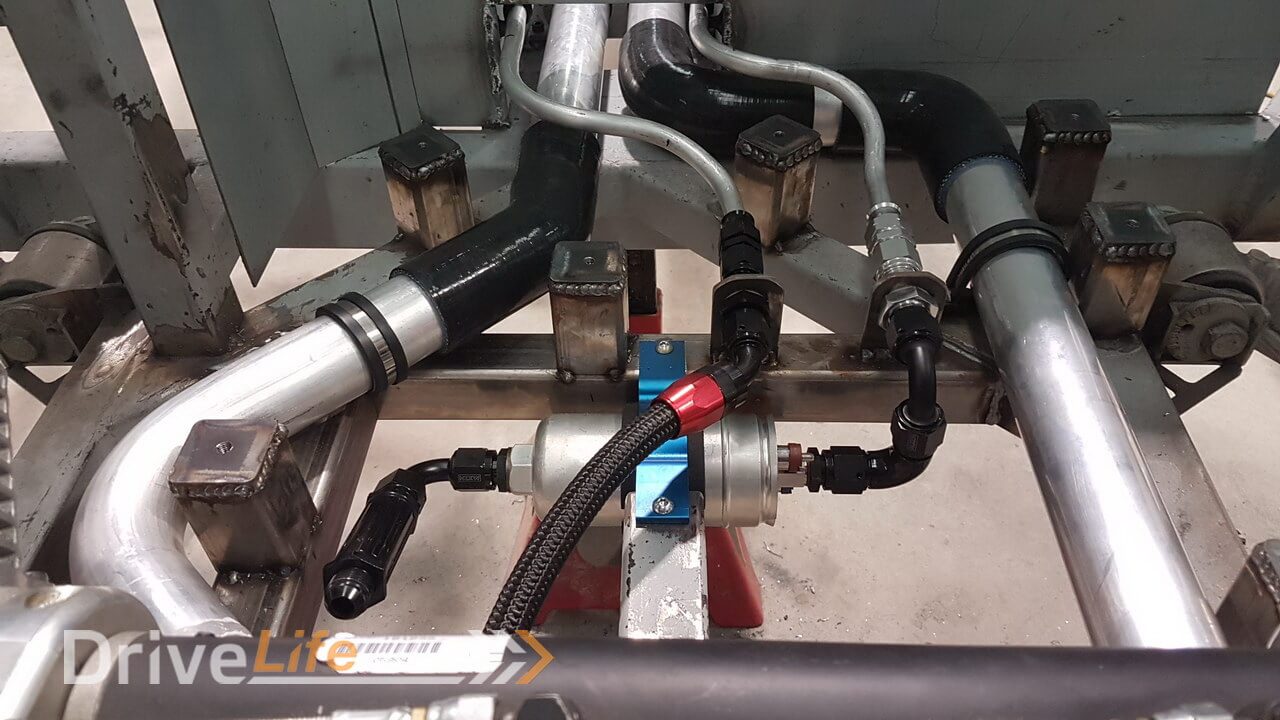
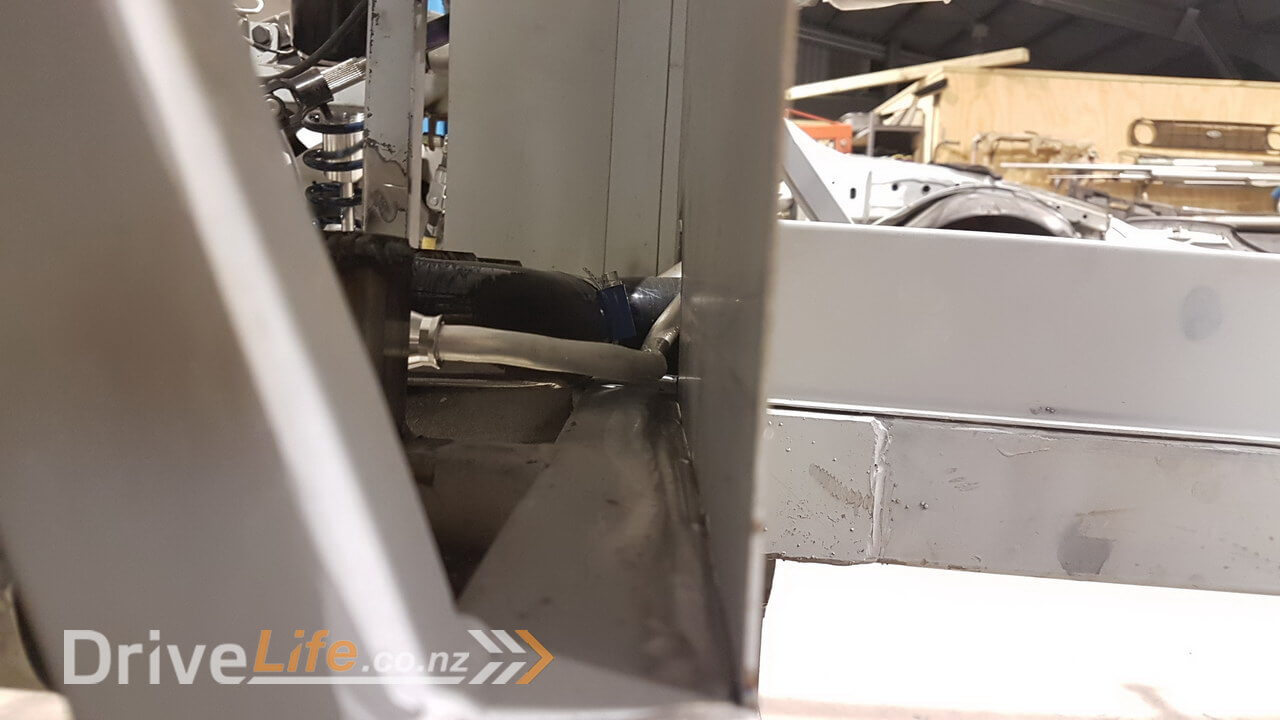
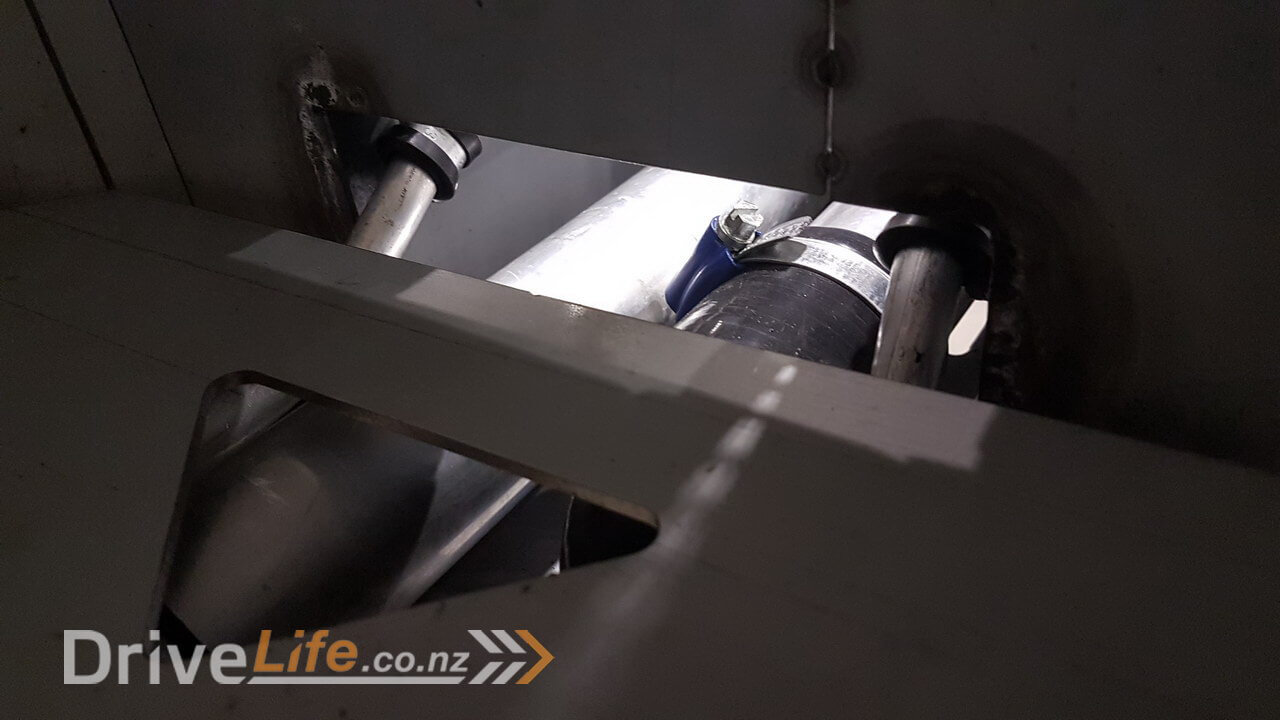
So now I thought I had everything covered as the new fuel lines ran low enough to not hit the fuel tank platform……..but after fitting the tank platform and fitting the actual tank, I realised that the sump at the bottom of the fuel tank now hits the water pipe that I moved ! So I had to modify the water pipe again to make it miss the sump at the bottom of the fuel tank.
So that’s the whole fuel system done. One of the hard lines isn’t perfect as I had to modify it more than I’d have liked, but when we strip the car down to paint the chassis we will re-make that pipe so for now it’s OK, ugly, but functional and it’ll let us get the engine started so that’s all that matters right now.
Please feel free to comment or ask questions, I really love sharing and discussing our build and cars in general with other readers.
There’s a newer entry in this story, please click here – FZ12 – Part 32
If you’ve missed the last part of our story then click here FZ12 – Part 30
or if you want to go right to the beginning then click here FZ12 – Part 1


