


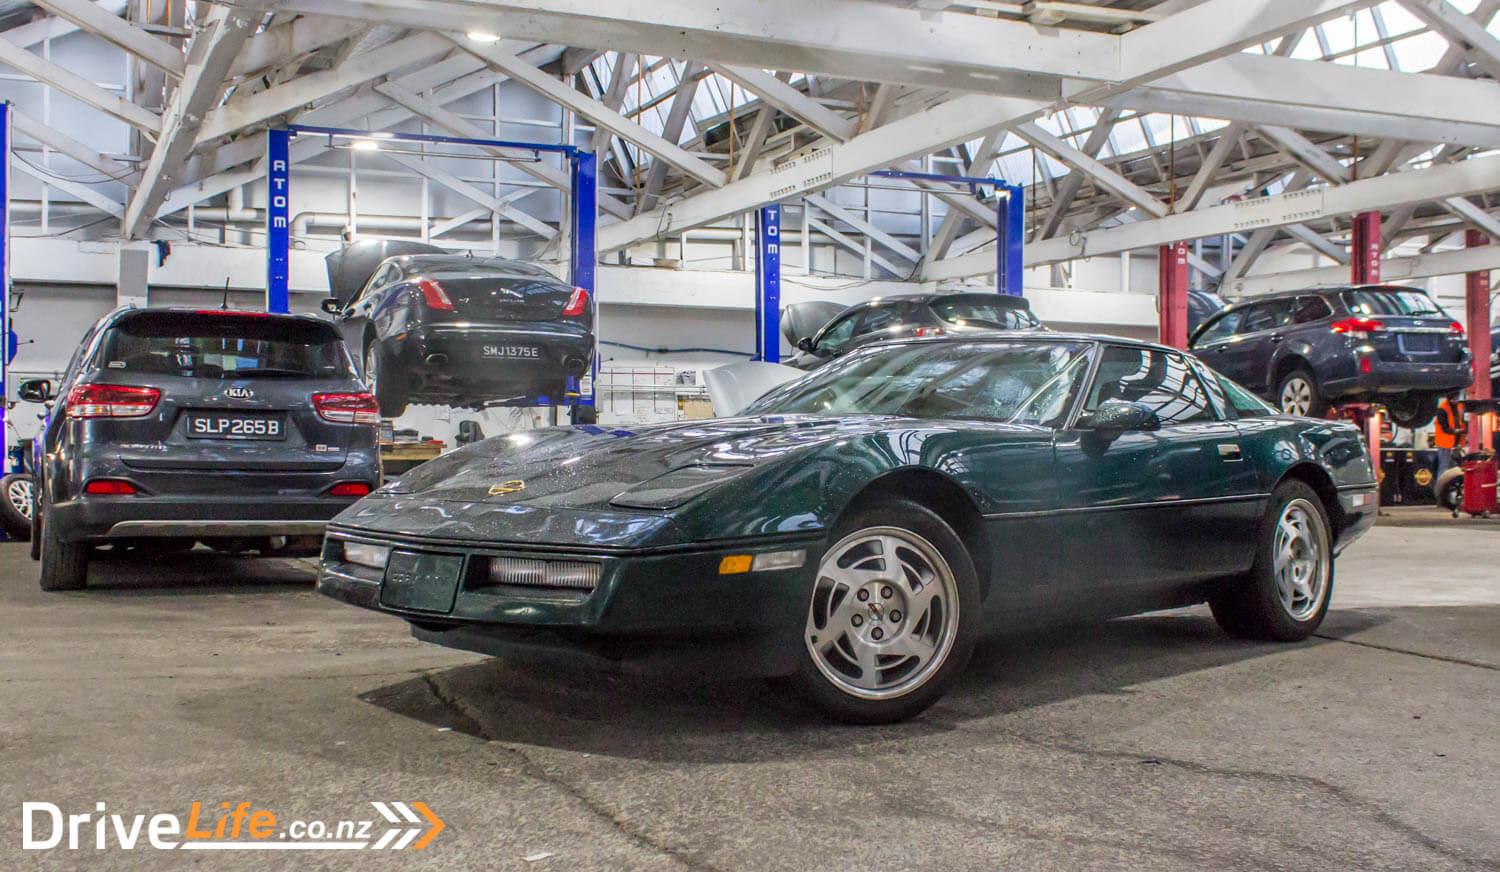
Last October, we published the last article on the Chevrolet Corvette that my wife and I had purchased in California, and then drove 11,000Km over 5 weeks, up Route 66 then across to the East Coast.
But that wasn’t the end. It was during an absolute downpour in October last year that we dropped the Corvette off to Kiwi Shipping in New Jersey, ready to get it home and on the road in New Zealand. The car would wait for the next container going to Auckland, where it would end up for compliance, and then hopefully, number plates and WoF.
Why Auckland, when we are in Wellington? It’s the same scenario as when we recently imported a Nissan Leaf direct from Japan, and in 2016 drove a brand-new Dodge Challenger across the USA then shipped that to Auckland. I love to drive, and if there’s any excuse to take a road trip, I’m on it.
But the car sat in New Jersey for a long, long time, waiting for a container going to Auckland from NJ. I went for the cheapest shipping rate I could – US$1850 – and that meant being patient. We could have paid a whole lot more and got it shipped straight away, but the reality is I didn’t have anywhere to store the car then anyway – the 2-car garage at home is already full – so the cheapest rate was fine by me.
So wait we did. And then, wham! Covid hit. That meant more waiting, until one day during lockdown I got an email that our car was on its way. I got the ship name and tracked it as it cruised east across the world, then seemingly ended up in Suez, and stopped – for weeks.
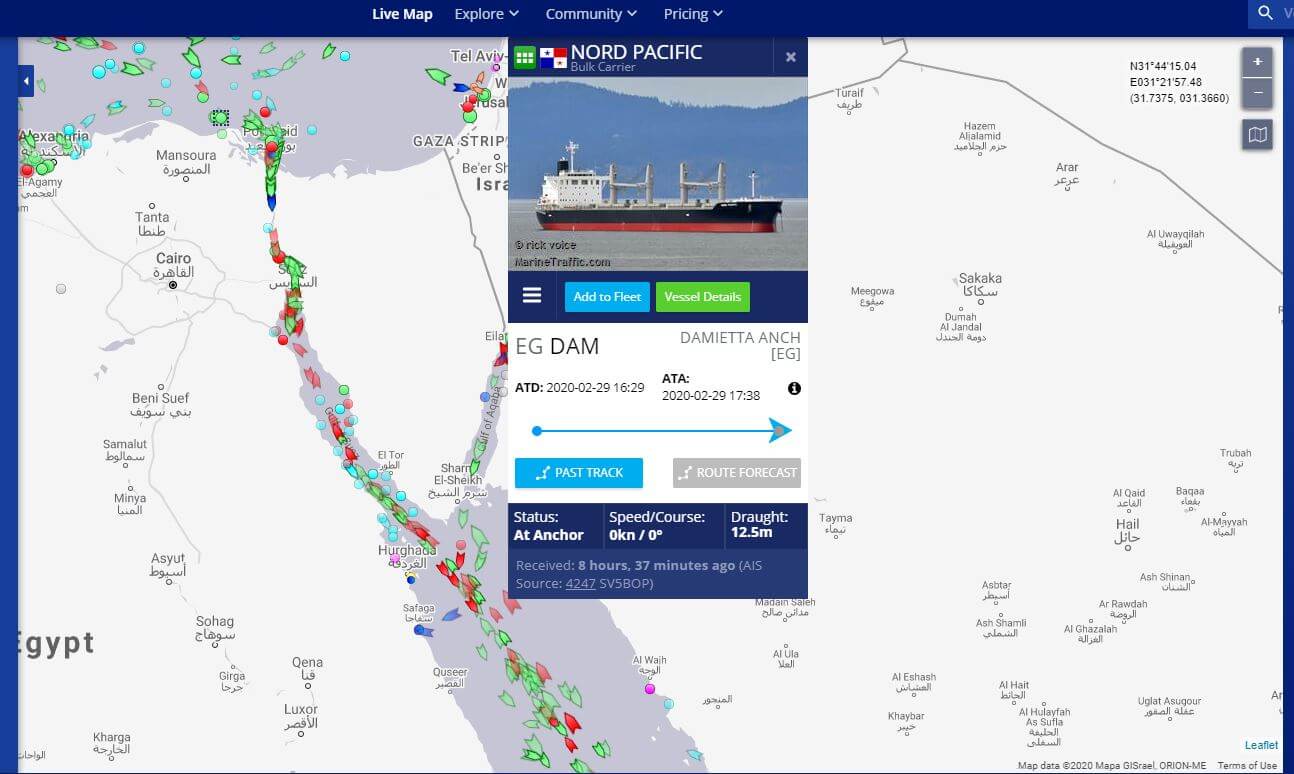
Then, the ship headed north again, and my Corvette with it. I was pretty confused as to what was going on, but patience is key, and that paid off when one day during Covid Level 4, Kiwi Shipping rang me to say the car was in Auckland, and please come and pick it up.
That wasn’t going to work, so we agreed on a special Covid storage rate ($50/week, a bargain), and left the car there. Of course, Covid went on, and on. In the end, I paid for a transporter ($150) to get the Corvette to a friend’s place in Auckland.
With regards to shipping and other import costs, I promised in the last article that I’d disclose all this so you could see exactly how much it cost to land the C4.
SHOW ME THE MONEY
Here’s the numbers. I was going to lump all the port, GST and freight costs together, but decided to split them out so you can see exact numbers.
| 1990 Corvette | US$7,500 ($NZ10,500 at the time of purchase) |
| Pickup in LA to storage depot | US$225 (NZ$413.94) |
| Freight | US1850 (NZ$3200.37 |
| Shipping insurance | NZ$300 |
| Clean car for MPI | NZ$100 |
| Fumigation fee | US$335.35 (NZ$616.95) |
| New Zealand Landing Charges | NZ$1,150 |
| Customs Import Transaction Fee | NZ$48.44 |
| Credit for overcharge of GST | -NZ$636 |
| Total Landed Cost | NZ$15,693.70 |
In my book, USA2NZ, which shows you how to import your own car, I say that a rough rule of thumb to get the on road cost of any car you want to import, is to double the US purchase price of the car into NZ$, and that will give you a ballpark number to work with. This has worked for the landed cost, but due to the exchange rate at the time of paying the bill (54 cents!), I got stung. COVID is to blame for this, but there’s not a lot you can do about it.
The NZ$10,500 purchase price is not at 54 cents – it’s at the rate that it was when I bought the car in early 2019.
Note that the ‘double it in NZ$’ trick doesn’t include any repairs that might be required for compliance, and is just a ballpark way of working out what your car should cost.
Since I actually bought the car in May of 2019, I claimed depreciation on the car, and some of the original GST charge was refunded. I’d banked on this before organising shipping – anything to save money.
GETTING IT READY FOR COMPLIANCE
My friend in Auckland started looking at the airbag light which wasn’t working properly. Without this functioning, we wouldn’t be able to get compliance. We knew there was an issue, but the solution didn’t seem to be too time consuming, and almost a free fix. Lots of posts on Corvette forums suggest that 99% of the time, it’s the airbag sensors that are bolted to the chassis and indicate to the airbag computer (the ‘DERM’) that there’s been a crash, and airbags should be deployed. Corrosion builds up between the sensor and the chassis rail, and so they stop working. The scenario fitted what was happening with our Corvette perfectly, so once I was able to fly to Auckland, I did and spent a weekend removing the sensors, and cleaning up the bases of them, and then applying dielectric grease to everything to enable a better conductive path.
It didn’t work.
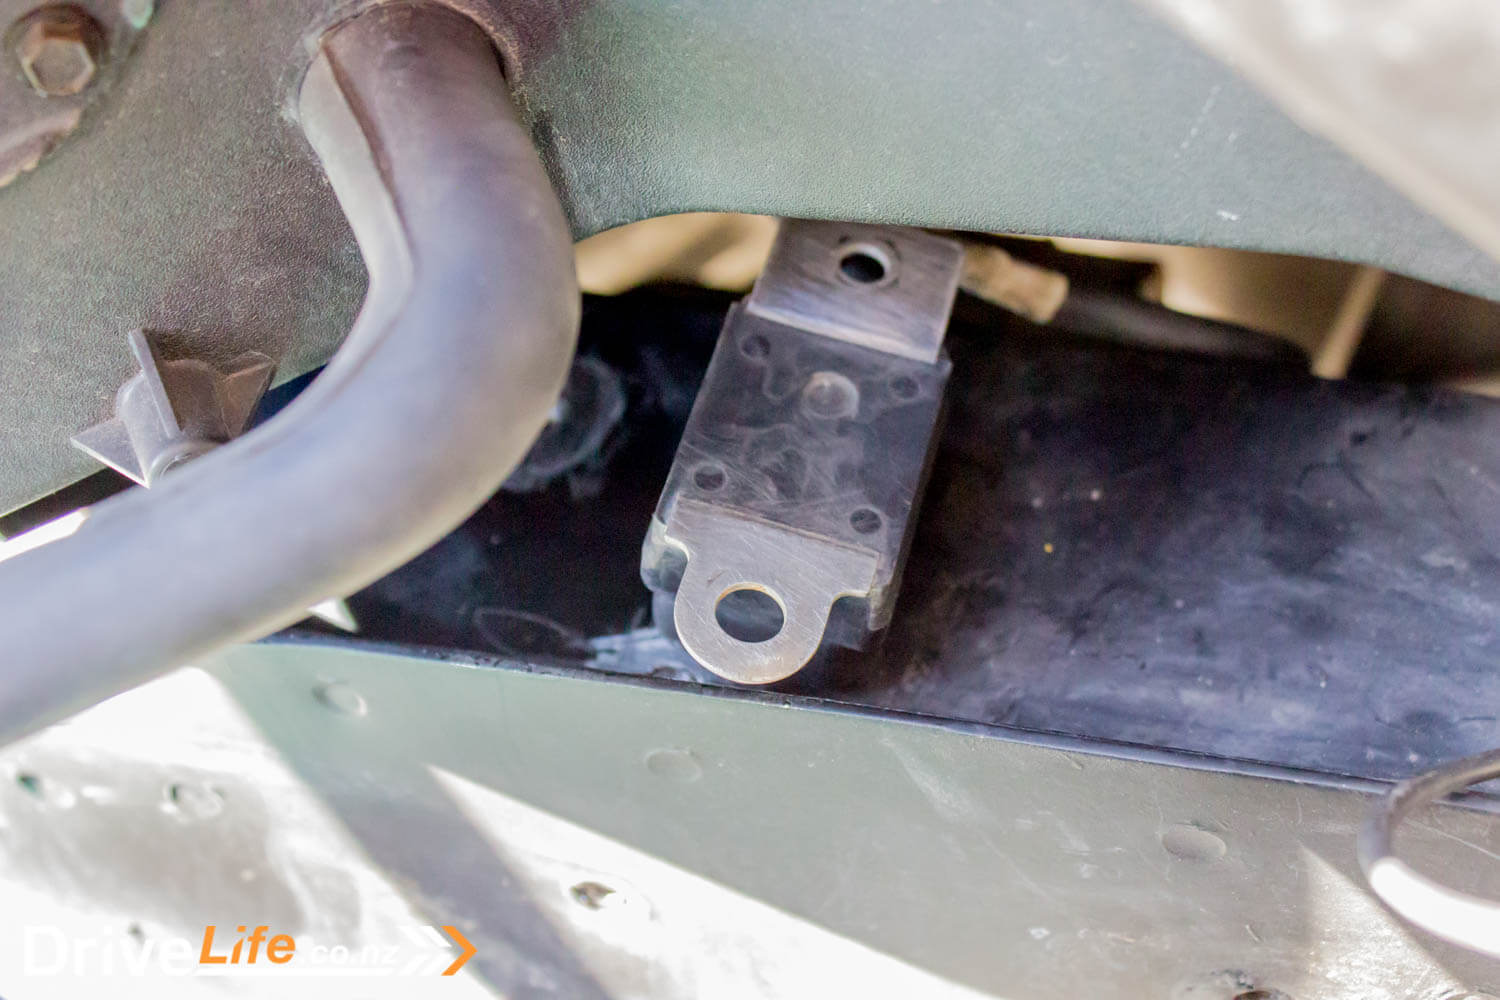
All that time spent getting to and then cleaning the sensors, and the airbag light was still on. Words were spoken that can’t be printed here, and then it was back to Google to search it up. After hours of that and getting nowhere, a call to someone else in the know of these things suggested strongly (“100%” were his words) that the DERM was stuffed.
Of course, in 1990 – the year of our Corvette – there were two DERM models, and you can’t switch one out with the other, so we’d have to actually get to the DERM to identify it, before even trying to find one. This was easier said than done, by a country mile. The DERM in the C4 Corvette is bolted right up the front of the firewall on the inside of the car, behind, well, everything. There was no way I was going to get to that on a Sunday in Auckland, so my friend suggested he’d have a crack at it.
Four days later, he got to the DERM. I wish I was kidding. But find it he did, we got the model number and then found one on eBay for US$99, plus shipping. I could cope with that. Of course this meant more waiting, but there was nothing I could do.
In a few weeks the DERM arrived, it was installed by my friend, and the airbag light went out. There are more words I can’t print here to show our elation that the replacement DERM worked.
So that was it – the car was ready for its compliance check. More time passed until I could get to Auckland, and this time we booked it into Custom Compliance Workshop (CCW) in New Lynn, Auckland, for a Monday in early July. CCW do compliance checks on lots of American cars, so they should be a good choice. But there was still a problem; I’d only have a Monday to get the compliance check done, and we weren’t sure that was going to be enough time.
There was one solution that might help – my friend and I would remove all the interior trim that was required to carry out the internal part of the compliance check. This would save both time and money. CCW came to the party here too, by changing their normal process. The first part of the check would be under the car, then after that they’d do the interior checks. That meant it would be a lot easier to get some of the trim back on after the interior check – some of it, mainly around the seat belt mounts, would need to be reinstalled to pass compliance.
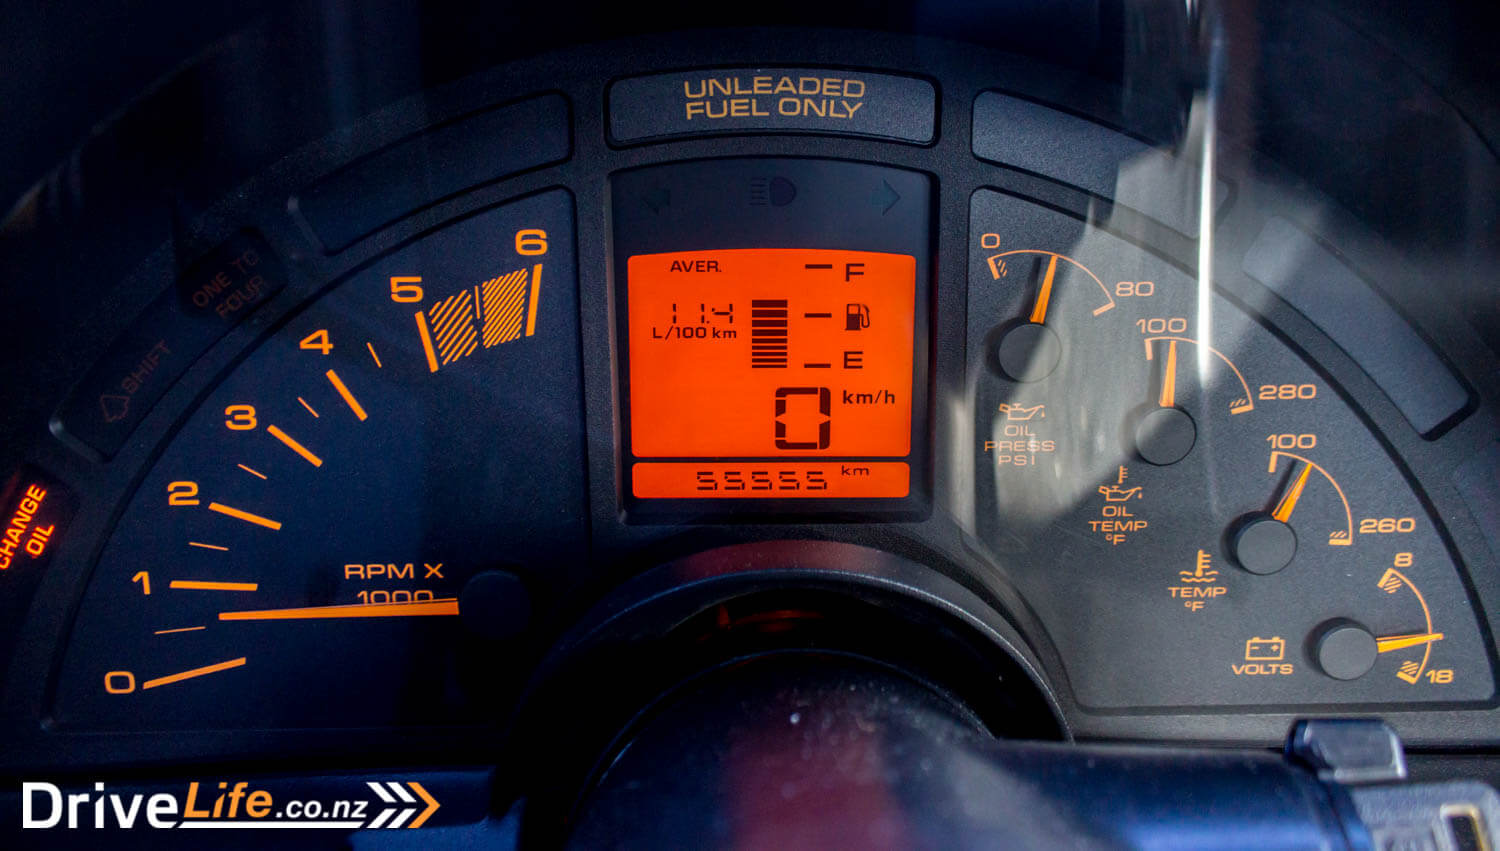
And this is not allowing for things like any damage under the car, or modifications that would need to be certified. Luckily, we’re pretty sure our car, with just 55,000K on the clock, is unmodified and has not been played with – especially around compliance check items like suspension and drivetrain.
MONDAY
Much like when we dropped the C4 in to the New Jersey Kiwi Shipping depot, it’s pouring down in Auckland today.
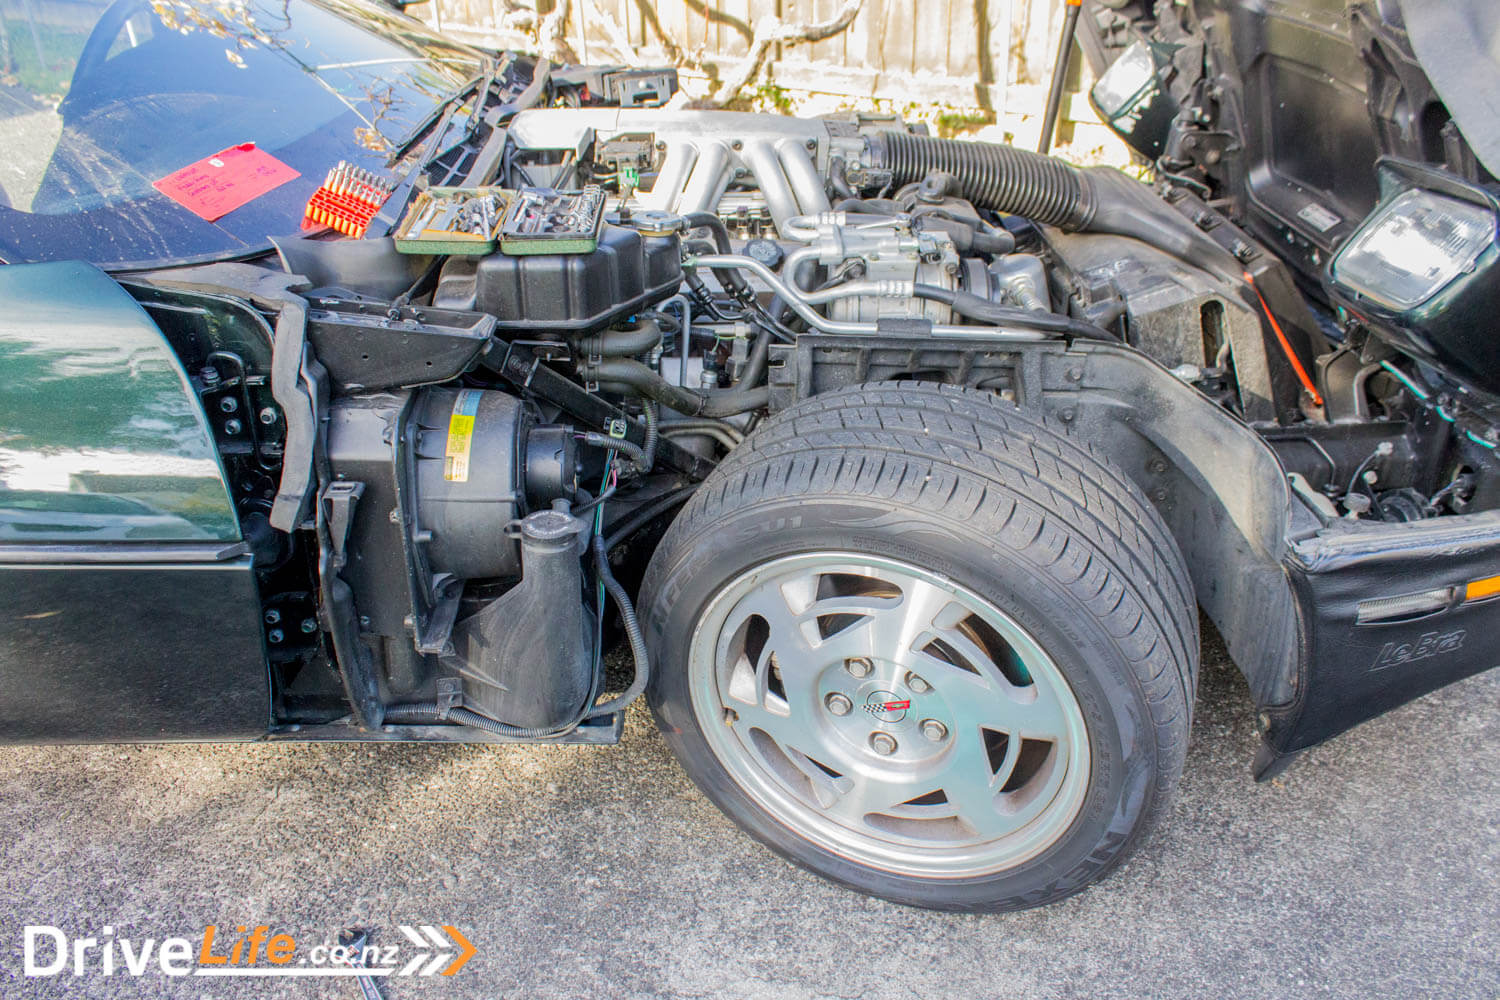
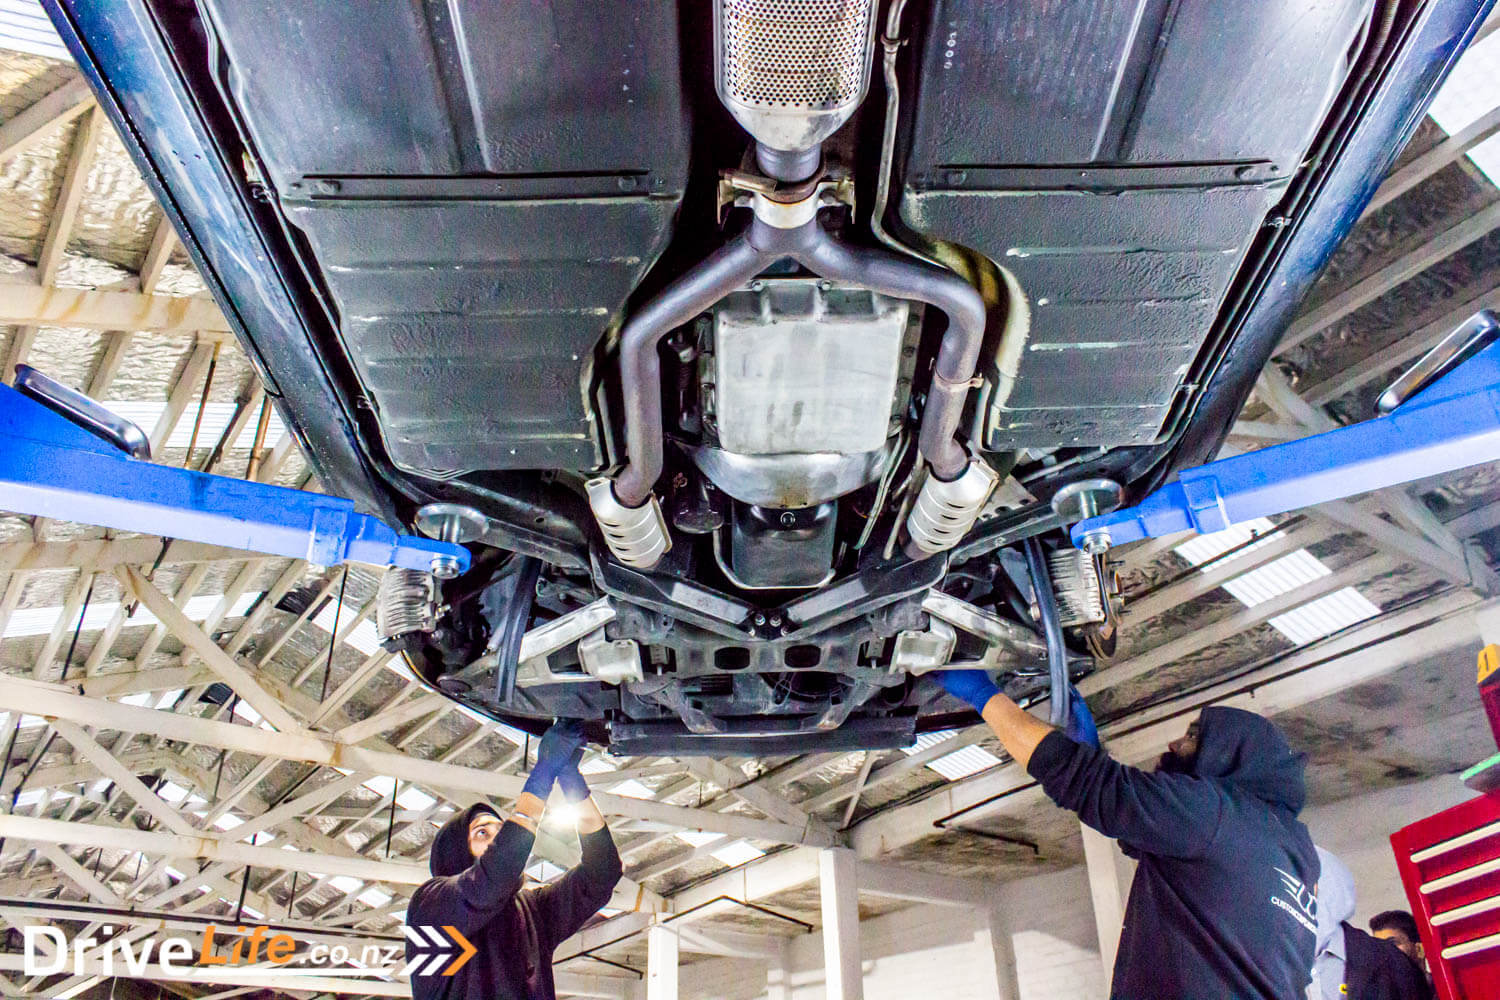
Regardless, USA title in hand, at 8am on a Monday we transported the Corvette to CCW and crossed fingers. CCW couldn’t have been more helpful, and quickly we had the compliance inspector checking the car over to see what else needed to be removed. That was only the lower seat belt mounts (one bolt each side) so not too much extra time. The Corvette went straight up on the hoist, wheels removed and brakes dismantled, as well as the front inner wheel arch guards.
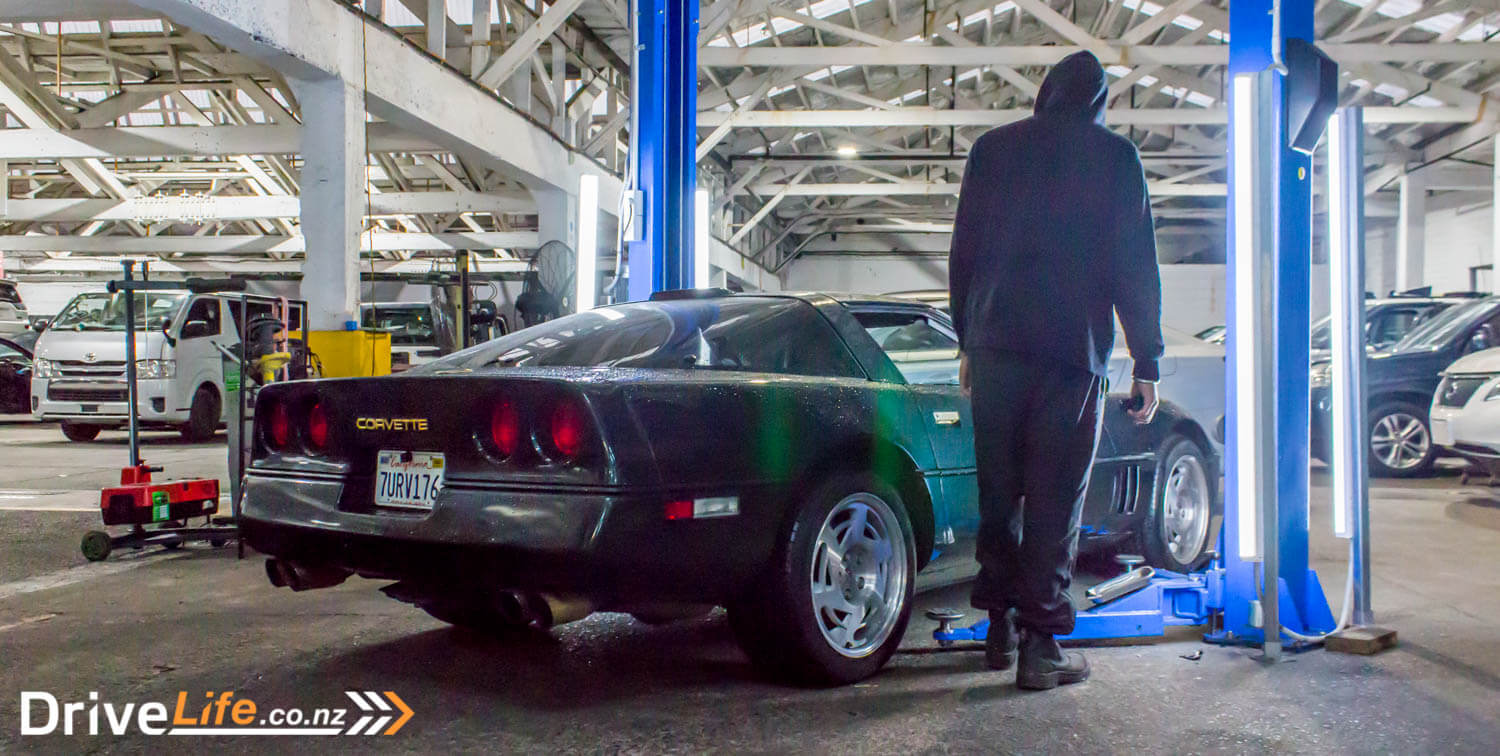
Well, we’d like to remove the inner front wheel arch guards, but there’s that blasted car bra (‘Le Bra’) on the front of the car stopping them from coming off. I left this on in the US as I didn’t know what to expect to find under it, and thought it was worth having the bra on for the long road trip to protect the car from stone chips. It did its job, but it’s time to remove my bra. Minutes later it’s gone, it looks pretty dirty at the front, but already the car looks so much better.
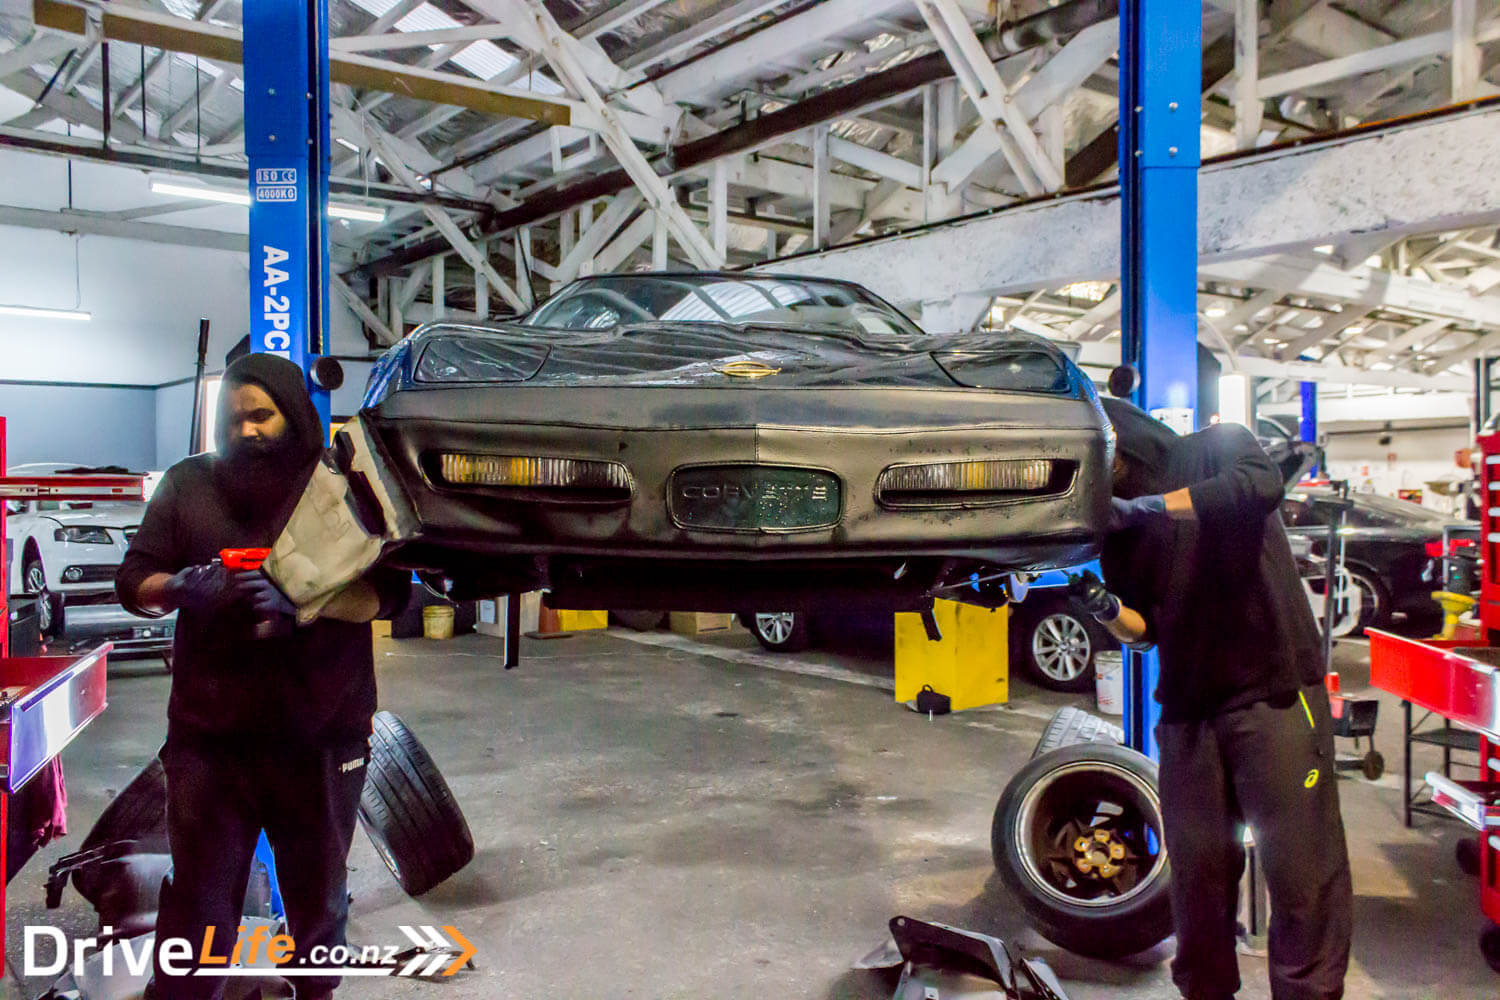
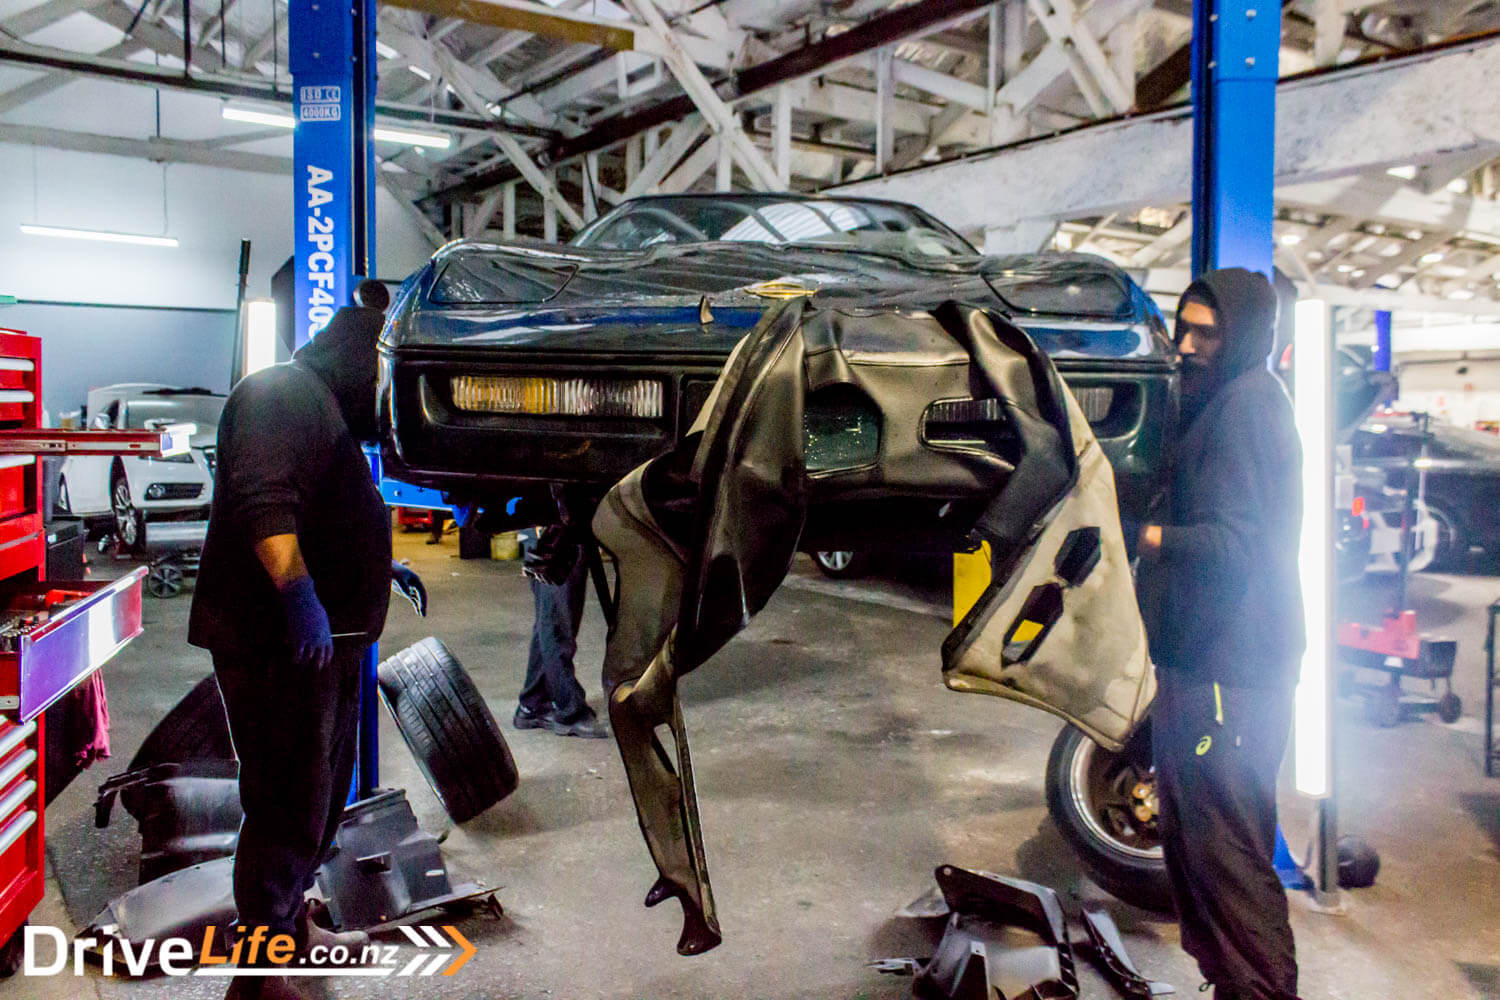

We pull the inner guards off at the front. Any guard or cover that goes over the chassis has to be removed so the inspector can check the chassis for damage, rust, modifications, or repairs. Since the rear part of the chassis can be seen easily, we didn’t have to remove the rear inner wheel arch guards.
Inspection light in hand, a lot of time was spent checking the chassis out, but everything was fine. The inspector mentions that for a 30-year-old car, he was expecting to see more rust, but there just isn’t any. Our pre-purchase inspection in LA in May last year has paid off. CCW’s manager says last week they had three American cars in for compliance, and all got sent off for rust repairs.
The inspector keeps poking around, and checks the brake pads for thickness, and also to make sure they have the correct standards stamped on them. They do of course, and next the discs are checked for thickness. These are new so I have no concerns they will pass. The tyres too are checked for tread – they’ve done just 11,000km so plenty of tread – and then the tyres are checked for standards as well. “You’d be surprised how many tyres from countries like Thailand and Korea we get that don’t have any standards on them. They get thrown out,” he says.
All the lights including the tail light lenses are checked for standards as well. While all the inner guards are off, the inspector marks his initials on parts where the chassis is covered, to show it’s been inspected.
In 90 minutes, the underside of the car has been inspected, and wheels put back on. But then other things are checked, and it looks like there’s a problem at the back end; the rear wheel bearings have too much play. We try to tighten up the wheel bearings, but no joy. I got these checked in LA before our road trip, and they were fine. Of course, this means we have to find new wheel bearings, and on the C4 Corvette, it’s not just a wheel bearing, it’s a complete bearing/hub assembly. I feel like this is entering into hen’s teeth territory. I start ringing around to see what I can find, and end up talking to Georgia at Repco in New Lynn. She blew me away with how helpful she was, and says she’ll call me back. Minutes later she does call back, and she’s found some at the St Johns (Auckland) branch of Repco, for $170 each. I can’t believe it, but ask her to courier them ASAP to the New Lynn branch.
We can’t do any more with the bearings for now, so the car comes down off the hoist for the rest of the checks for compliance. And then we strike the next problem; the serpentine belt is cracked. Since it’s a single belt that drives the power steering, it has to be replaced. Another heart-sinking moment; can I get one today in New Lynn? Another call to Repco New Lynn, and guess what? They have one in stock, $100. We go and grab that while the inspector continues to inspect. As expected, he checks the rear window tint. The regulations say it can’t be less than 30%, and after testing comes back at 5%. Not even close, so the tint will have to come off. The side windows are tinted, but since it’s a factory tint, are not even tested.
The wheel bearings arrive, and they look like the right ones but only time will tell. We’re not going to do any of the repairs yet, until the compliance (and WoF) checks are done.
The Corvette is driven over to the brake rollers, and passes no problems. Lights are checked, and only the rear high stop light is not working. We’ve pulled a lot of the interior apart for the compliance check, so likely it’s something we’ve left disconnected.
After this, the compliance check is over, and we’ve got our list;
- Replace the rear wheel bearings
- Replace the serpentine belt
- Remove the rear window tint
- Fix the high stop brake light
CCW aren’t able to start on the wheel bearings and belt yet, so I decide to fix the rear stop light.
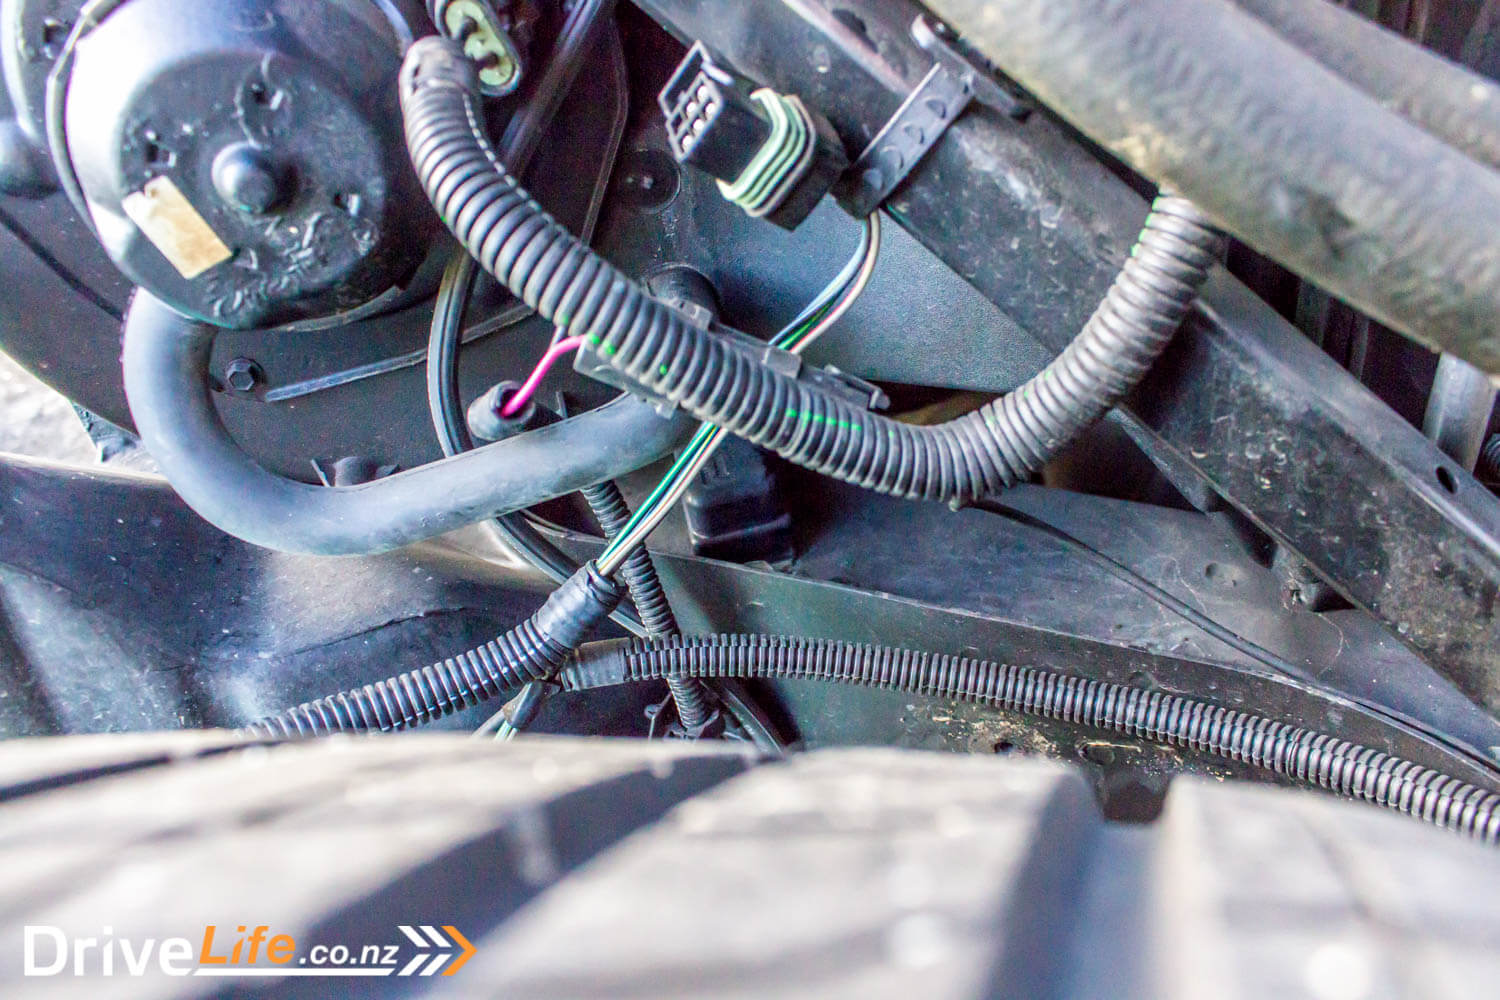
There’s two bits of trim, split in the middle, that go right over the roof behind the removable top. We had to take these off to expose the seat belt mounts, and it’s 99% likely that we’ve not plugged the high stop-light back in. So this means pulling the seat belt mounts off again, and all the screws holding the trim in, and to remove the trim you have to take off the removable top. I do all this, and find nothing wrong. The plugs are plugged in, and everything feels good. Time to check for voltage, so we grab a circuit tester and find there’s no 12 volts getting to the rear stop light with the brake pedal pressed. After some discussions, I have to think: when I did last see the high stop light working? We’ve got to throw all assumptions out now, and start looking further. So we pull off the USA number plate and other pieces to trace the wires back to the rear brake lights, where it looks like the wire from the high stop runs to.

You can’t actually get to the taillights at all, but from what we can see, it looks ok. One and a half hours gone now, and no progress, and we’ve got more off the car pulled apart. Time to Google it. Bingo! It’s the brake light switch. They’re a bit finicky and prone to maladjustment. Can I just say, there’s no room under the steering wheel, and the whole footwell area is tiny, and cramped. I wedge my body over the high sill – it’s already digging into my ribs – and remove the cover under the steering wheel. I can sort of see the brake light switch and the wires attached to it, but only just. I end up using my phone’s camera to show me the switch. It looks fine, but is wobbly on its mount. More Googling, and I learn you have to push it in with the brake pedal down, and then pull the pedal back up to set the position. Since I can barely get one arm in there, it’s almost impossible. I withdraw my body from the cavity, and have a go at doing it by feel.
A few more cuts and scrapes and I get my fingers in place, and manage to push the brake pedal down with my other arm. I hear the desired clicks, and release the brake pedal. Time to test, and success – all the brake lights are going.
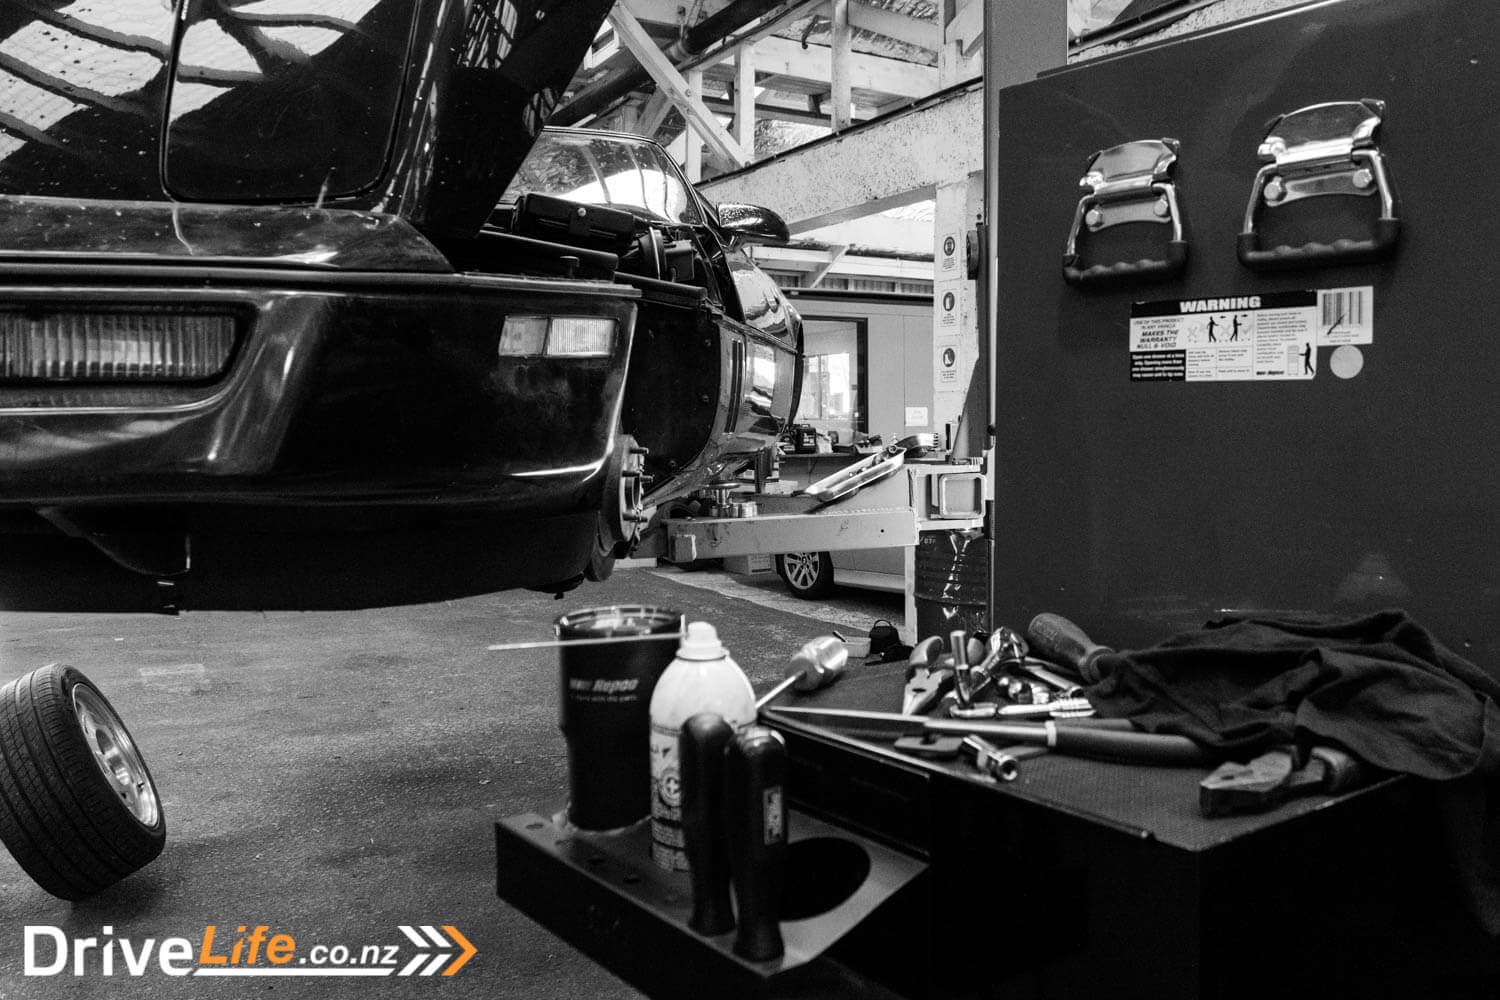
That done, I am stuffed, and leave the C4 there. CCW are going to get the wheel bearings, serpentine belt and window tints sorted tomorrow. I’m hopeful that we’ve got the right parts, and they can get it done by mid afternoon, so I can get number plates and head home on Wednesday. I’ve still got a lot of trim to reinstall, but as long as I have number plates and a WoF, I can live with that.
TUESDAY
Today would be a hard day for me. I wouldn’t be with the car, and since CCW couldn’t do any work on the wheel bearings or serpentine belt yesterday, it would be a gamble that we’ve got the right parts. Trying to stay positive wasn’t easy, especially after getting no ‘it’s finished’ phone calls. At 4pm, I got the call that the wheel bearings were done – so were the right parts – and the serpentine belt was being started on. The window tint had already been removed, so that was a bonus.
So that was it – the day was over, but there was no way the car would be done in time for sign-off for compliance, so I’d have to wait until the morning to get that done. From there, it’d be time to get some number plates, screw them on and hit the road.
WEDNESDAY
Today started with a severe weather warning for Auckland, with possible tornadoes. It might be just my luck that one hits while I’m here.
A quick trip to CCW early in the morning sees some not-happy faces. The serpentine belt won’t fit – it’s the wrong one. This is the last thing for compliance, but my trip home today is looking decidedly dodgy. We decide to take the car back to my friend’s place, and see what we can do. There’s no point waiting any longer, so I book a flight home for the early afternoon, and then we get stuck into removing the old belt to compare it to the one supplied by Repco. Getting the old belt off only takes minutes, and it’s obviously a lot longer than the new one we have. A trip back again to Repco and they actually have one the right length in stock – of course it’s another $40, but at least they have it.
Back at the house, we fit the belt and start it up – perfect. Back to CCW we go, and the car is signed off – that means the USA title (ownership papers) are handed over and taken away, never to be seen again. But that’s just part of the process.
So at last we have a WoF, and we have the compliance certificate needed to register the car and get number plates. Regardless, there’s no way I’d make it back home in time for my meeting later, especially since there’s still a whole lot of interior trim that’s just hanging there.
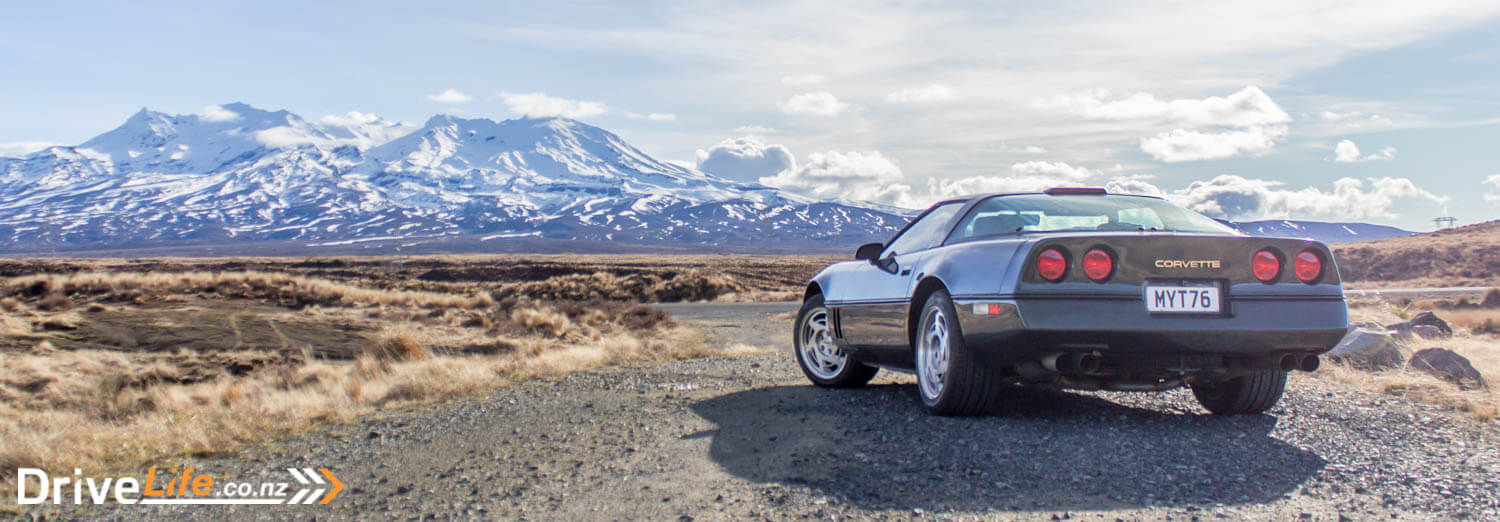
So that was it – we were foiled by a fan belt. I’ve booked flights back in a few weeks to pick the Corvette up, and it should be as simple as a road trip home. Driving through the Desert Road in winter is not the worst way to finish this saga.
TWO WEEKS LATER
At last it’s time to head back to Auckland and road trip the C4 to Wellington. After 11,000km driving on the wrong side of the road, it’s going to be 600km straight home with me on the left. A quick fill up with premium gas ($120) and we start cruising through Auckland, heading to the Southern Motorway. Around town driving sees the car using petrol at 23L/100Km, and the full-tank range is 263Km. Really hoping that’s going to improve.
We hit the motorway, and by the time we get to the Bombays, fuel consumption is down to 16.6 – still too high. The car is purring though, and even with the hugely lower open road speeds compared to the US interstates, it’s humming along nicely. There’s a slight burble out the back, but otherwise inside it’s pretty quiet.
Very quickly, we’re getting used to the lack of storage space. There’s no door pockets (the sills are too high), and not much more than a tiny centre console cubby. But hey, a road trip is a road trip. Hamilton appears soon enough, and fuel is now down to 11.5, much more acceptable. Even though it’s the last day of the school holidays, traffic is surprisingly light.
Nine hours and 600Km later, we get home. A gentle drive from Waiouru and our overall fuel consumption works out at 10.8L/100Km, something I’m more than happy with. It’s a 30 year-old V8 engine after all, so for me 10.8 is right on the money.

TOTAL COSTS
Here it is in all its glory – what it cost me to do this, right down to getting the car on the road in New Zealand. Keep in mind when we went to pay the shipping costs, GST, port costs etc, the NZ$ was very, very low. I estimate it cost us a good NZ$2,000 extra because of the exchange rate at the time.
| Total Landed Cost | NZ$15,693.70 |
| Compliance | $300 |
| Rear wheel bearings – parts | $340 |
| Rear wheel bearings – labour | $240 |
| Serpentine belt | $130 |
| New vehicle registration | $426 |
| TOTAL ON-ROAD COST | $17,129.70 |
Remember the compliance cost is with me and a friend removing the trim, so that saved me time and money.
Of course this doesn’t include petrol, accommodation, insurance etc in the USA – or the maintenance and repairs we did in the USA:
- Service
- Tyres (or tires)
- Shocks and brakes
This is simply the cost of buying, importing and complying our Corvette.
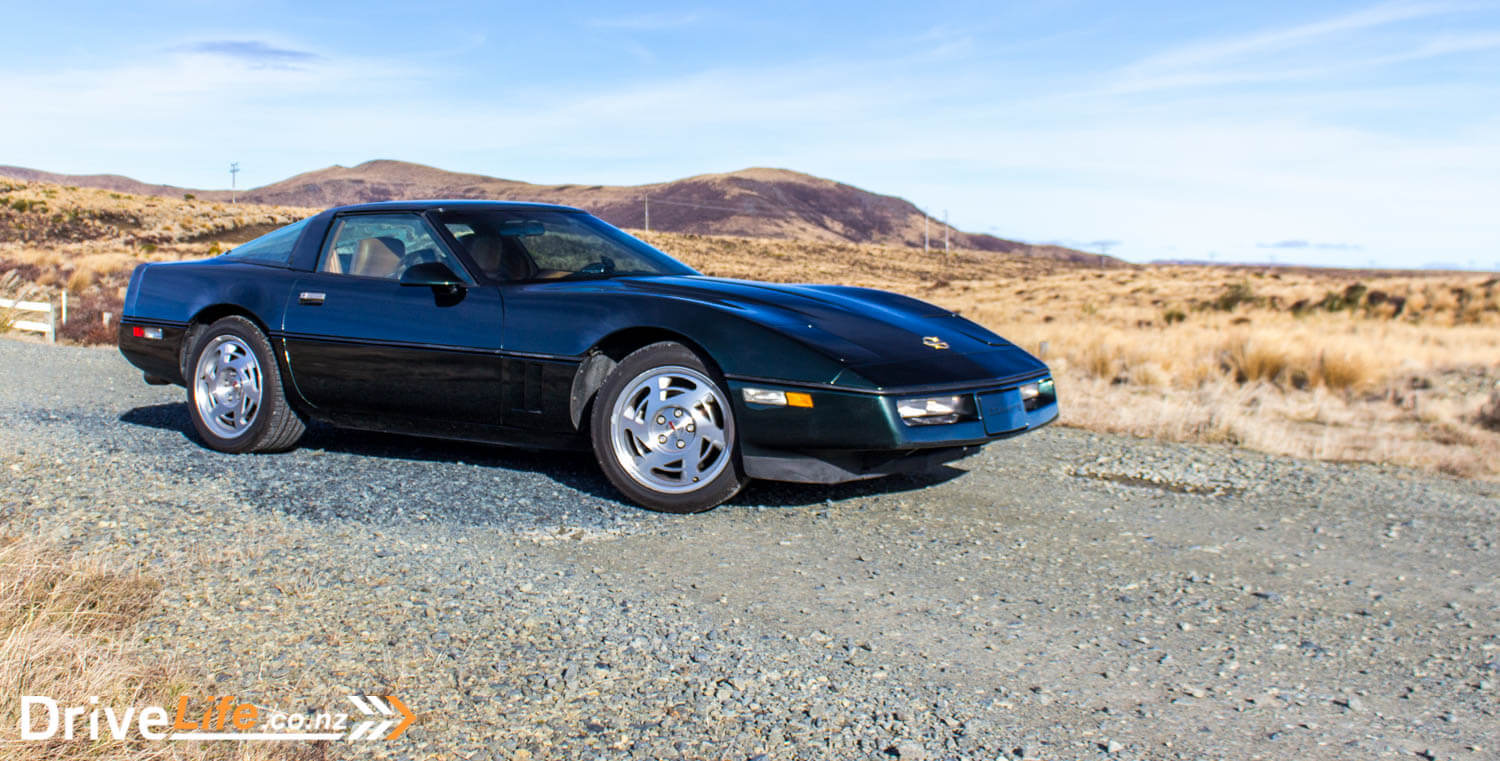
So for just over $17K, we’ve got the car we drove across the USA, it’s had two owners from new and has just ticked over 56,000km. That’s extremely low for a 30-year-old car. It looks like it’s only done that many Ks too; inside and underneath, it’s like new. A bargain? Not quite, the C4s can still go for surprisingly little money in New Zealand, but it’s our C4, and we love it.
YOUR TURN
You would think by reading this, I’ve been put off ever doing this again. Nothing could be further from the truth. I had a great time selecting which car we were going to buy, over a year ago. Then it was the process I enjoyed even more – searching Craigslist daily for ‘our’ car, remembering that we had a budget of just US$5,000 (I know, we blew the budget, but not by too many $$).
Then it was on to planning our USA Road Trip from LA, following Route 66 from end to start, finishing up in Chicago. But that wasn’t even half our trip done. We went on to do another 6,000km across the USA, and then up the east coast eventually crossing over 23 states.
Priceless memories, and all made in our 1990 C4 Corvette, which we now have with us.
Would I do it again? In a heartbeat. And you can see I’ve been free with the numbers here – US$7500 for our own American sports car – a Corvette no less. If anything, you should see that you don’t need a massive budget to do what we did.
Okay, the borders are shut right now, but that doesn’t mean you can’t start saving your cash, and planning your trip now. You’ve got the time to spend deciding which model/models you want to look at, start researching prices on Craigslist, and then plan out your USA road trip.
You need to remember those three, simple words. Just Do It.


