

It’s great to be finally getting to the stage where I’m having to consider things like brake and power steering fluid etc as it’s a sign we’re getting close to this car being able to move, stop and steer under its own power, one of those rare watershed moments in such a build.
With that said however, it turns out that this isn’t as straightforward as it would usually be, surprise surprise ! The reason is down to the fact that because the front end of this car is so low, it doesn’t leave any headroom for the fluid reservoirs to sit above the items they need to feed. These are usually gravity fed and so have to sit above the items they feed or else the fluid will never make it there.
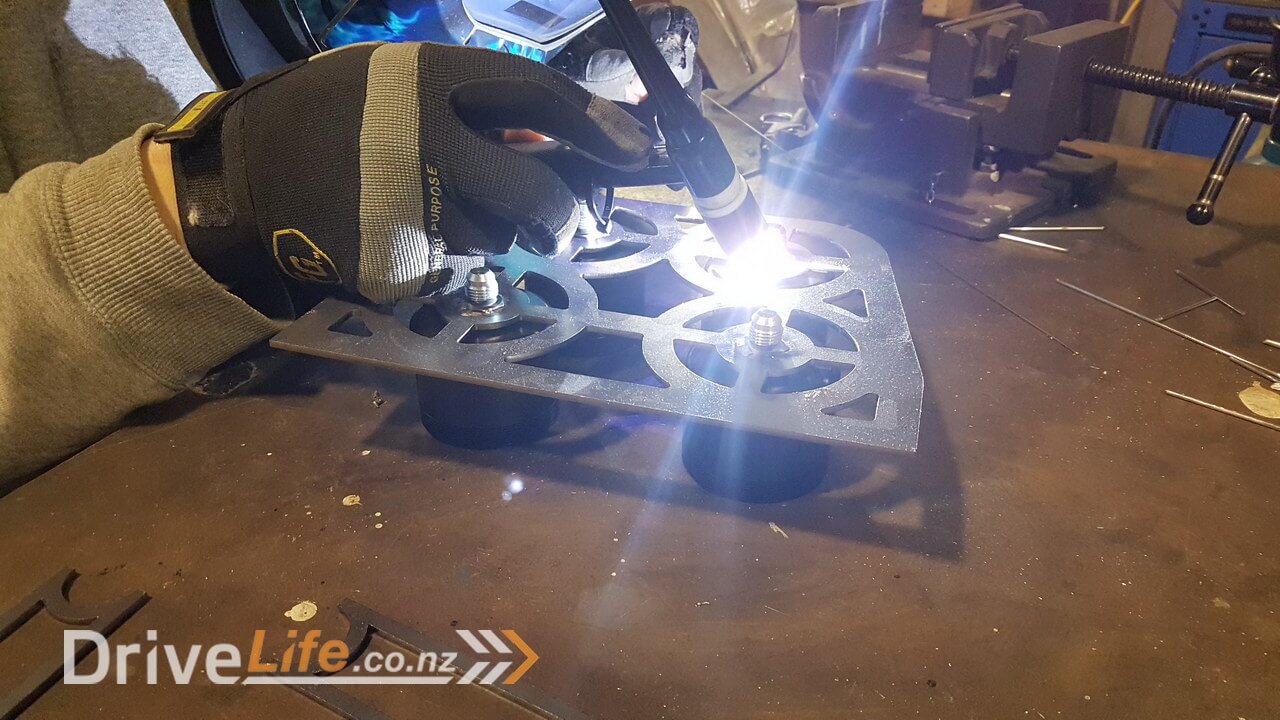
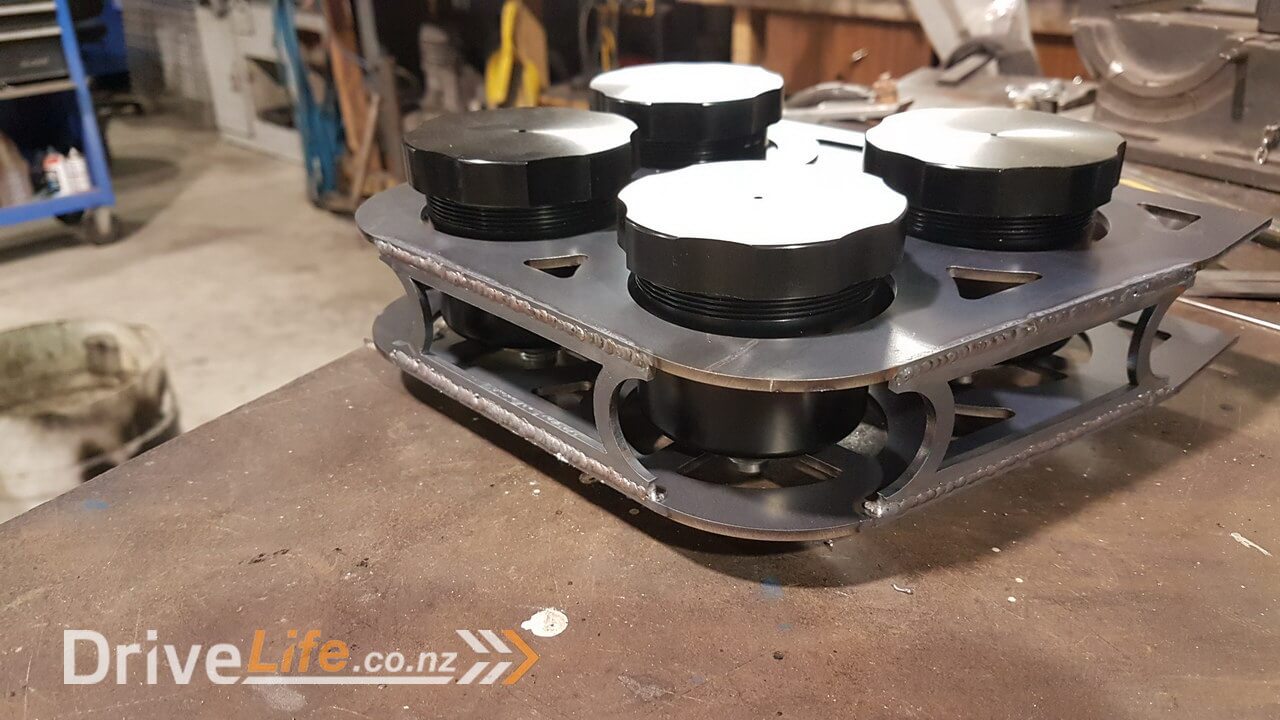
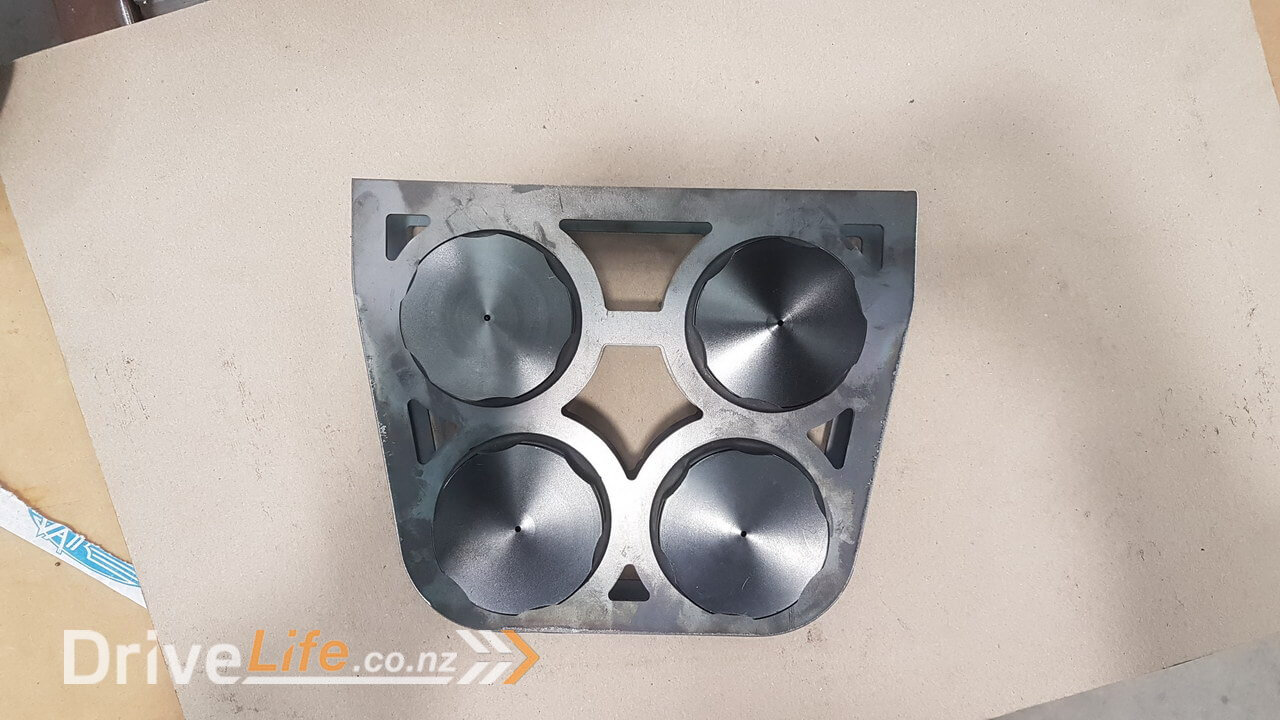
With the lack of headroom a clear issue the only real solution was to move the reservoirs to the rear of the car where I could mount them higher than the brake, clutch, power steering etc. It does mean I have to have long pipes to take the fluid down the side of the car, but technically there is no reason this can’t work and to be honest it’s my only option. So the next step was to design something up in Fusion 360 and get O.L.S to laser cut it and then ask Zac nicely to TIG it up for me so it was nice and tidy.
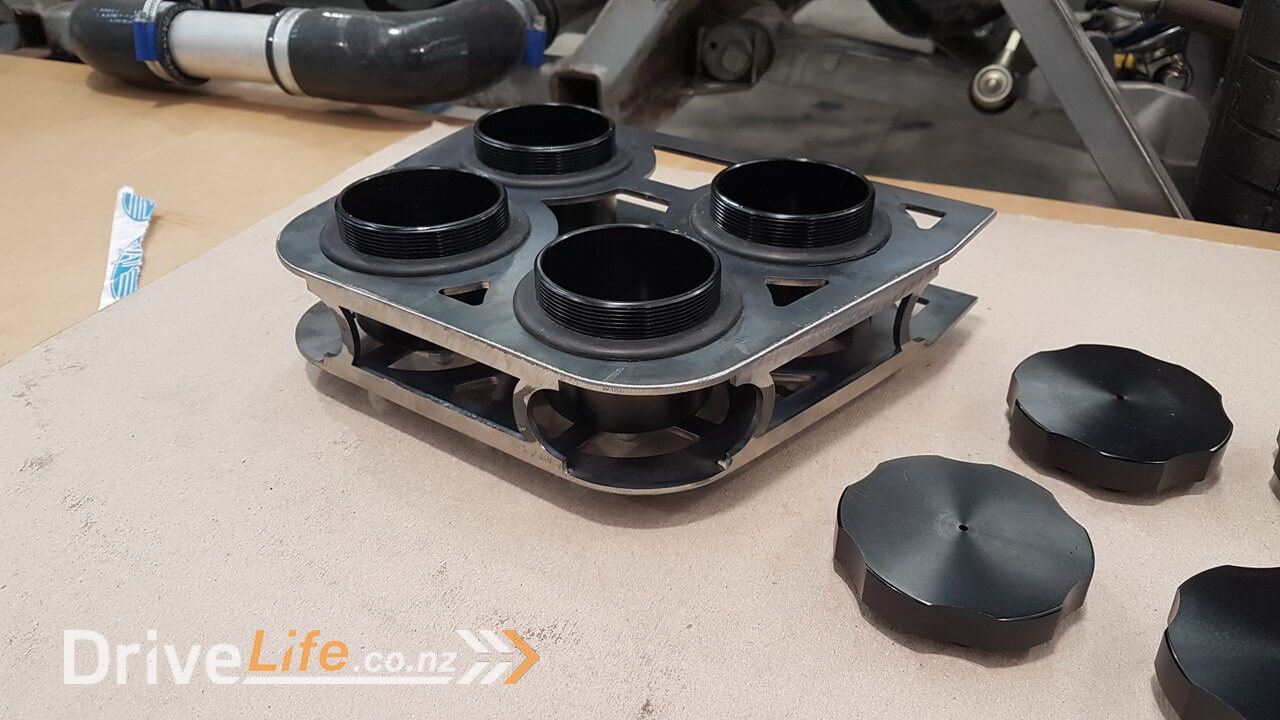
We started off by welding in some steel fittings to the bottom plate. The top side of the fittings are where the reservoirs themselves fit to and the other side has a standard AN6 fitting where the braided line will run to feed the units at the front of the car.


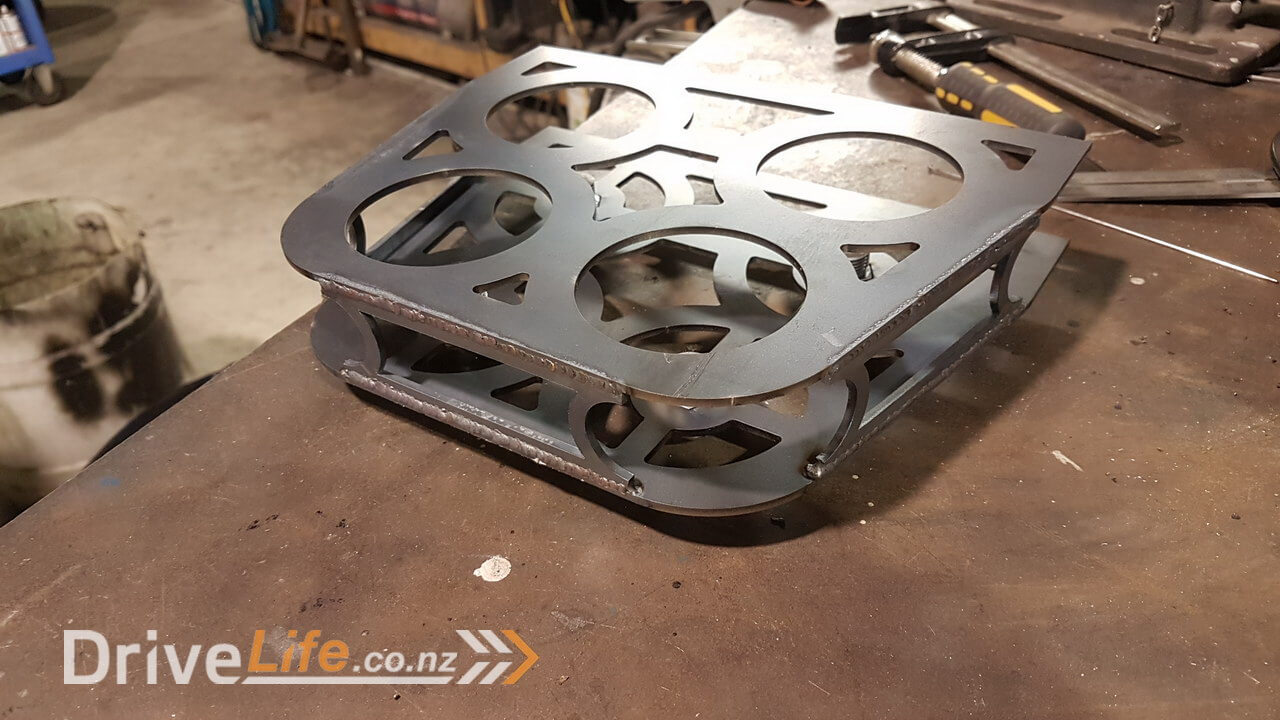
Despite all of the holes cut into this unit, it still ended up heavier than I’d like due to being made from steel, but I felt it was the easiest choice to make rather than making it from aluminium and then having to make some kind of mounting mechanism to mount it to the chassis itself.
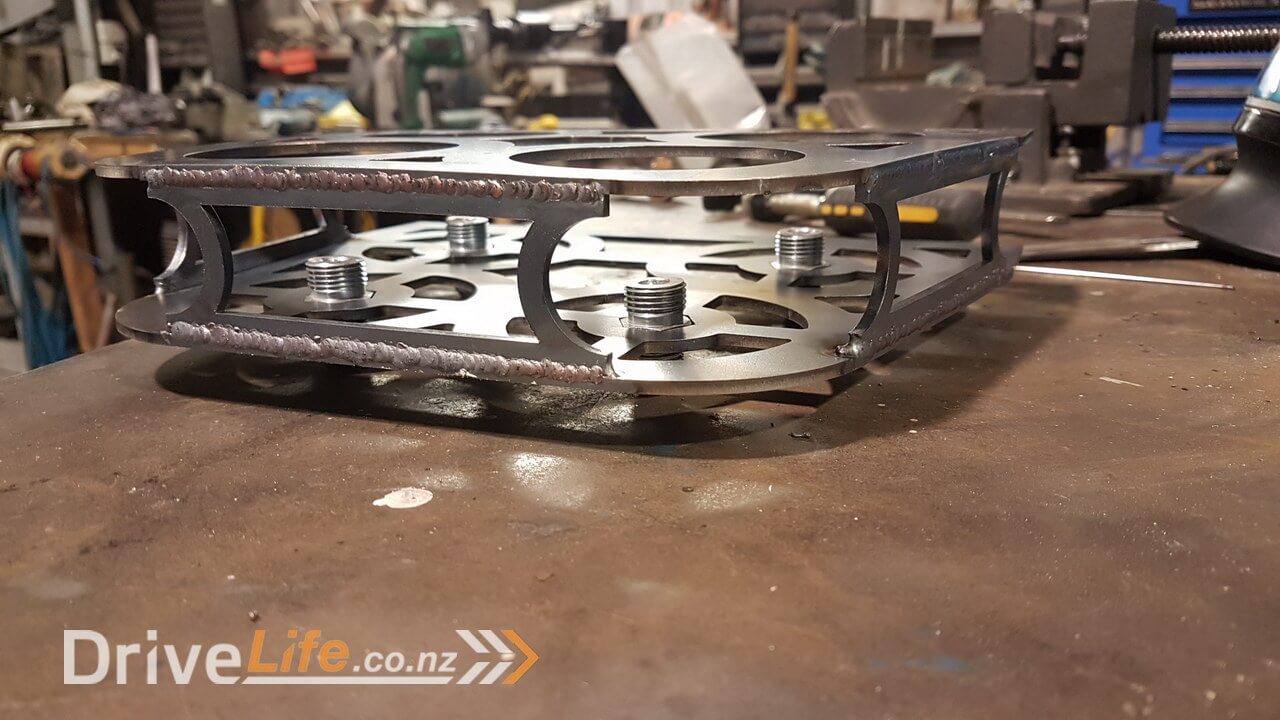
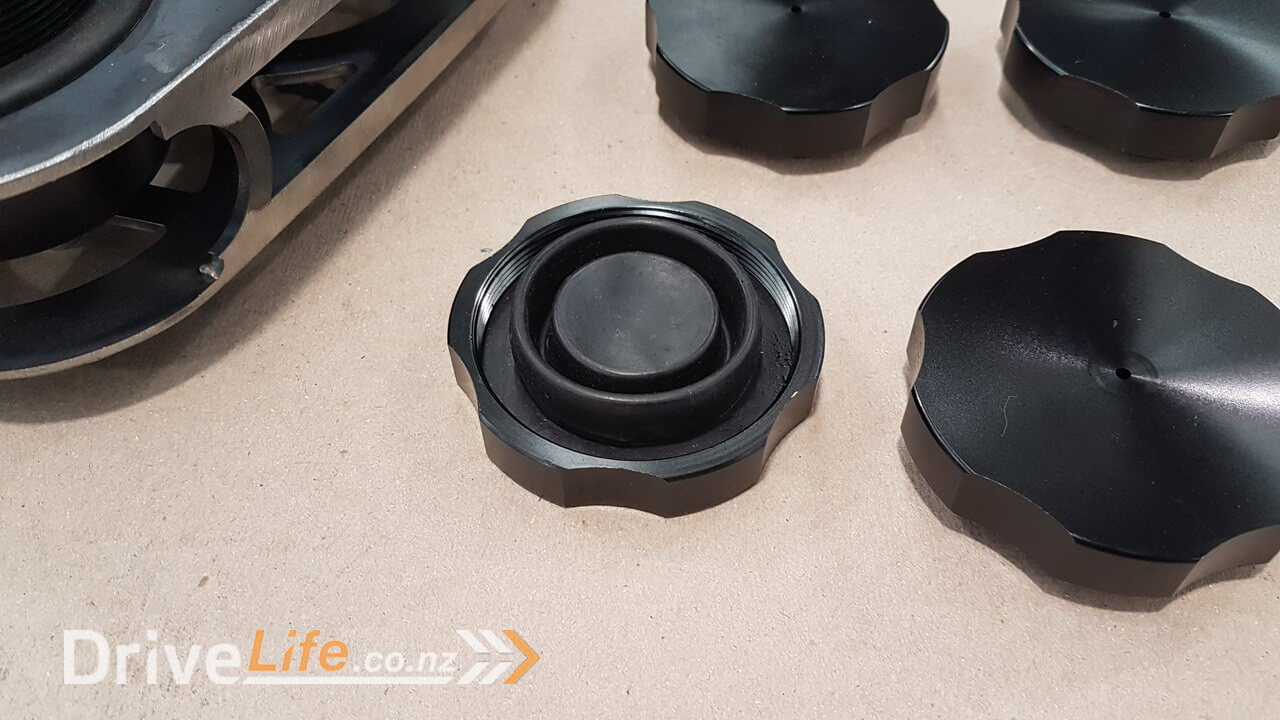
The reservoirs have a o-ring seal on the bottom to help seal against the fitting, however there is no real pressure in these reservoirs so it’s not super critical.
There is one for the brake / clutch fluid, one for the power steering / brake booster and the other 2 are for the ride height pump which allows the car to have a computer controlled ride height as it will need quite a bit of fluid.
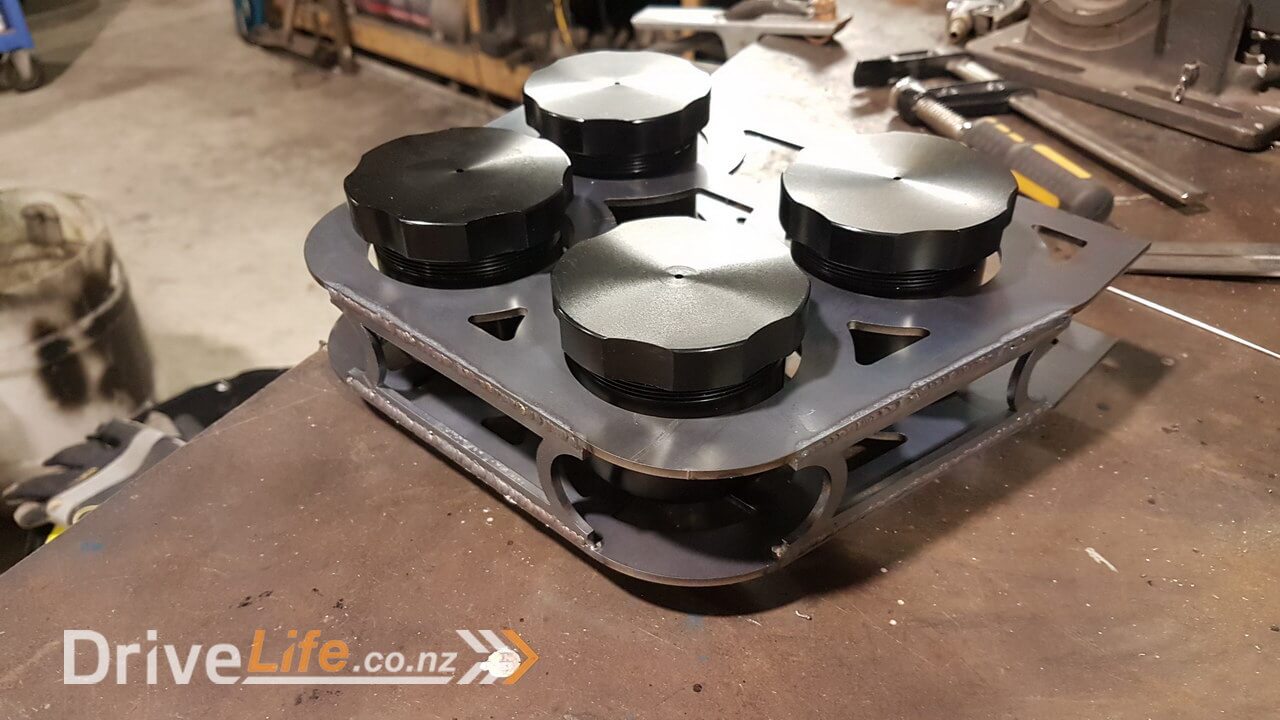
The reservoirs themselves were actually really cheap ($12 each) but I think they look great and are really nicely finished. Next I needed / wanted to find a nice clean seal for them. I hunted high and low to find someone that made a perfect side rubber seal and could only find one place in the USA and I needed to buy 20 for them to bother to sell them to me as they were a manufacturer not a retailer. They were really good about the pricing though so it made it worth while, but needless to say I’ve now got a lifetime supply of them !
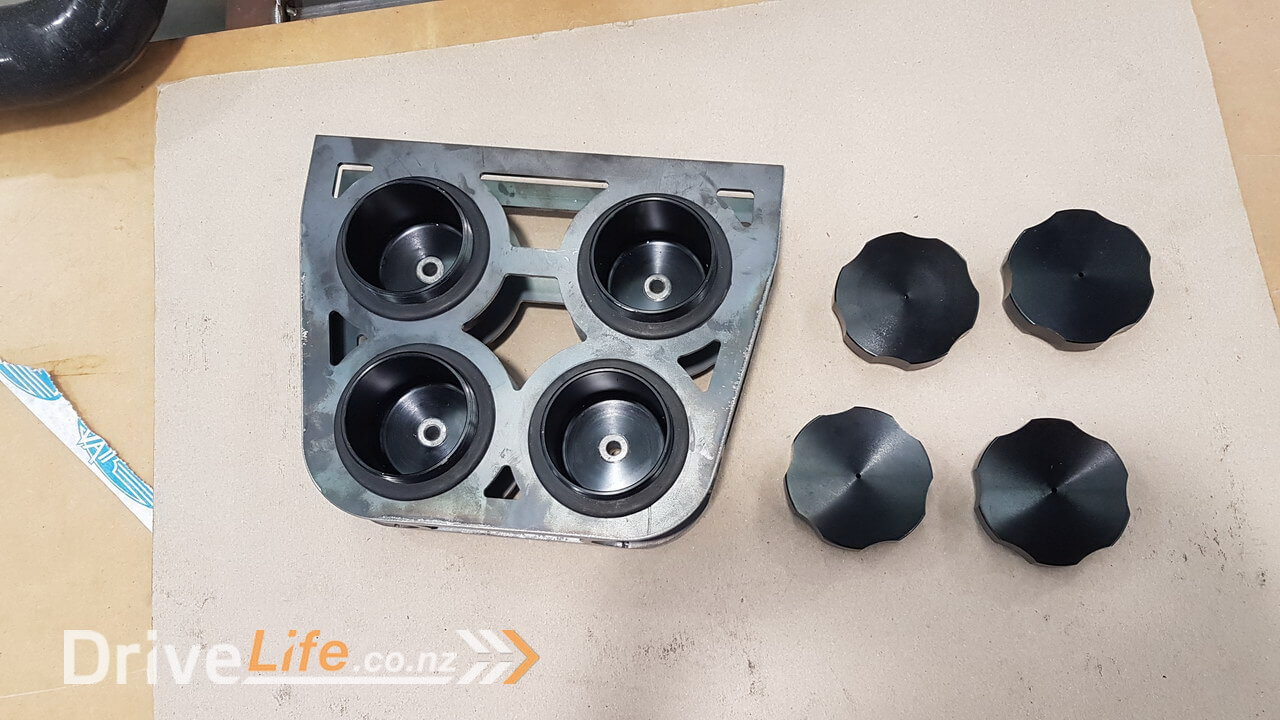
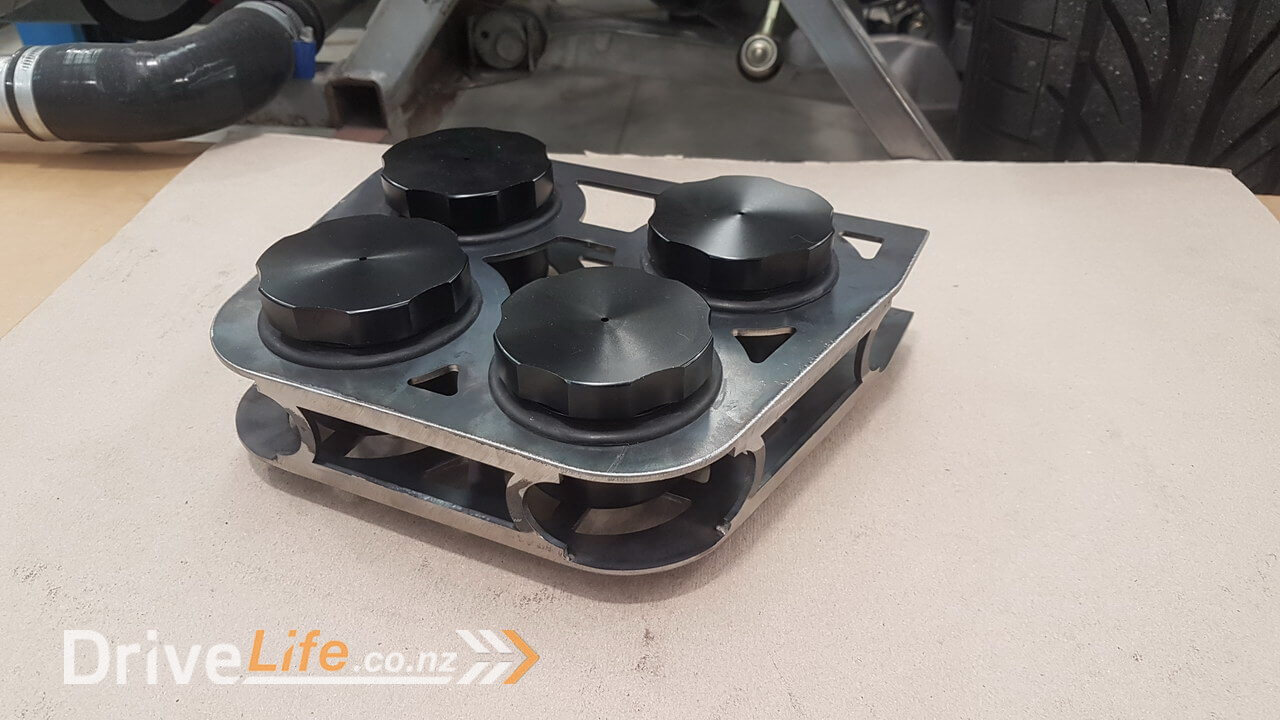
The lids of the reservoirs came with a really nice little rubber seal too, so all in all I’m really happy with the end result.
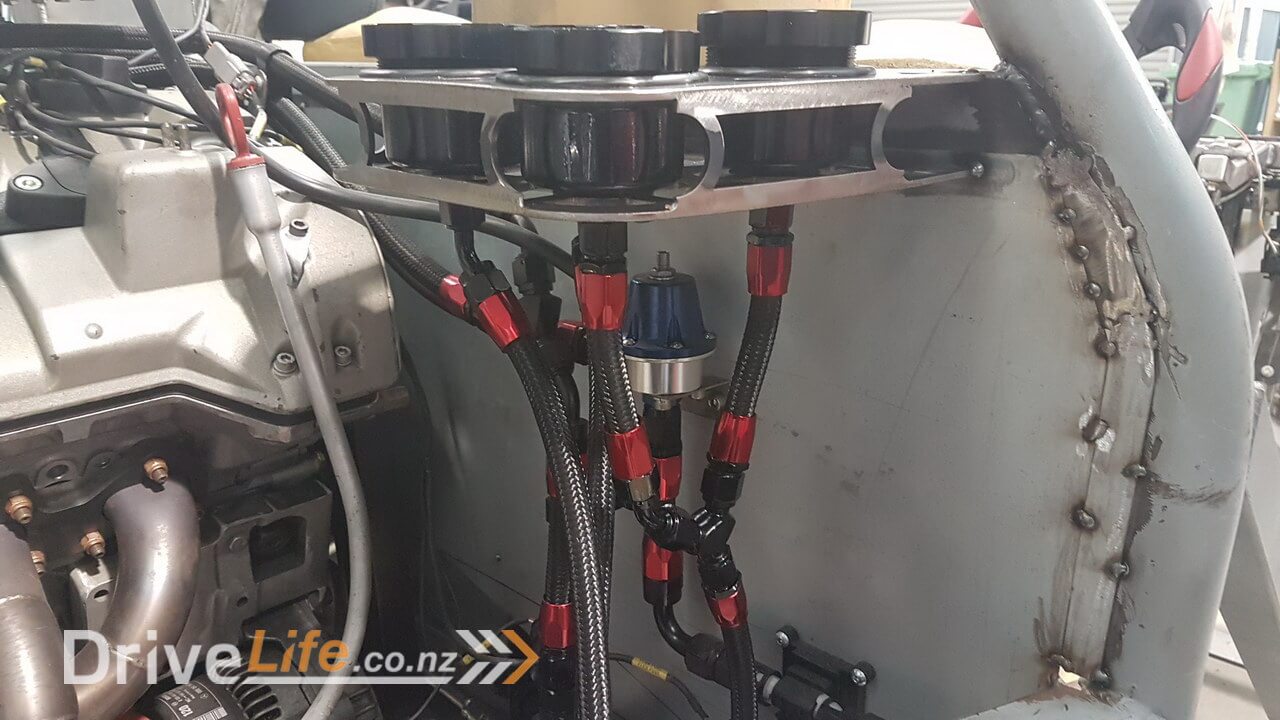
Next it was just a matter of tack welding it to the chassis behind the driver and we’re ready to run lines to the front.

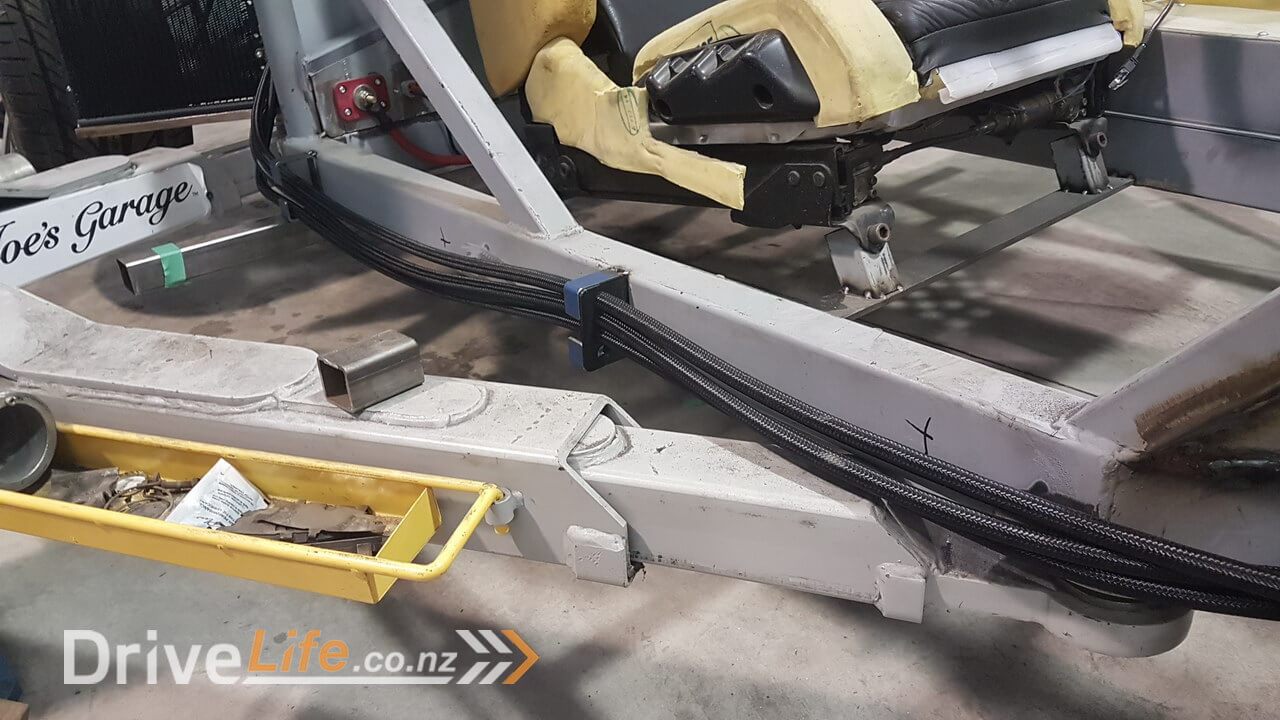
The lines run down the side of the car. They’re a bit messy now since I haven’t made any clamps to hold them, but once they’re made they will have to hold the pipes every 300mm in line with the LVVTA regulations.
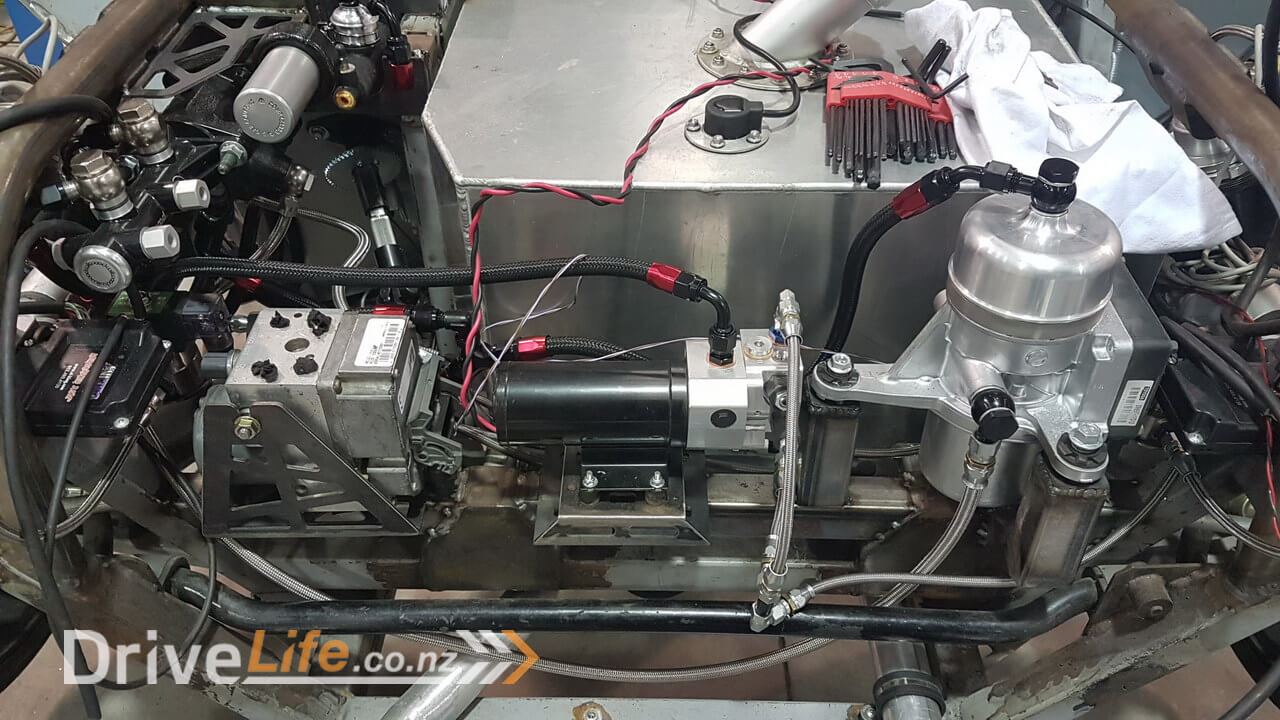
Everything is all being fed now apart from the clutch as we don’t have the clutch hydraulic release bearing fitted until the new gearbox turns up, but we’ll run a line ready for it. Here you can see the power steering and ride height pump feeds. The last part of the puzzle is to fit the hard and braided brake lines to the ABS pump, but I’ll cover that in a separate episode. It’s starting to look busy up front, but we will tidy it up once we know it all works.
Another area that I got onto was to fit the oil cooler. It’s not required for operation at the moment and might not be required for operation at all, but it’s easy to fit and it seems pointless to not fit one to cover things considering it might not run so cool once it’s closed in with bodywork.

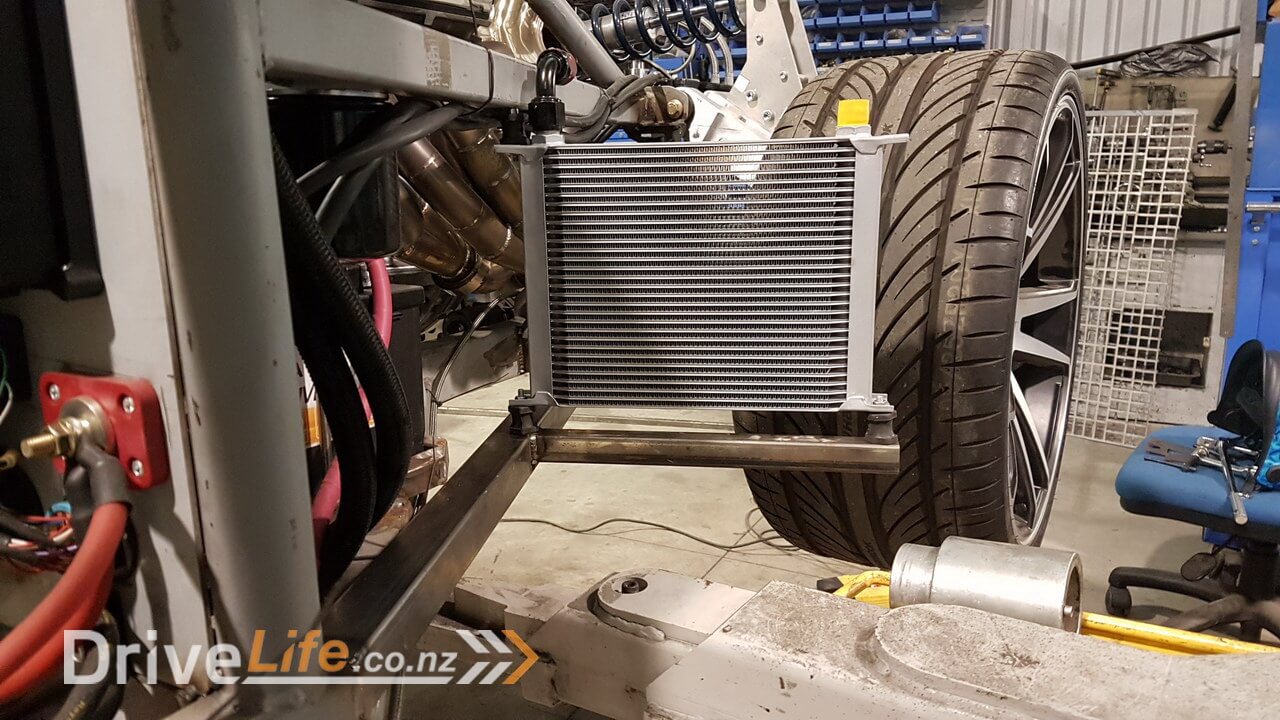
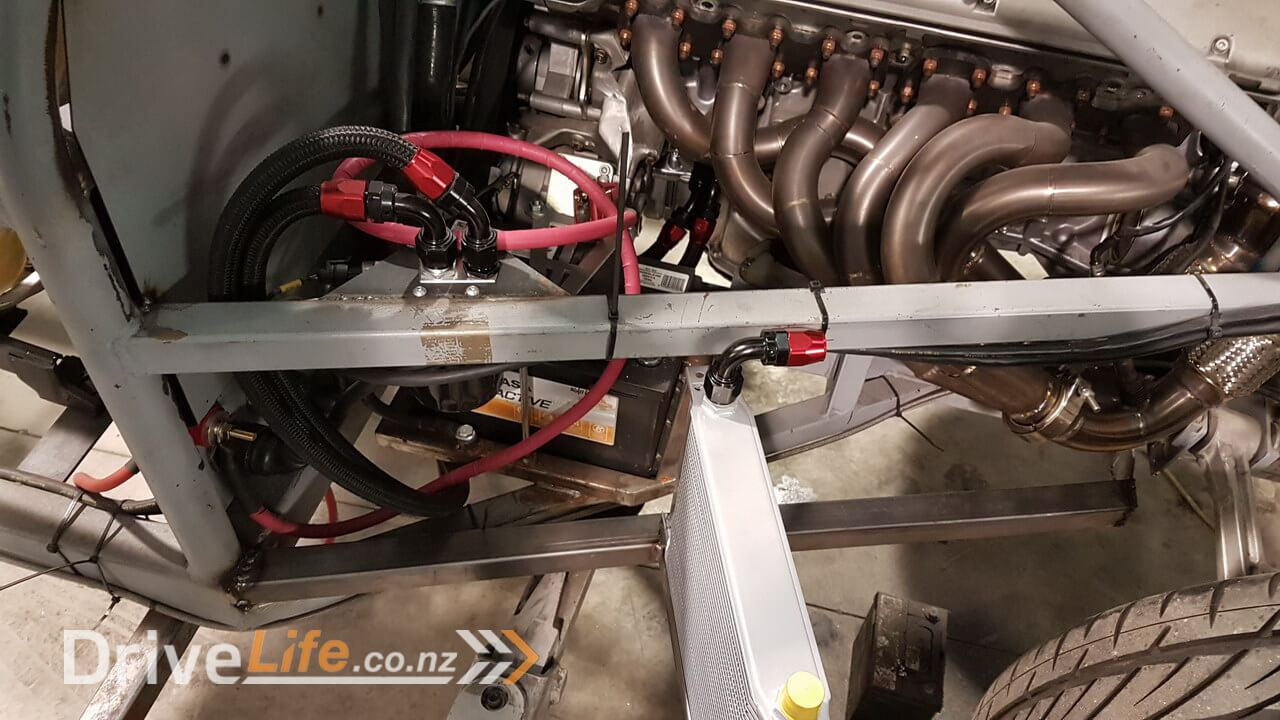
It’s not plumbed into the oil system yet, but it’s only a matter of making up a couple of braided lines which is a 10 minute process, but I don’t think I’ll bother with that until we put it back together for the final time (it’s still got to be fully disassembled yet).
Please feel free to comment or ask questions, I really love sharing and discussing our build and cars in general with other readers.
If you’ve missed the last part of our story then click here FZ12 – Part 38
or if you want to go right to the beginning then click here FZ12 – Part 1