


I can’t believe it’s been 8 months since our last update on the V8 Rapier Fastback – the time has flown by far too quickly.
But progress has been made; while a lot of that might not be visible progress, we are making decisions on what we are going to do with certain aspects of the project car, and that is progress in itself.
Here’s what’s been happening since our last update.
Project V8 Sunbeam Rapier Fastback: Gearbox change of plans
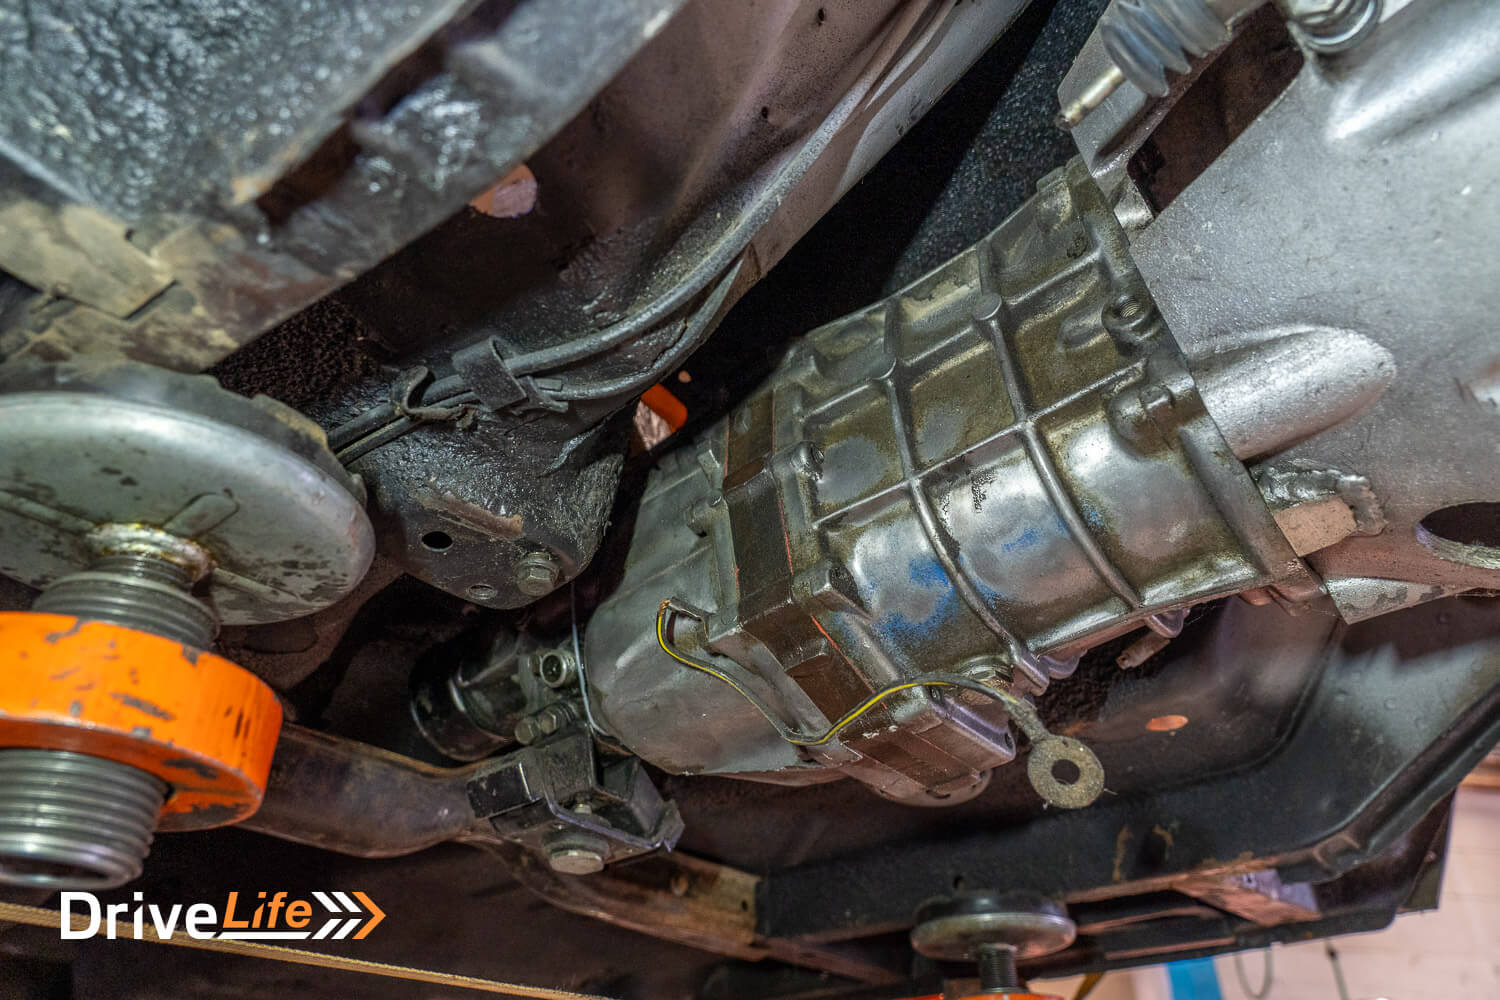
We’ve been spending a lot of time on the gearbox lately. You might remember from previous articles that we’ve designed and created upper and lower gearbox mounts for our Rover 5-speed ‘box, separated by cotton-reel rubber mounts.
There’s a big ‘but’ when using the Rover gearbox; the remote shifter is way back in the car, and would pop up through one of the steel hoops that goes over the transmission tunnel. It’s doable, but a lot of work and has the potential to weaken the structure of the car.
But over a coffee or two (or maybe it was a beer or two), a new plan emerged: let’s use a Toyota gearbox. There happened to be one lying around that already had a Toyota-to-Rover V8 bell housing on it, and we all know that a Toyota gearbox will be physically lighter with easier gear changes – and it will be more reliable. The fact that the gearbox is 110mm shorter than a Rover V8 gearbox is a huge bonus and the main reason we are looking at using it. The remote shifter for the Rover’s box is too far under the car. While we can do some engineering to shorten the Rover’s remote shifter, having one that is already shorter is going to be easier to deal with.
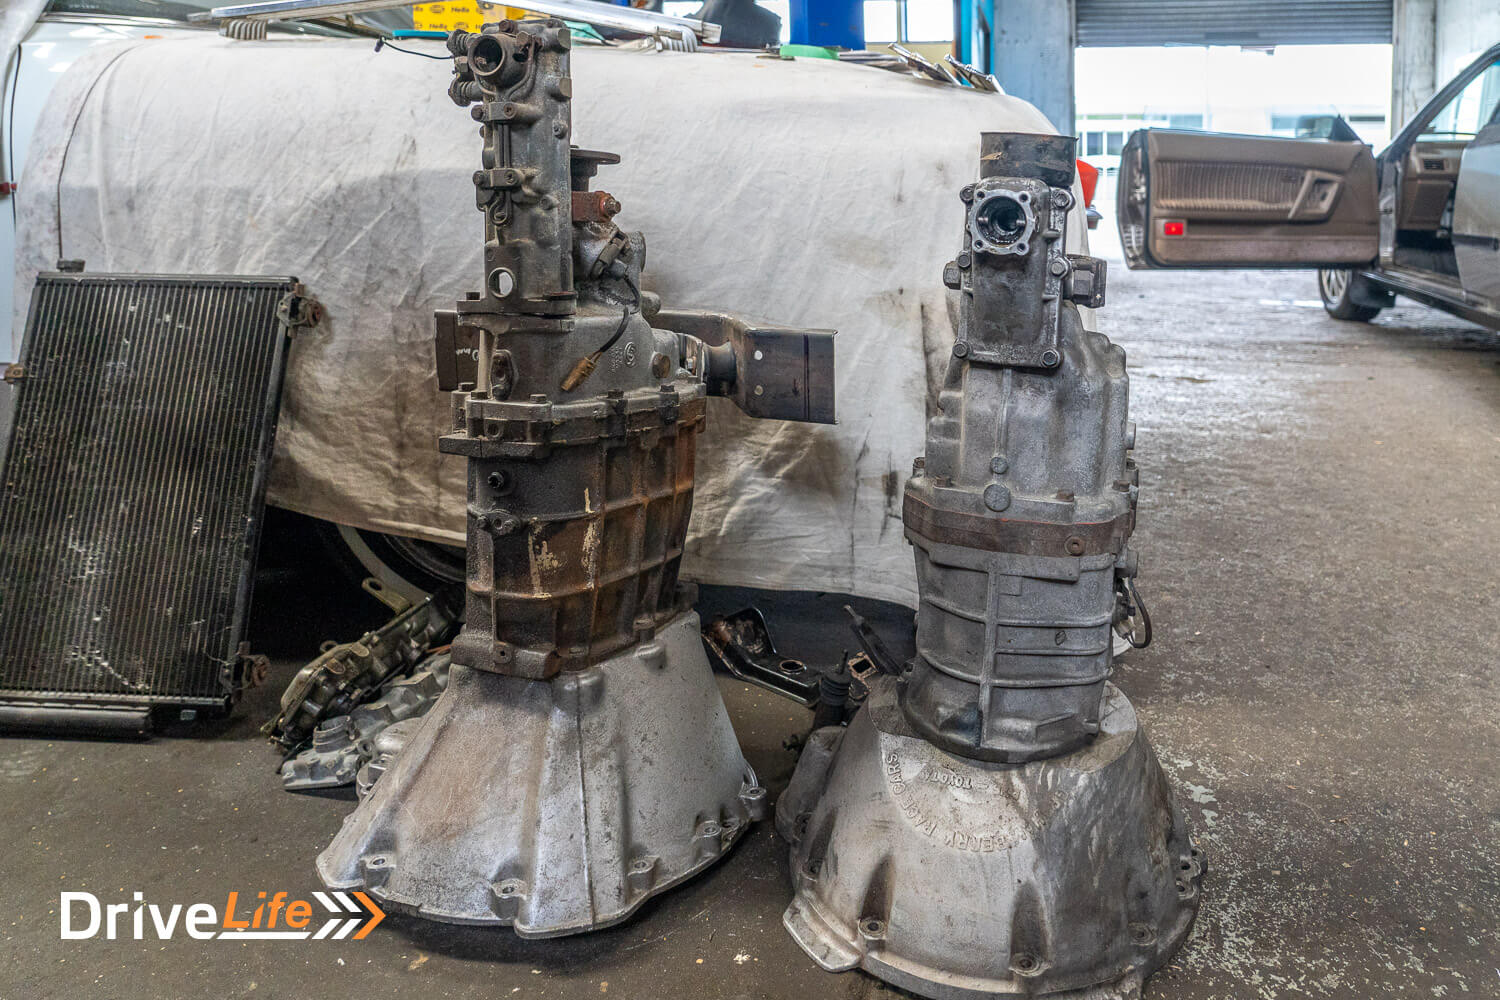
Changing plans now does mean all that design work on creating gearbox mounts for our Rover gearbox is mostly wasted time, but we are hoping we can use the lower mount on the Toyota gearbox, as this is all set to bolt up to the Sunbeam’s chassis. We’ll work on this another day.
Project V8 Sunbeam Rapier Fastback: Panel work/guard vents
We managed to find a panelbeater to work on the Fastback V8 while I’m not in Hawera. A year or so ago, we bought a couple of Commodore front guards from a wrecked car intending to use the air vents on the guards in our project car. The vents are fake on the Commodore – they do have an indicator light, but they aren’t engine air vents. We’re going to make these functional with some ducting, so they should pull some hot air from the engine bay. I spent a while on the ‘vents’, drilling out the holes so we could attach a pipe to the back, inside the guard.
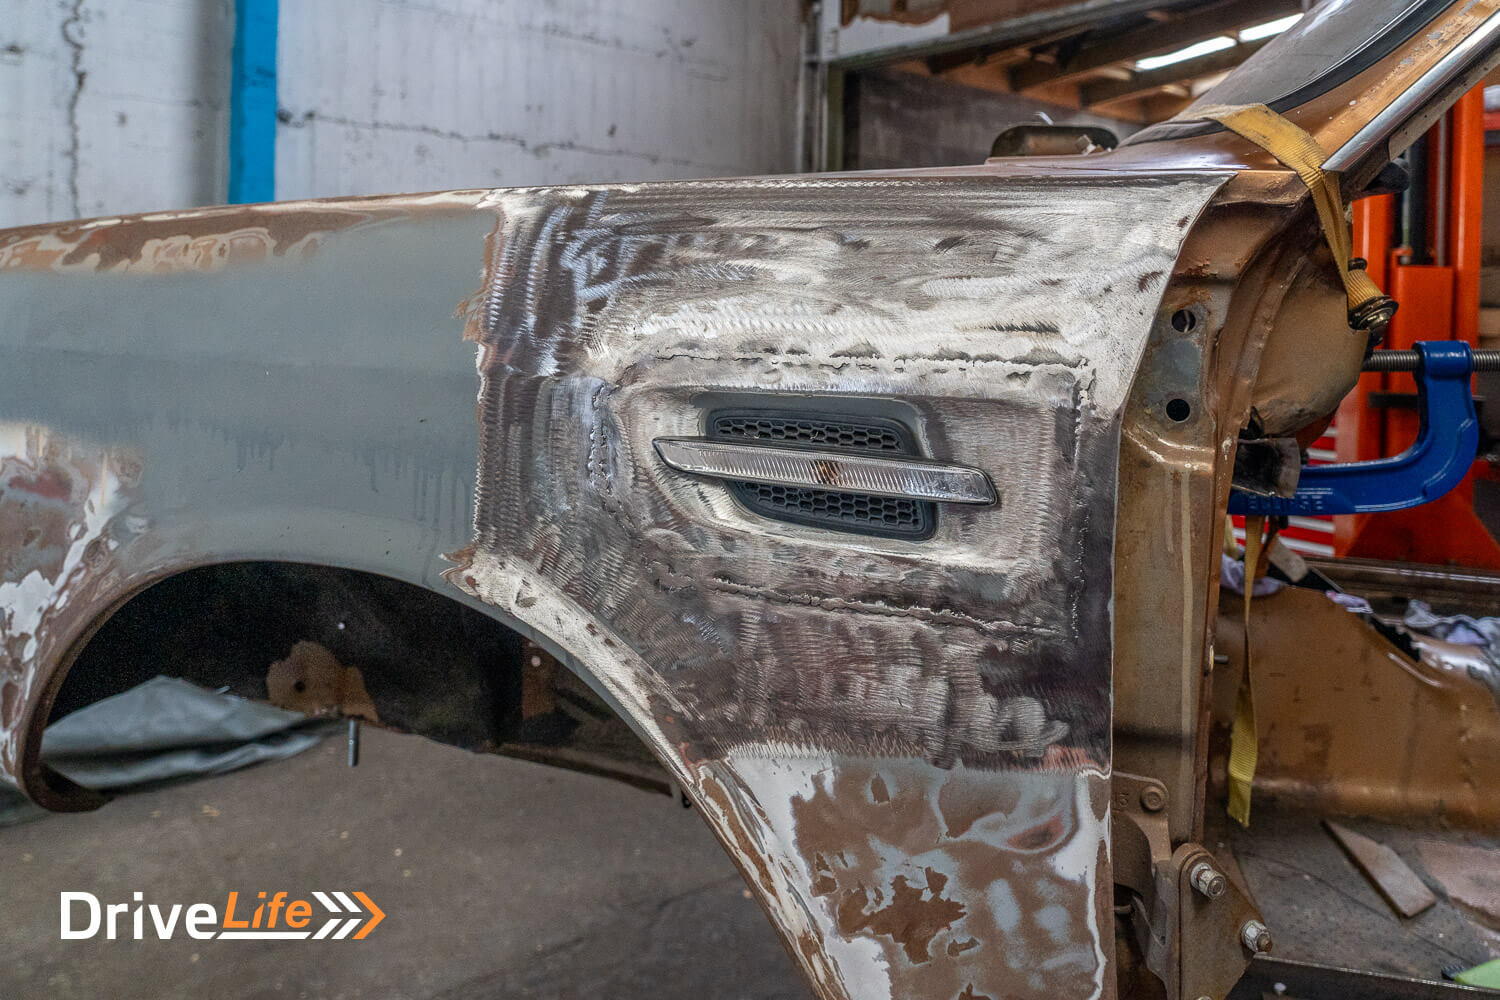
I’d love to make these marker lights as well as indicators, but since our Fastback is shorter than 6 metres long, that’s illegal in New Zealand, so we’ll keep the indicator lights only. Our friendly panel beater has moved the vents to the Fastback, lining up the swage line on the car with the top crease on the air vent. He’s made it look like these air vents were installed at the factory, and they’ve turned out exactly as I had hoped.
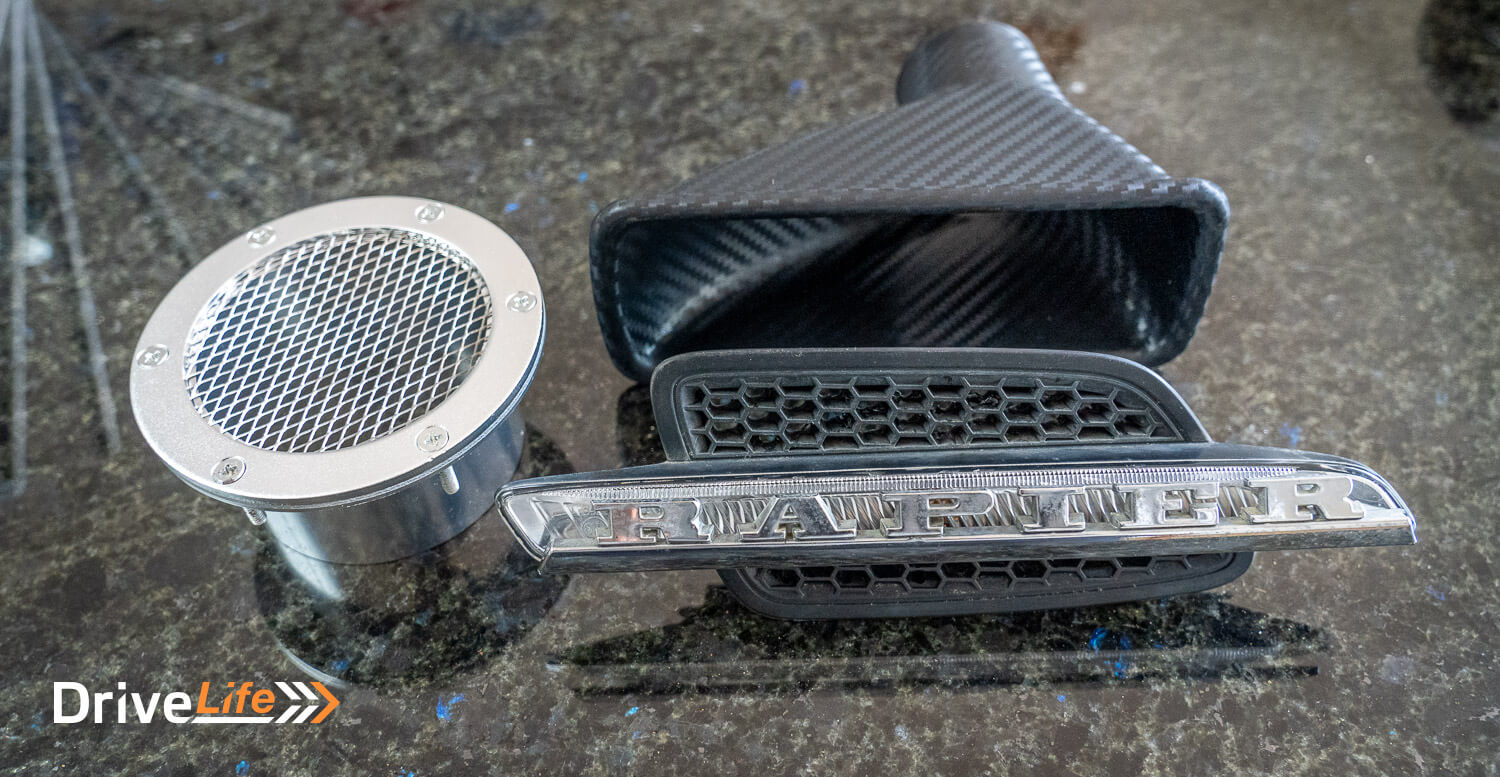
We’ve purchased some vents that almost match the dimensions of the rear of the Commodore’s units, and these come with the pipes and engine bay vents as well. It shouldn’t be too hard to make this all work.
Another bonus of using the Commodore vents is that the RAPIER badge which is normally on the C pillar of the Fastback, fits perfectly over the Holden indicator lens. We’ll likely glue this in place just to give it a bit more bling.
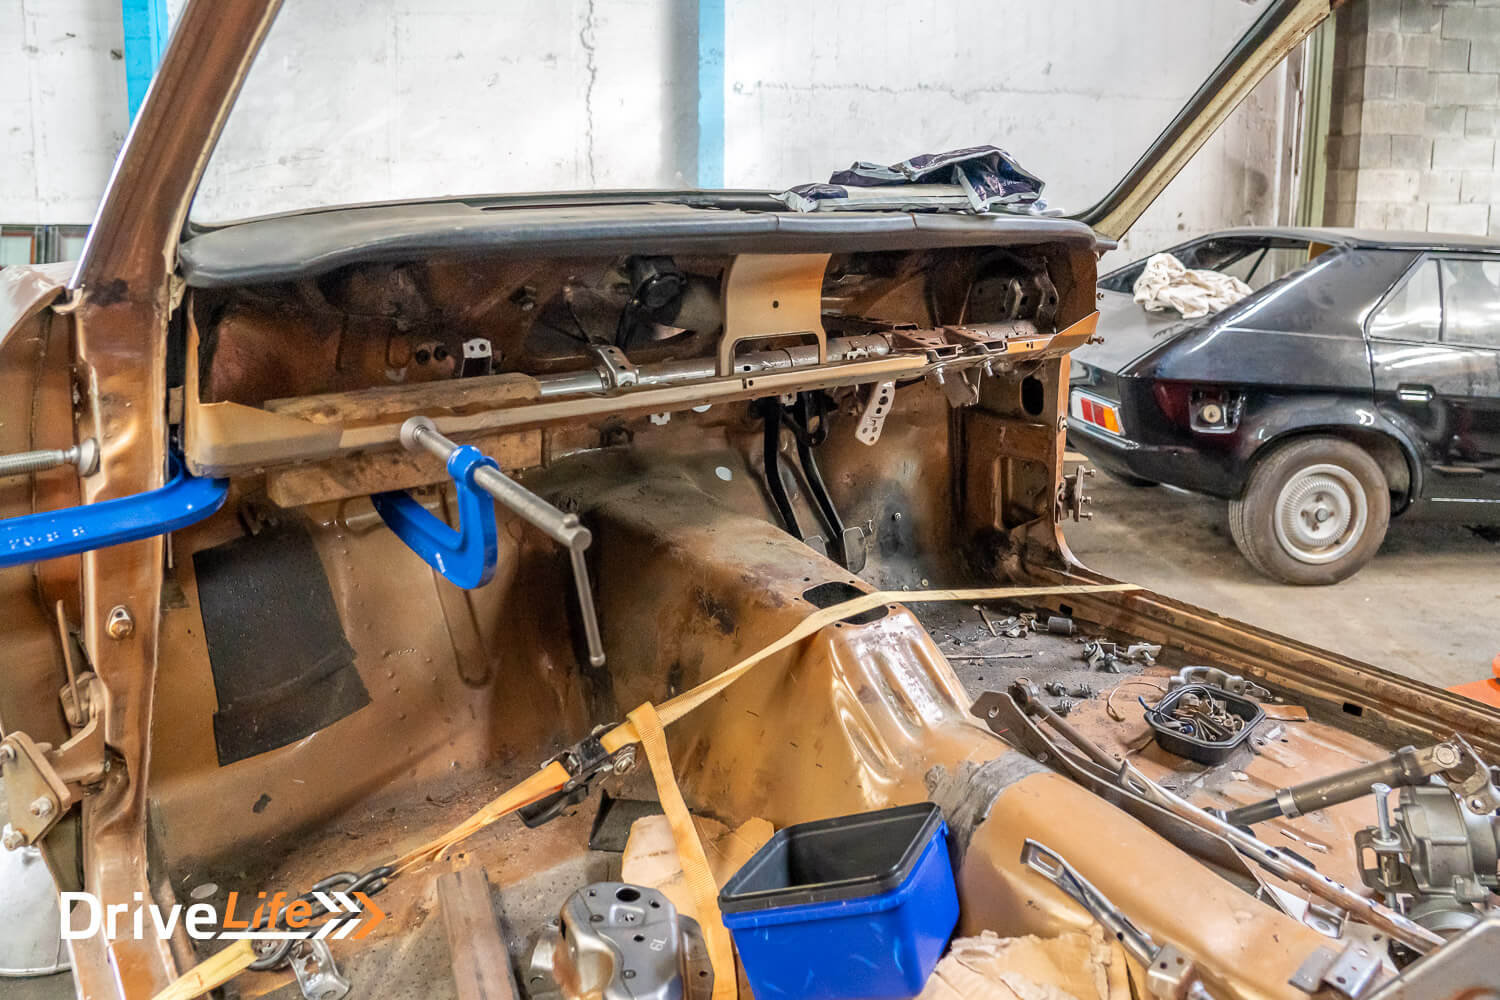
Our panel beater has also cleaned up the chassis rails. From previous work done, we’ve removed all the extra brackets that Rootes welded onto the chassis rails. Most of this is down to our use of a Triumph TR8 crossmember, which carries the steering rack and antiroll bar, so the old mounts for these have been taken off the chassis rails to make the car look cleaner in the engine bay. He’s also taken the battery mount out of the engine bay. We’re either going to cut this down and inset it into the front guard, or move the battery to the boot. If we had left the battery mount in place, it would foul the cylinder head.
Another area he has started on is the engine bay itself; there are numerous welded metal brackets and clamps, mainly for things like holding the wiring loom. We want all these gone, and we will hide as much of the wiring loom as possible.
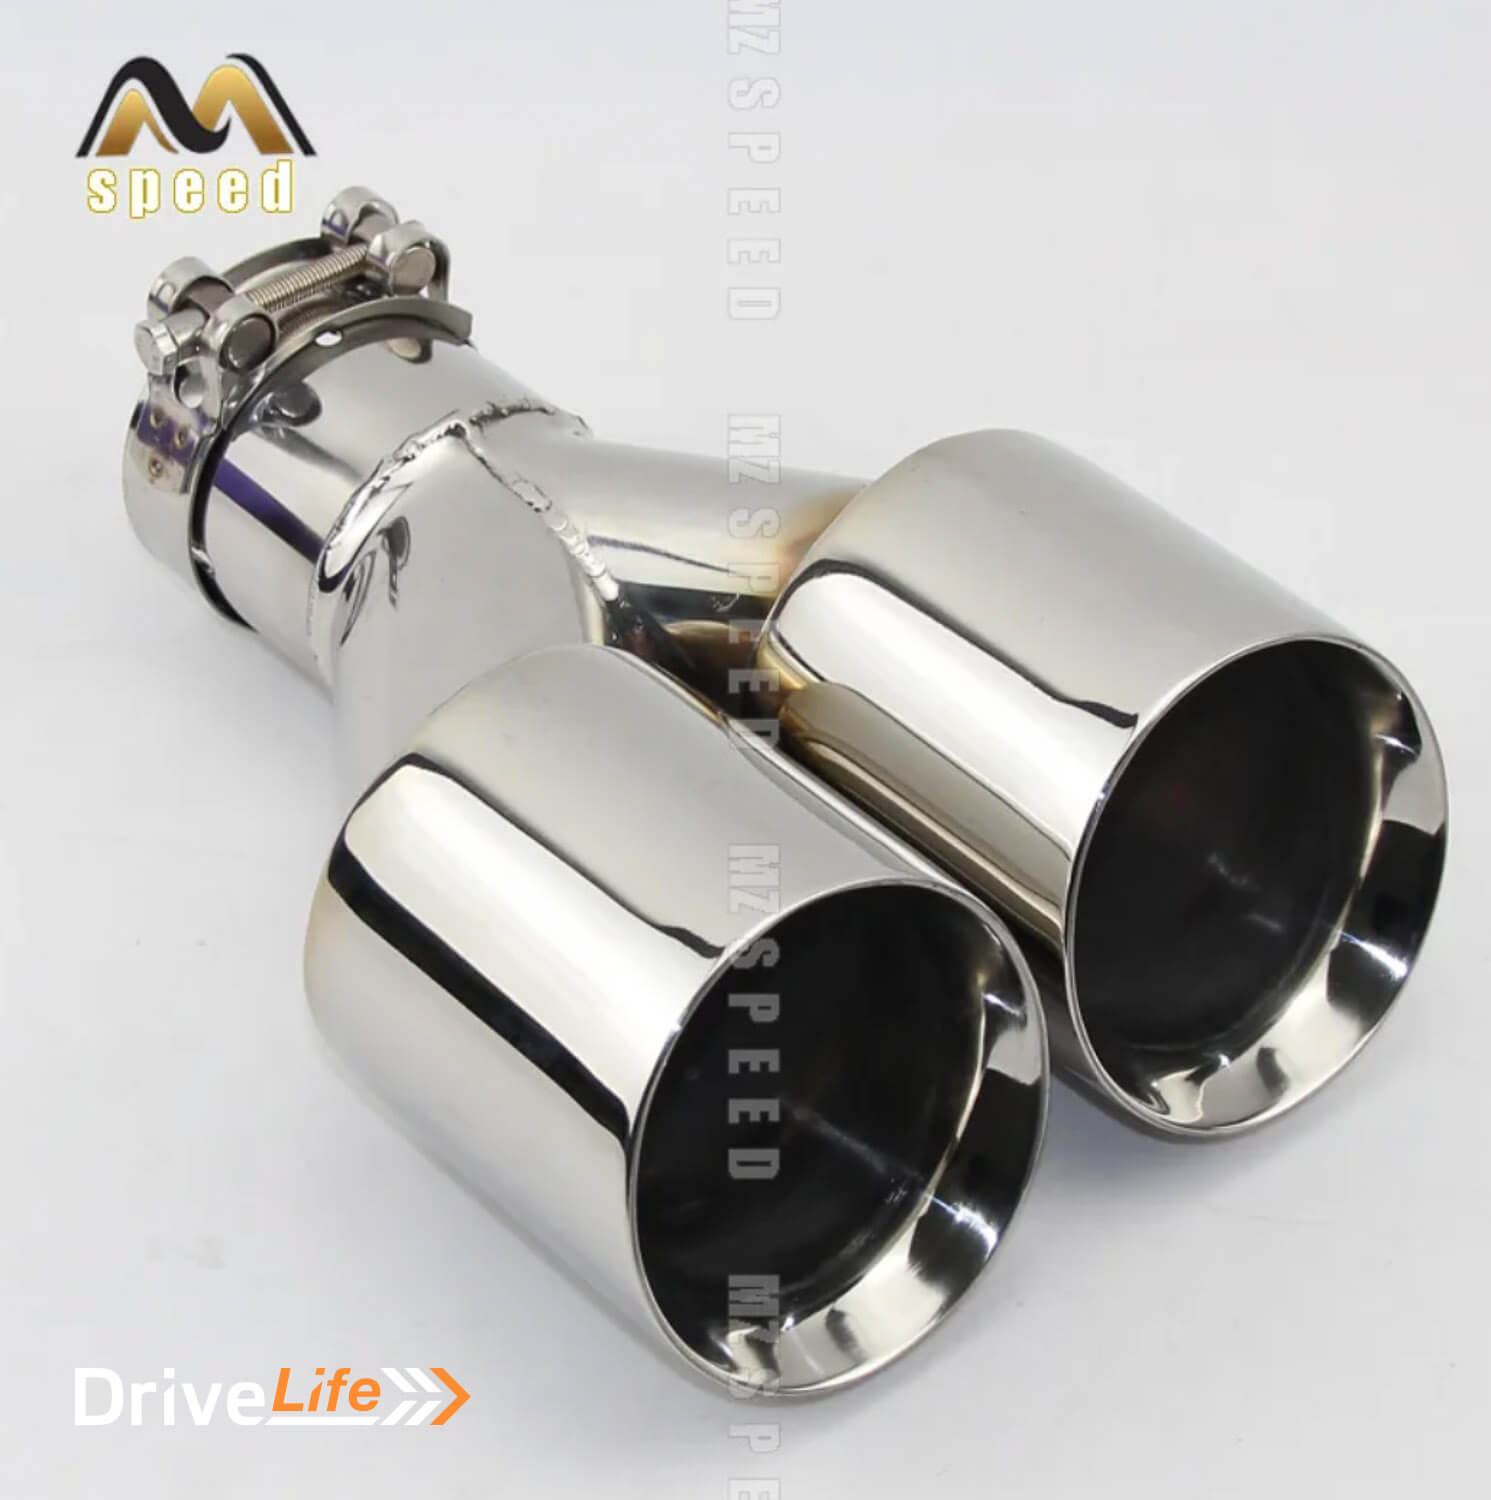
While we have a panel beater on hand, we’re looking for other things he can do. Some of these are cosmetic but if we can get them done now, why not? So we’ve sourced a pair of dual exhaust tips and were aiming to push these through the rear valance, but that’s not going to work, dammit. The boot floor comes down too low, and bringing the exhaust tips right through the valance is going to take too much work, so we’ll get him to expand the existing exhaust cut-out in the lower part of the valance, and then replicate that on the other side of the car. He’s done a great job of this so far and will continue on the rear of the car, filling in old holes and removing any dents etc.
The other part of work we’d like him to carry out is modifying the front of the car. We’re well aware of the extra cooling required by the V8, so we are going to change the front of the Fastback to something I’ve never seen done on this model. Essentially, we’re going to have two grilles, one below the other, which will allow more airflow into our larger radiator. The lower grille’s sides will follow the angles of the top grille, so it will be slightly smaller. We’re not going full Lexus on it, but this will change the entire look of the front of the car.
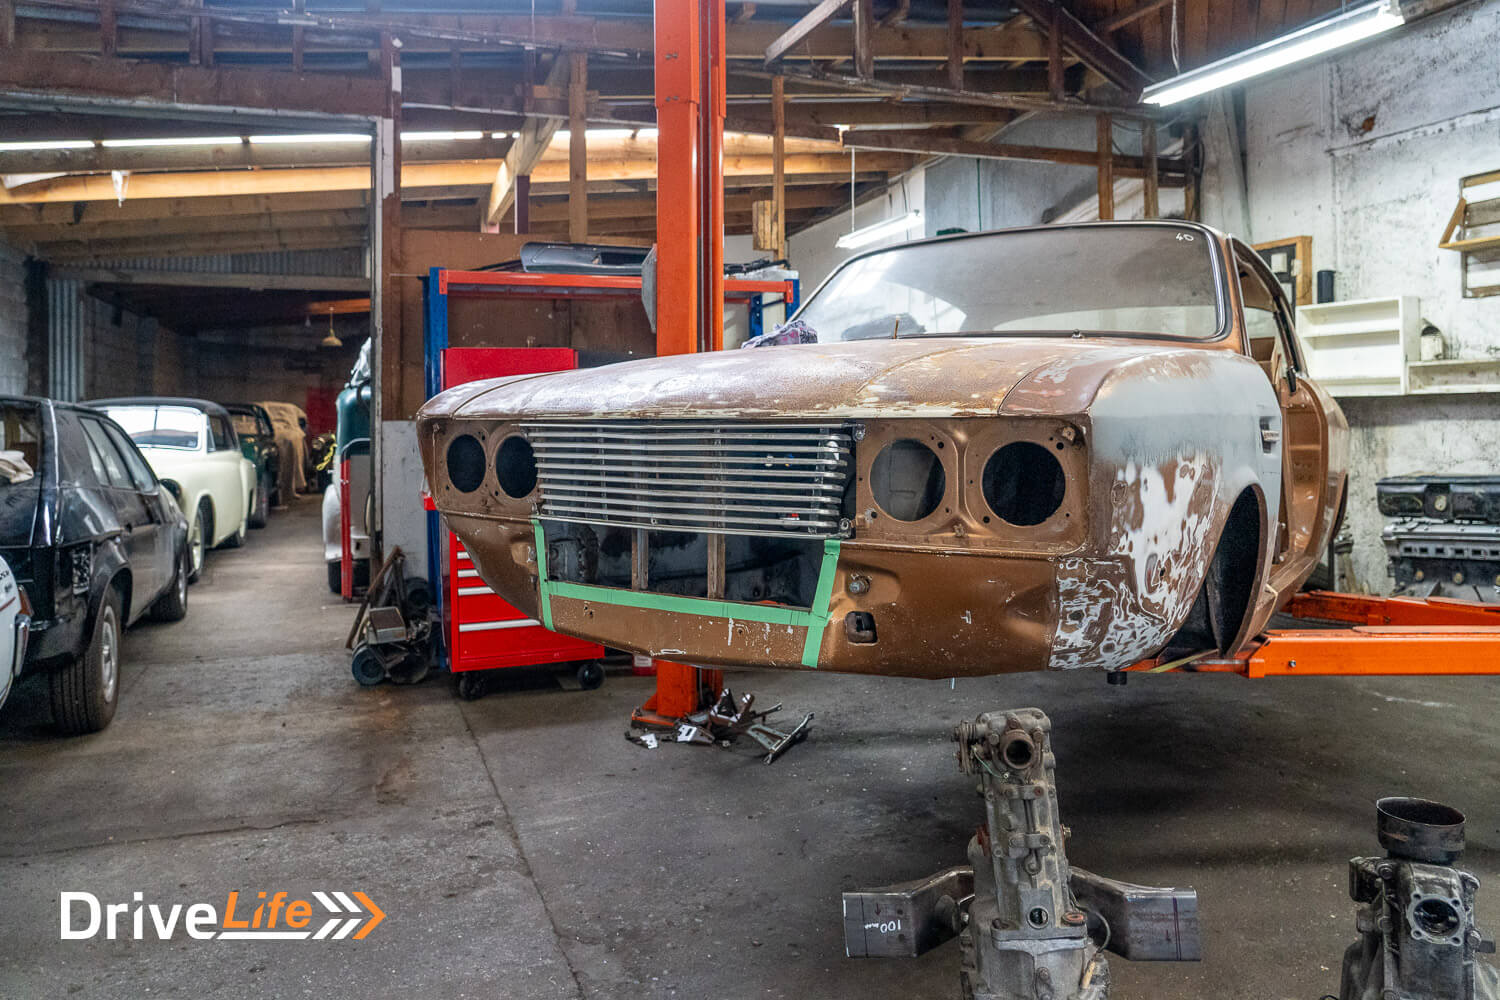
You can see this has started, with the easy part of the work underway. Shortening the bars on the grille is going to be a mission, but we’re committed to doing this to give the Fastback V8 a unique look and give the engine some extra airflow for cooling.
Project V8 Sunbeam Rapier Fastback: BMW E46 M3 Seats
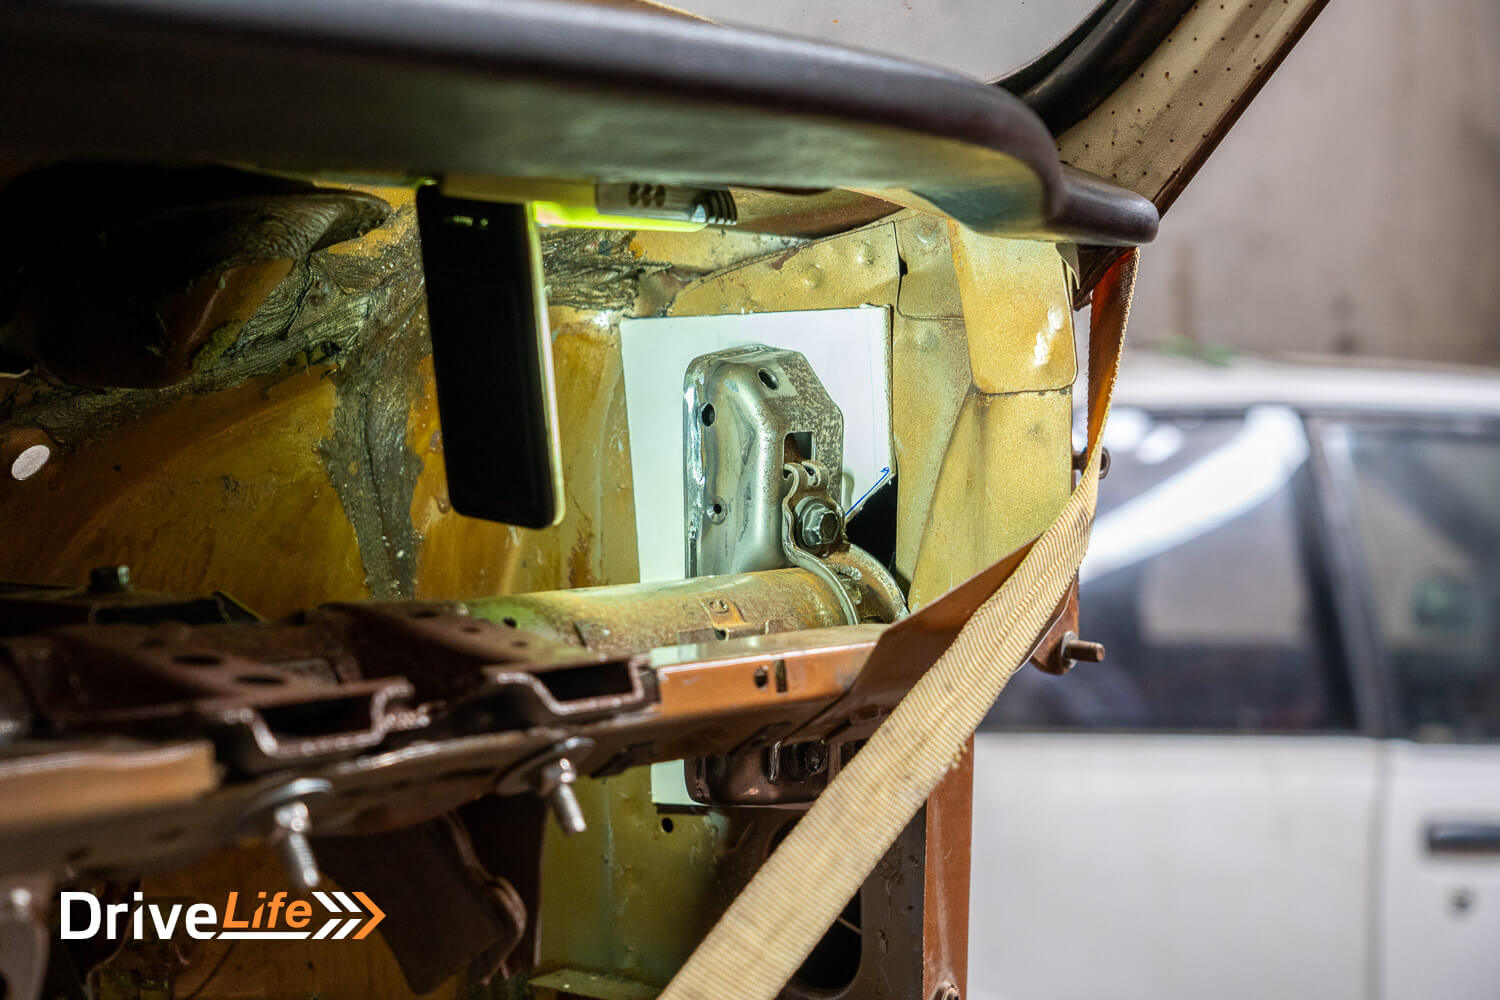
You might remember from the last article in this series that we have been working on our front seat mounts. We had a reality check on this part of the build and decided we would park working on the seats and focus on getting the car back on its wheels – so finishing getting the rear end sorted, as well as the steering and brakes all around.
But we have ordered some genuine BMW 12mm seat bolts. Unfortunately, they’ve already taken 5 months and still no sign of them. Germanic efficiency? Not this time.
Project V8 Sunbeam Rapier Fastback: Electric Power Steering
You would have also read in previous articles that we’ve spent quite a bit of time installing electrically assisted power steering (EPAS). We want to get the mounting of this right, not only to get compliance for it but also to make sure it’s safe and secure.
We’d already designed and made some mounts out of 3mm steel, but we’ve been mulling this over since the last time I was working on the car. You might remember that we have an EPAS unit from a Toyota Wish, and we decided that it would be worth going back to the very same car at the wrecker’s yard and picking up the entire mounting system for the Wish and seeing if we could utilise it in the Fastback.
So my first day of this weekend’s work would be checking out what we could do. After cutting off some unnecessary brackets from the Wish’s bar, the entire bar mount fitted exactly inside the Rapier. Couldn’t believe it. We wouldn’t need to cut down the bar or extend it – it just fitted. But that’s not the end of it – we still need to mount the ends of the bar. We’re going to use the original Toyota Wish bar mounting system and bolt this to the sides of the car, just like in the Wish. Easier said than written, but it means we’ll be replicating the very car it came out of.
There is a bracket we will need to make to support the rear of the Wish’s mount, but that’s not going to be difficult, and we can also cut down one of the mounts we’d already made to support the bar. This is going above and beyond what Toyota does, but we’ve got the mount so we might as well use it.
There’s not a lot of work left to mount the EPAS now, so we’re well on the way to (hopefully) getting this part of the project signed off by our LVV certifier.
Project V8 Sunbeam Rapier Fastback: Bonnet Scoop
We’ve tossed around a number of ideas on what bonnet scoop to install. Why a bonnet scoop at all? It’s all about doing whatever we can to force hot air out of the engine bay. Like our guard vents, a bonnet scoop is going to help in this department. If we can make it look cool (in my eyes, at least) and perhaps original, then that’s just a bonus.
After looking at what feels like hundreds of scoops, we settled on one from a CV8 Monaro, sourcing it from MSF Fibreglass, in Hamilton. Naturally, the scoop is too wide for the Sunbeam but being fibreglass, we can just cut it down the middle and narrow it to suit.
We’re not only going to narrow the Monaro hood scoop, we’re also going to cut its height down. Resting it on the Fastback’s bonnet, it doesn’t look right as it sits up too high.
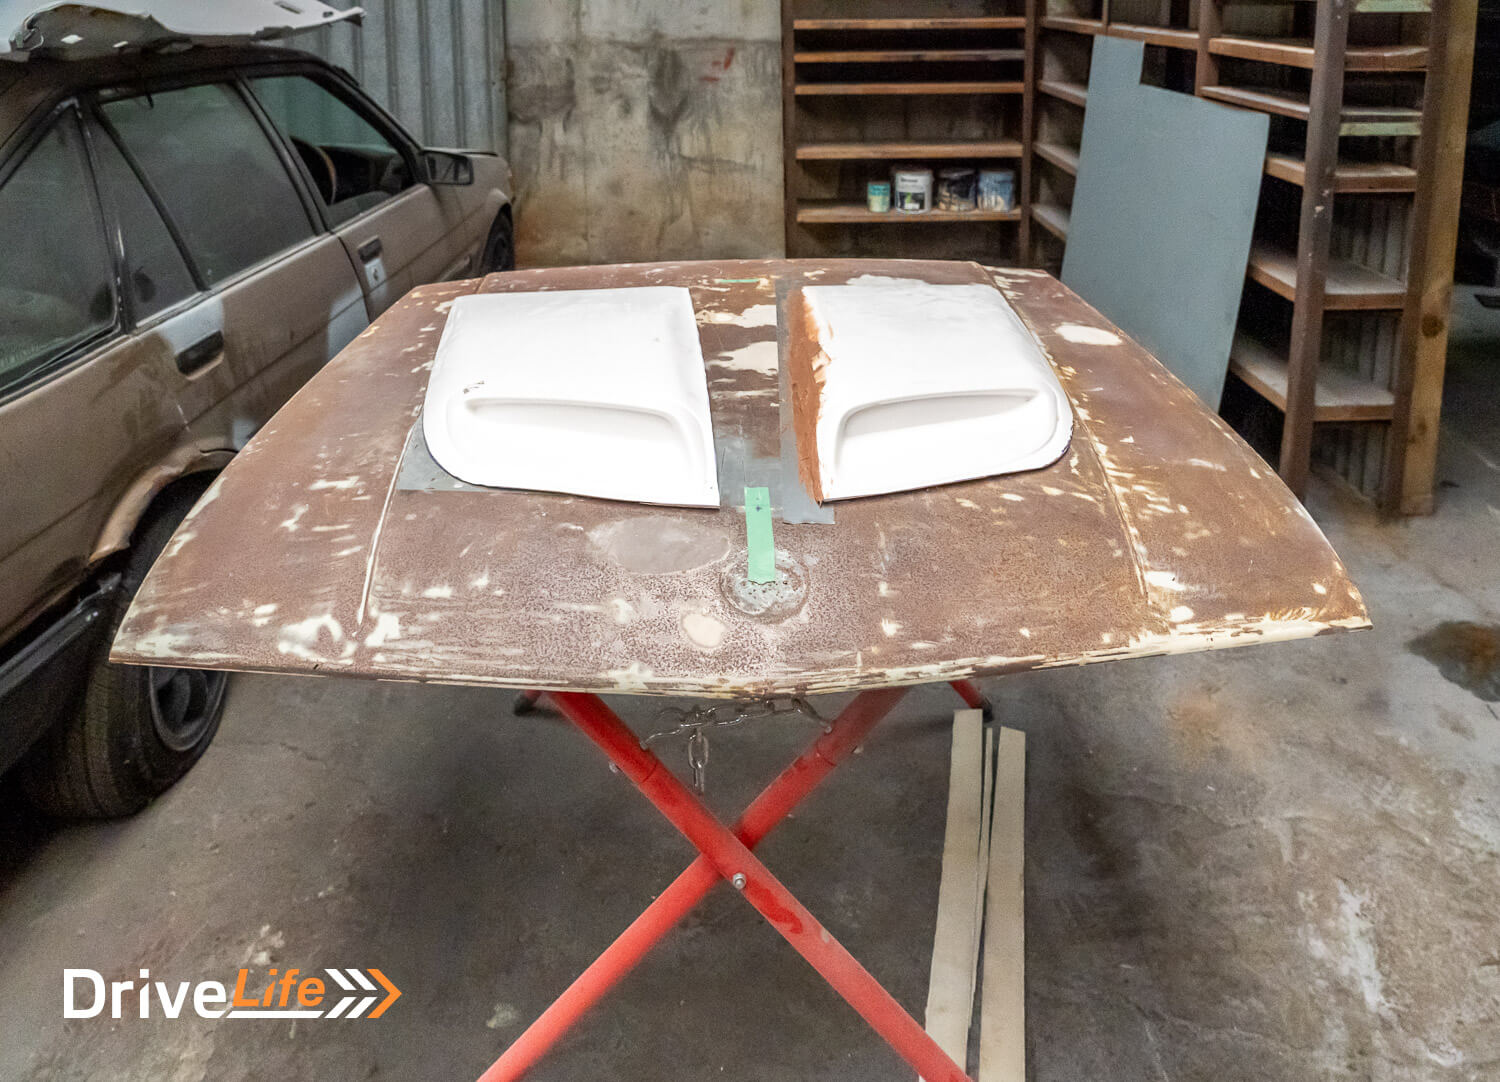
The lines at the front of the CV8 scoop don’t quite line up with the car’s lines, so we are going to add some fibreglass to the front of the scoop to replicate the lines on the Fastback’s bonnet. The bonnet comes to a point, so we’ll have that same point on the front of the scoop. Hopefully, it turns out like we hope; once we’ve cut it, there’s no returning it.
We’ll do the same at the rear of the scoop, adding fibreglass to replicate the lines and angles from the rear of the bonnet.
Project V8 Sunbeam Rapier Fastback: Rear End
We’ve stalled on the rear end of the Fastback for quite a while now, not knowing what we were going to do to make it work. You might remember I pulled the backing plates off a Camry, hoping they would fit onto our Hilux diff, but they were far too small and would require too much modification to work.
So it was Plan B, and back out to the storage depot where there was a wrecked Lexus LS400. I spent time removing the entire hub assembly from the LS400 and once we finally got all the parts separated, we tried the LS400 backing plate on the Hilux diff, and it almost fitted. There are just a few mm that need to be shaved off the hole of the backing plate, and it should slip over the Hilux hub. Unfortunately, the backing plate mount holes don’t up, so we’ll need to do something about that.
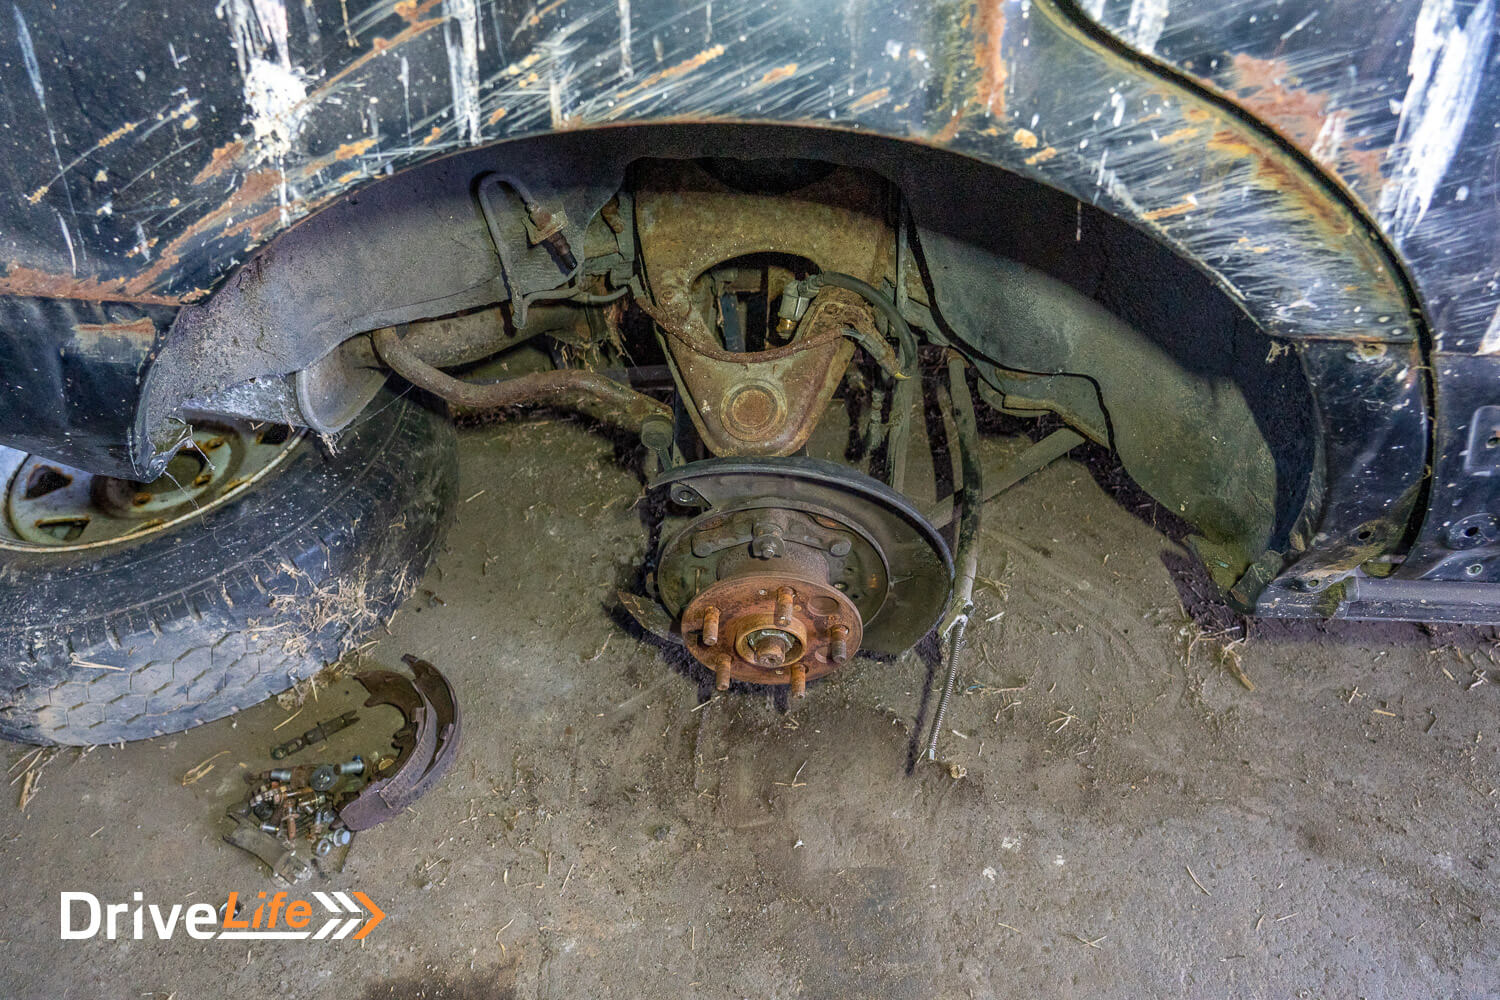
We’ll work on this a bit more next trip and this may have to include making up some custom brake calliper mounts since on the LS400, the callipers mount to the hub that we won’t be using. But the handbrake cables clear the hub, meaning we can switch the Sunbeam from using a side-mounted handbrake to a ‘normal’ one that’s in the centre of the car.
But on another project car trip, we decided to check out the rear end of a Toyota Estima. Why the Estima? Someone suggested that they have a mounting system almost the same as our Hilux diff, and yet are still disc brakes with an internal drum-brake system for the car’s parking brake. We found an Estima and checked the backing plate mount holes. While they are much closer to the Hilux, they aren’t identical, dammit. But they’re still a better option than the Lexus as they have the caliper mounts as part of the backing plate. So we’ll hunt down a wrecked Estima and start pulling the rear brakes off it – on another trip.
Project V8 Sunbeam Rapier Fastback: Wheel Selection
With the forward progress on the rear end, it’s getting much closer to having to decide what wheels to put on the Rapier V8. We want to flare out the wheel arches, but we would prefer to have the wheels first before doing this. Of course, this means knowing what offset we need, deciding on a rim size and then worst of all: deciding on what rims to purchase.
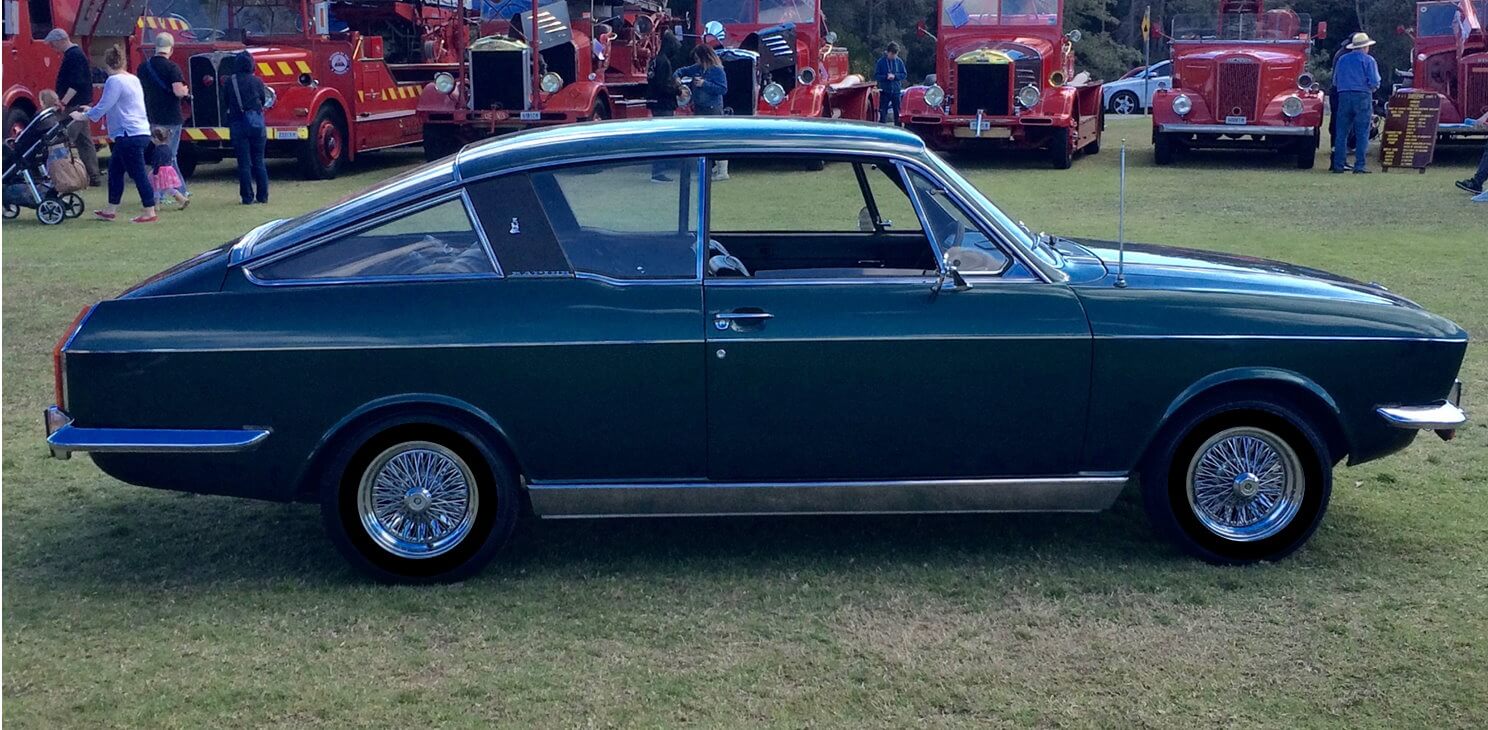
I have spent literally dozens of hours cruising the internet, trying to decide on rims. To be clear: I’m old school and I love chrome wires. I can source some complete with spinners and whatever offset and rim size I want – but I’m not sure they are going to suit the car. Side on, the Fastback resembles an Aston Martin DBS (if you squint some), and that car does come with chrome wires and it looks good. Will they suit the Rapier? Who knows! Here’s another Rapier Fastback with fake chrome wires on. I think they would look better when real chrome wires, but again, I’m not sure.
Another thing to consider with wire wheels is the loadings they will take, and if they will cope with the torque of the V8.
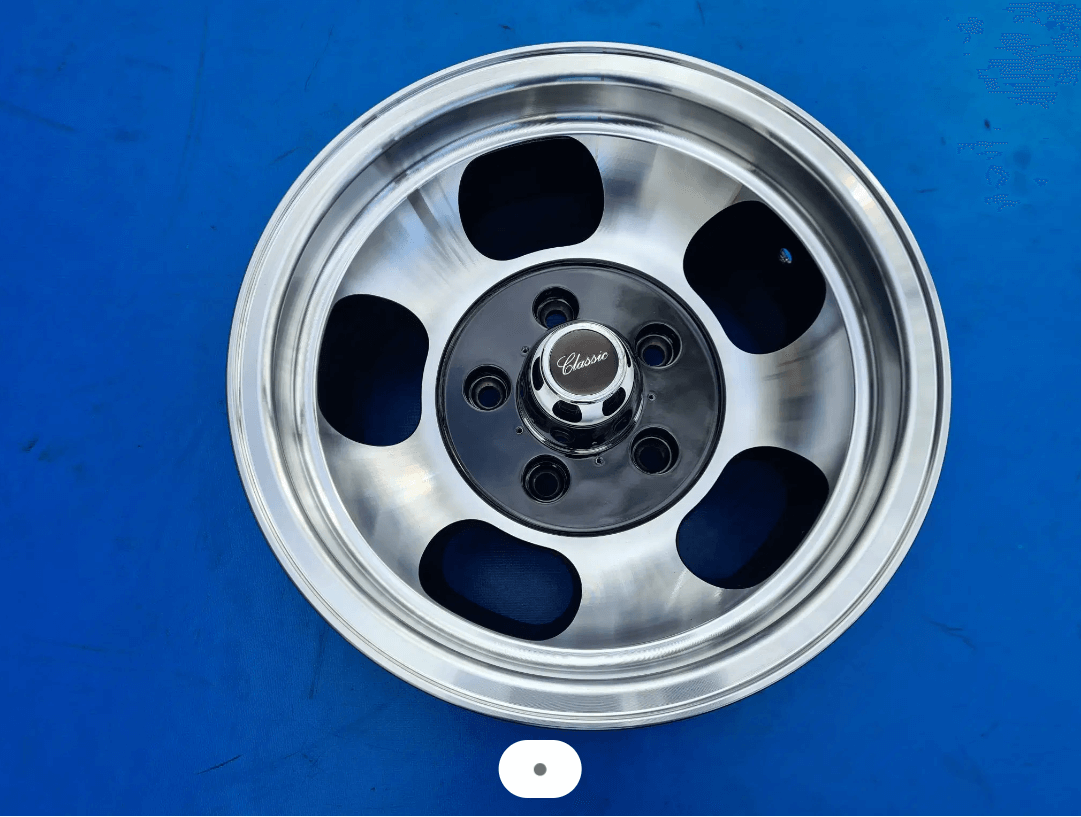
Lurking in the back of my mind too often are Cheviot Tridens, sometimes called jellybeans. They are correct for the period, I can get them in 15” and a deep dish. Would they suit the car better than chrome wires? Again, who knows?
I’d like staggered rims too, so wider at the rear although we’ll have fairly wide wheels at the front too. With our electric power steering, we can go almost as wide as we want. All this narrows down choices, and I’m torn. Rims are so important for the look of a car, and once we’ve bought some, that’s it. Help! I’d be grateful for any suggestions.
Project V8 Sunbeam Rapier Fastback: Gearbox Mount
Another weekend in Hawera, this time testing the 3.3-litre Mazda CX-60. It was a great way to travel 300km to Hawera.
Now we’ve decided on our Toyota gearbox, I’d be looking at what we can do to mount the gearbox. We’re very keen to get this done; it will locate the gearbox for height and position and by proxy, it will locate our engine mounts so we can tack them in place. From there we can get a driveshaft made up, put the head in the diff and slide the axles into place.
Although the mounting holes for the Toyota gearbox are close to the Sunbeam’s original mounting point, they’re far enough back that can’t go with a gearbox mount that goes straight across the car.
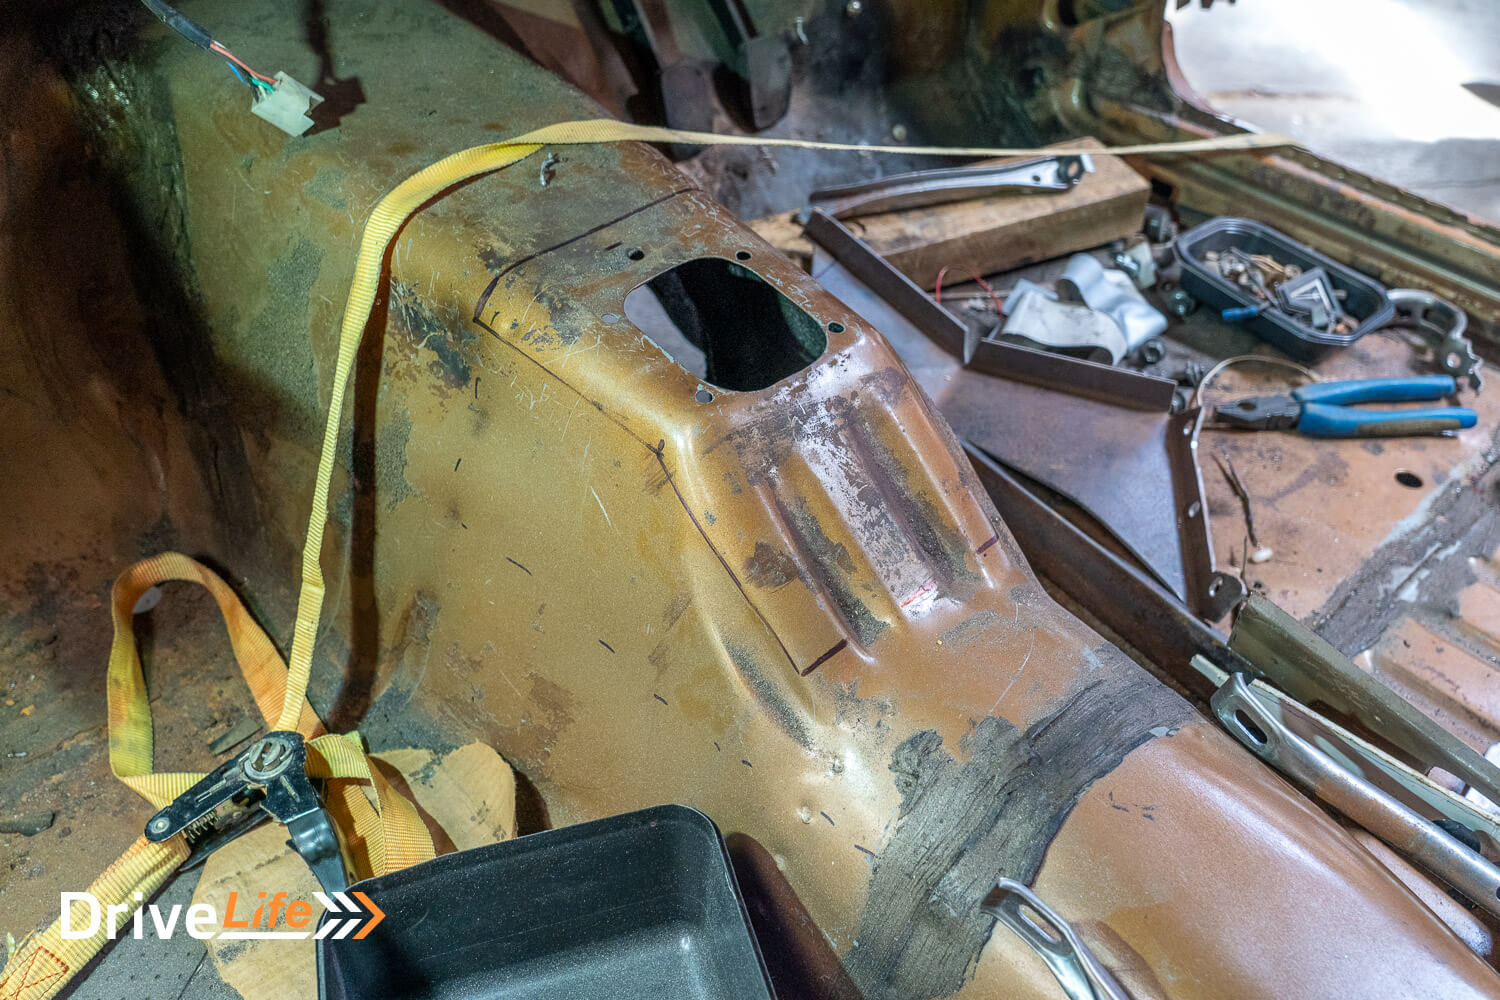
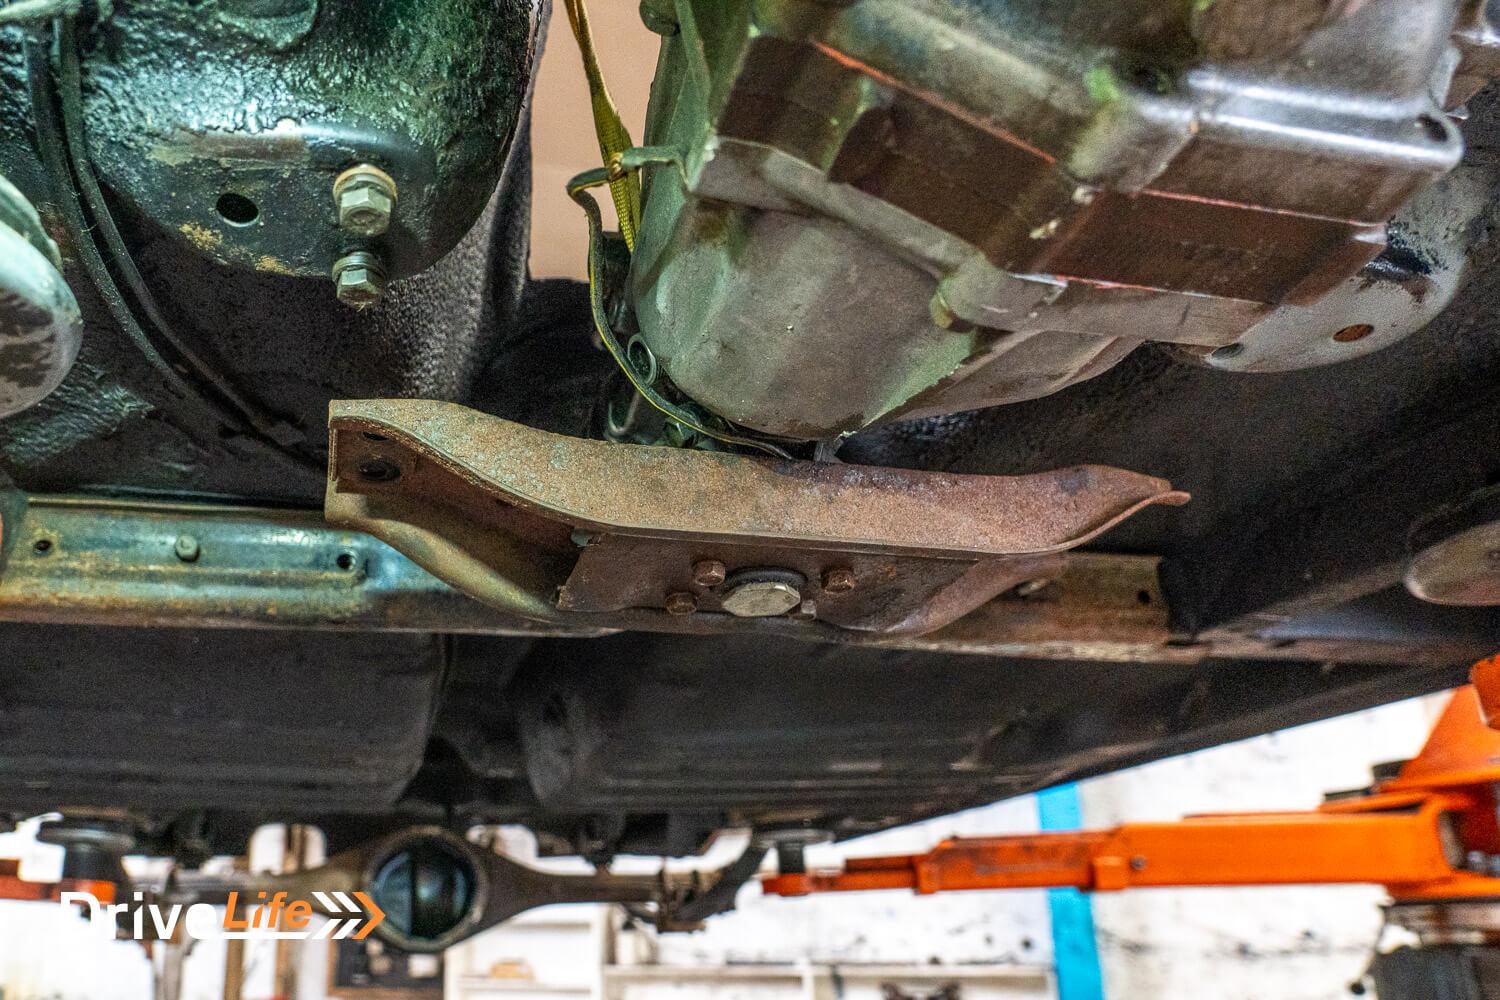
We’re going to have to go with a simple but strong gearbox mount. This will be two rails running from the Sunbeam’s gearbox mounting point and then rearwards to the crossmember. Then, we’ll run some 3mm steel across the Toyota ‘box to the rails. This will be far stronger than what Toyota or Sunbeam did, so we’re quietly confident it will be OK with our LVV Certifier.
Project V8 Sunbeam Rapier Fastback: Strut Brace
By some miracle, we’ve managed to source an original strut-tower brace for our Fastback. It needs some TLC but is not seriously rusty and should look nicely period once it’s cleaned up, painted and installed. It certainly won’t hurt the overall strength of the front end and can only help in the handling department. Also, and maybe more importantly, it should look pretty cool.
Project V8 Sunbeam Rapier Fastback: 2 years in
From the outset, it was understood by all involved that modifying any car to the extent we are doing was going to take a long time. If we were simply restoring the Rapier Fastback, it’d be a matter of fixing any rust, repainting and upholstery. That’s pretty much it.
But when you resto-mod a car – in New Zealand at least – there are a lot of regulations to be aware of, and to adhere to. Otherwise, we’d never get our project car legal for the road.
At the beginning of this project, we hauled my blue Fastback out of a barn in the Far North, 1,000km from home. While that car would have still been usable, it needed a lot of rust repairs and some major fixing to the left-front chassis rail to repair some damage. When we stumbled upon the Fastback we are working on now, at least an entire year dropped off this project.
And yet, 2 years in, and we are still going. But that’s always going to be the way when creating something that never existed. We’ve made great progress this year, and now we’ve made some decisions and are moving on, 2024 should see the car back on its wheels, the engine bay painted and the engine in place, and work starting on things like the body and interior. Then we should see much faster progress.
Stay tuned for the next update.
Read PART 1 of this series here
Read PART 6 of this series here


Great reading Fred. I have always believed that the Rover into a Fastback was a natural choice, better balanced than the Ford unit.
Wheels are certainly a personal choice, depending on the look you want. Wires can look ok, but look a bit too try hard for my taste. Mini lights are not period correct either. My son Mark had a set of jelly beans on his yellow fastback that absolutely suited the car. I will try & locate a pic. ( this car was purchased by Rod Graydon from Australia who stayed with us prior to preparing the car for the container….)
Depending on your colour choice, the appropriate size American 5 spoke alloys in 15 inch that my other son has on his ‘82 Ford Mercury do resemble an oversized Rostyle that would also look good. I do have an image of this wheel that I have also seen on a Capri V6. If I can locate this image I will also send it.
( I find it easier to txt images than email, so if you are happy to provide me your cell number, I will get this under way.
All the best!
Gary Derbyshire
HI Gary
Thanks for the feedback. Very keen on seeing some photos if you have them – I’ll email you my mobile number.
Cheers
Fred