


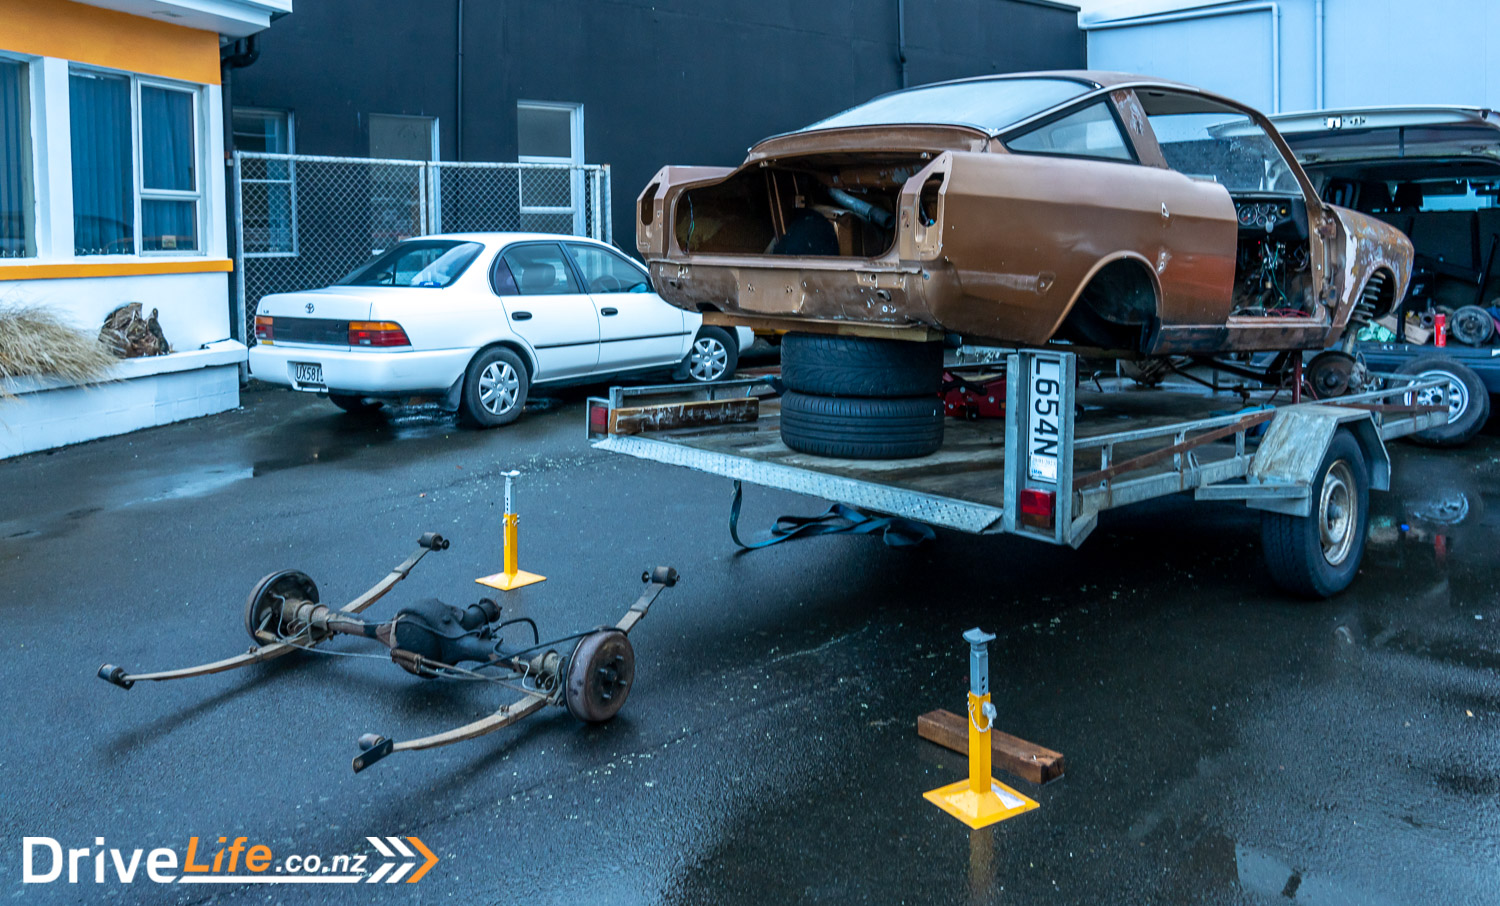
At the end of Part 3 of this project, we had dropped off our Rapier to the workshop in Hawera and then removed the entire front end, and the diff/leaf springs.
A few weeks later, I managed to get back to Hawera to continue on with the project.
FRIDAY
After driving up from Wellington, an easy run while testing the new Lexus UX300e EV, I got to Hawera about 1pm. Not as much time to get things done but it would have to do.
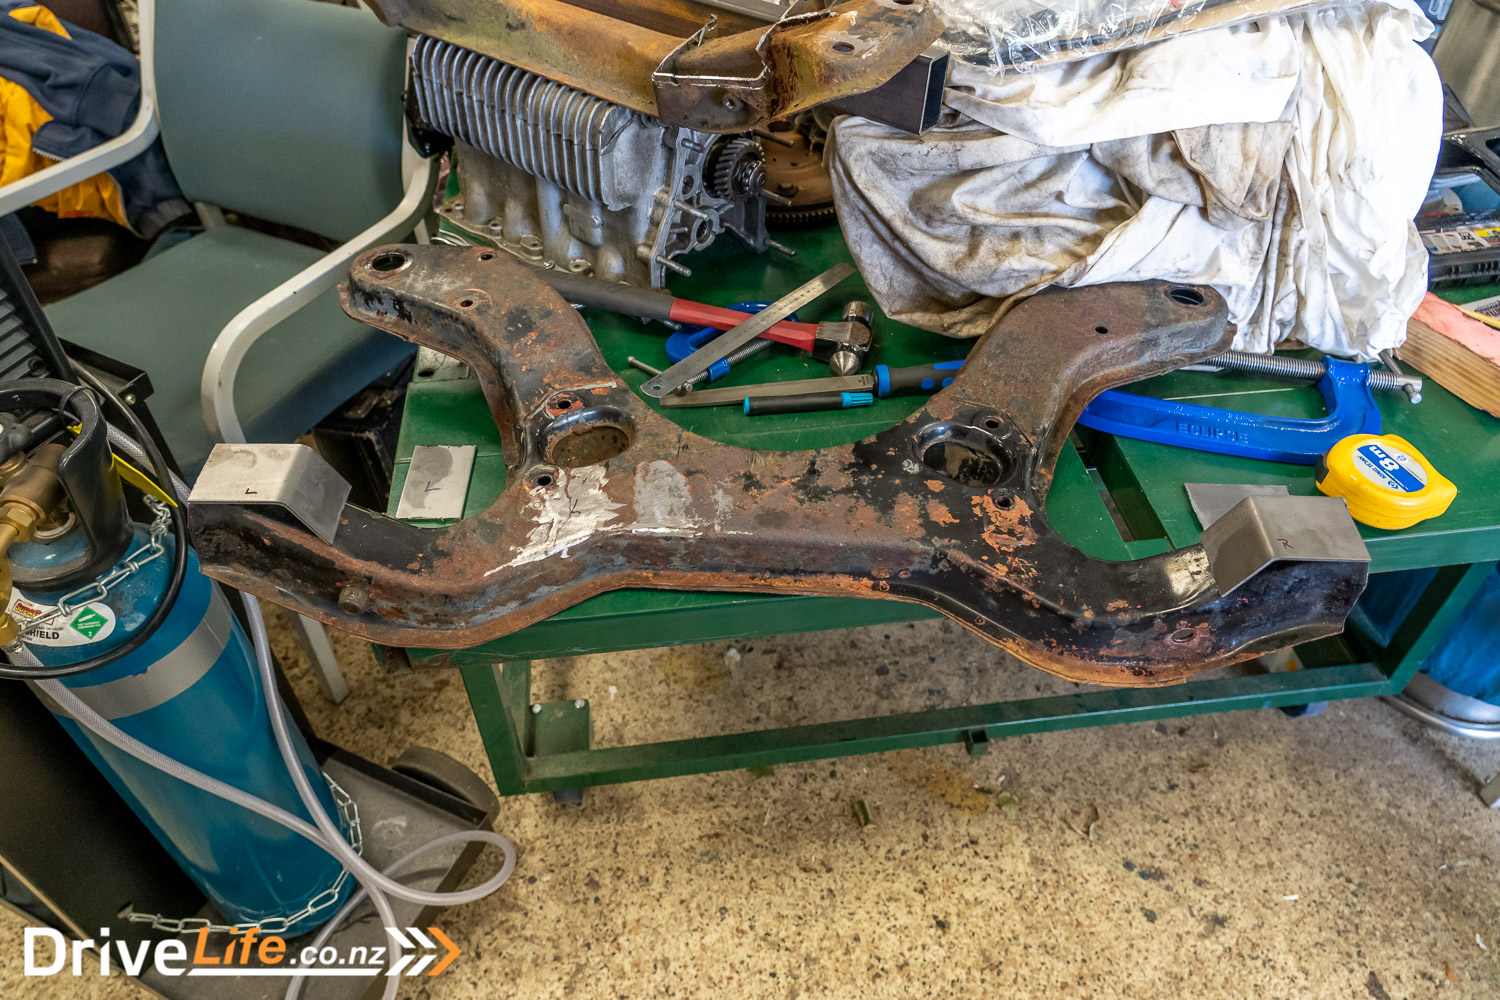
The first job for me today would be cutting off the old engine mounting plates from the Fastback crossmember. While we’d love to simply install the TR7 cross member, it’s not going to go into the same bolt holes on the Fastback chassis. They’re surprisingly close, but it’s a no-go.
Once the mount plates are cut from the Fastback crossmember, we’ll weld some box section steel across the width of the crossmember and then tack it in place. Once done, we can cut the ends from the Fastback crossmember and they’ll be in exactly the right positions to then weld onto the TR7 cross member. Just like other parts of our plan, we’ll get clearance from our LVV Certifier before actually doing any welding. If he’s not happy with it for any reason, he can give us direction on what it would need to meet LVV requirements.
Grinder in hand, I went to work on the crossmember. This was so much better than sitting in the office behind a computer screen. Mount plates off, we placed our box section steel across and it all looks like it should work to plan.
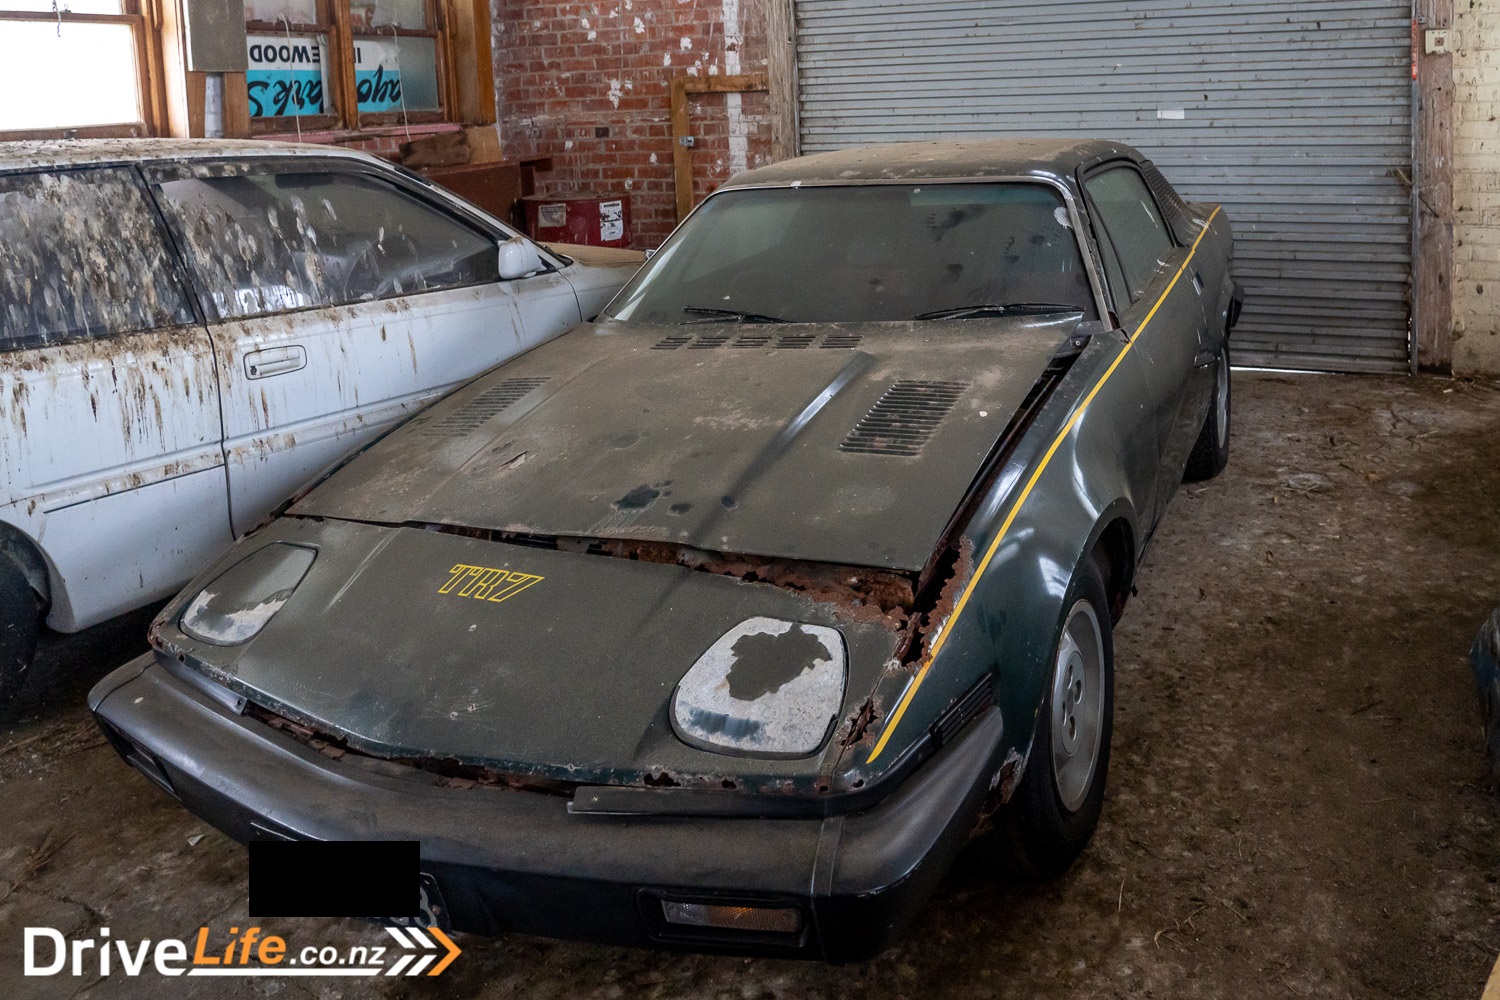
The next step for today and probably the last thing we’ll get done is to go pick up our TR7 parts car and bring it to the workshop. My friend Lance has a very rusty TR7 parts car and he’s willing to sell me the crossmember complete with steering rack and anti-roll bar. We head to his storage, trailer in tow, and find that of course the TR7 has a flat tyre. No way we’re going to be pushing that onto a trailer. So it was back to his workshop to get a pump and then back to the lockup.
Naturally, there wasn’t any power near where the TR7 was stored so we hauled the compressor down to a power point and filled the tank, then took the whole thing back to the car. Worked perfectly, with enough air in the tank to fill the tyre.
Lucky I had a big breakfast that morning, as shifting a TR7 about by hand ain’t that easy. But bit by bit, we got it onto the trailer, and back to Lance’s workshop.
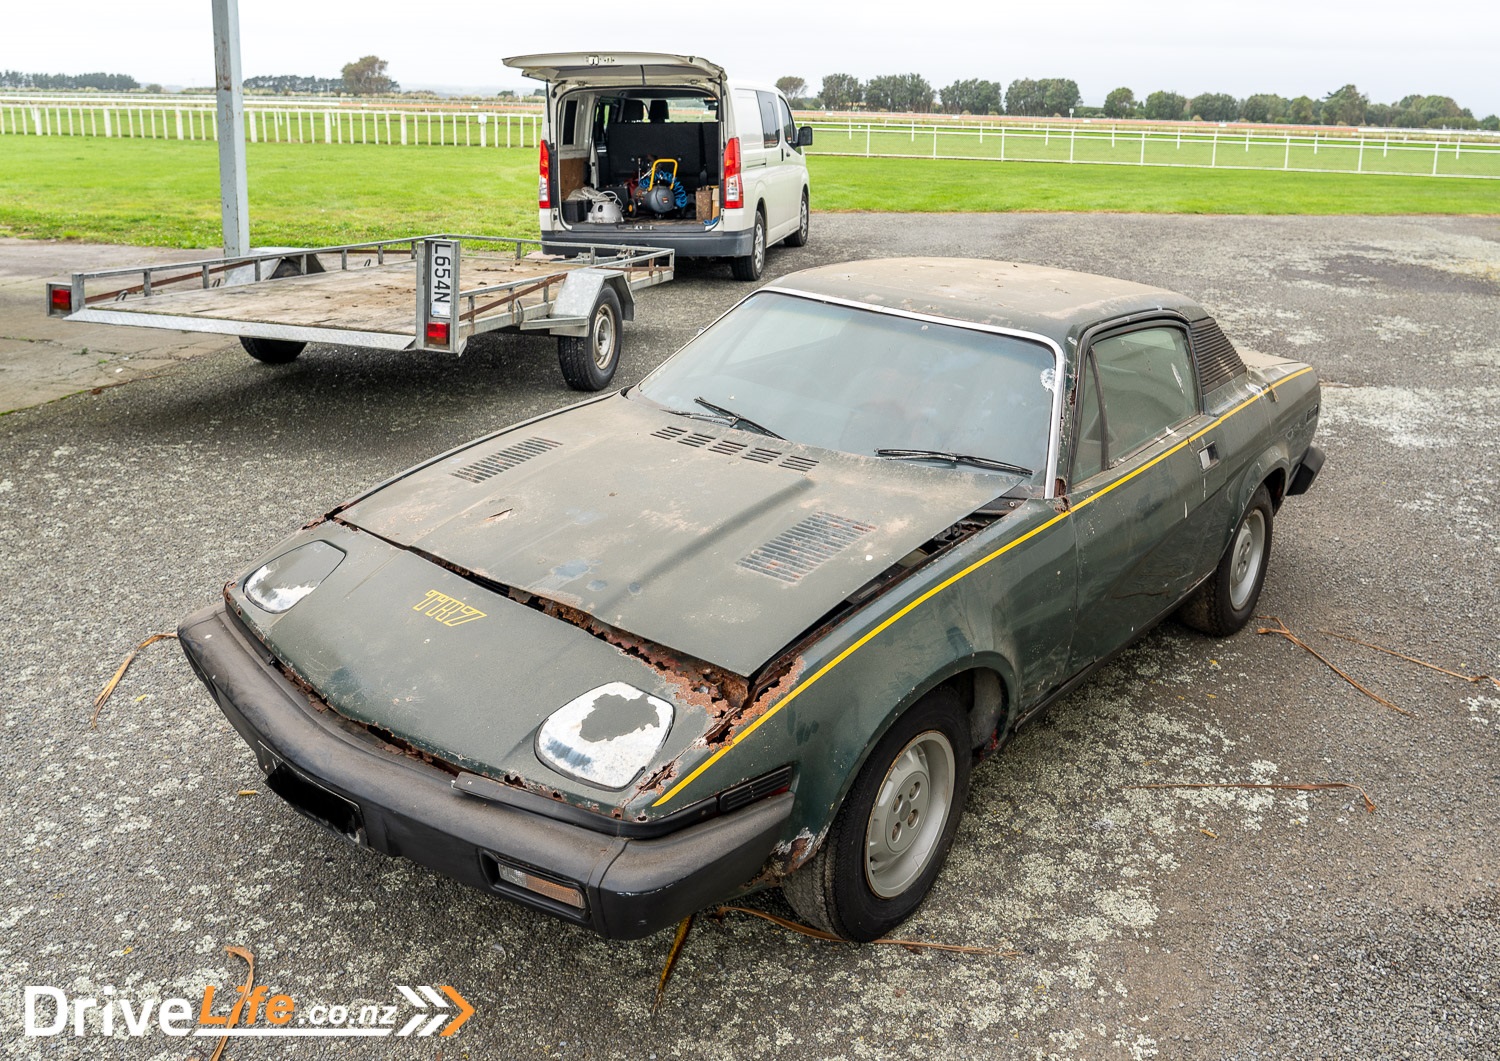
That was it for the day. We left the car on the trailer and tomorrow will drop it, jack it up and then I’ll spend a fair amount of time unbolting the brakes, front suspension, steering etc so we can drop the crossmember right out underneath of the car.
SATURDAY
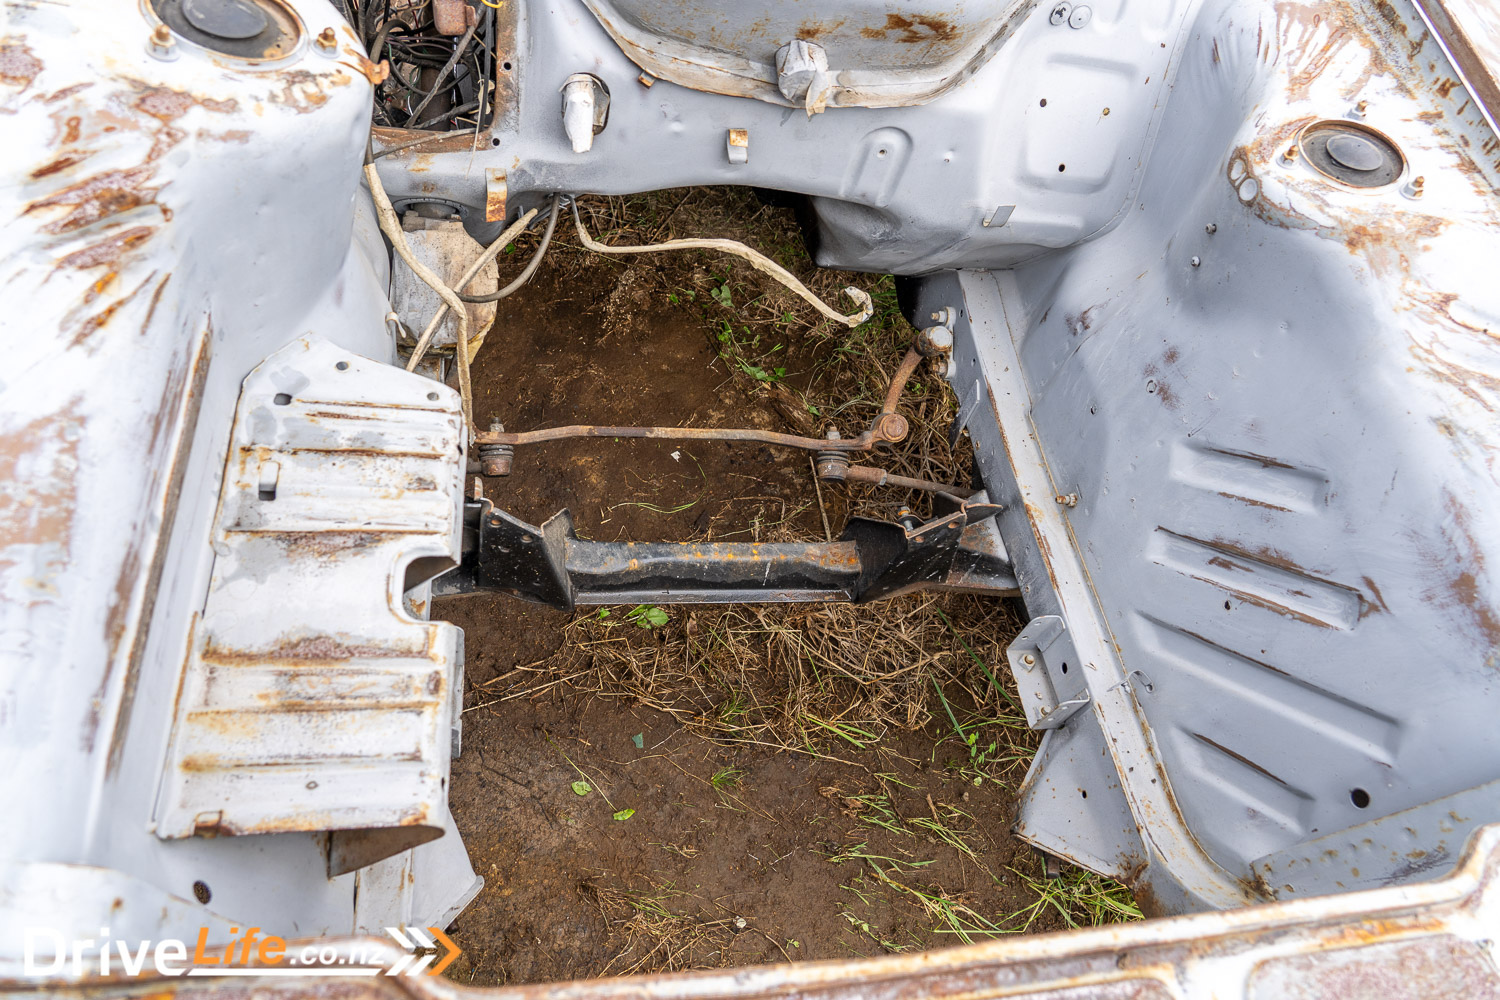
We decided to leave the TR7 on the trailer while I removed the crossmember, simply to make it easier to return to storage later in the day, once it had no front end. Thankfully, the front crossmember on a TR7 is not too difficult to remove, even for a near-on 50-year-old car. Still, it was a solid 90-minute job to get the whole front end pulled out.
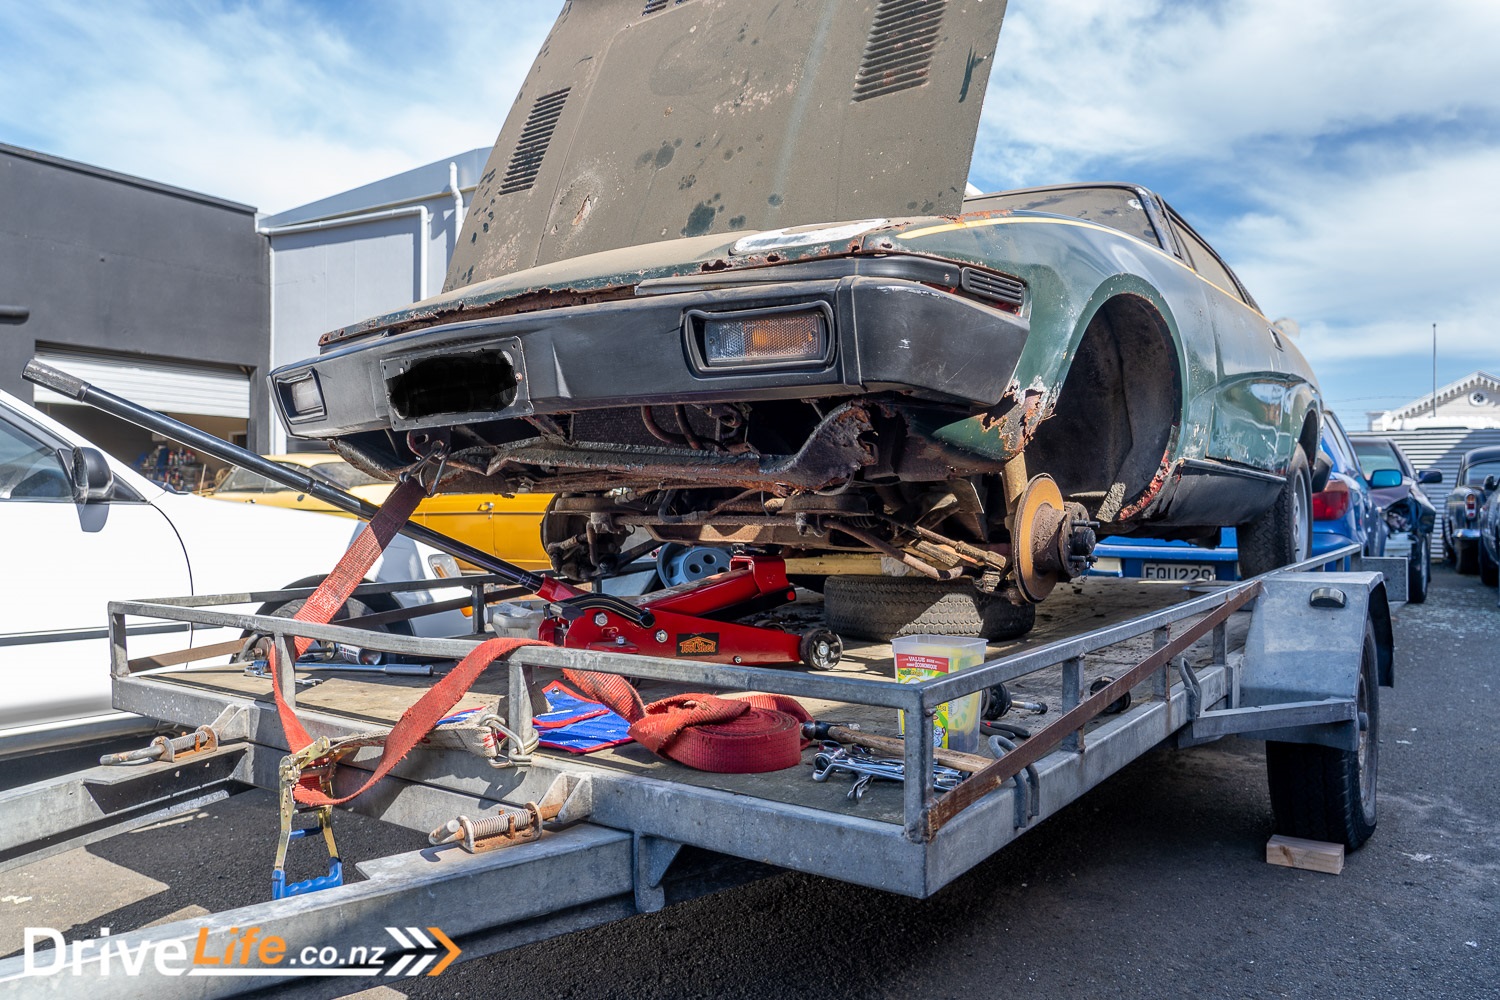
That done, I went to work removing the steering rack, anti-roll bar, and lower suspension arms from the crossmember. Lots of seized-up nuts and bolts, but nothing that lots of CRC couldn’t help with.
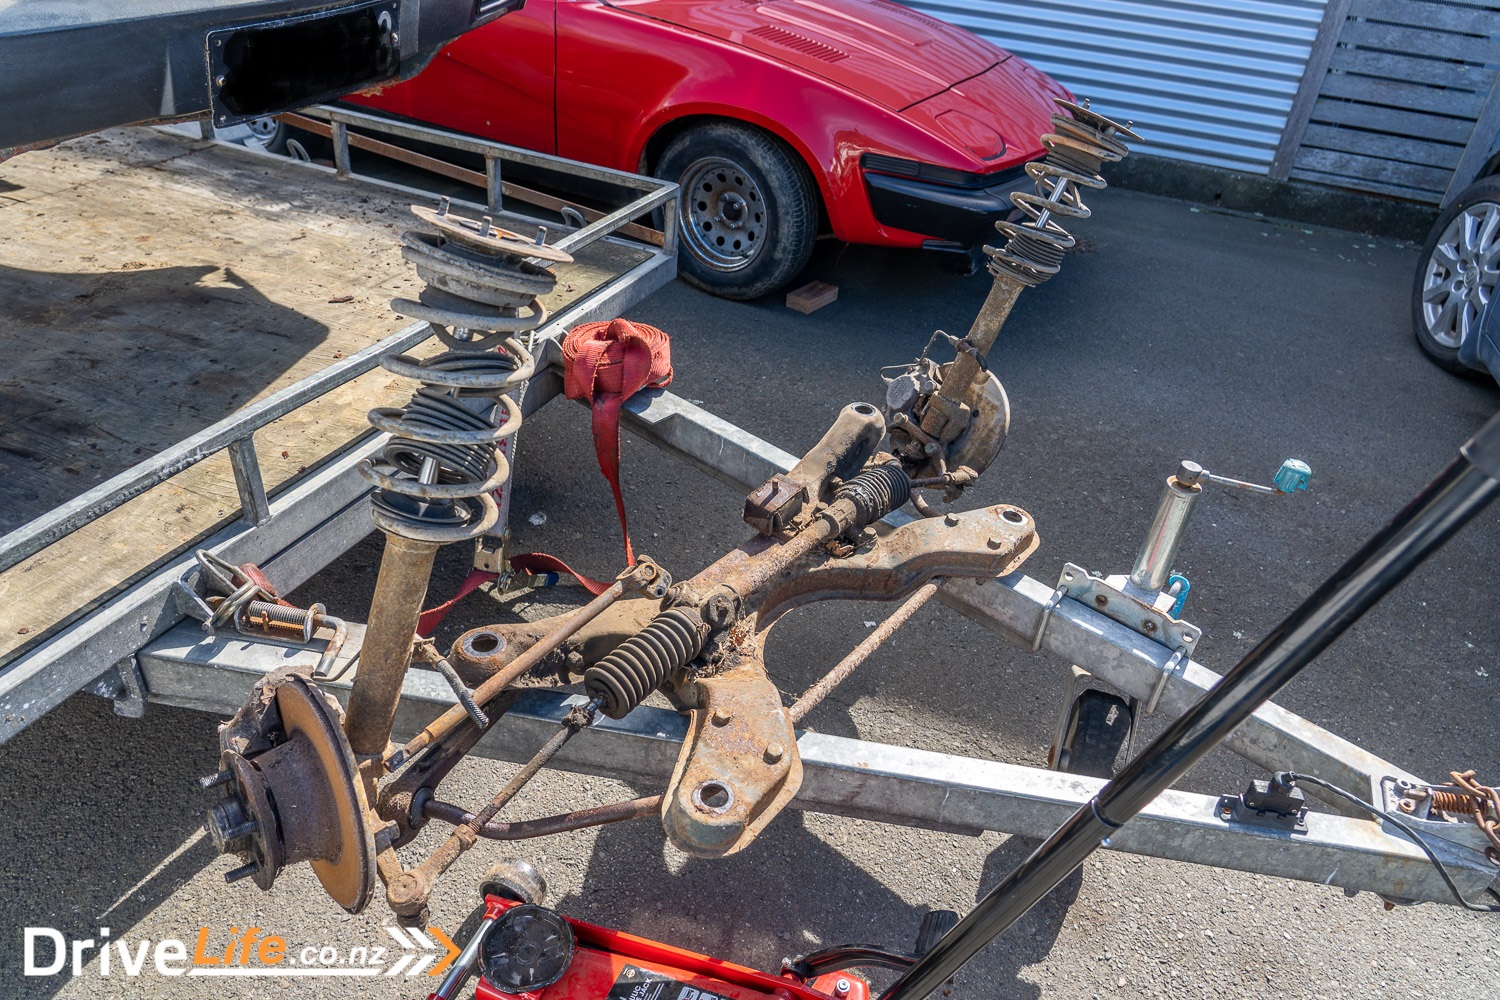
The old TR7 four-cylinder engine mount plate was next to get ground off the crossmember, but this was a little more stubborn and took some work with the grinder to remove it. Once gone, the crossmember was now bare and I took it out the back to give it a good clean-up. It’s in a lot better condition than our Fastback crossmember that has kinks in it from a front-end crash.
We then bolted our new engine mounts to the bare Rover V8 block in the engine bay of the Fastback, ready for tomorrow. While today’s time for working is over, tomorrow we’re hoping to do the fiddly work of deciding where to cut the TR7 crossmember so we can tack-weld on the mounting point from the Fastback crossmember. Since the TR7 mount points are different, we need to use one from each side of the Rapier Fastback to make everything line up. Once it’s tack-welded in place, we can then take it to our LVV Certifier and get his advice on what else needs to be done to make it safe and strong.
SUNDAY
This morning, before I had to head back to Wellington, we spent a lot of time measuring the old crossmember, the new one, and different points inside the engine bay. If there’s one thing to keep in mind when doing a project car that is being modified it’s that you need to be flexible.
So after much checking and discussing, we’ve decided not to use the ends of the Fastback crossmember, and instead, will slightly modify the TR7 one to suit the Fastback chassis rails. It’s going to be simpler and stronger, and that’s always a good thing to aim for. Again, we’ll get any mods okayed by our LVV Certifier first. This does mean that some of the work I’ve done this weekend was wasted time, but what do you do.
We also started looking at the gearbox mount – how to do this and potentially using part of that new mount to affix supports for the new BMW M3 seats. If we can connect all that together to the chassis rails it will all be very strong and safe. Again, thinking of certification here and going beyond what is needed.
Next weekend I’m coming up again and will remove the leaf springs and send them off to be re-tensioned. I don’t think there’s any point in restoring a car if you aren’t going to do it properly.
We’ve also been thinking about the air conditioning install, and looking at a Toyota Echo parts car that Lance has outside. The whole AC system in the Echo is pretty compact, and it looks like it will be a perfect fit for the Fastback. This will save some money and should still fit in very nicely. We’ll work on that another day.
Project V8 Sunbeam Rapier Fastback: New Sills
Before heading up for my next trip to work on the car, I managed to track down a complete, new right-hand side inner and outer sill replacements for the Rapier, for $100. A great price, and hopefully we can use this as a pattern to get new left-hand inner and outer sills made up. Both sides are rotten with rust and need replacing.
FRIDAY
Well, another week gone as I flew up to Auckland to pick up a new MG3, and drive it back for a car review. I managed to get away from Auckland at 9am, but I think I spent the rest of the day on the way to Hawera, in roadworks. They seemed to be everywhere, and much time was lost sitting in front of a flagman waiting for that ‘Go’ sign to turn around.
That meant a late arrival in Hawera, not getting there until almost 4pm so that was almost two hours lost on the way down.
Our original plan was to cut the ends off the Rapier crossmember and then tack-weld these onto the TR7, get it okayed in principle by our LVV Certifier, and then get it all finished by a ticketed welder. But on discussing this more, we’ve decided to forget the Rapier crossmember completely, and instead, we’ll extend the chassis mount points and reinforce them with extra gussetting.
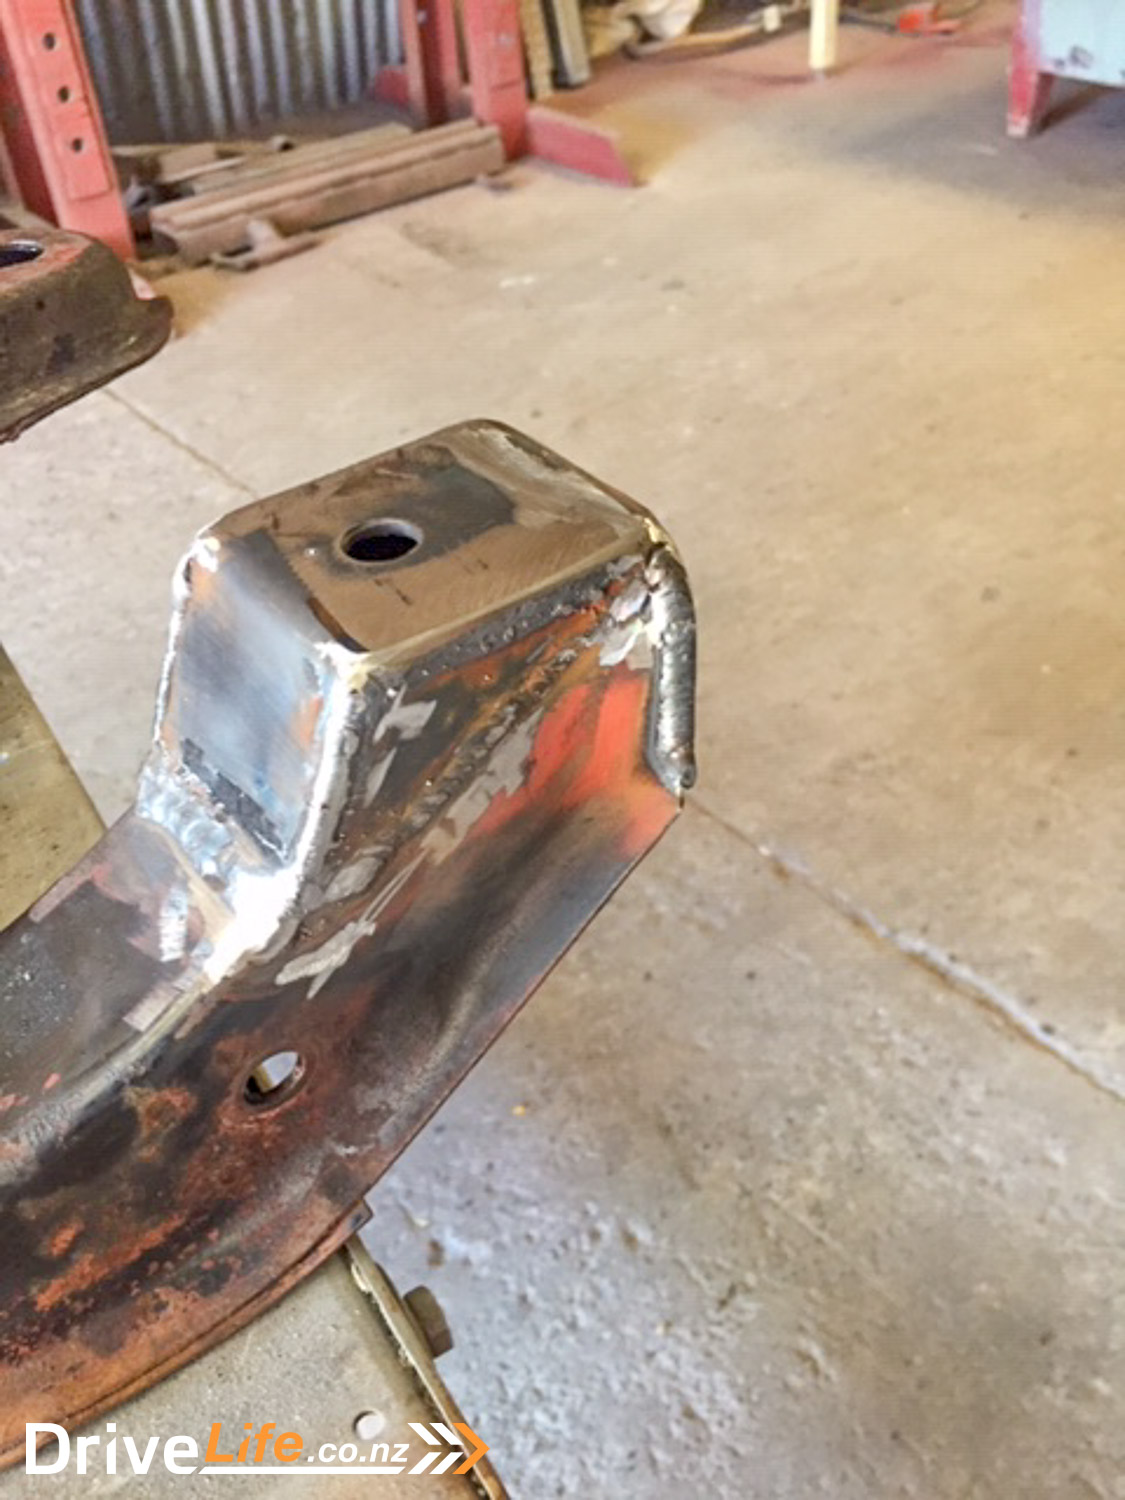
There’s a huge difference in physical size between the two cross-members, and there is little doubt the TR7 cross-member is massively stronger than the Rapier one. Still, again, we’ll get everything approved by the LVV Certifier before doing any final work. He may have some thoughts around yet more gussets etc, so time will tell.
SATURDAY
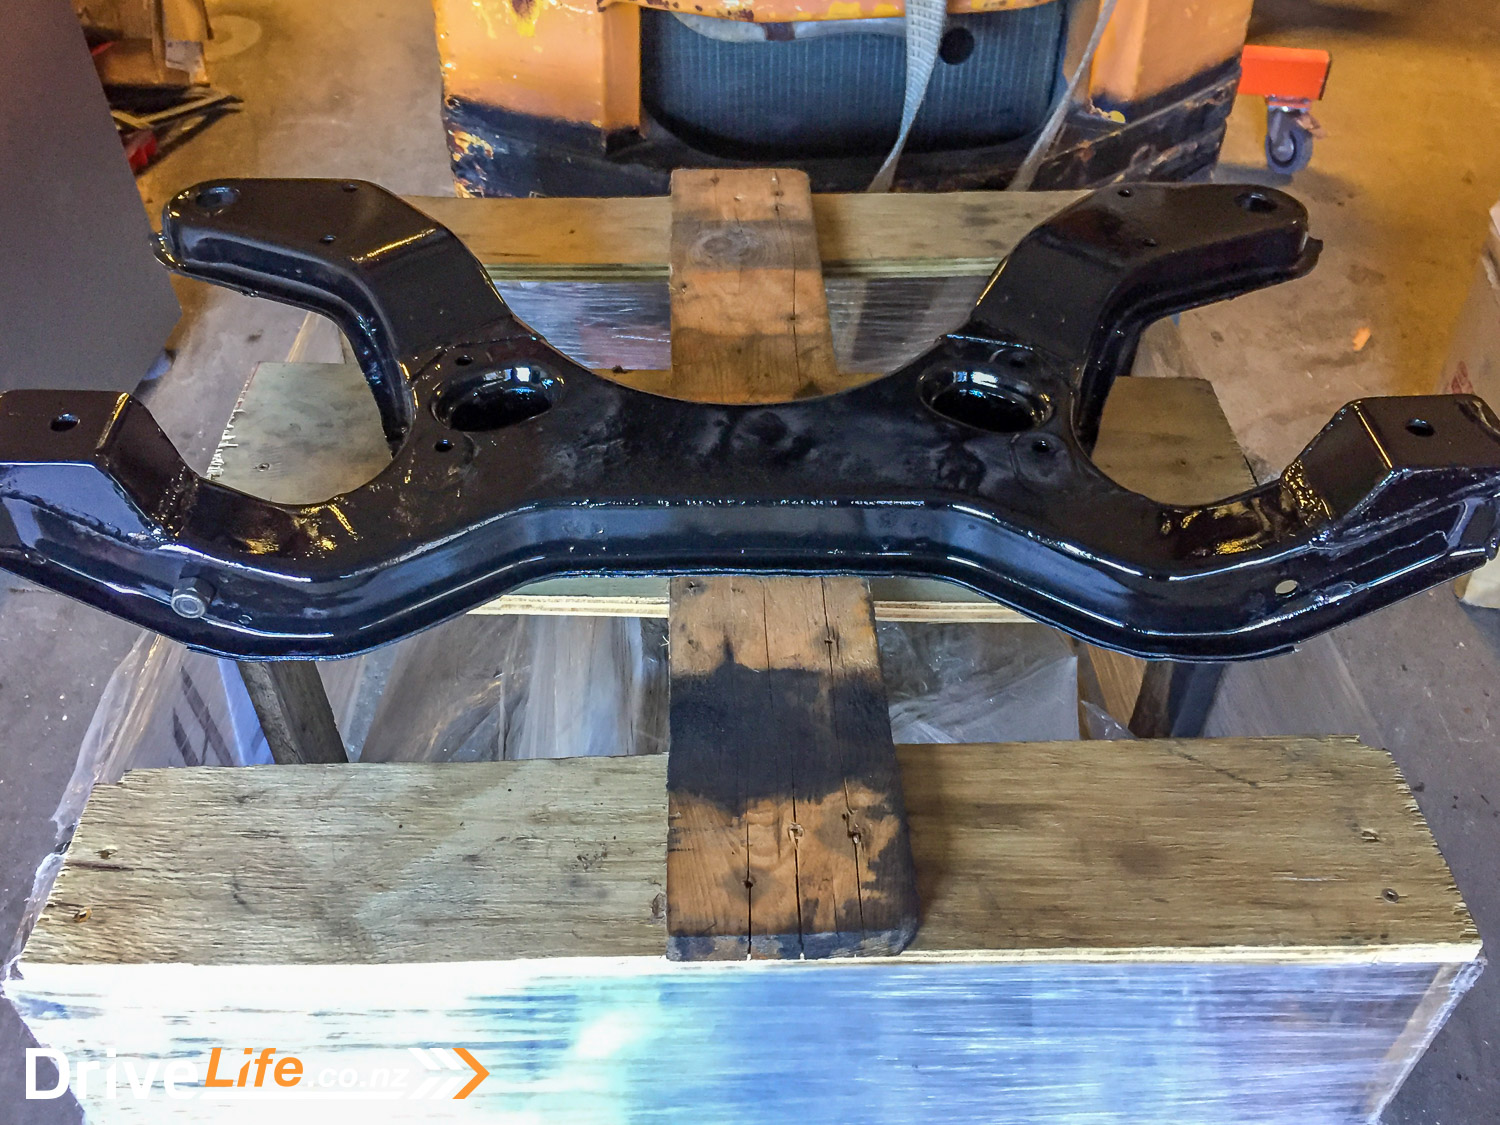
While it feels like slow progress, we spent time this morning getting the modified crossmember ready. It was starting to look more like a thing now, and we feel it’s ready for our LVV Certifier to see everything. Once he has (hopefully) given the approval to go on, we’ll get a ticketed welder to do all that’s required in one hit, we’ll sandblast the crossmember and get it painted.
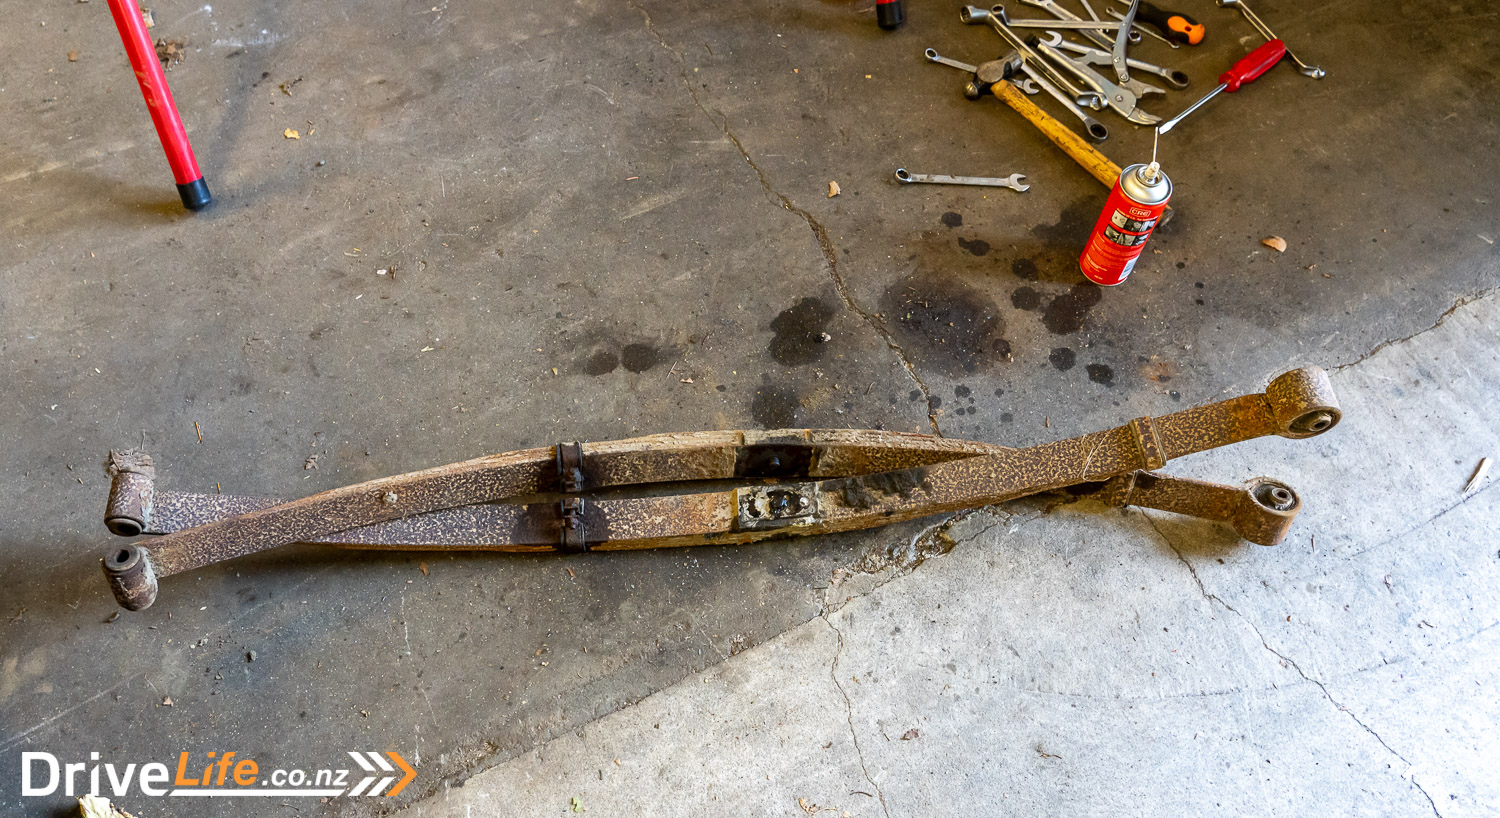
That part of the job done, I went back under the Rapier and removed the leaf springs. Easier said than done when the car has been sitting in a barn for 20 years but I got them off eventually. I’ve already got all-new spring bushes and rubbers for the leaf springs, from the Sunbeam Car Club of New Zealand. They carry $65K worth of new parts and have all of the suspension rubbers I need, with the entire rear-end set costing under $200.
Leaf springs out, I then removed the handbrake and handbrake cable from the Rapier Fastback. Why? Two reasons; The first one is that the Rapier has its handbrake on the door-side of the car, down the side of the side. It’s not ideal – I’d say more a PITA than anything – and since I’m going to build a whole new interior for the car, we’re taking the opportunity to move it to the centre.
The second reason is the seats; we’ve got some E46 BMW M3 seats for the car. They’ve got built-in seatbelts, are electric and will be a LOT more comfortable than the standard Rapier seats. But they are wider – around 30mm on the tracks – and this will encroach on the handbrake, so it has to go.
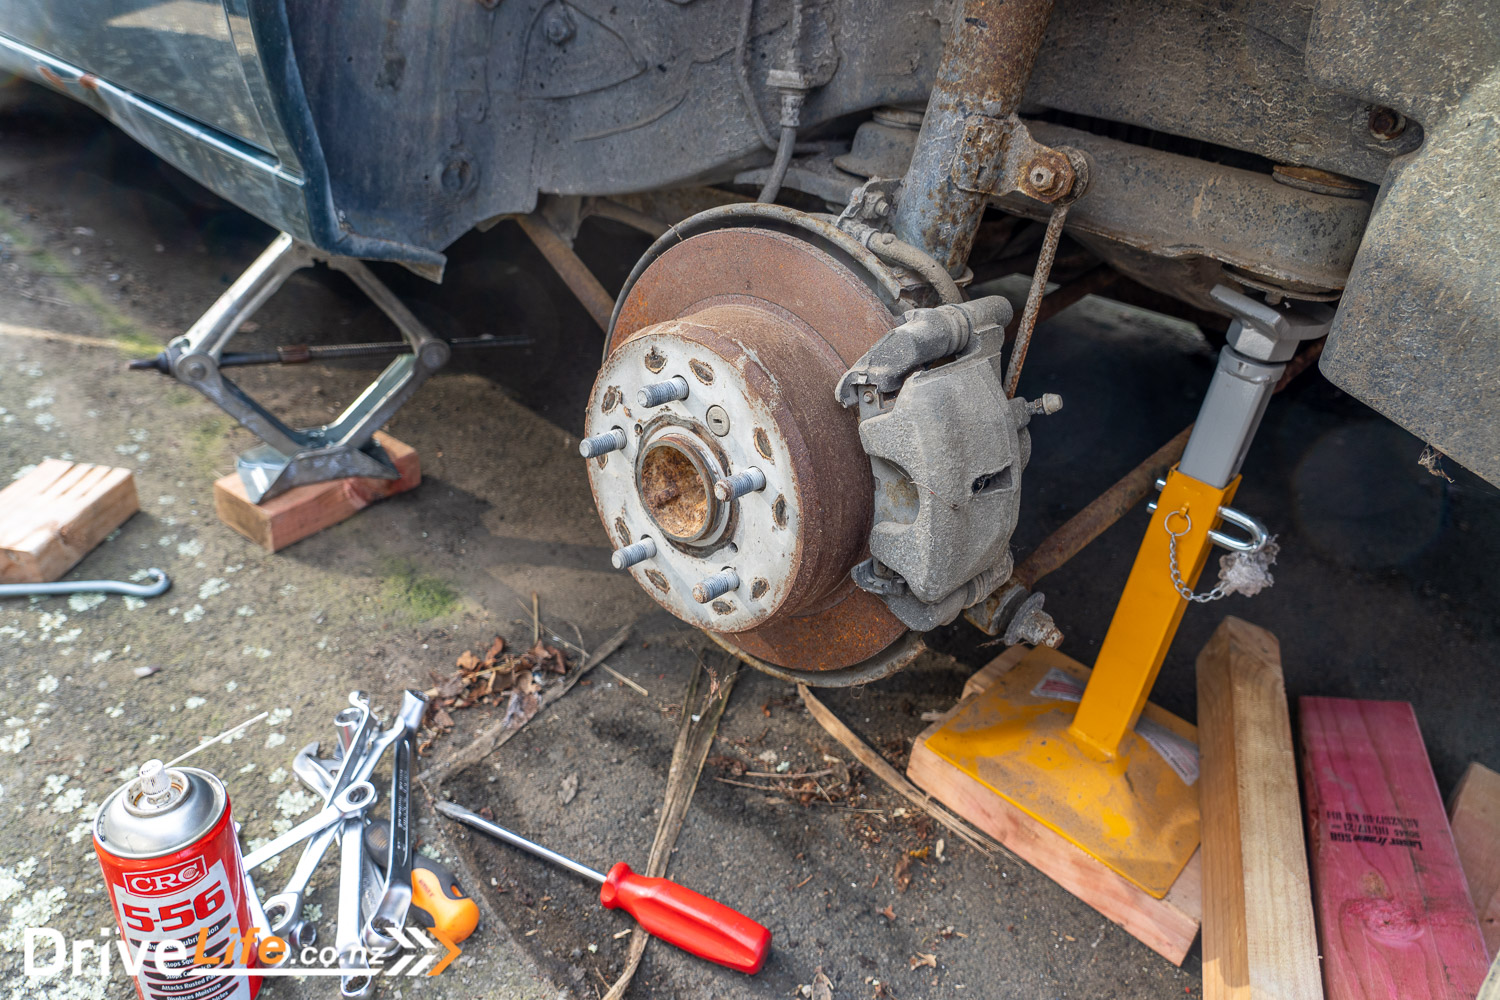
The next thing for me to do is attack a Toyota Camry. Lance has a Camry parts car sitting outside, and we’re going to use the rear brake setup from it. That means the Rapier will have a disc-brake rear, and the Camry’s setup also carries the handbrake in the hub, so that’s less mucking about trying to adapt some sort of handbrake setup. We’ll run the handbrake cables from each side up into the centre of the Rapier, just like it is in the Camry. We need to upgrade all our brakes because of the bigger engine, and we’ll decide what to do with the front brakes later. We’re hoping that for the rear brakes, the Camry backing plate will bolt directly onto the Hilux diff, but it’s unlikely, and we’ll probably have to manufacture something to make it work, or simply drill new mounting holes in the Camry backing plate.
SUNDAY
I only got one side of the Camry brakes out last night, so today worked on removing the other side.
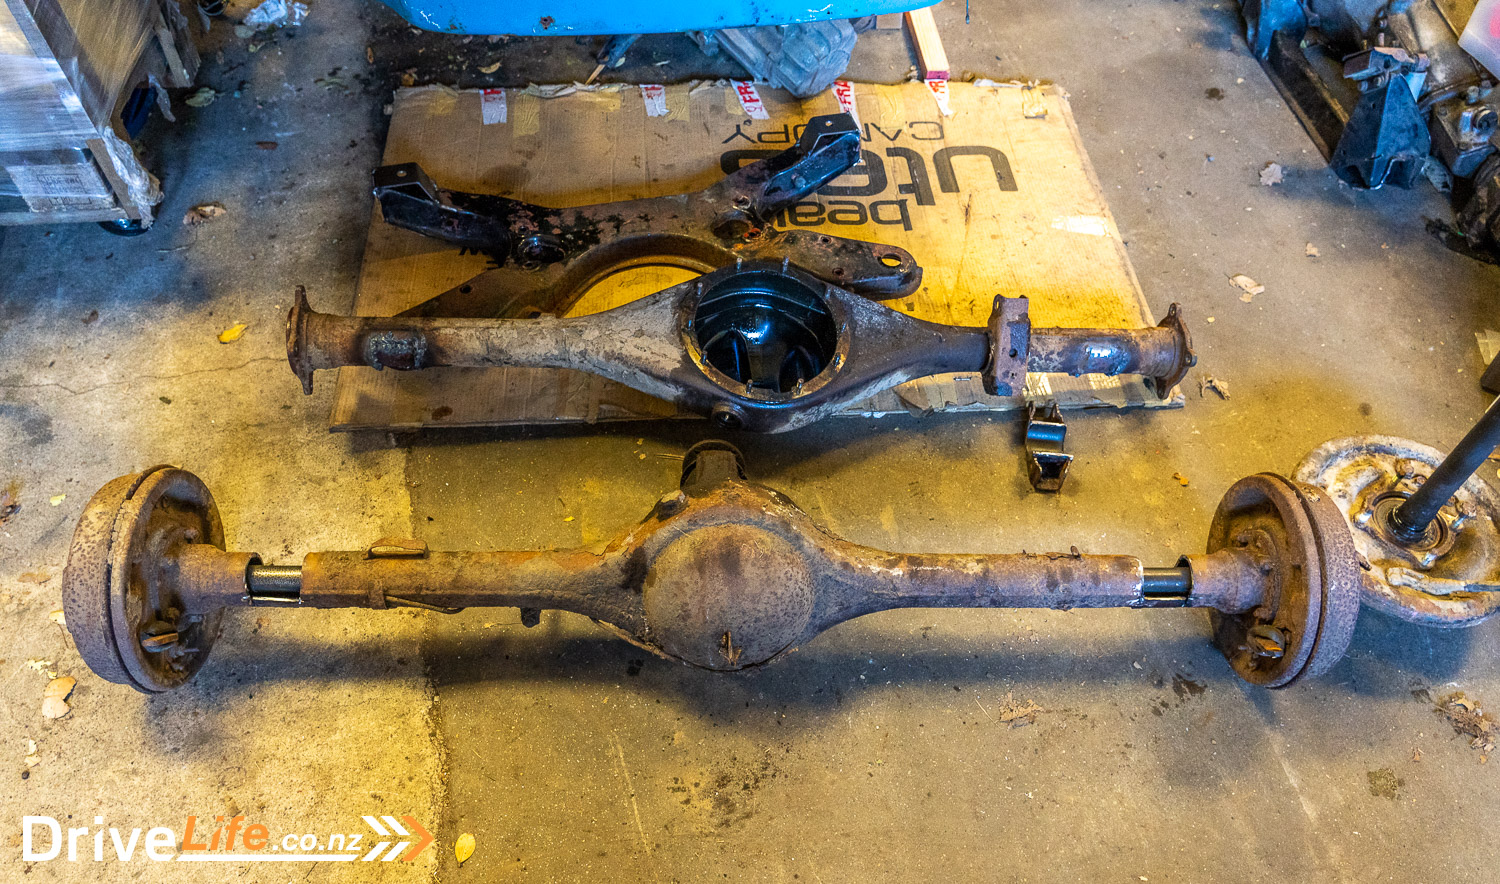
The next job on my list is to gas-axe the leaf spring mounts off the Rapier diff, so the ticketed welders we are using can then weld these to the Hilux diff. The Rapier leaf spring mounts are actually a bit wider out than the Hilux, so this works perfectly in our favour. By the time I manage to get back to Hawera again in 4 weeks, the diff will be all welded up.
Those done, we can trial-fit the crossmember in the car, and move rearwards to work on the gearbox mounts, and potentially the new seat mounts at the same time.
While still in Hawera, we discussed engine mounts. We’ve got some options here, and of course, all still depends on approval from our LVV Certifier. We can go with a similar system as the Triumph TR8, where the engine is mounted to the crossmember, or we can do something similar to a Triumph Stag, where the engine mount is welded to the chassis.
The Stag system is preferable to us; it means we have some flexibility on where the engine sits in the engine bay, so we can shift it as far back as is practical, and then weld the engine mounts to the chassis. We’ve broached this with our LVV Certifier, and he has suggested we supply some drawings or photographs showing the end result. We’ll get on to this next time I’m up in Hawera. If we can weld the engine mounts to the chassis like the Stag does, it’s all quite simple and yet still very strong.
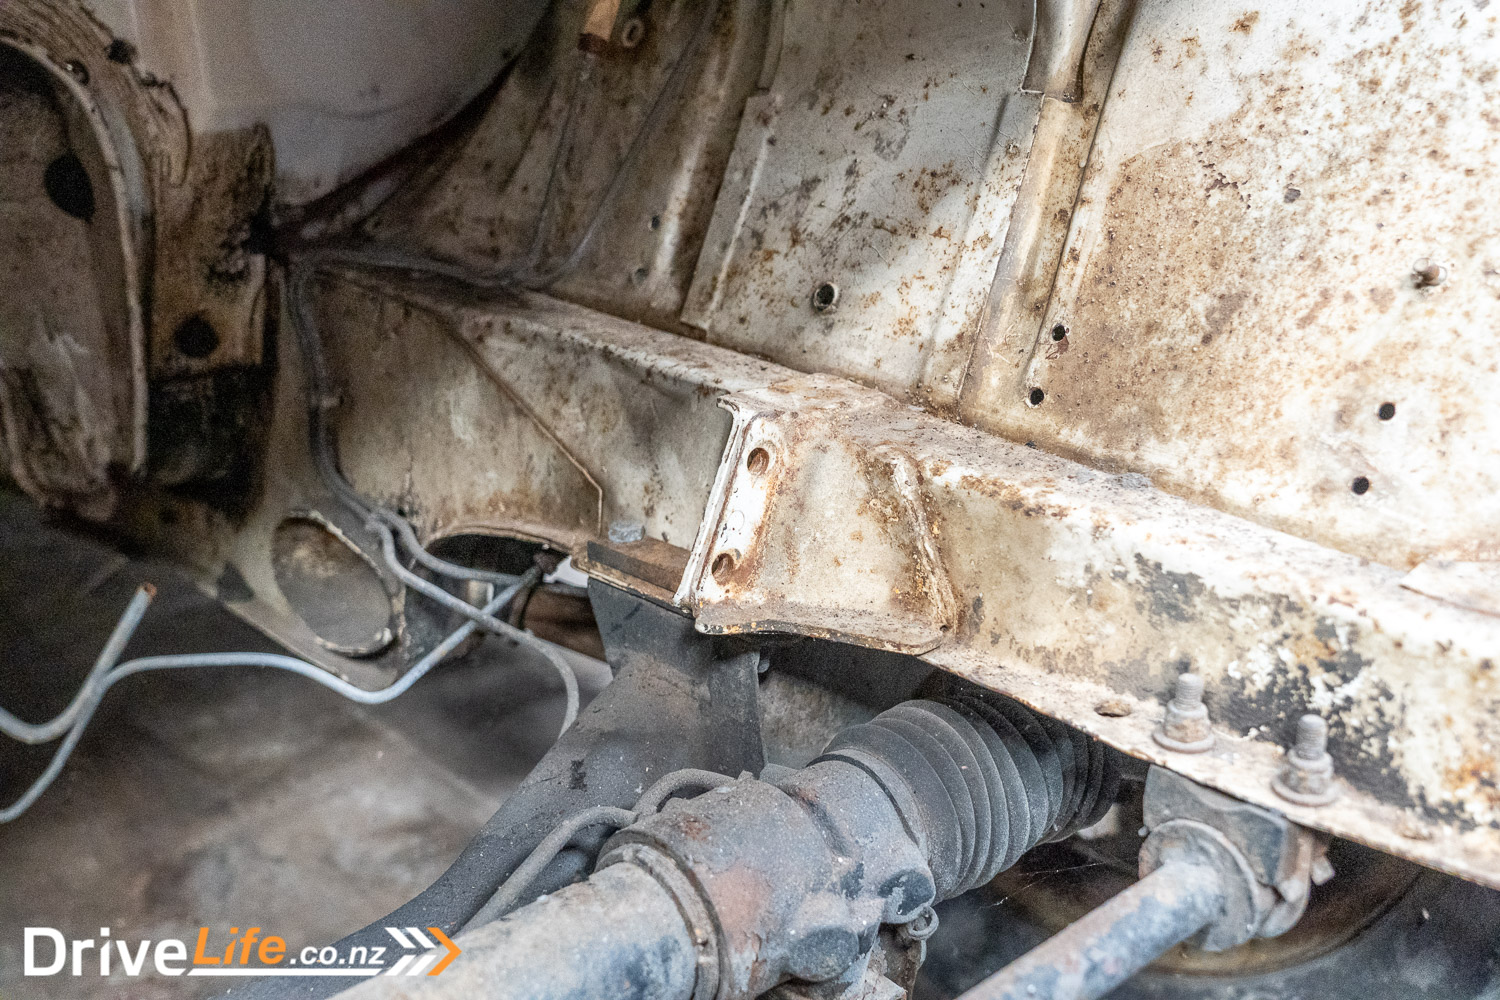
But our hold-up is the front chassis. You might remember from Part 3 that the car had a front-end shunt in the 1990s, and we need to get that sorted. We’ll likely replace the left-front quarter as the chassis rail is too badly damaged. Before we do that, we need to get the car onto a chassis straightening machine. Lance has one of these, so this will be a high priority to get done ASAP, to save holding up the project.
Project V8 Sunbeam Rapier Fastback: Electric Water Pump
Not being physically in Hawera to work on the car is hard at times, but it does give me time to research things we want to change, and to buy more stuff.
One of the items I wanted to change from the outset is the water pump. Changing the old mechanical pump to an electric one does a number of things:
● It increases horsepower from the engine not having to drive a mechanical pump
● It allows much-needed forward space when there’s no engine-fan
● We can remove the thermostat to get more water flow
● You can program it for the pump to run for a time after the engine is off, to reduce heat soak
● It cleans up the engine bay
I’ve purchased a Davies Craig EWP150 electric water pump (EWP) and controller for $379. It gets mounted somewhere inline in the bottom radiator hose, giving us a little flexibility around the mount location. It basically hangs there and isn’t physically mounted to the car, other than being inline in the radiator hose. While I could have purchased a black plastic EWP, I went with the alloy one because, well, shiny.
The controller is key to its efficiency. It will turn our electric radiator fan on only when it’s needed, and when the engine is still cold, will instruct the EWP to pulse on and off, so there is some water flowing, but it’s not a full flow, as you would have with a mechanical pump. This is more efficient as it allows the engine to warm up more quickly.
Removing the mechanical pump here is an option, if just for looks. We definitely can take the fan belt off the pump to stop it working, or leave the fan belt connected and remove the guts of the pump, or the more preferred option is to remove the pump completely and make up an alloy blanking plate that would fit over where the pump would have been. This will make the front of the engine look a lot cleaner. I have a friend with his own CNC router at his house, so this is entirely achievable.
Project V8 Sunbeam Rapier Fastback: Rocker Covers
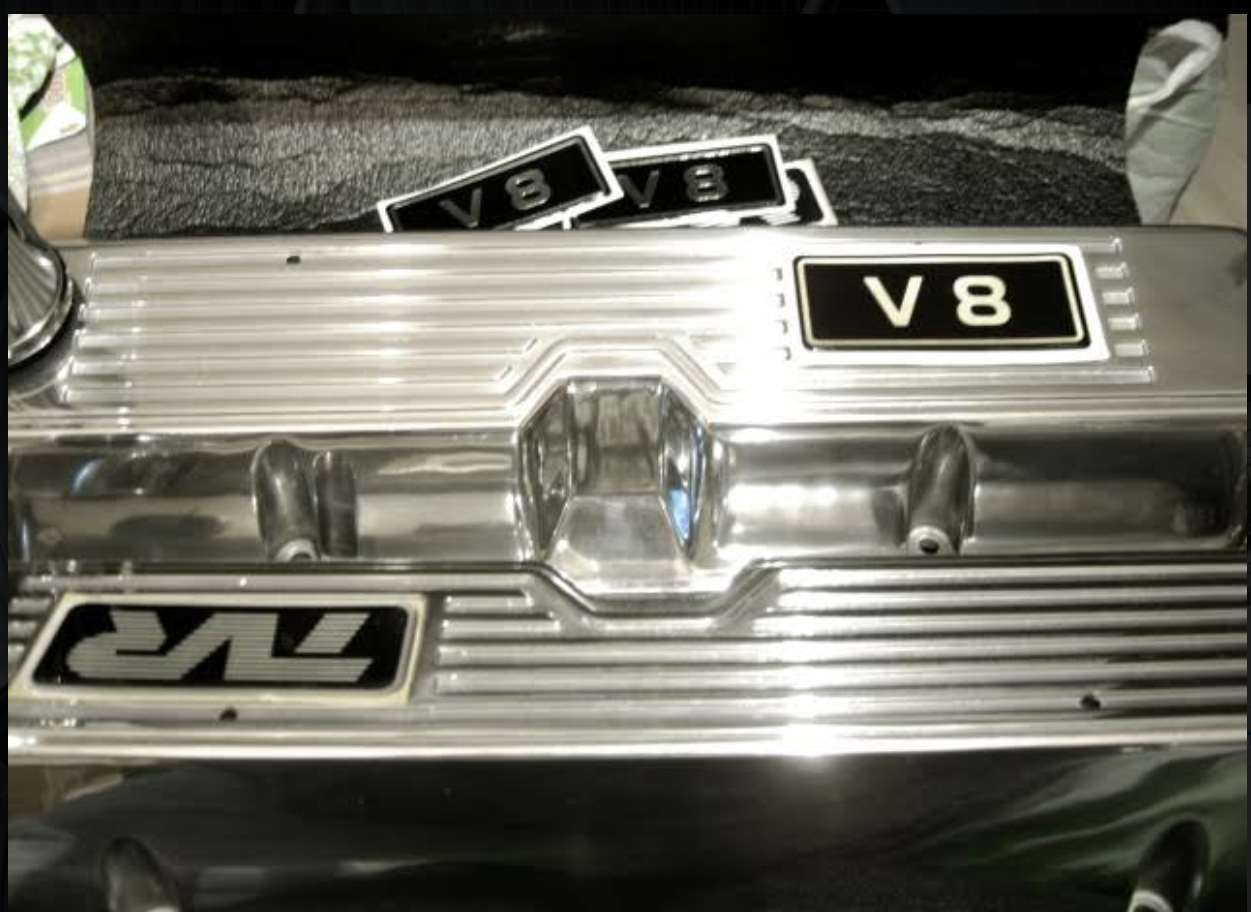
This project wouldn’t be complete without a little bling in the engine bay, and a quick and simple way to do this is to replace the standard Rover-branded rocker (or tappet) covers with something else.
Many hours were spent searching up options here, and I did find a company in the USA that makes highly polished replacement rocker/tappet covers for my engine. They look excellent, but are a little pricey at around US$329 a pair and then another US$250 just for postage (!).
I kept hunting and found someone in the UK who was making rocker covers for Rover V8s, but the post they had replied to was over ten years old. Fingers crossed and an email was sent, and amazingly I got a reply, and the guy is still making Rover V8 rocker covers.
This meant I could ask for a custom set of covers, but then the decisions got harder. What do you put on the top of the cover? I narrowed this down to a few options;
● The word, ‘Sunbeam’ in the same font as it is on the car’s badge
● Include one of the enamel Sunbeam badges that the Sunbeam club sells
● A mixture of both
● A simple “V8” badge instead
We’ve got plenty of time to make a decision, but it’s always fun to throw ideas around, and the covers are being made now.
Project V8 Sunbeam Rapier Fastback: New Donor Car
While in Tirau at a Wrecking Day with the Sunbeam Car Club, I spotted what looked like a straight Rapier Fastback under a cover. A closer inspection showed that it was likely someone else’s previous project car and almost a bare shell. This would be perfect for our Rover V8 conversion.
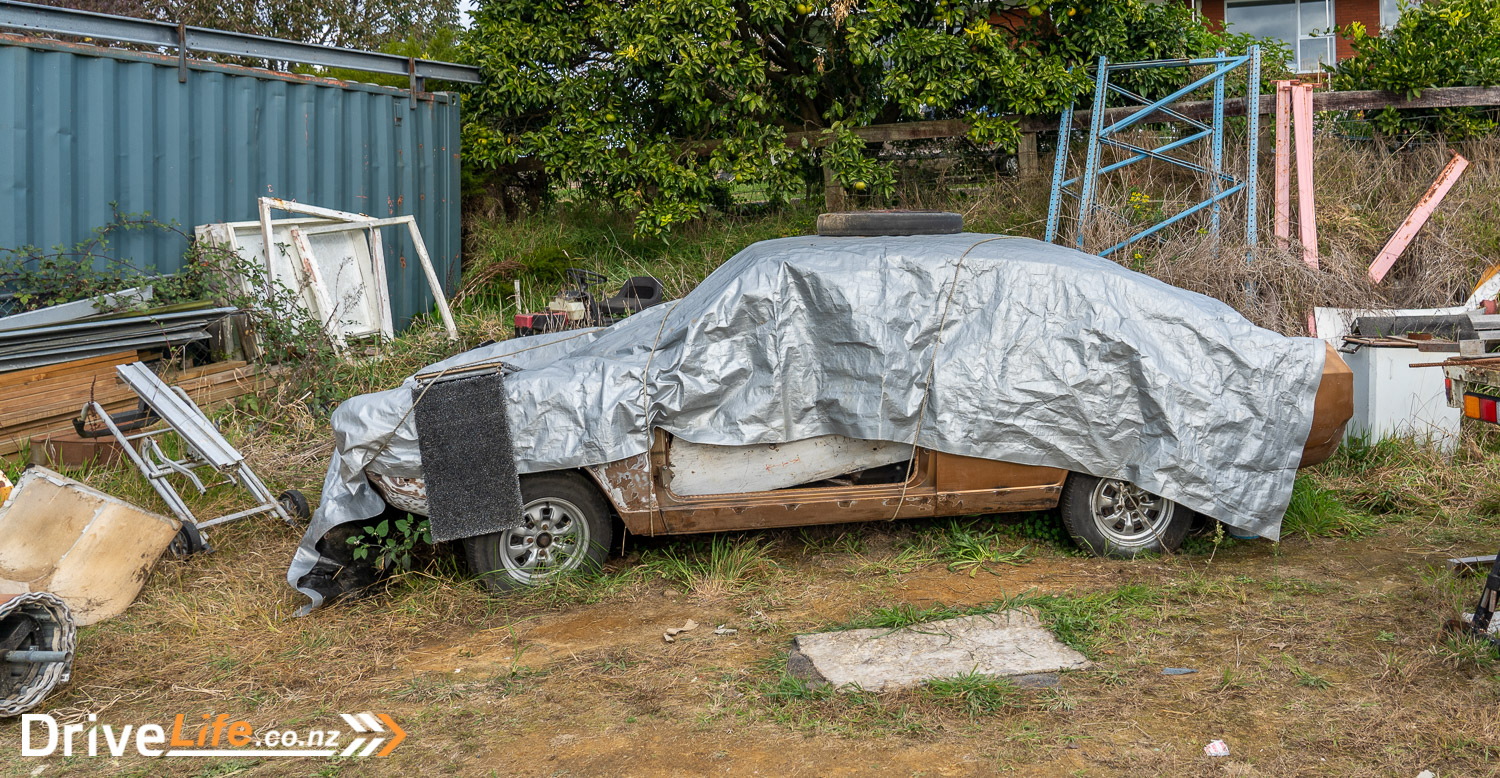
What about my blue Fastback? While I love the idea of restoring the car I’ve had stored for 20 years, every time I see the required repairs and the amount of rust, dollar signs flow through my brain. Having a straight donor car would save 6 months of time and $5K+ of panel beating and rust removal, just to bring the car up to WoF standards.
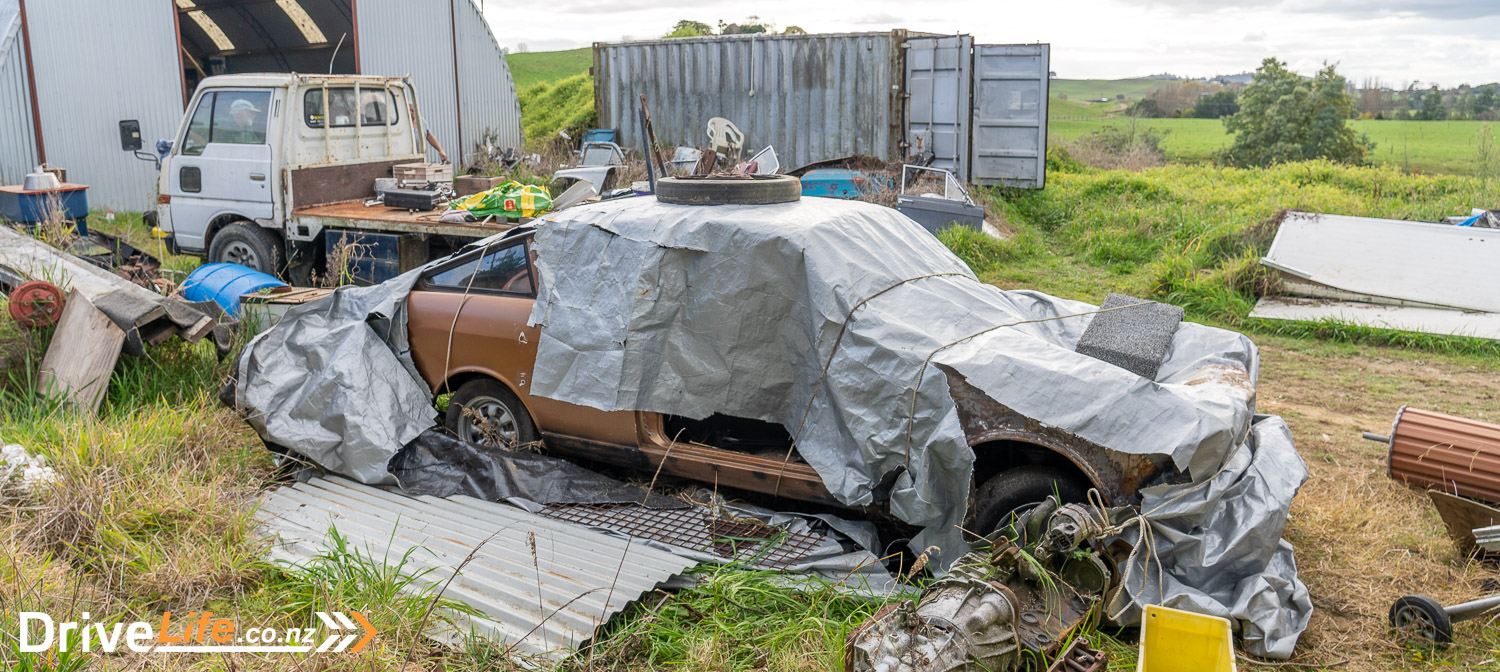
I took a closer look at this gold Fastback. It’s very straight with no visible rust. The engine bay had already been prepped for painting, the front valance is perfect and there’s no rust in the normal place behind the back wheels. Surface rust had appeared from the car sitting outside, but it wouldn’t take much to get rid of it.
On checking with the owner of the gold Fastback, initially, he wasn’t keen to part with the car. But 30 minutes later, he had thought seriously about it and realised he likely wouldn’t ever get around to restoring the car since he had other project cars to finish first. We agreed on a price that was far less than my probable panel beating bill and organised to get the shell down to Hawera.
Project V8 Sunbeam Rapier Fastback: Blue+Gold=one car too many
The next weekend, it was off to Hawera again, this time in a Mazda CX-30. During the week, there were discussions about the best thing to do with my blue Fastback. It’s too good to wreck for parts, and since I already had the period ROH alloys for it, we decided to move the diff, suspension and steering from the gold Fastback into my blue one, and then sell it online.
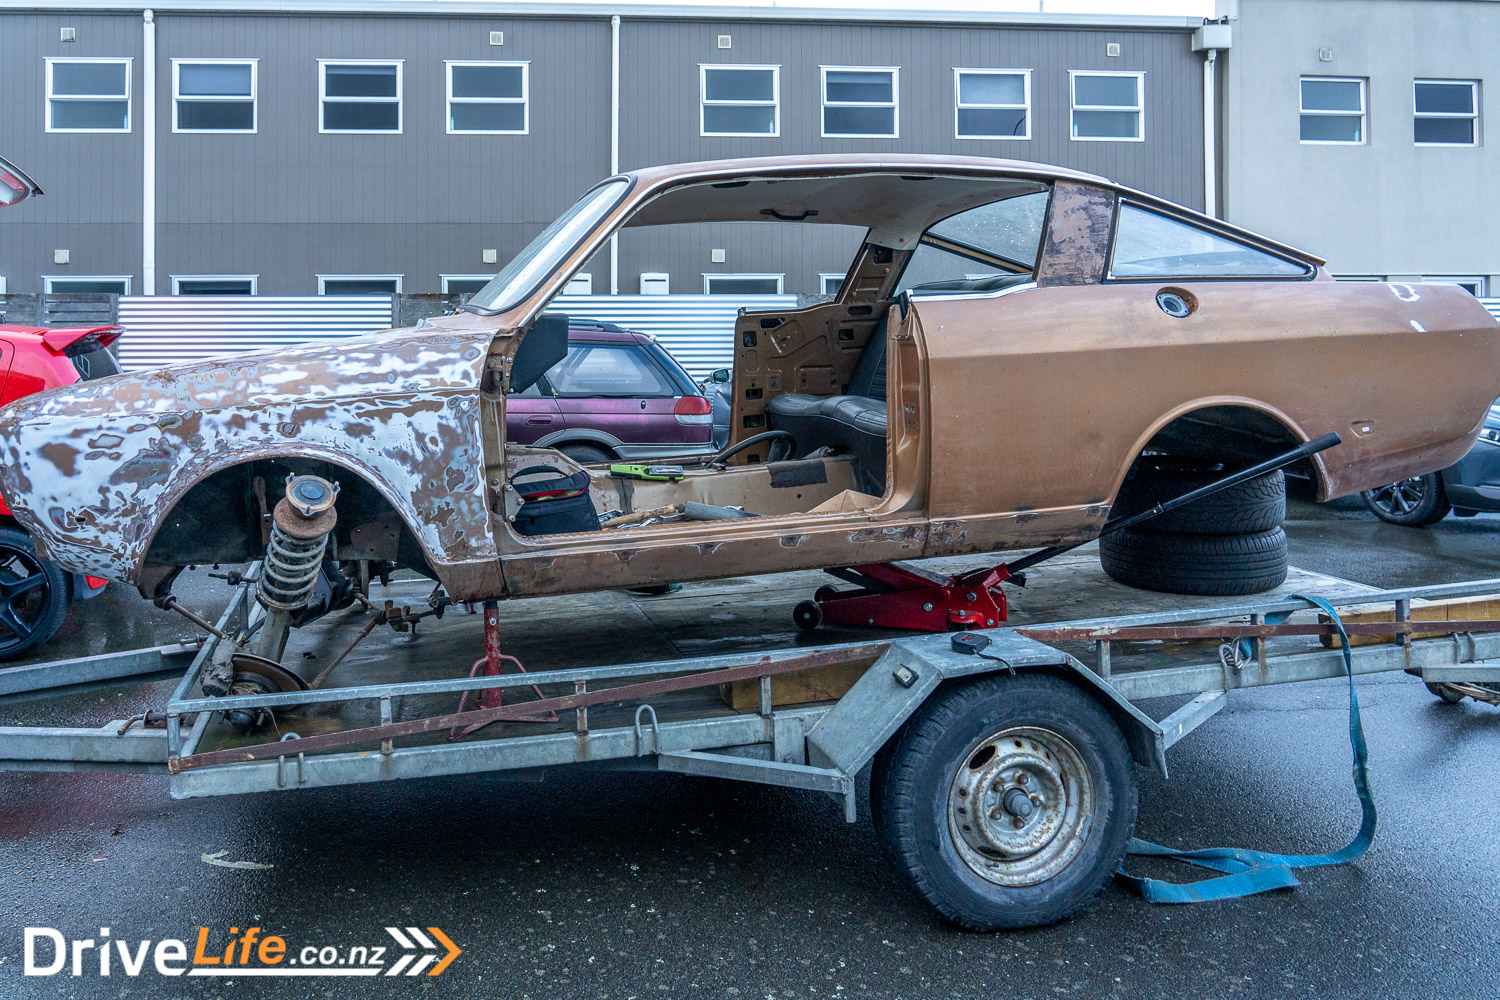
During the week, I had picked up a new chassis rail, inner guard and front guard for a Fastback. They were new old stock, and these can be sold with the blue Fastback to at least give the new owner something to start with. Of course, I had the new sill as well to go with it.
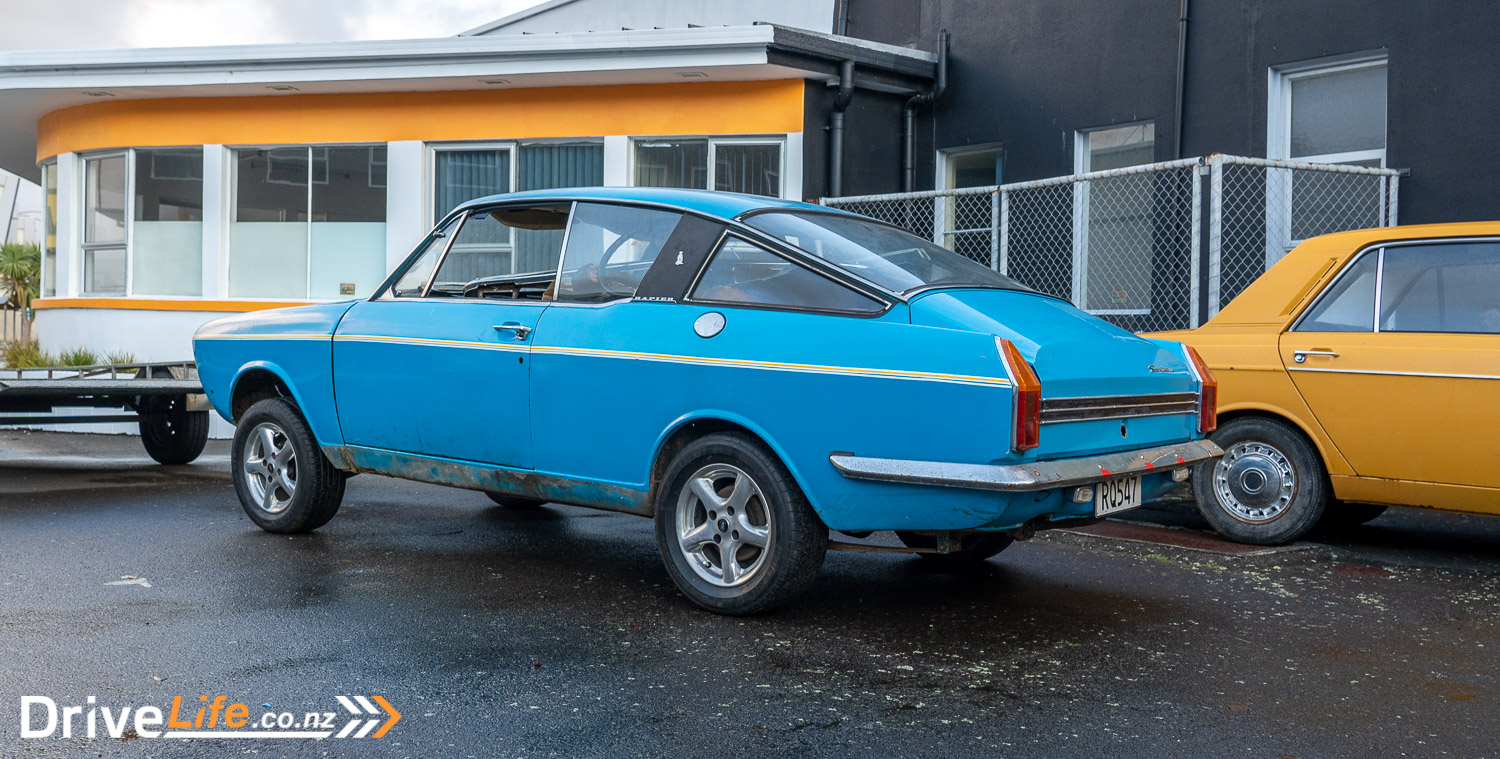
So my plan for this weekend is to get the blue Fastback back on its wheels, take photos and list it online, Ideally, I’d also get the Hilux diff, modified crossmember and struts etc into the gold Fastback (that my wife has now named “Goldie”) so it would be on wheels and easily movable. Friday afternoon it absolutely poured down along with lightning and thunder in Hawera, but I managed to strip all the necessary bits out of the gold Fastback and by midday Saturday, had the blue Fastback on its wheels and ready for sale.
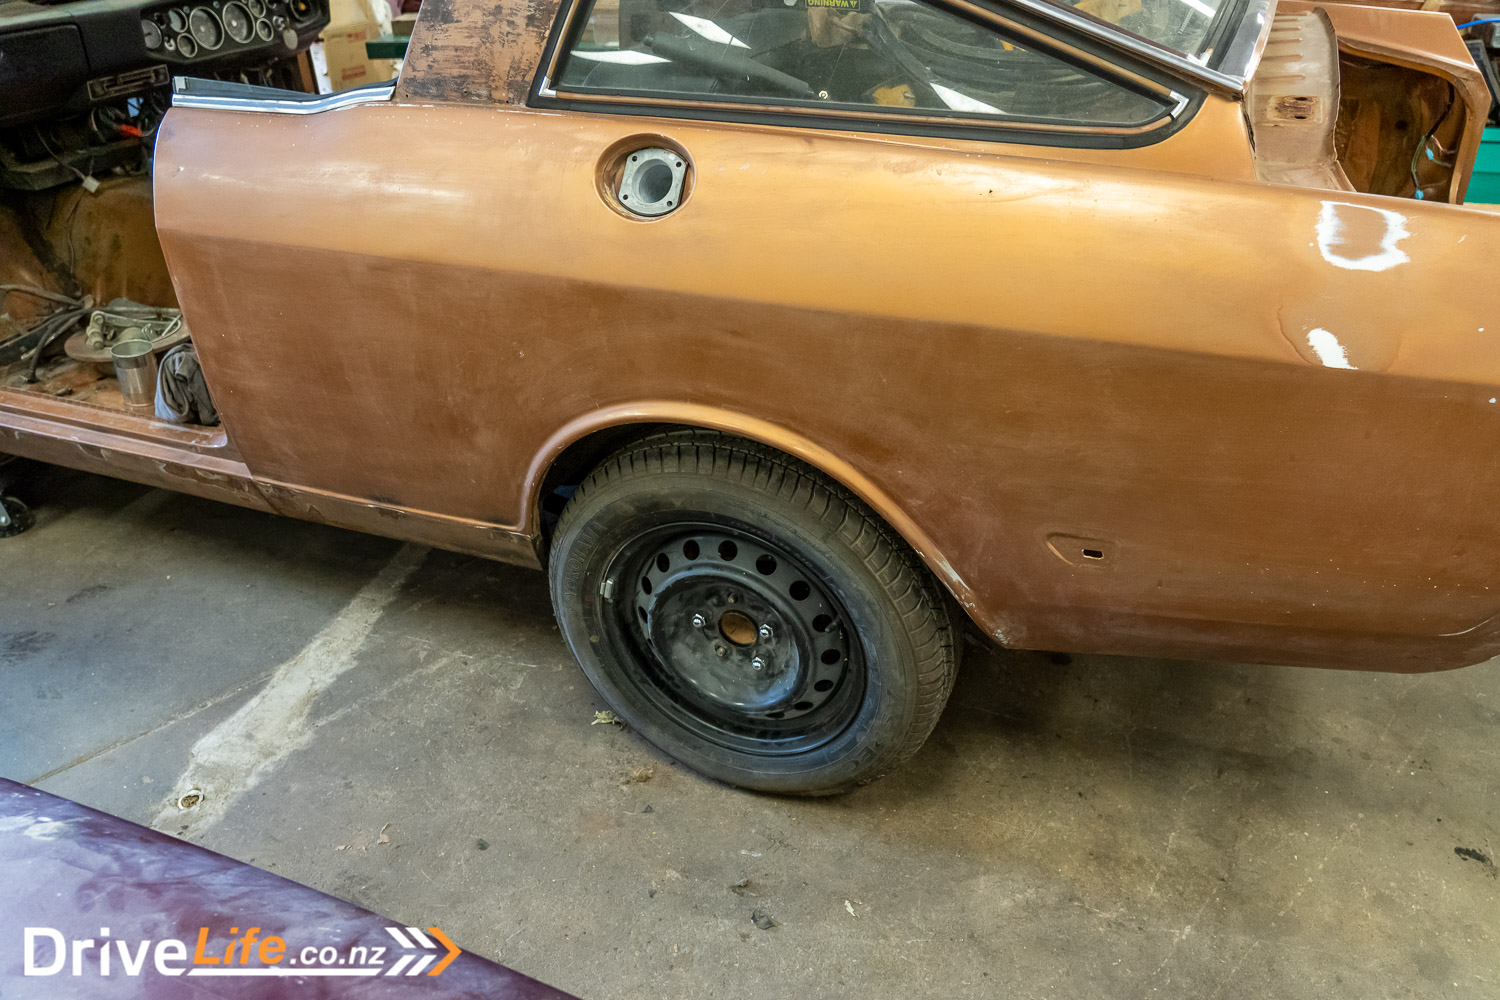
The rest of the weekend was spent installing the now-welded Hilux diff into the gold Fastback, along with my retensioned leaf springs. While the diff head isn’t installed yet, we slid some Hilux axles in, bolted on some steel Camry wheels and lowered the car. This was mainly to check out the ride height, as the Fastback rides too high to start with and with our retensioned springs, rides very high indeed. We’ve decided to lower the rear of the car by two inches to start with and see how that looks – but we won’t be doing this for a while yet, since it’s a low priority.
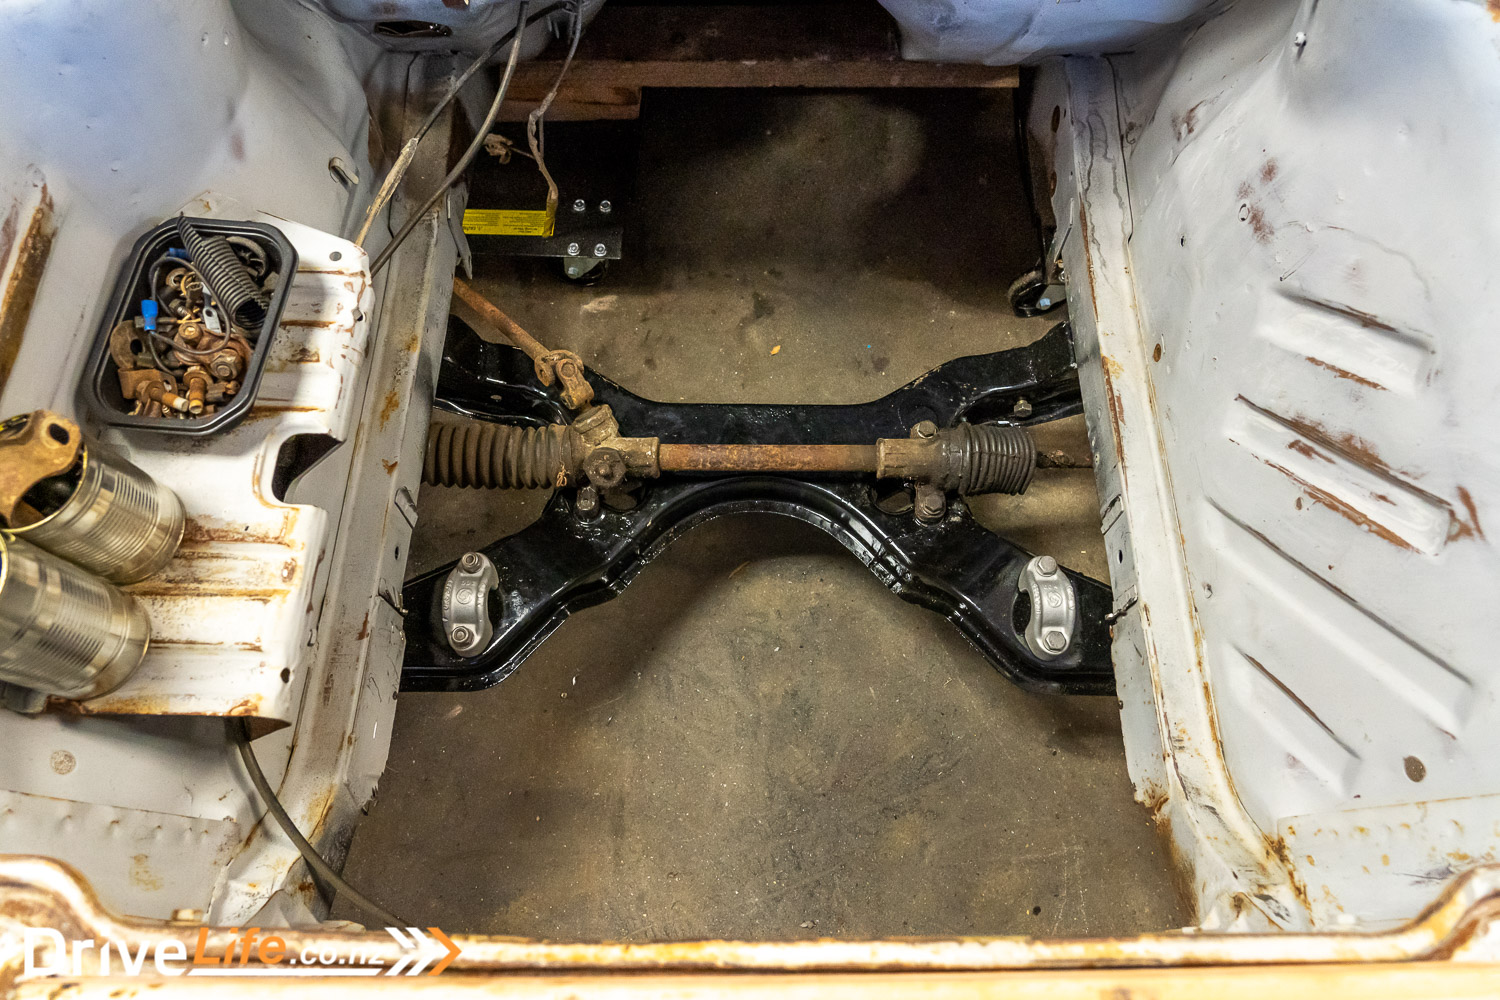
In a milestone moment, I had enough time to get our modified crossmember trial fitted in the car, along with the steering rack. While I would have loved to have got the car on all four wheels, that would have to wait until the next trip up.
Our ‘new’ cross-member fitted pretty much perfectly, however, we’ll need to make up some alloy spacers to go at the front of it. The steering rack looks terrible but at this stage, we’re just trial-fitting parts; once we are sure everything is good, we’ll get things like the steering rack refurbished, along with new seals in the diff. We trial-fitted the new oversized antiroll bar and it clears everything that it should.
Very shortly the blue Fastback will go online for sale, and I’ll be heading back to Hawera to start on items like:
- Putting in the front struts
- Setting up the electric power steering
- Sorting out the gearbox mount
- Sorting out the BMW seat mounts
- Clutch
- Brakes
- Fuel lines
- Driveshaft
- Etc!
There seems so much more to do – and there is – but having our new donor car is going to shave a massive amount of time off this project.
You might wonder why we are going to sell the blue Fastback if it has a bent front chassis rail and is needing rust repairs. The car is still salvageable; long gone are the days of simply wrecking a Sunbeam Rapier Fastback because no one wants them. Now, people want them as they are a good-looking classic car at a very reasonable price. So we’re hoping someone will buy the rolling chassis and get it back on the road. To help this along, during the week in the lead up to this latest trip to work on the car, I managed to pick up a new left-front chassis rail and inner guard. Those, along with the new sill, will mean that the new owner has most of the important parts needed to repair the worst of the damage.
Join our mailing list so you don’t miss another article in this series.
Read PART 1 of this series here
Read PART 2 of this series here
Read PART 3 of this series here
Read PART 5 of this series here


