


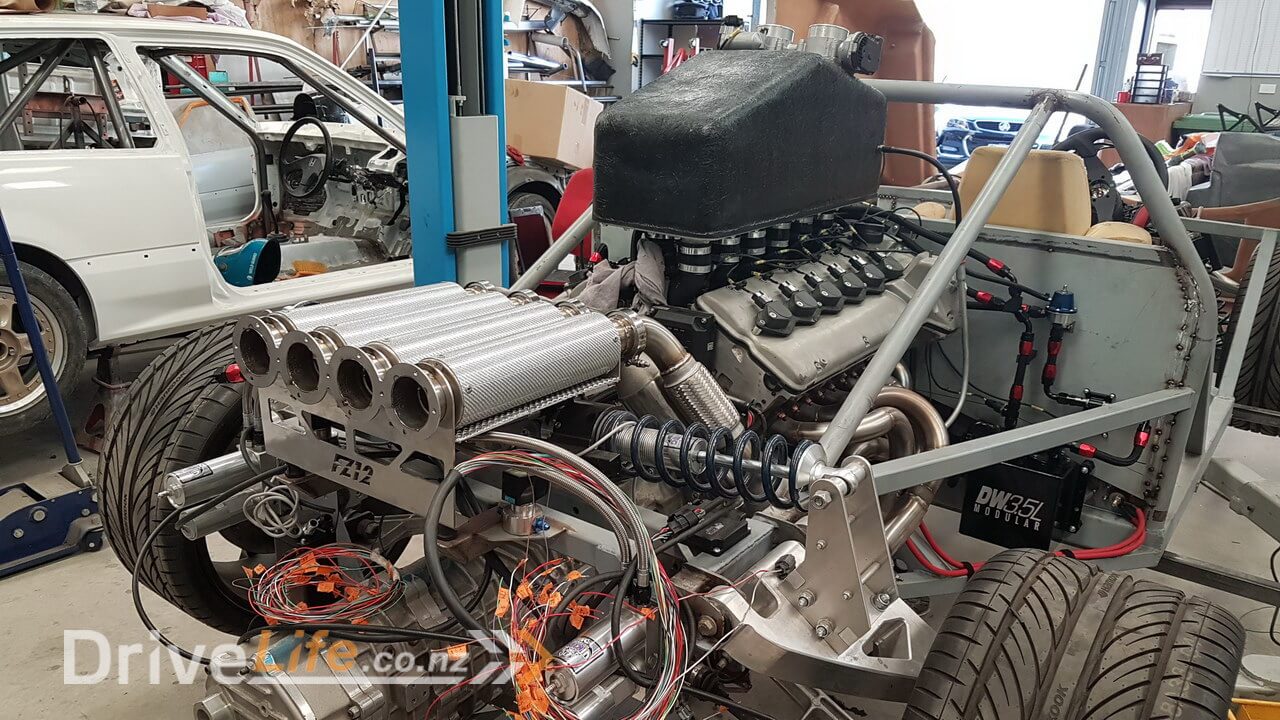
I’m not going to beat around the bush ! It’s finally alive !
After what seems like an endless list of little issues I needed to get solved before we could start this engine, Chris from Prestige Tuning and Motorsport came and spent quite a lot of time with us going through wiring, sensors, testing injectors and ignition etc and doing basic checks and we were finally ready to give it the first start !
I know I know, doesn’t seem too exciting and we couldn’t really rev it till we did some more work on getting some more information.
Unfortunately our happiness was tinged with some bad news as we have been working with the guys from Emtron (who make the ECU) to get our AEM 4 channel air/fuel sensor unit to talk properly to our ECU. Just before this start up we got it working and unfortunately it’s showed a 10-15% variance in fueling from side to side on the engine. This can really only mean on thing and that is that we have an issue with cam timing !
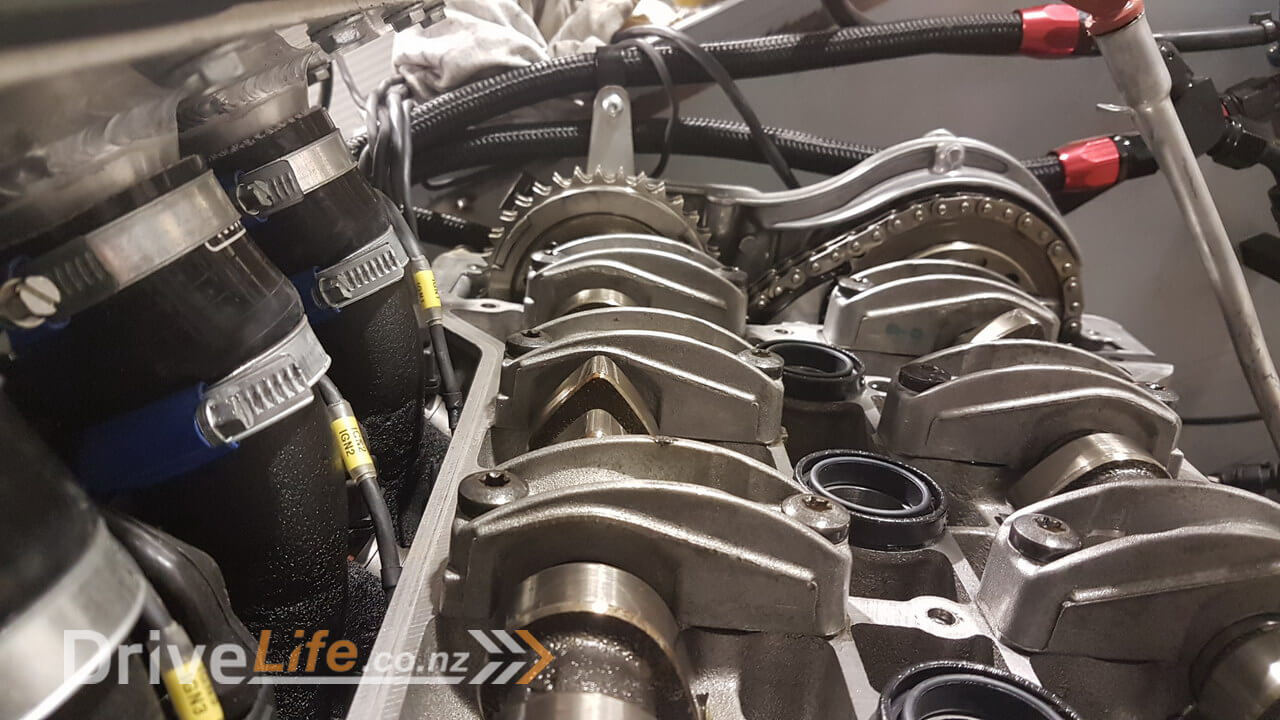
Unfortunately that means pulling the engine out as it’s actually a timing chain on this engine and not a belt, which might have been a bit easier ! It’s not great, but it’s also not a disaster, it’s really just time, so I started by removing the cam covers from the engine to try and check side to side on each bank of the engine and it appears to be slightly out confirming what I think we already knew !
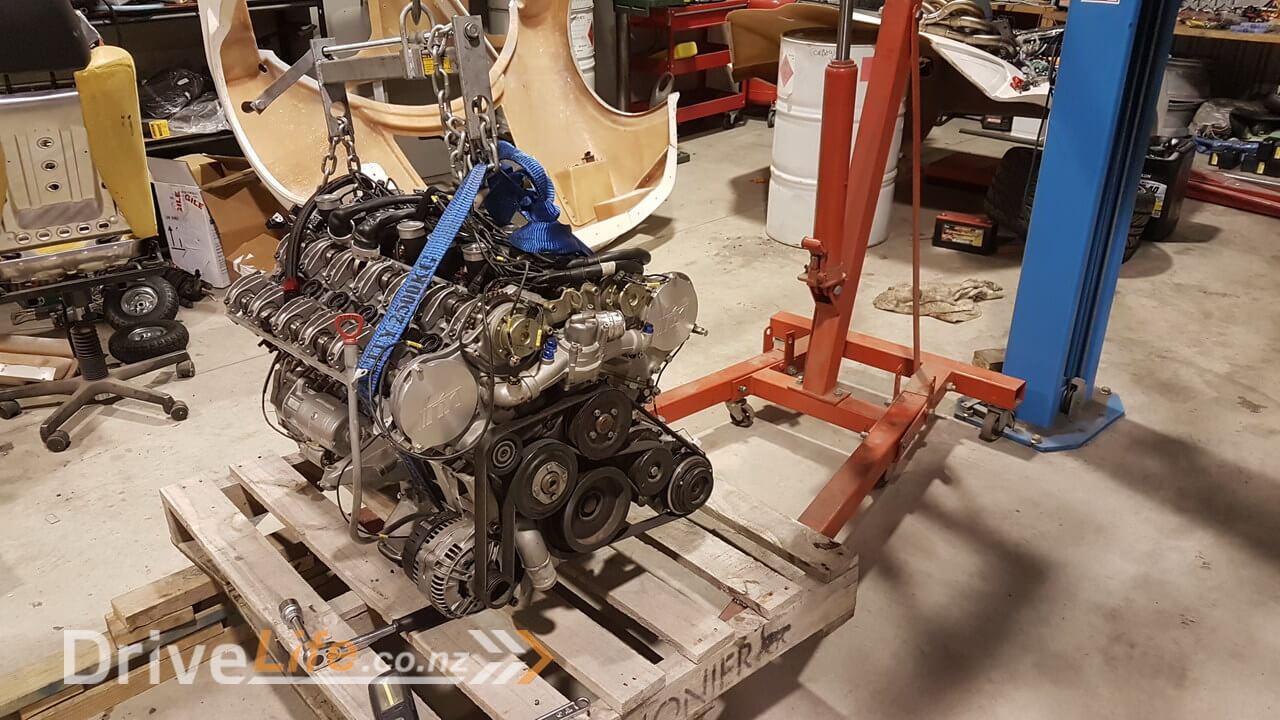
Next to pull the engine out so we can put it right. Unfortunately due to the size of the exhaust manifolds we need to remove those to be able to remove the engine. That’s a bit time consuming as there are 16 nuts on each manifold and there’s 4 manifolds so that’s a lot of fiddly work. Unbolting the gearbox is really straight forward and that can stay in place pretty much, and thanks to the work Lance and I put into the wiring looms it was super easy to unplug the engine wiring loom from the bulkhead. Including the gearbox bolts the whole engine is only held in with 8 bolts so fairly easy to get out at this stage of the build.
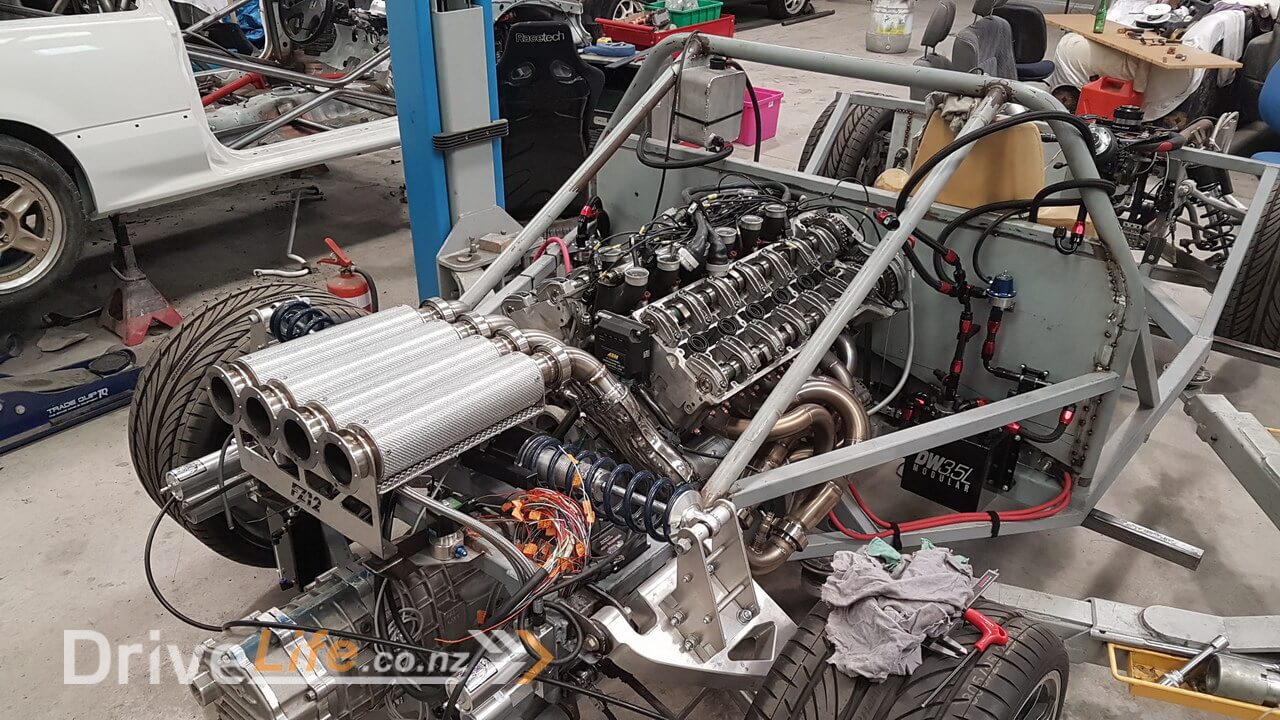

This sort of issue is exactly why I wanted to prove everything now since it’s fairly easy to get in and out, versus later on once we have the body around etc it would be much more time consuming.
The engine is finally freed from its home and we were able to confirm that we had the drivers side exhaust cam out 1 tooth on the chain. That explained a few issues we were having, so it was time to re-assemble and put it back.
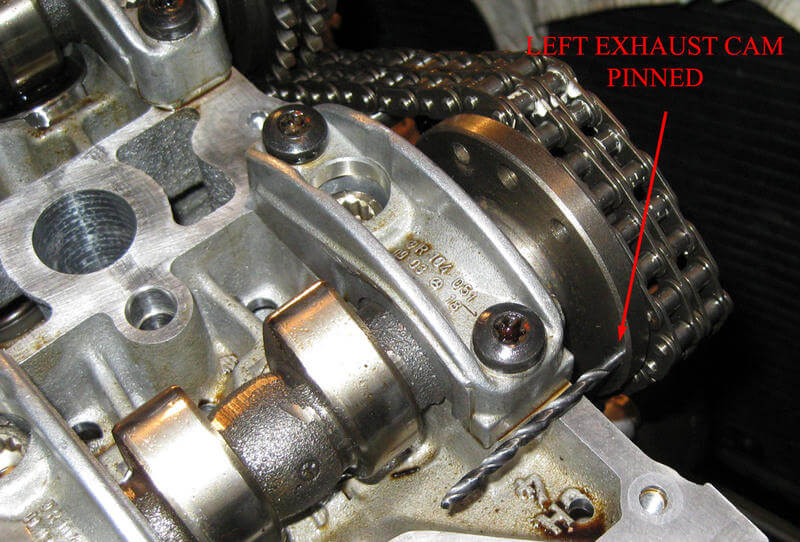
Usually an engine has some form of mark on the cam gears on the front of the engine to show you where they “line up” so all of the cams are in the right position. However with this engine there are no marks on the front, they are on the back as you an see below, they need to be “pinned” in place when rotated to the right position. This cam was unfortunately too high on the left side. Luckily we were able to remove the tension from the cam chain and get enough slack to be able to rotate the cam gear whilst holding the chain in place. Once it was all lining up properly we had to reassemble.
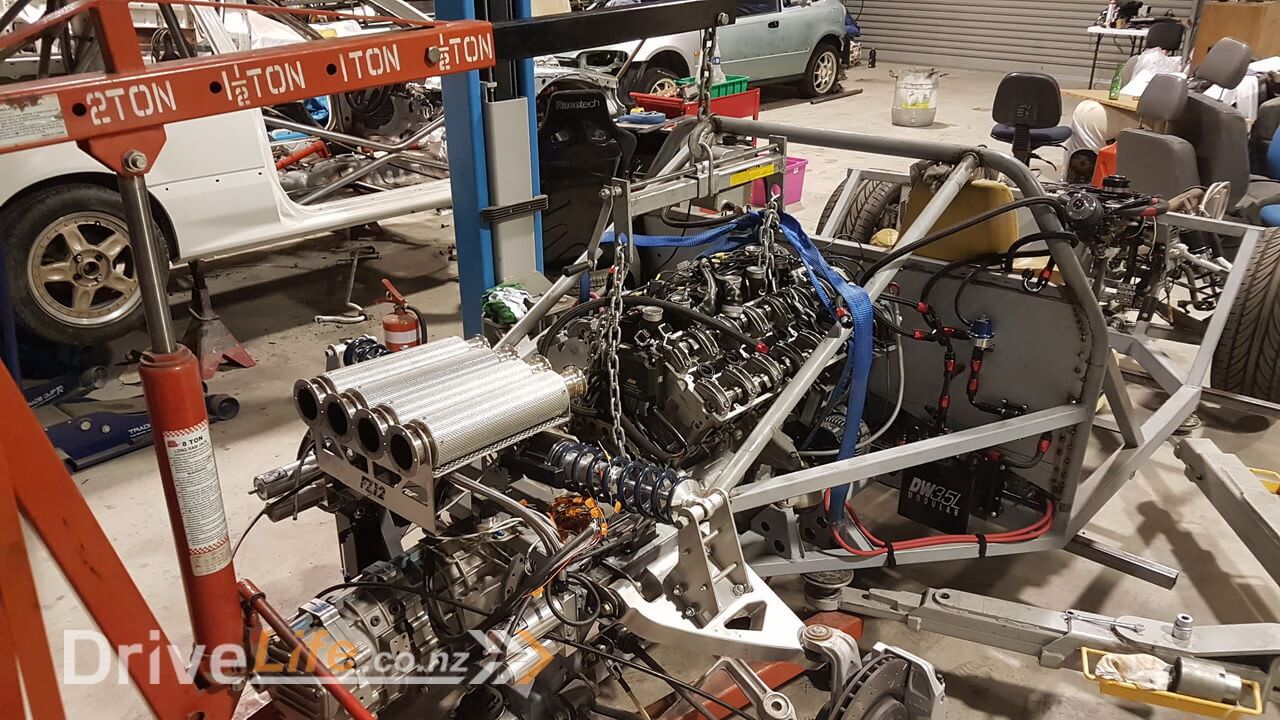
Now to do it all in reverse and re-mount the engine back into place.
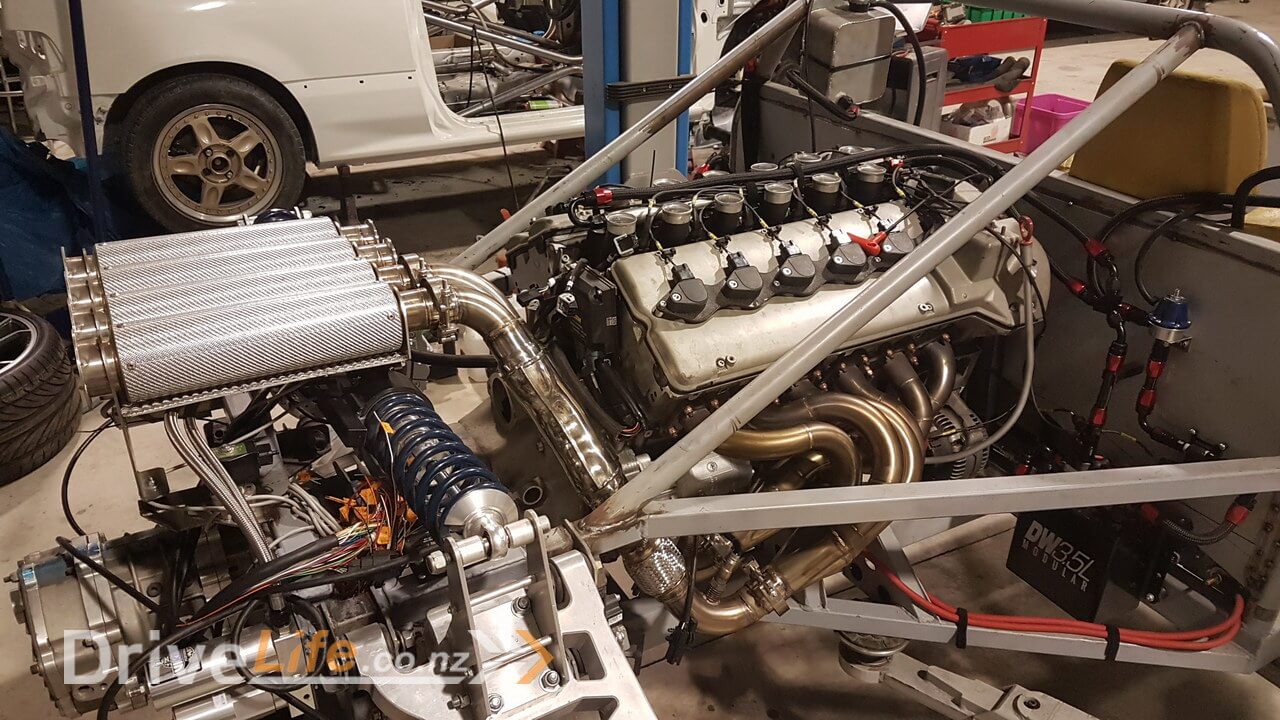
We haven’t reinstalled the intake plenum on top to the engine as we discovered what we think is an issue with it. When Zac and I created the intake plenum we really didn’t care to much about its volume as we knew it was purely a temporary exercise to get the engine running to check it, and not a final part. We thought “who cares how big it is ? As long as it’s not too small”, however that appears to have been foolish !
We were seeing a couple of issues. The first was that when the car starts it seems to revving up to say 2500rpm before then settling back down to its expected idle. The second issue was that if you tried to rev the engine it would rev, but then would take some time to return back to idle. Both of these issues seem to be a symptom of the intake plenum being too large.
For those who know, you can skip this bit, but for those who don’t know, the throttle bodies on top of the intake plenum are the point at which air is allowed into the plenum and in turn into the engine. We are running this engine normally aspirated (N/A) which means no supercharging or turbocharging and so that means our engine intake plenum will mostly contain a vacuum. That is how an engine idles. The throttle bodies allow just enough air through to the engine to allow it to idle and no more. What was happening is that the intake plenum was so big (probably twice the ideal size) that when the throttle bodies closed, it was taking quite a while for the air inside the plenum to be used up by the engine and then create the vacuum it needed to idle properly.
That same issue was the same when you revved the engine. After you had revved the engine and the vacuum was gone, the throttle bodies would close and because there was still plenty of air in the plenum it would slowly return back to idle as the air was used up. By reducing the size of the plenum to something more reasonable I believe we’ll solve both issues.
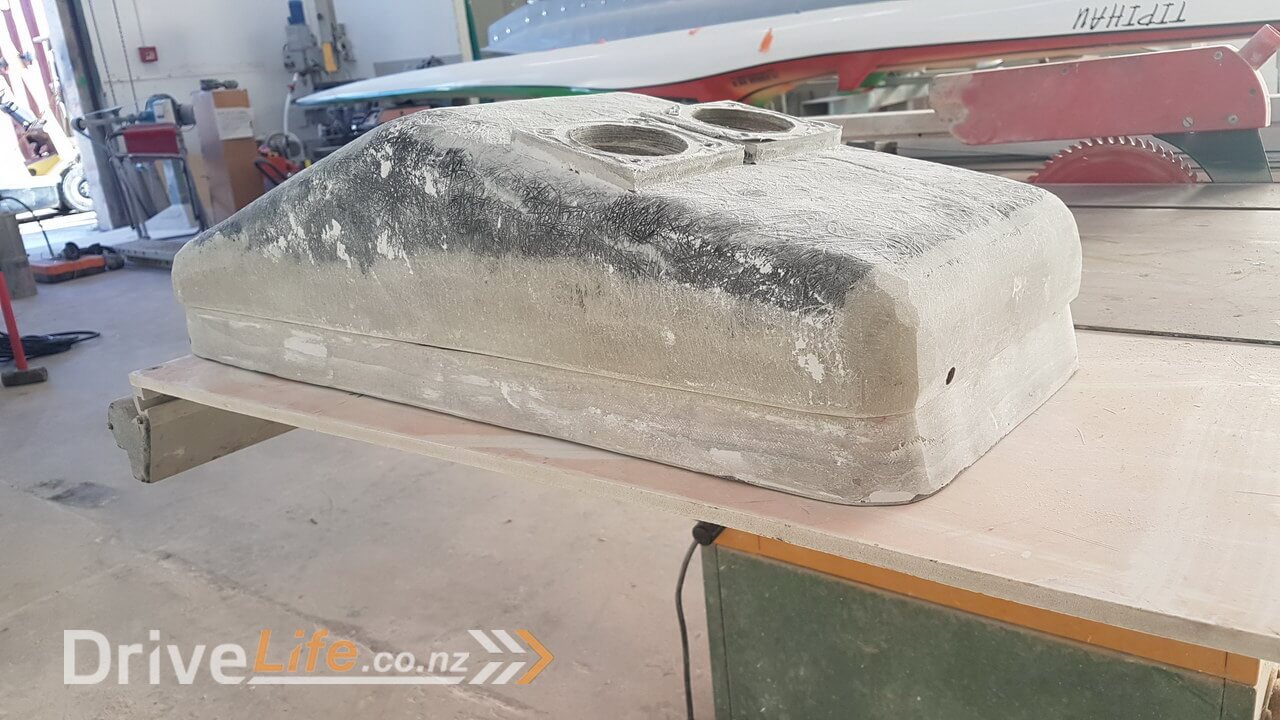
The process to reduce the volume is easy. Just measure and mark the box and remove 100mm from the middle and then join it back up again. You can see the section in front below that we cut out.
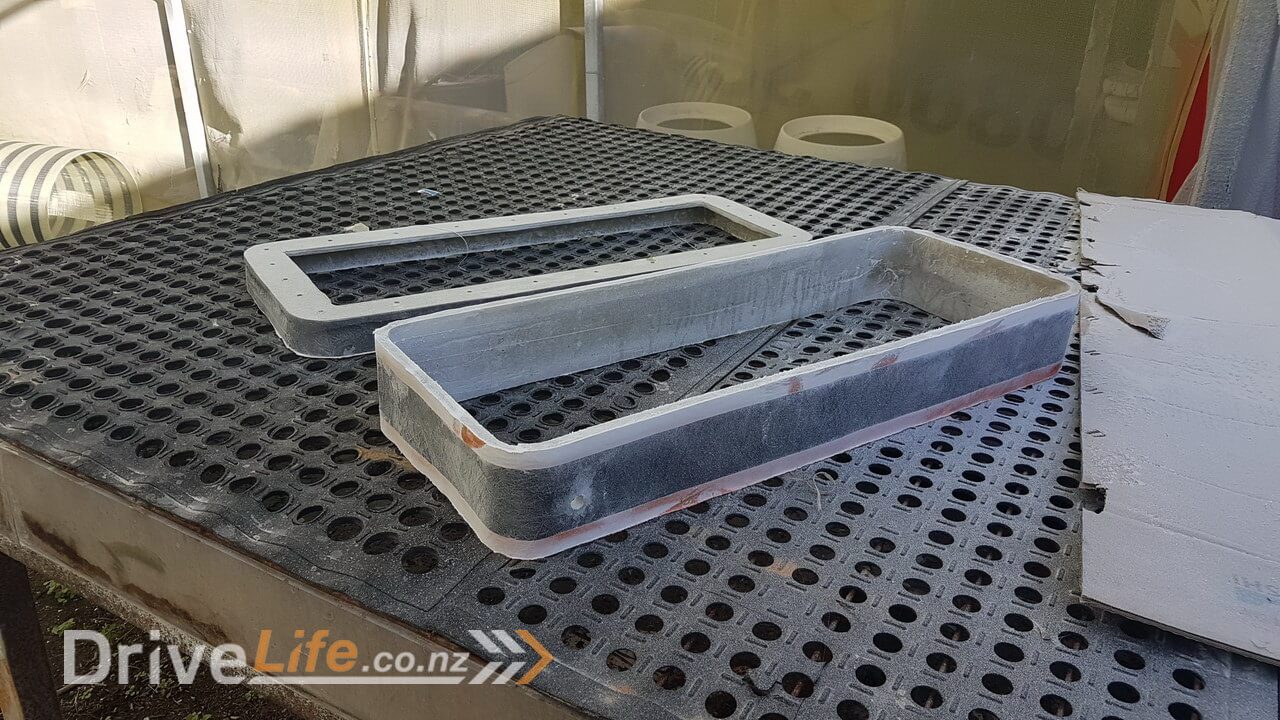
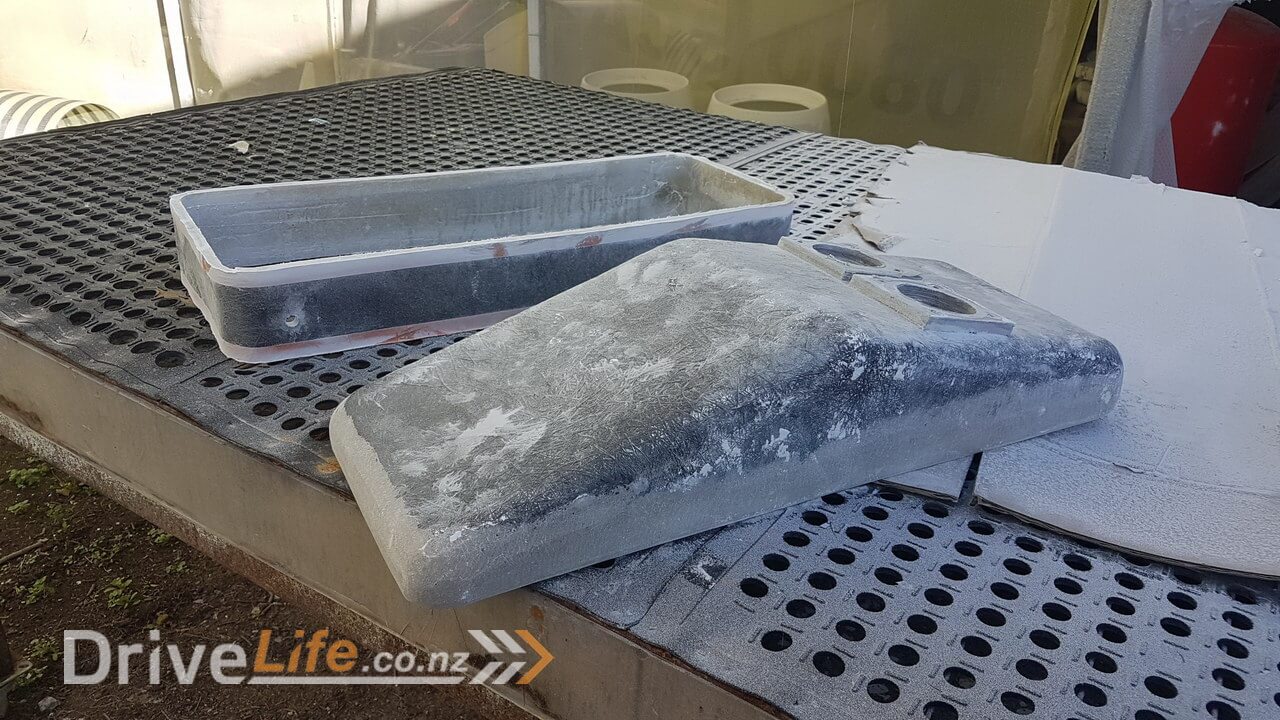
New smaller (still quite large, but more realistic) intake plenum size.
Zac worked his usual magic here and quickly joined the parts back together and I’ve already refitted to the car.
I think this episode is a great example of the highs and lows of custom car building. I’m massively excited about the engine running happily for the first time in a very long time. I’m also very happy that virtually everything we’ve done in preparation for the engine start worked as expected and the engine pretty much just fired up.
But of course on the flip side it shows that you really have to focus on everything with a build like this, such a small thing as one cam being out created all that work to remove the engine, fix and put back in, and then the intake plenum size, clearly didn’t think that through, but it became obvious quickly and was easily solved.
I have a few more things to button up and I’ll record a much better video with some proper engine revving and exhaust sound !
Please feel free to comment or ask questions, I really love sharing and discussing our build and cars in general with other readers.
There’s a newer entry in this story, please click here – FZ12 – Part 34
If you’ve missed the last part of our story then click here FZ12 – Part 32
or if you want to go right to the beginning then click here FZ12 – Part 1


Hi, I have he same enine in m car. Wha model Emtron ECM did you use? Thanks. Mike
Hi Mike,
The Emtron we used was called the KV12. https://www.emtronaustralia.com.au/shop/category/product/?catid=1&prodid=2
If I was doing it again I would go with a Motec M150. At the time they couldn’t do what we needed with the lambda sensors but now they can. Although with that said, the Emtron can work with aftermarket lambda equipment where as the M150 will only work with Motec’s own lambda sensors etc.
Also Emtron is cheaper by a reasonable amount when you take the lambda solution into account.
With all that said, if you went with an Emtron it will definitely do the job as ours is, we’ve just found it hard to get good support at times where as Motec are much more available.
Hope that’s helpful.