


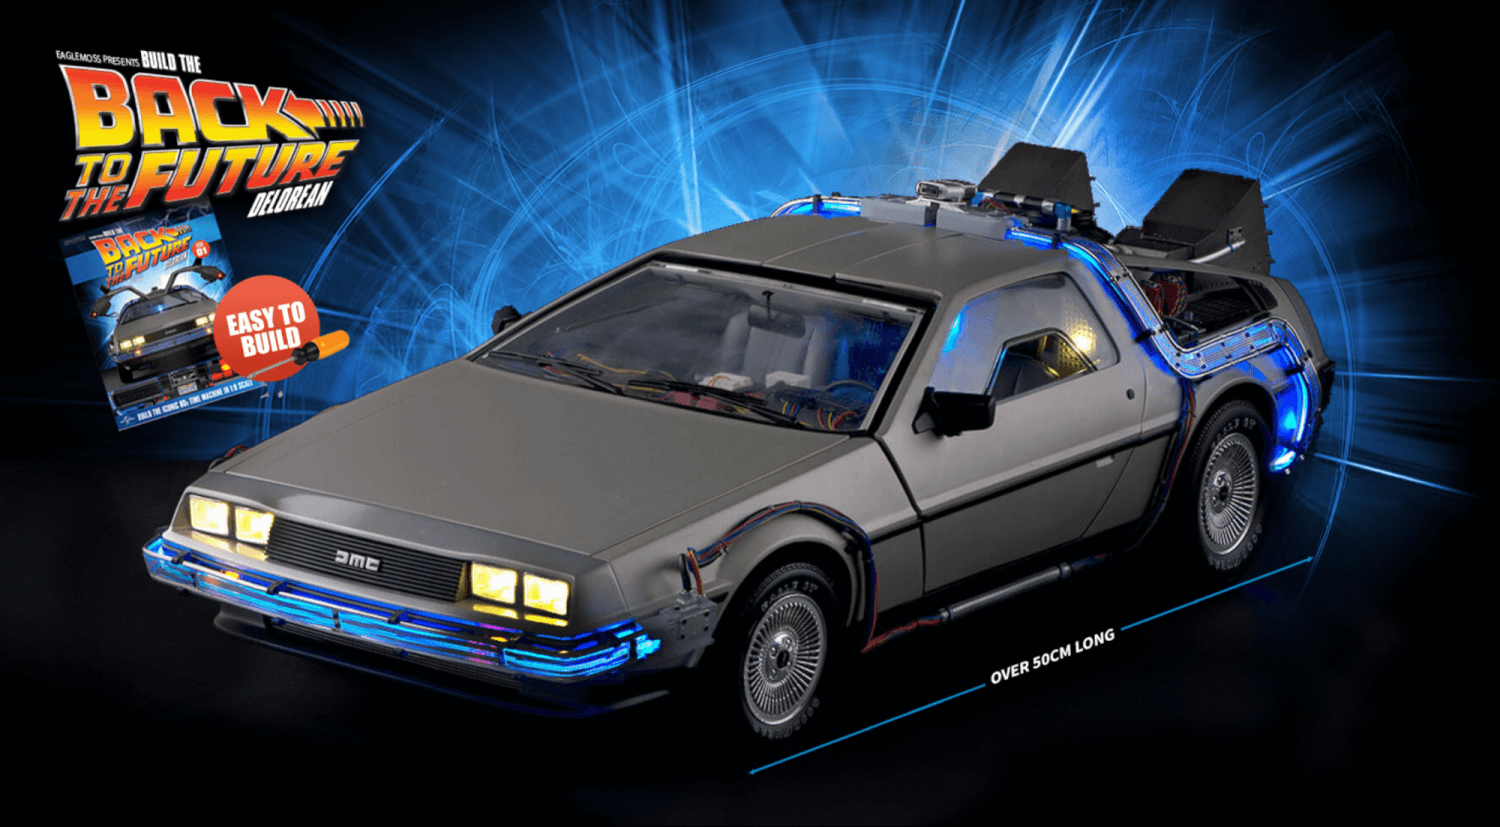
I have been a car and movie geek for as long as I can remember and for over the last 20 years I have been collecting 1:19 scale diecast models with over 70 model cars in my collection. After seeing the advert to build a 1:8 scale version of the Back to the Future Delorean from My Collectables, I said ‘that’s for me’.
Before we go too far, let’s get the critics and haters out of the way. Yes there are 130 issues, yes it will take over 2 years, and yes it does cost a bit. But like any business that’s selling a product for a profit, you don’t have to buy it if you don’t want too. You may want it, and you may think it’s expensive, but so are Lamborghinis. I would like one, but I can’t afford it and I don’t complain to them about how expensive they are.
So I thought it would be pretty cool to document this build just like some of the other build projects we have on DriveLife. As there are a lot of issues, I thought it best to break these build articles down into groups of 10 issues, which allows me to go over a few of them in detail and the parts that have been delivered with them.
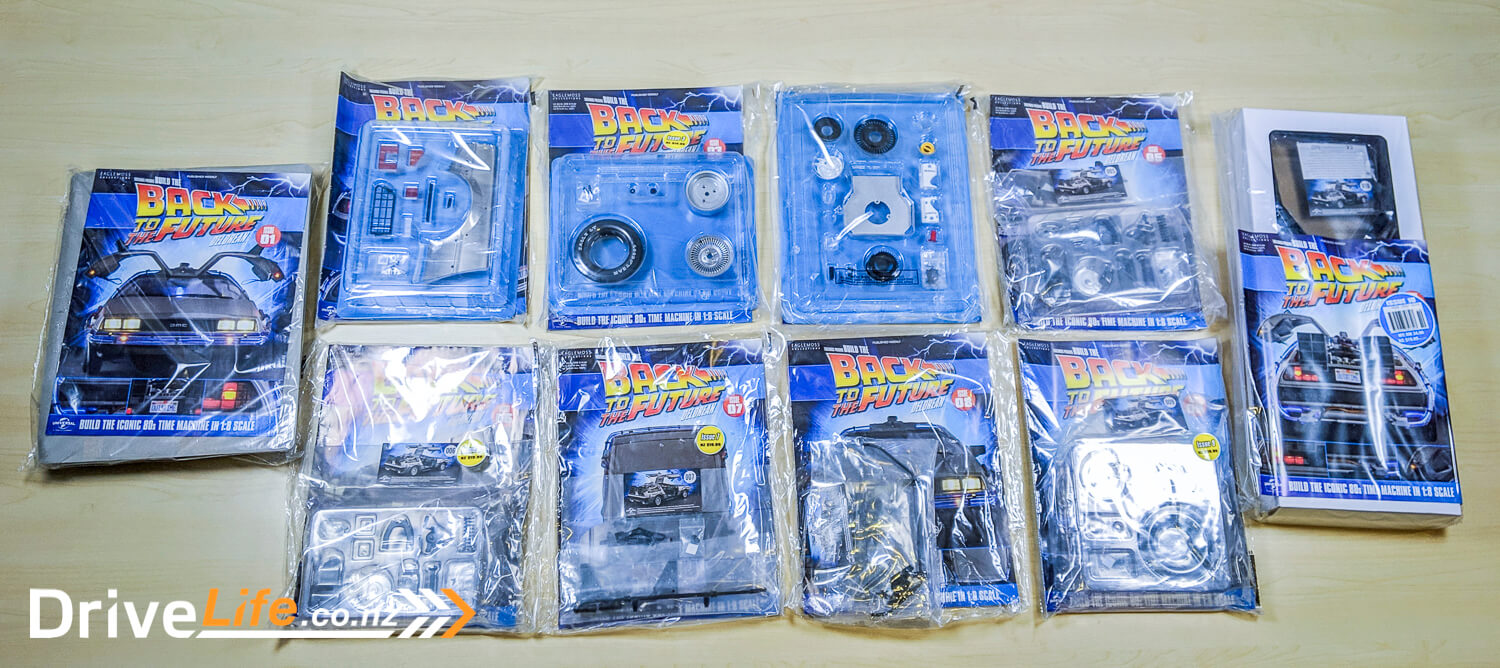
Once I signed up, I was not really sure what to expect, and one day a large box arrived at my door. In this box was the first 5 issues, and a lot of parts for the 1:8 scale model. Before opening any of the issues I could see that the parts were pretty well detailed. I was looking forward to the road ahead as the issues and parts continue to arrive.
As far as format goes, I thought I would break down each issue with a small description and photo of on what parts are in it and any other interesting info that tags along.
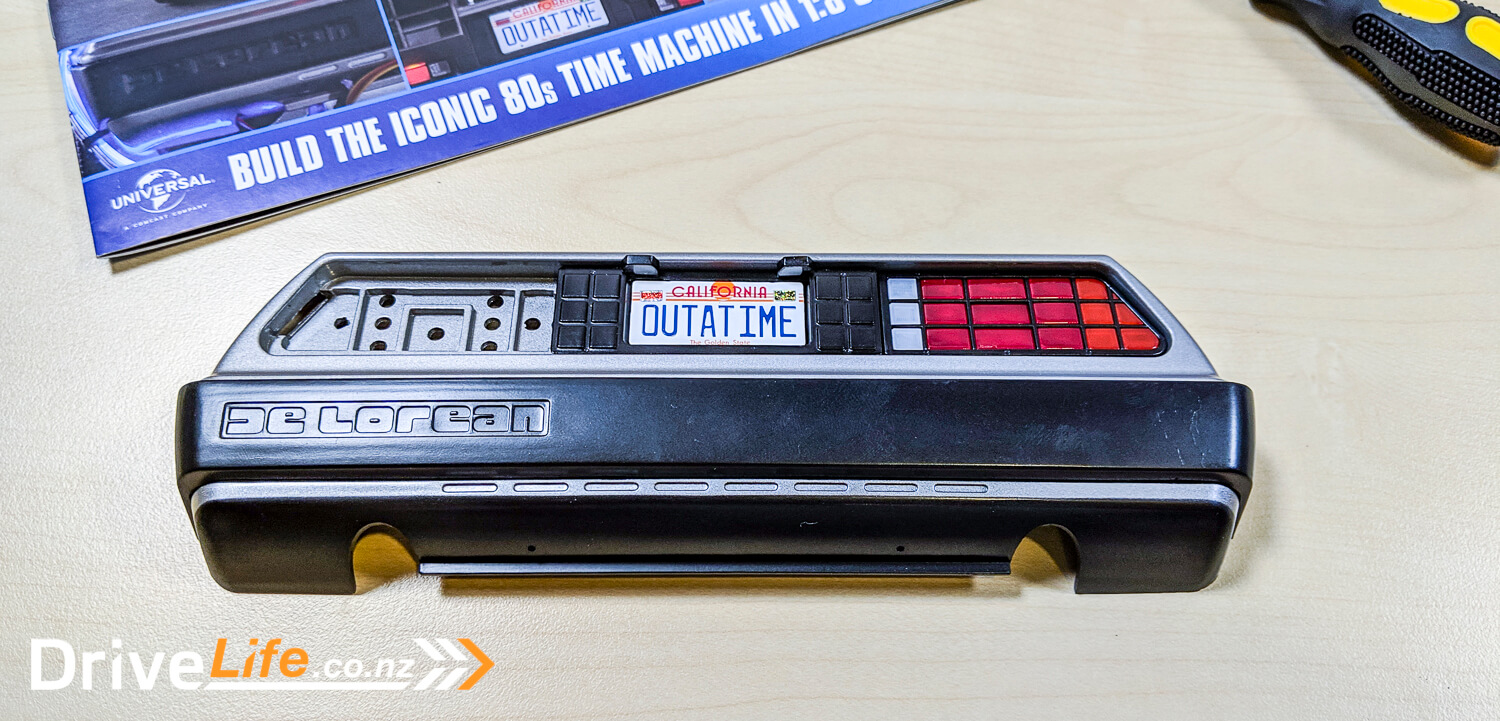
Issue 1 – Rear bumper, licence plate and right rear light
Right, here we go, into the frist collection of parts for the rear bumper. I was instantly happy with the level of quality of both the plastic and metal pieces. This issue comes with a nice screwdriver for assembly too. The large section of the rear bumper came together very easily, however the rear light and licence plate was a bit tricky. I did not see why they supplied two stickers to put on the licence plate, it was very fiddly due to the size, this could have been printed. The lights were tricky, but the detail was great, each section of the light getting the correct lens colour.
In issue 1 there is an interesting article on how they came up with the design for the time machine for the movie
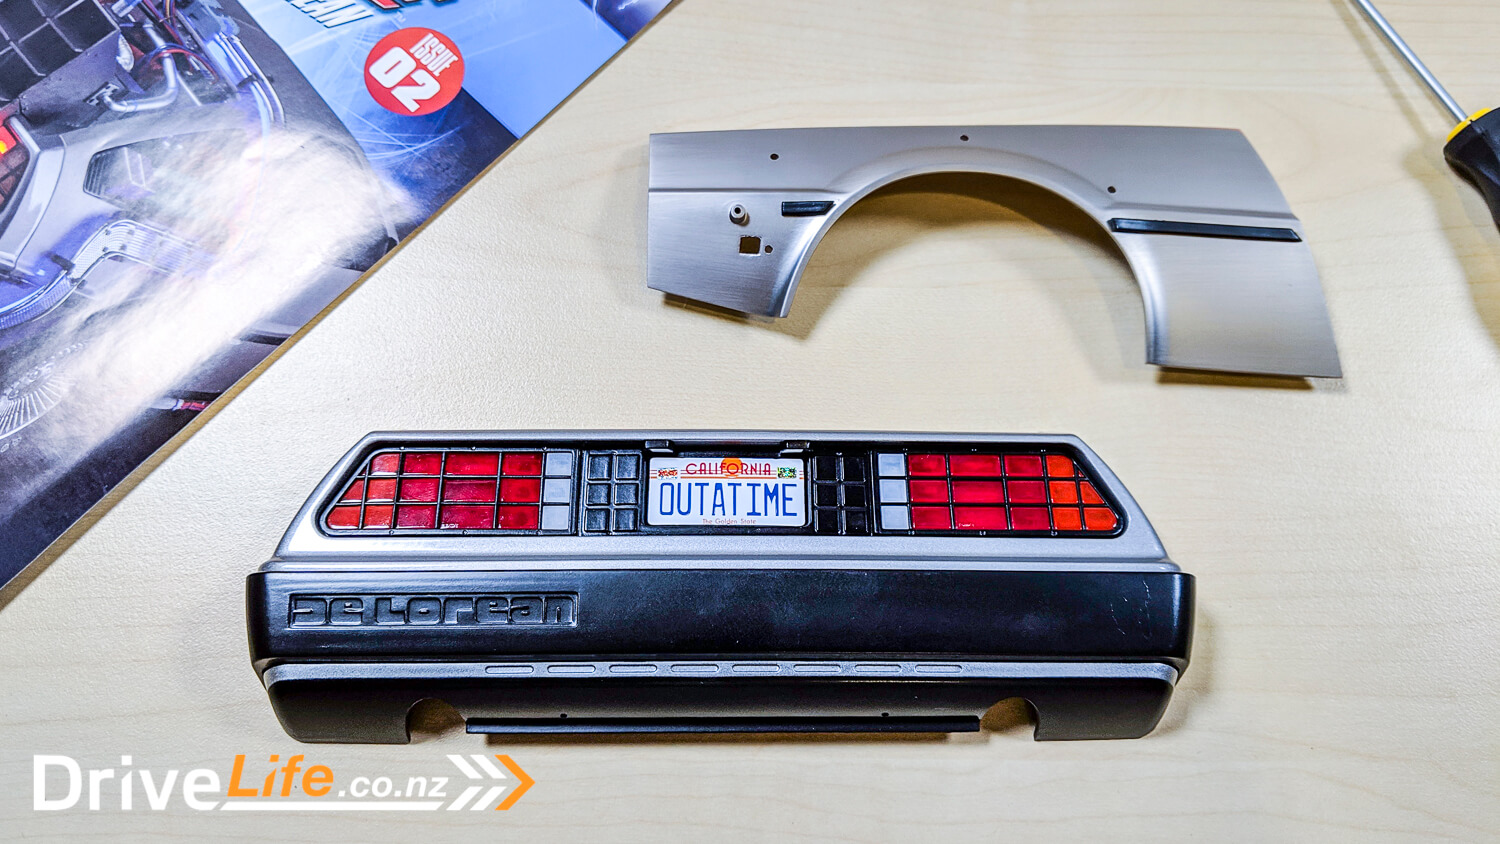
Issue 2 – Right rear quarter panel and left rear light
The second issue was a bit quicker to make, as the rear quarter only had two plastic trim elements to assemble. It did however come with the rest of the rear lights to finish off the bumper and allow me to attach the license plate surround.
Issue 2 continues with interviews on how they designed the time machine.
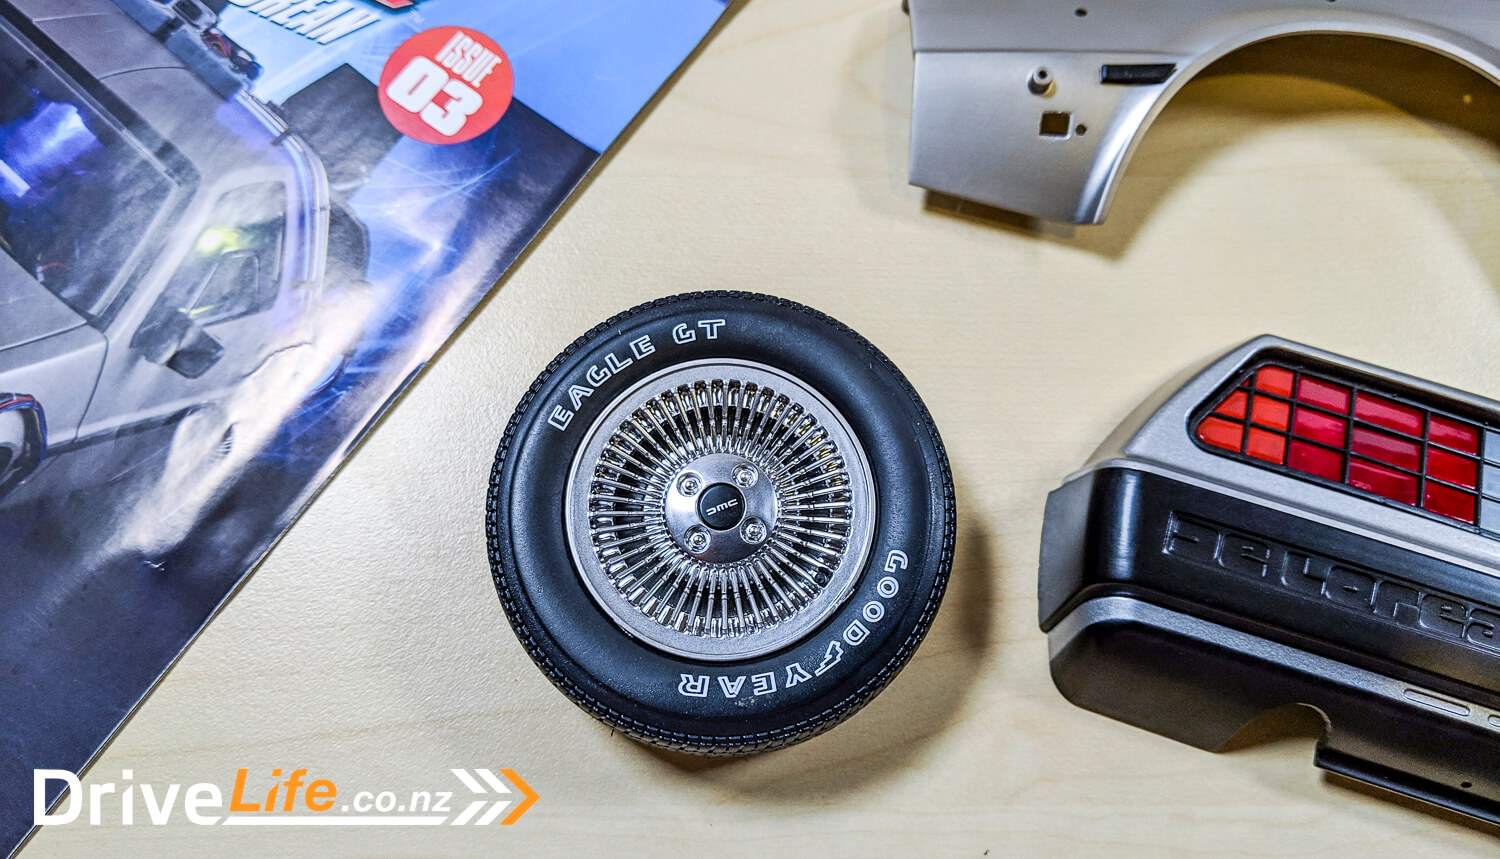
Issue 3 – Front tyre
The front tyre was quick and easy to assemble, loving the detail on the exterior of the wheel hub and tyre wall.
Issue 3 covers the history of how Steven Spielberg became involved in the movie and how they cast the role for Marty McFly.
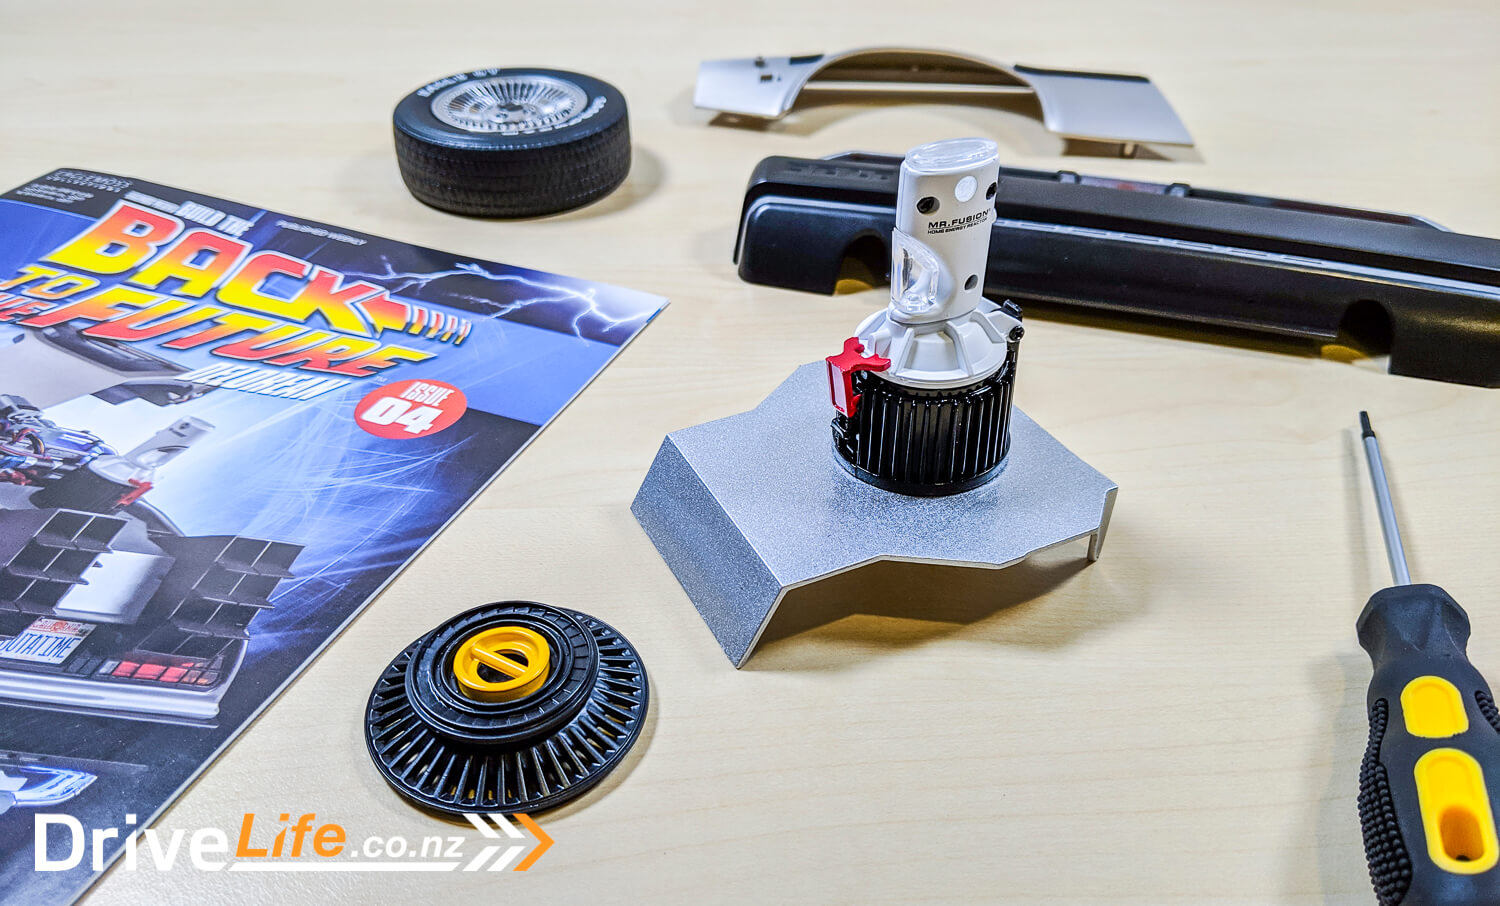
Issue 4 – Mr Fusion
This was the first issue to have a lot of small intricate pieces, I was looking forward to building Mr Fusion. This part was slow going, as you needed a bit of force to screw in the screw tight enough, but without breaking the pieces you are holding. There was also one rather fiddly bit where you needed to add two springs to the latch that held Mr Fusion in place. The only part of this I was not happy with was the lid of Mr Fusion, which just sat on, with nothing holding it in place. I could see this getting lost easily as it was clear plastic. I think I may find a way to attach it down the road.
Issue 4 covers how they came up with the details within the time machine and how they cast the role for Doc Brown.
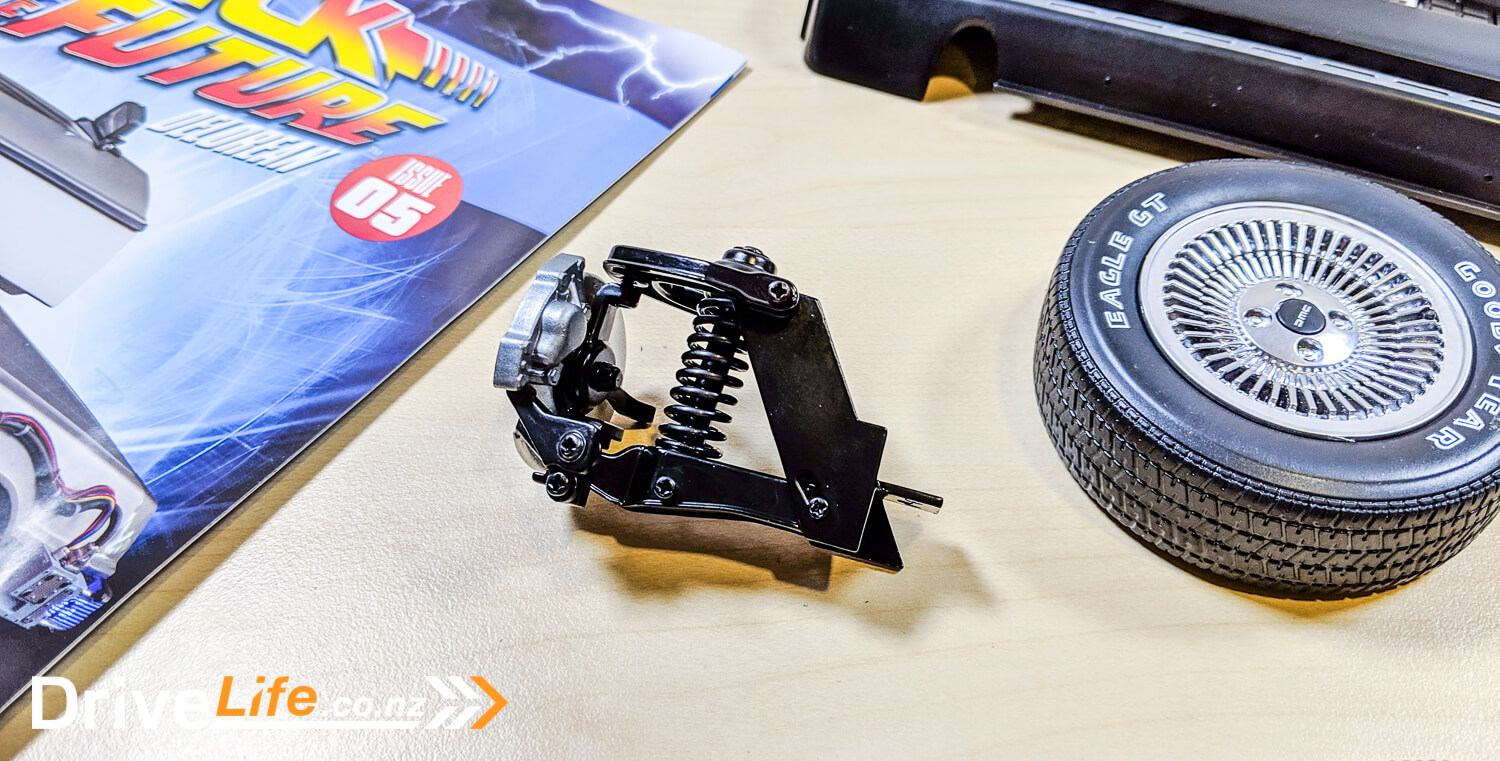
Issue 5 – Left front suspension and brake
On to some more mechanical parts, building the first of the front suspension towers. This was a rather tricky piece, as the suspension spring was tough and needed a lot of force to hold down while it was screwed in place. A bit sore on the fingers due to the small parts, for any children out there, this is one for the grown ups to do. Loving the detail, and I noticed the brake disc is held in place by a magnet, allowing it to tilt down. This must be to allow the wheels to change to hover mode, nice.
Issue 5 has an article on how they cast the role for leading lady Lorranie Baines and how they developed the look for time travel.
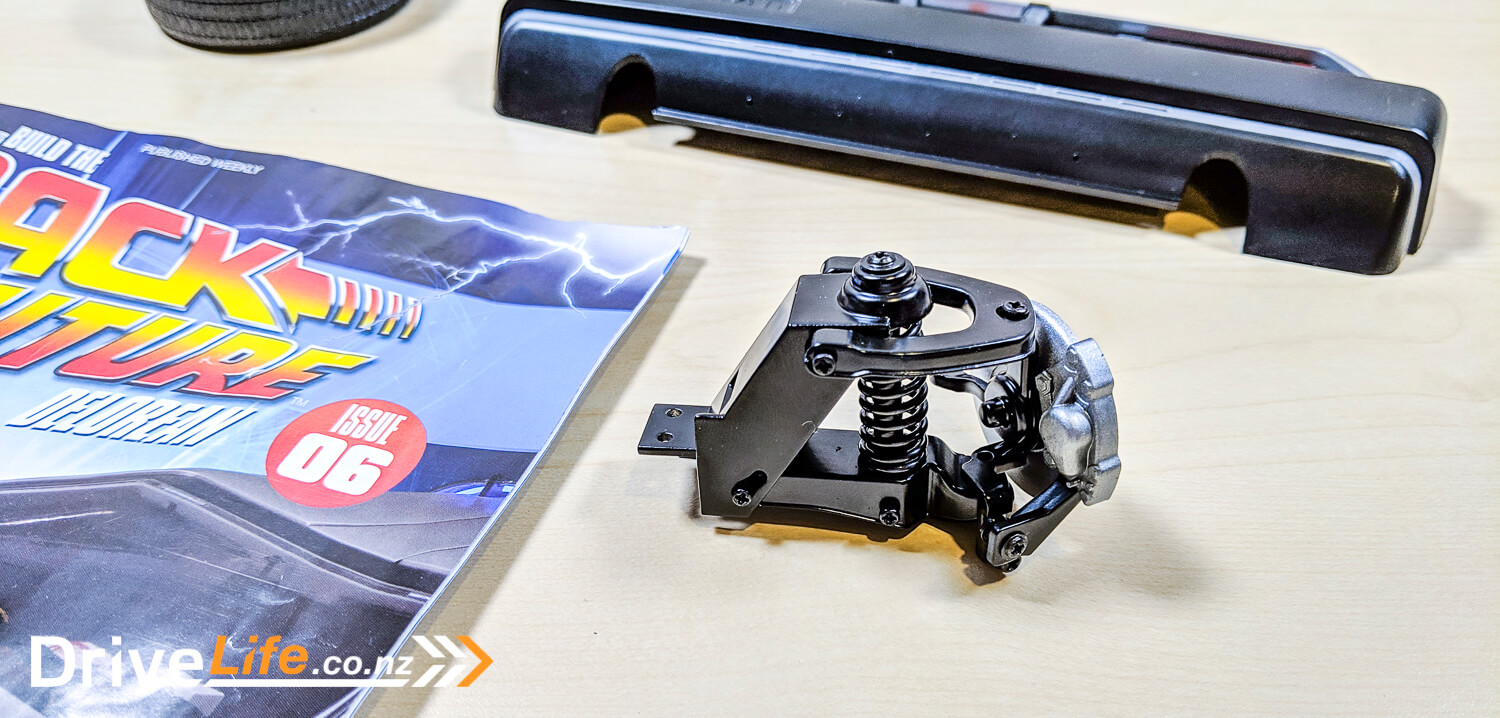
Issue 6 – Right front suspension and brake
This was a rinse and repeat of the last issue, all the same problems and just as tricky. I manage to cut myself when the screwdriver slipped while attaching the suspension spring. It needs a lot of force and that screw driver is small and sharp.
Issue 6 has an article on how they cast the role for Biff Tannen and location scouting for the movie.
Issue 7 – Steering rack, linkage and front plate
Not a complex part to make but a tricky one to put together. The screws that attach the linkages need a bit of pressure, and as the rack always wants to roll out of the way it can be fiddly to get the screws locked in place.
Issue 7 has an article on how they cast the role for Principal Strickland and visual effects behind the famous time travel tyre flames.

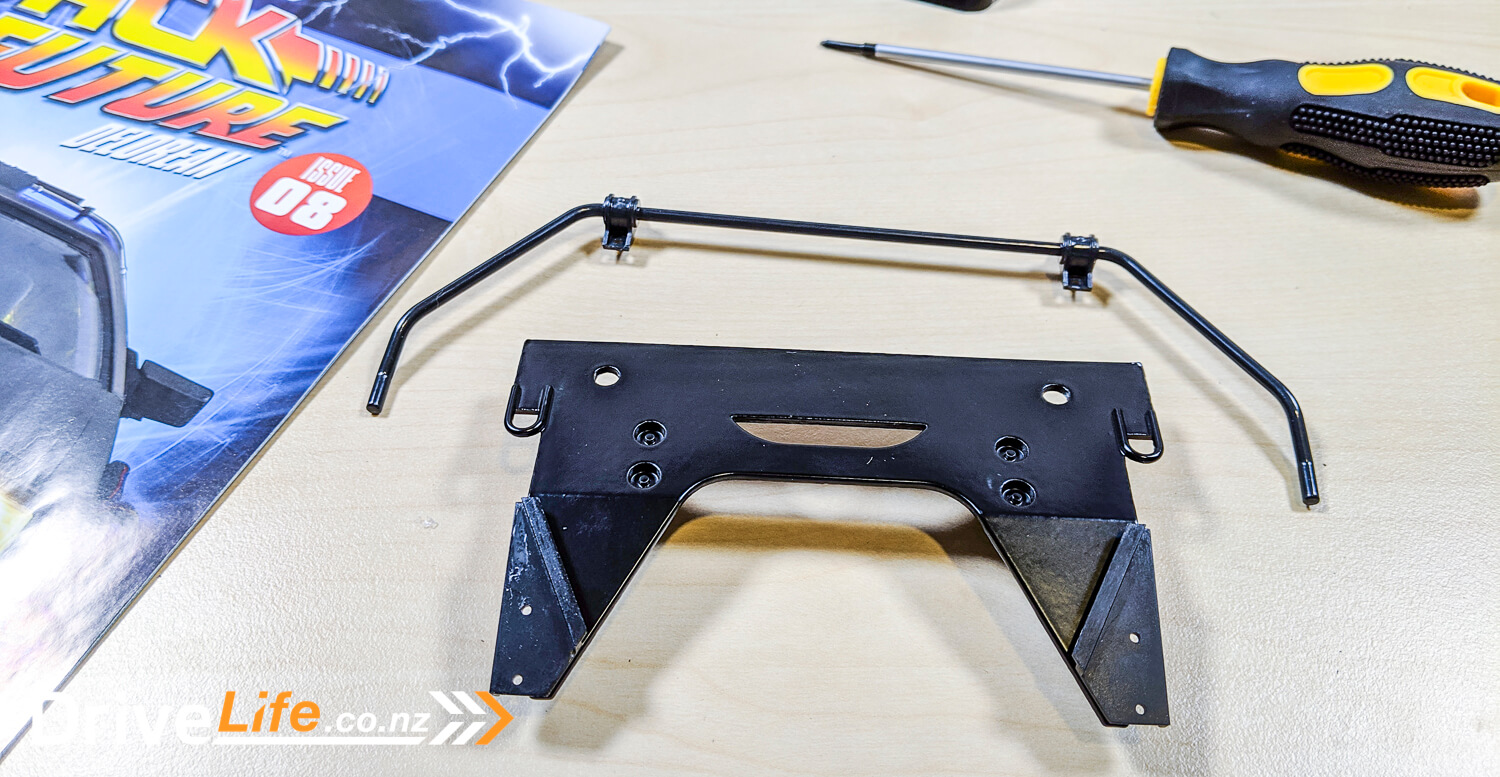
Issue 8 – Anti-roll bar and bottom plate
There was not much to build in this issue, the bottom plate needs to plastic fixing plates attached and that’s it. The anti-roll bar is all plastic, so be careful with it, as you don’t want to break it.
Issue 8 has an article on how they cast the role for future girlfriend Claudia Wells and what it was like to drive the time machine.
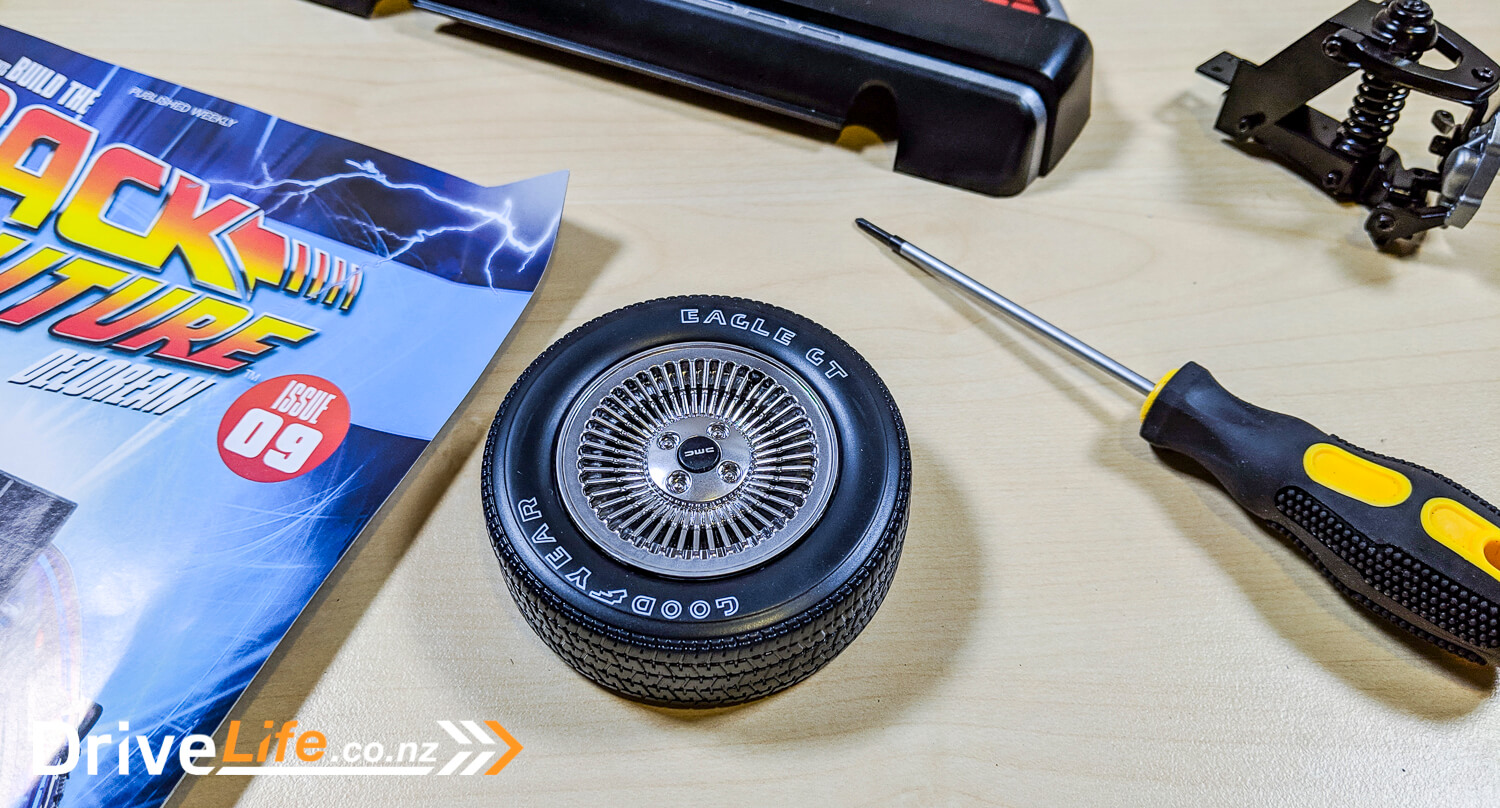
Issue 9 – Front tyre
This is the same as the one in Issue 3, which now gives us both front tyres.
Issue 9 starts the first of the filming production diary.
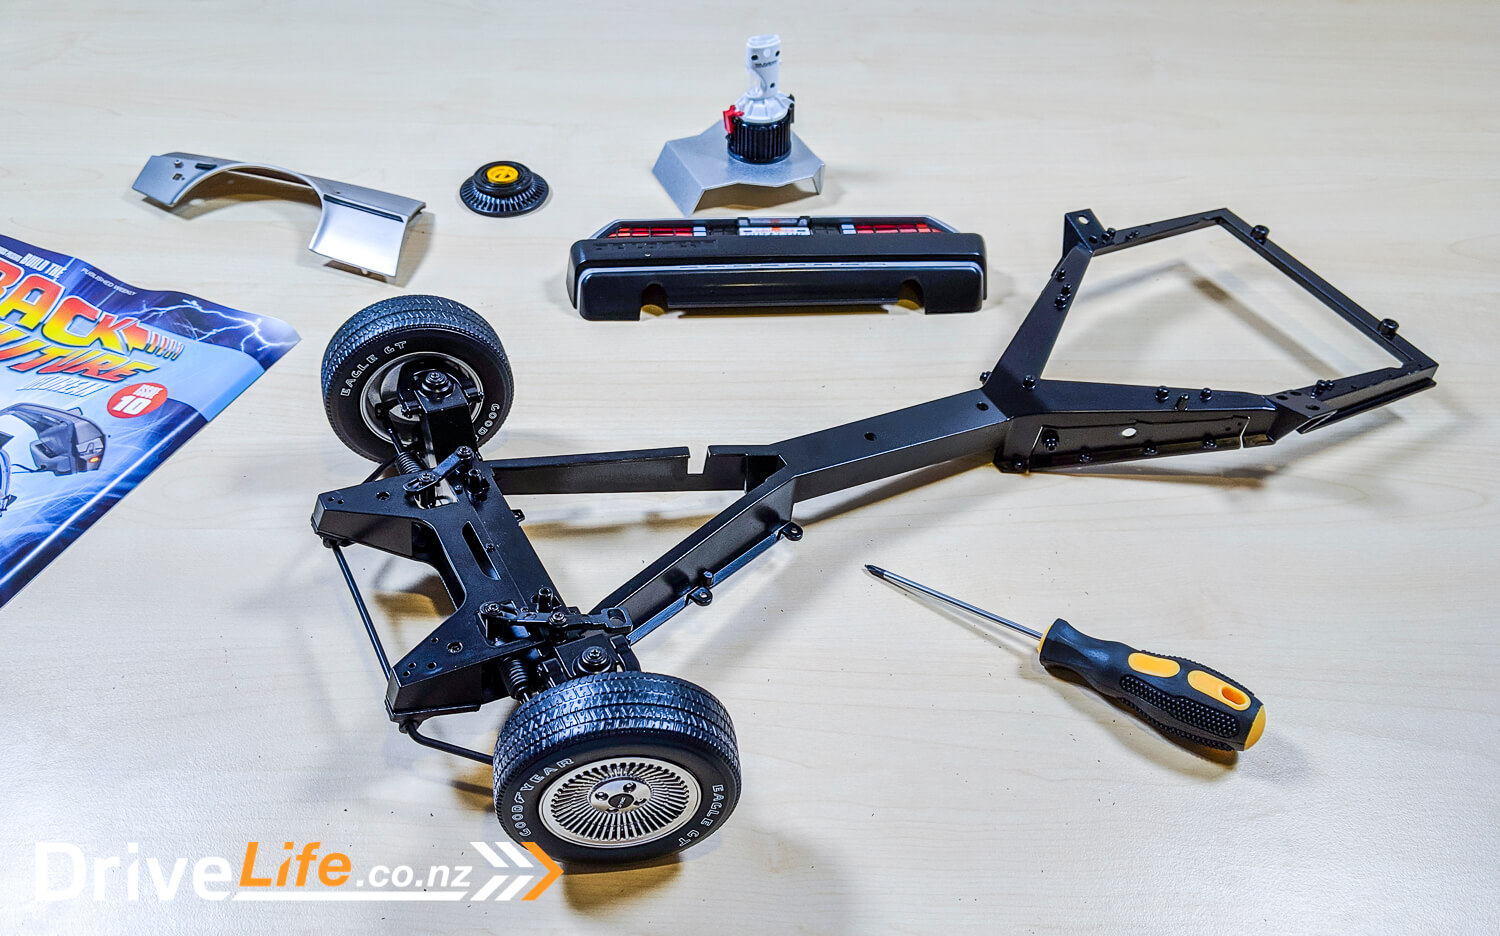
Issue 10 – The frame
This is where the effort of the last 10 issues start to pay off. The main part supplied is the chassis frame. Which allows us to mount the left and right front suspension towers, steering rack and linkages, anti-roll bar, front plates and both front tyres.
Most parts went together as expected, however attaching the wheels was a lot trickier than expected, as the brake discs can fold out for hover mode, this means that it’s not a very stable part to work with. This also requires a lot of force to tighten up the screw so the wheel does not wobble. It was exciting to see it start to come together, and the scale and weight of the model.
Issue 10 continues the production diary and how they came up with Biff’s crew.
Models progress to date
It’s early days, but the first 10 issues have had some really interesting parts in it. It was great to get the frame, before having too many bits and pieces. I am really happy with the details and quality of the parts. I am looking forward to more of the body and what other mechanical challenges lay ahead.


