Sorry if it seems like we’re jumping around a bit from chassis, to engine, to body, then back to something else, but with any build it really comes down to time management to get the most done when we have the time. So for this post I’m going to concentrate on what we plan to do with the air intake system.
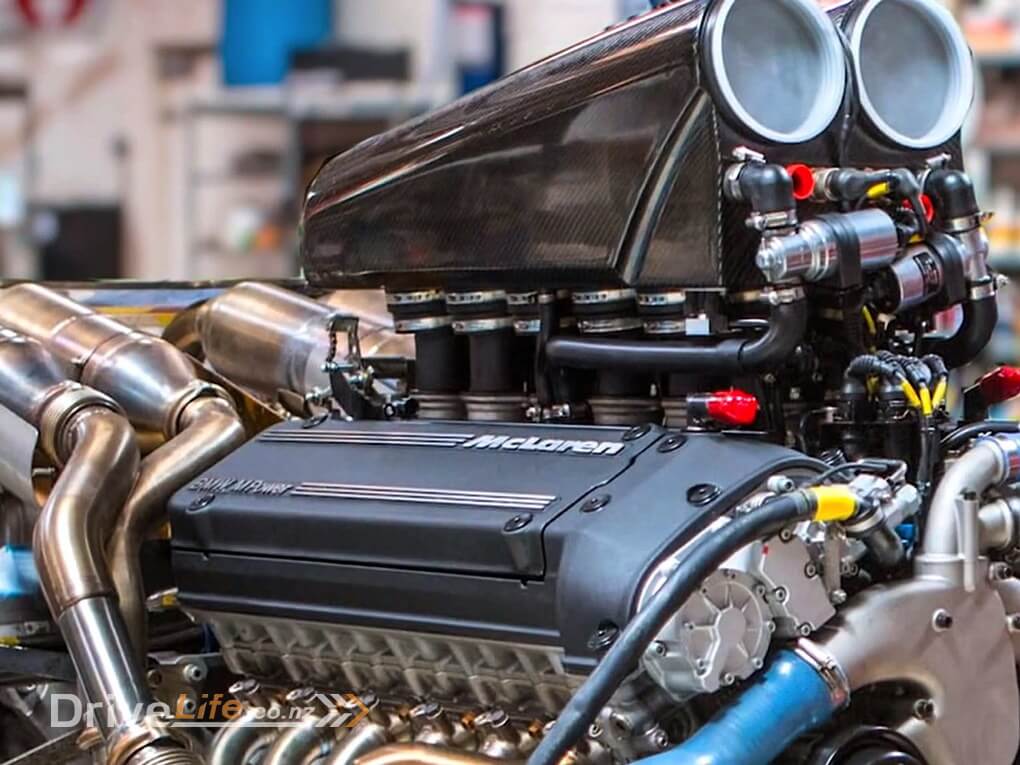
We’ve got a good idea of what we want to end up at as it’ll be similar to the design of the BMW V12 used in the back of the McLaren F1. Since the layout is similar to our car, it’s a really good setup and so no need to really change that much, but of course, we always want to put our own spin on it too.
Of course the key differences between our car and most cars is that 1. the engine is in the middle and 2. the design of our body means that we ideally need to take the air from the roof. Originally in the McLaren they wanted to use the roof so that induction noise from the engine got fed into the cabin of the car. Now although I like that kind of thing, I do get the feeling from the videos I’ve watched of the F1 that in fact the induction noise was quite intrusive sometimes, so I’m planning on not trying to actively get more noise into the cabin, I think there will be plenty regardless, I don’t think we need to specifically feed it in if that makes sense.
As mentioned previously in our story, I don’t want this to be a McLaren F1 replica build, but it’s dumb to not follow a lot of what they did with that car since it clearly worked very well and also fits with our design. That said however, we are using our Mercedes V12 engine and so have a different starting point as far as the OEM intake is concerned and what we’ll need to do to get everything to fit. Although some might think this is a “no limits” build, there certainly are some limits and so we’re starting by modifying the factory intake rather than starting from scratch. The reality is that I think when we’re done it won’t be recognisable, but it’s a hell of a lot cheaper to do this way !
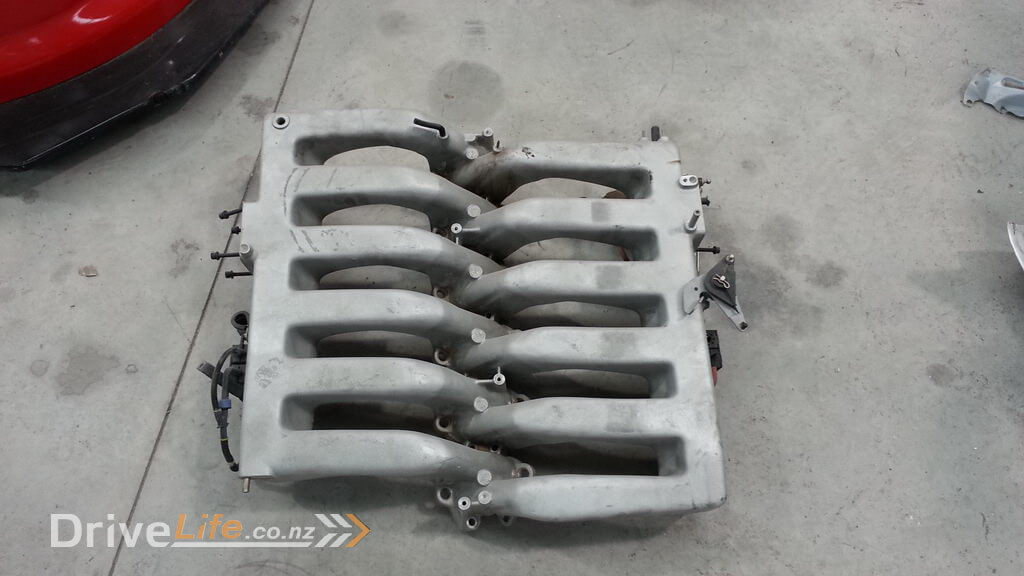
So here is the mammoth original Mercedes intake manifold. It’s close to 1M square and weighs in at 17.5KG so the pictures don’t do it justice.
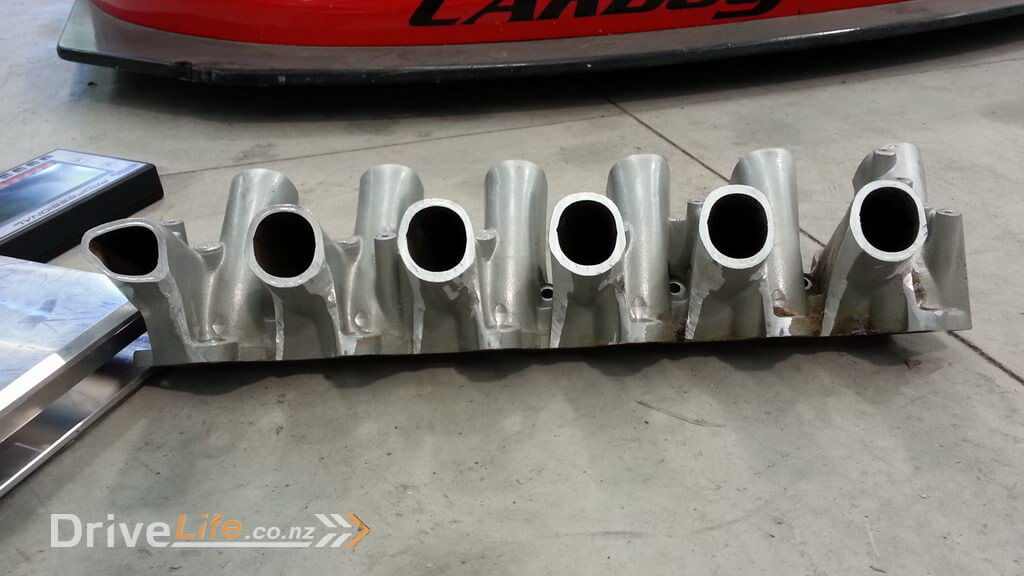
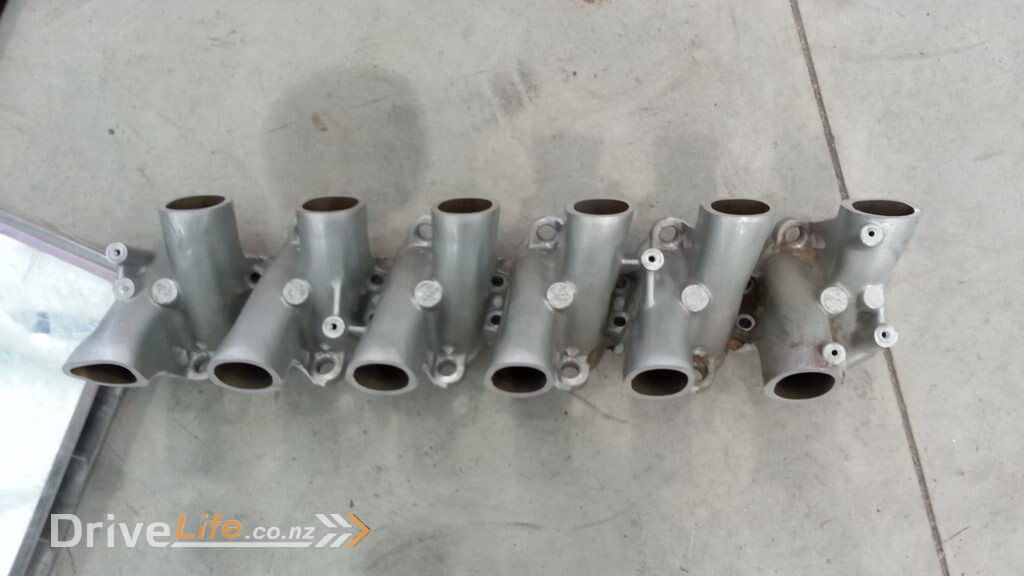
The plan is to cut it all down to just the main flange where it mates to the engine, leaving some extra for us to be able to TIG on some small alloy pipes. These pipes will allow us to attach silicon joiners which in turn will attach to carbon trumpets from inside the airbox. This is what I’ve ended up with……….. not finished by any means as there’s some more sanding and shaping to be done, but a good start !
Somewhat lighter than before !!
Also, really weird that on one side of the manifold you may notice that one of the front ports is a really unusual shape (top photo). That’s basically for packaging reasons on the OEM setup as it had to work around another part of the engine. We will do what we can to open that up so it matches the rest since it won’t be an issue for our design.
Will post some more info as we progress for the rest of the design. We have a really good plan so hopefully we won’t have to think about it too much, just make it !!
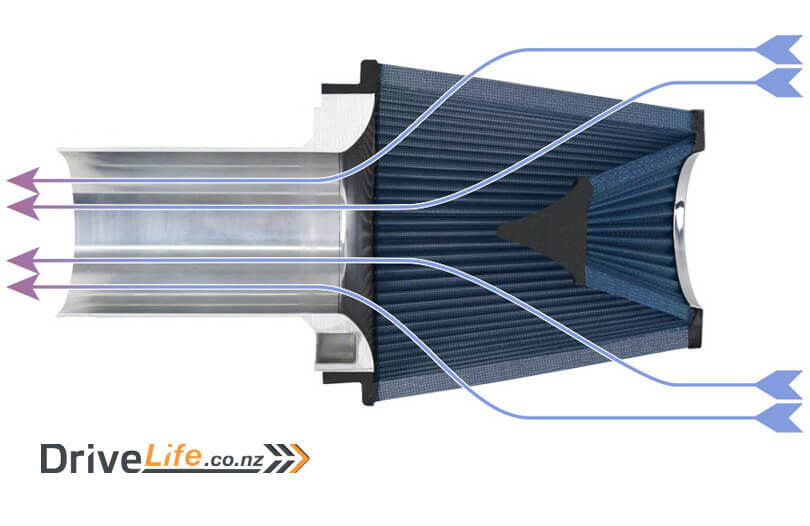
Final setup will essentially be a large intake airbox attached to a large plate that contains the trumpets, something similar to the below. We will be running dual electronic throttles that allow easy setup of launch and traction control. We were originally planning to use a Motec M1 series ECU, but have settled on another Australian ECU from Emtron called the KV12. It has all of the features of the M1, but with a little more flexibility is some areas and also it’s better value for money so a total Win/Win. We are stoked to have Emtron on board with our project. Due to the strange firing order of this engine, it also means we can run it in 6 cylinder mode also when cruising, it’s essentially 2 x straight 6 engines attached to a single crank.
We already have the e-throttles from GM that are capable of flowing enough air for a 3.8L engine so two of them should cope easily with our 6.0L.
There’s a newer entry in this story, please click here – FZ12 – Part 11
If you’ve missed the last part of our story then click here FZ12 – Part 9
or if you want to go right to the beginning then click here FZ12 – Part 1


