


I can’t count how many hours I spent looking for a pre-made fuel tank that would be a good starting point for our tank. I knew I wouldn’t find anything perfect, but I was hopeful that I could buy something already made quite cheap and then modify it to suit. The reason it was hard to find something even close is that usually you would want the fuel tank to be wide and low to keep the weight down in the car, unfortunately that’s not possible for us with limited space so we needed to have something not as wide, but taller to get the capacity to around 75 litres which is what I think we realistically need so I’m not constantly at the pump !
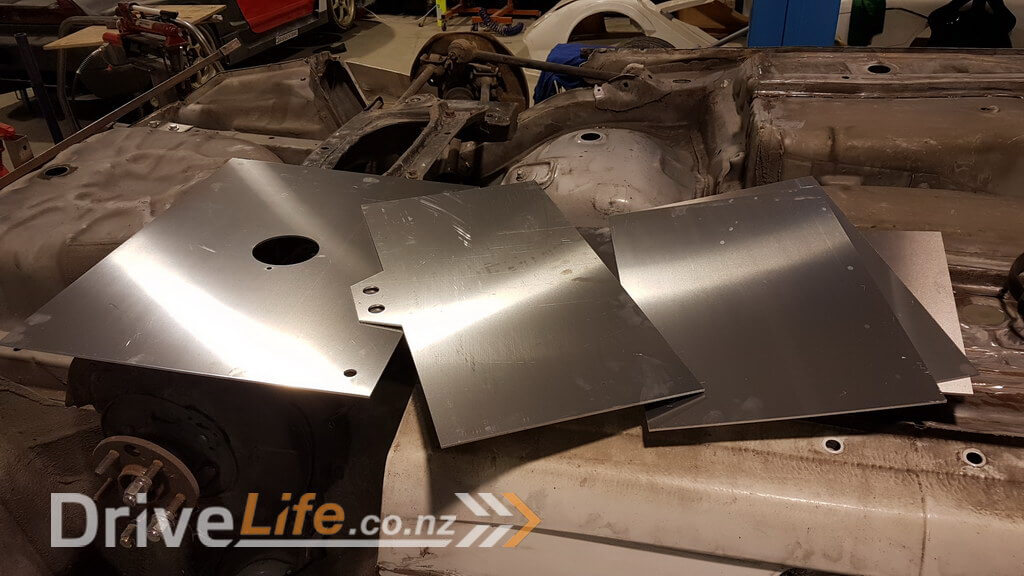
So I decided to do some research and looked at designs and drew something up in Fusion 360 and then had Mitch from OLS cut all of the flat sheets for us from 3mm aluminium.
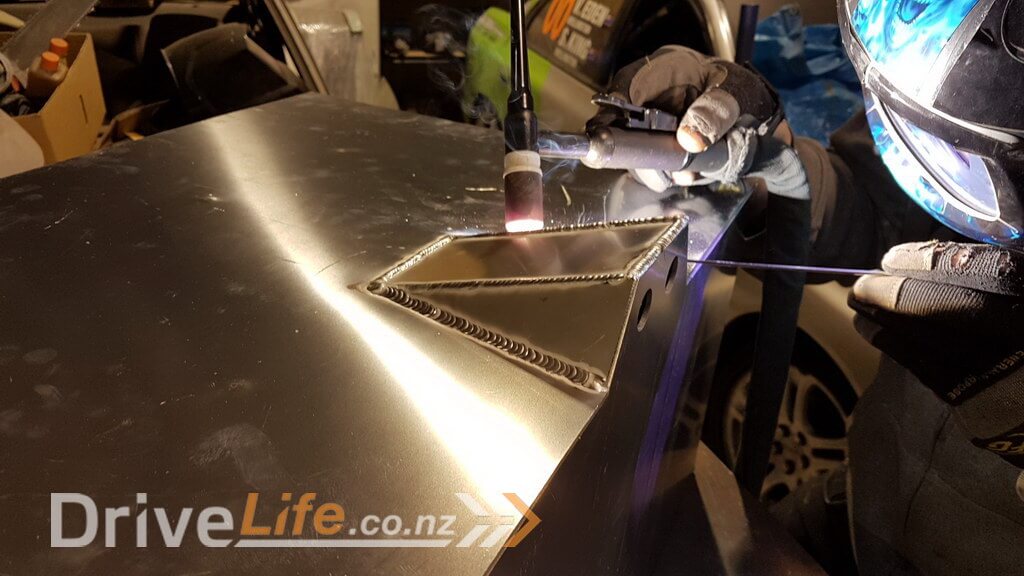
Next it was simply a matter of slotting together all of the internal baffle plates together and Zac tack welded them to make sure they couldn’t move. Even though we are running a seperate surge tank I wanted / needed to baffle the main tank also as you can’t have that amount of fuel sloshing around as you will feel the weight shifting around and eventually it will cause something to fail with the movement that it will cause. Besides, it’s pretty easy to create some baffles and then it’s problem solved on all sides.
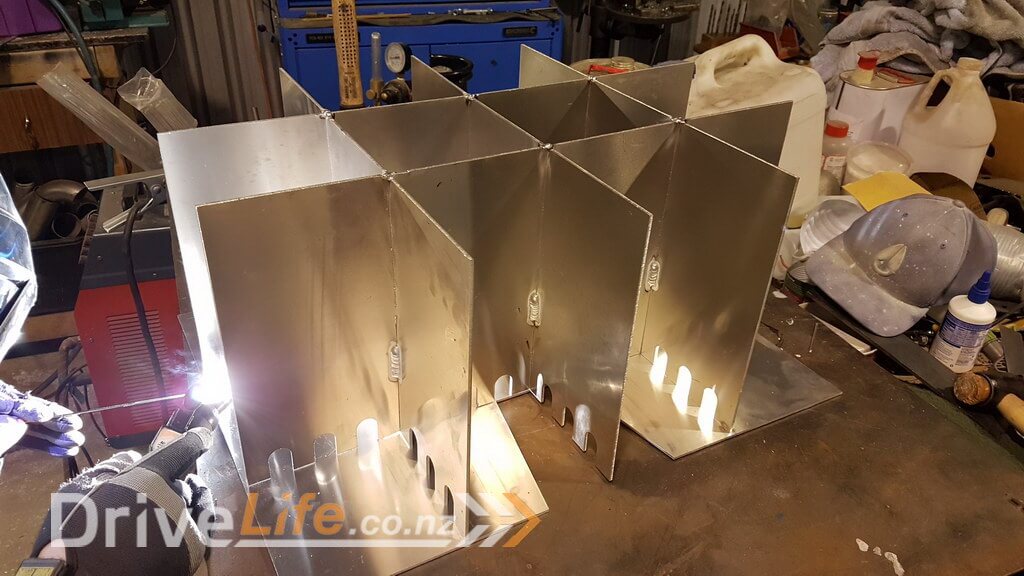
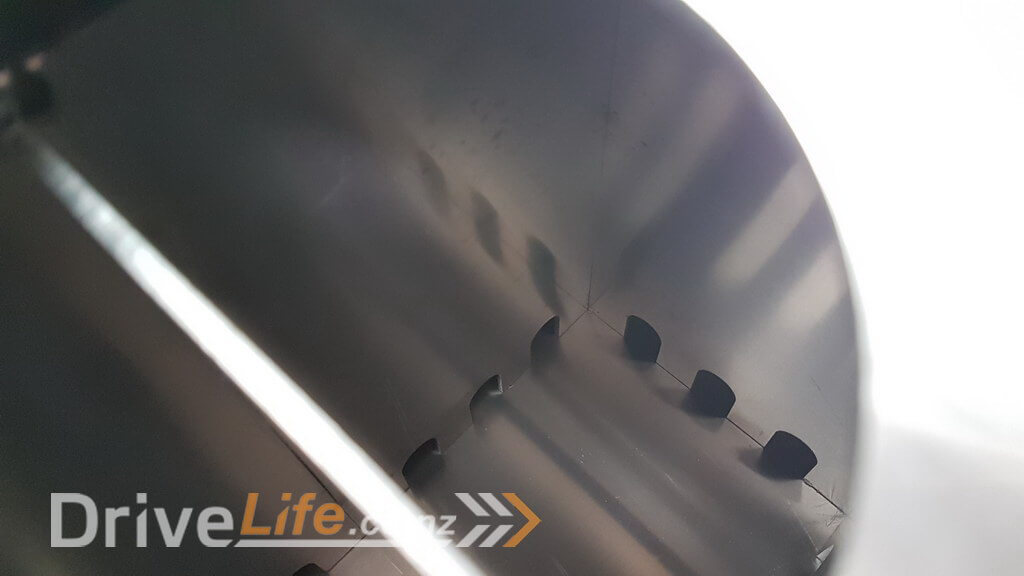
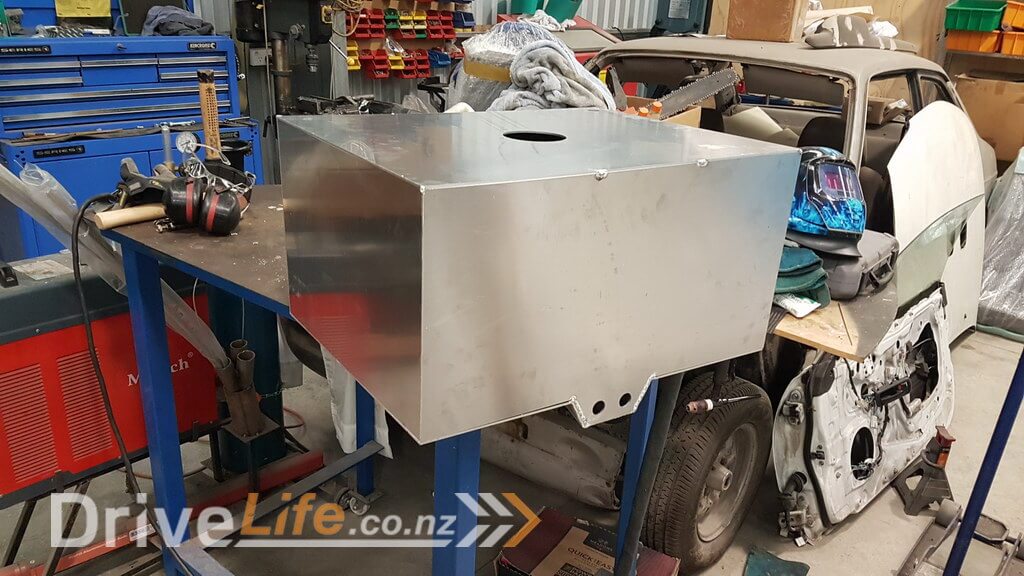
The small archway shaped gaps at the bottom of the plates is to allow fuel to flow between the compartments slowly, but still plenty fast enough for what is needed. Also, it’s hard to tell from the above photo, but the baffles don’t go to the top of the tank. One of the mistakes that others had made when making baffles for their tank was that they made theirs go to the top of the tank, then when filling the tank and fuel was coming in very fast into one chamber it would eventually fill up the chamber quicker than it could drain to the other chambers and make it really slow to fill up. So what i did was to make sure that the chambers didn’t go right to the top and then when it’s being filled it can always overflow at the top. The baffles can still do their job that way.
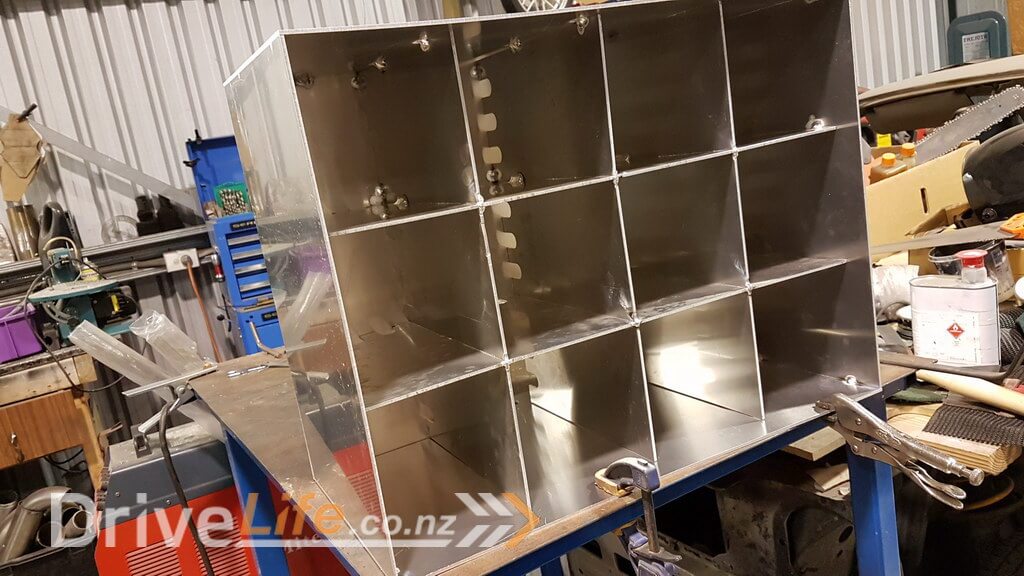
Next Zac welded a small area under the tank called the sump which is there to make sure the fuel always wants to flow towards the fittings that tank fuel out.
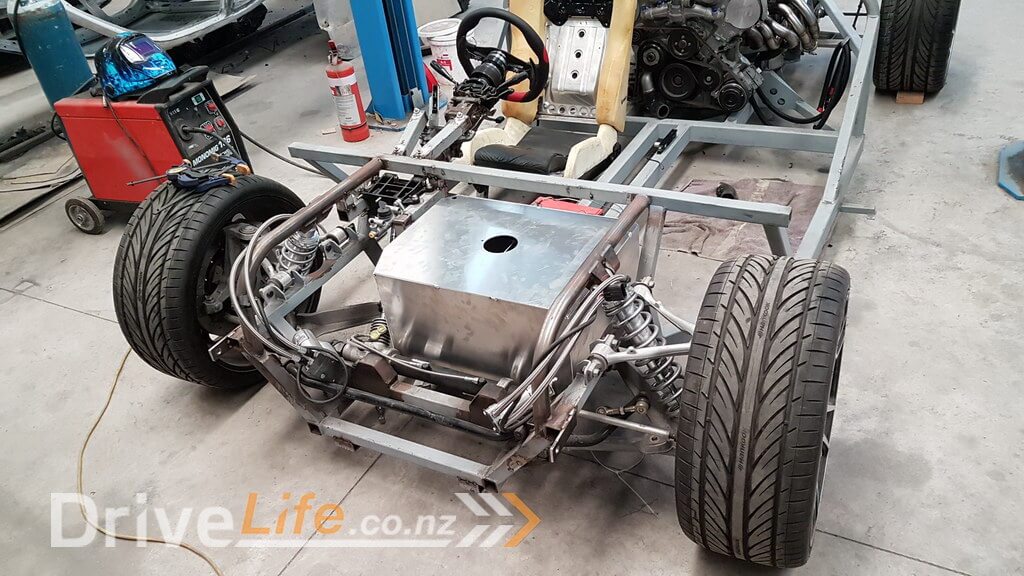
The rest of the tank we just tacked together for now as we needed to make some more adjustments once we were able to fit it into the car.

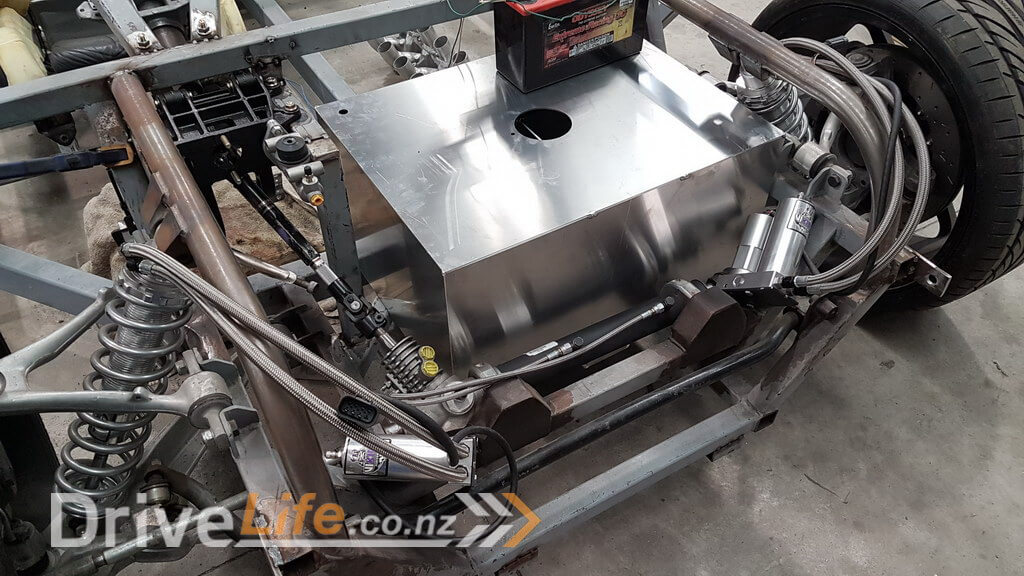
Straight away it became obvious that we could move the tank to a more central position if we trimmed the front left corner nearest the steering rack. It was just touching there and it was holding to off to one side, so I trimmed the tank on that corner and also the back corner which was close to the clutch pedal and we wanted to give the clutch foot some more room.
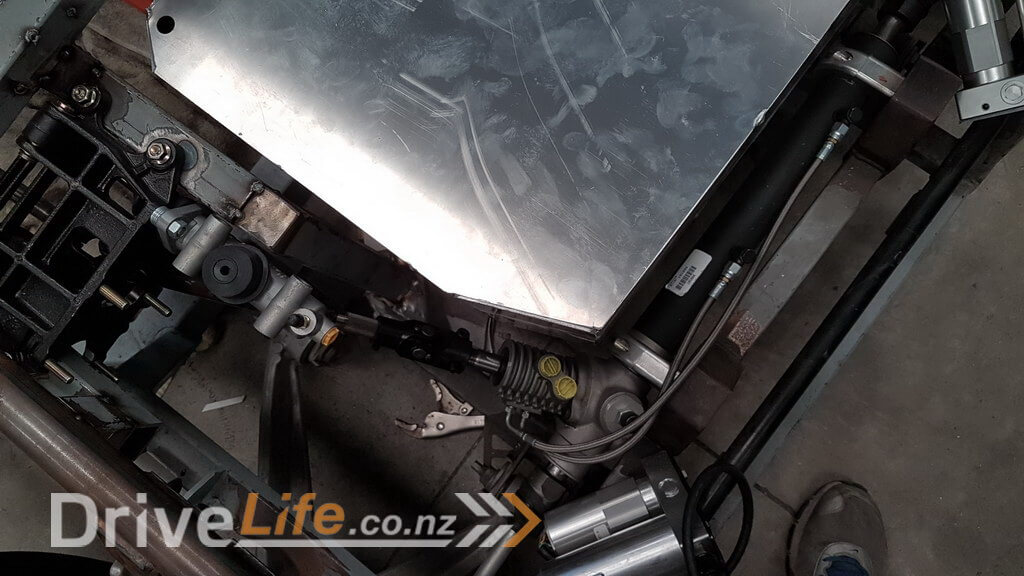
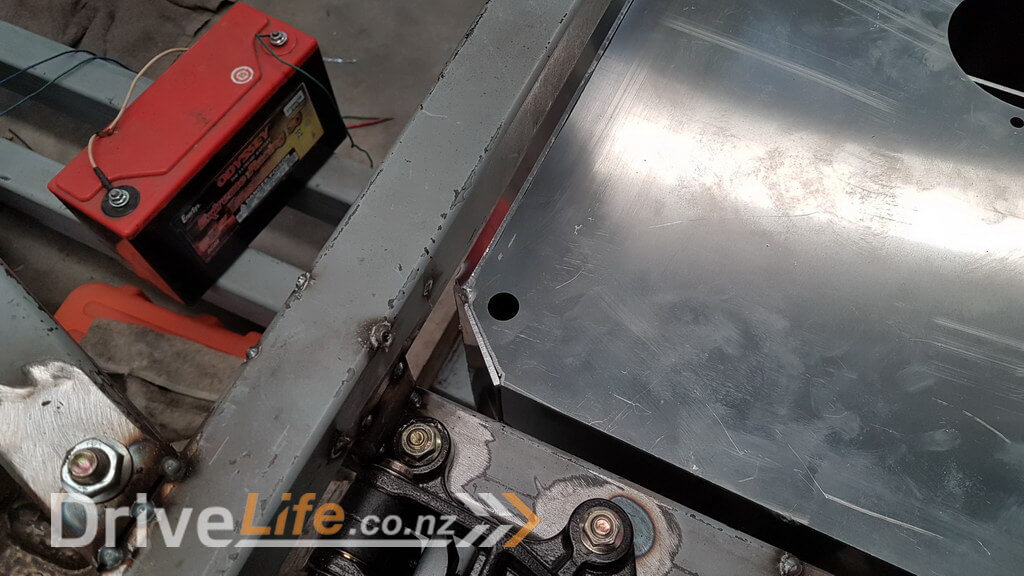
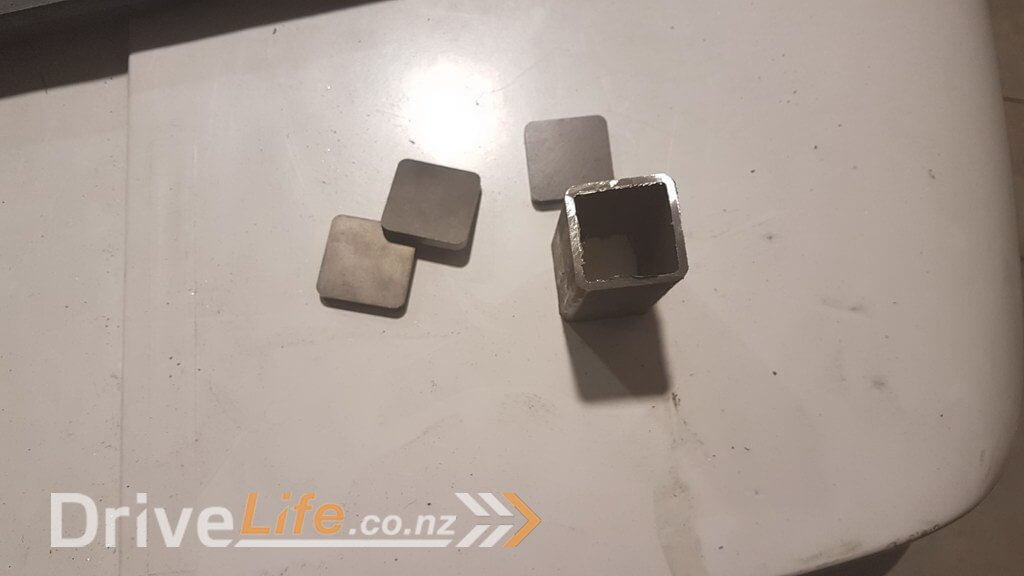
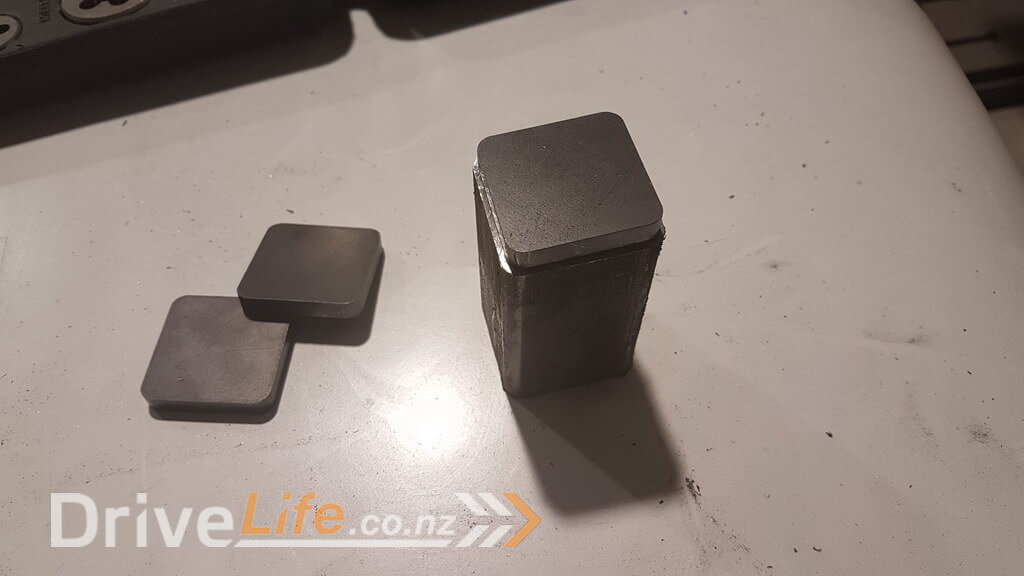
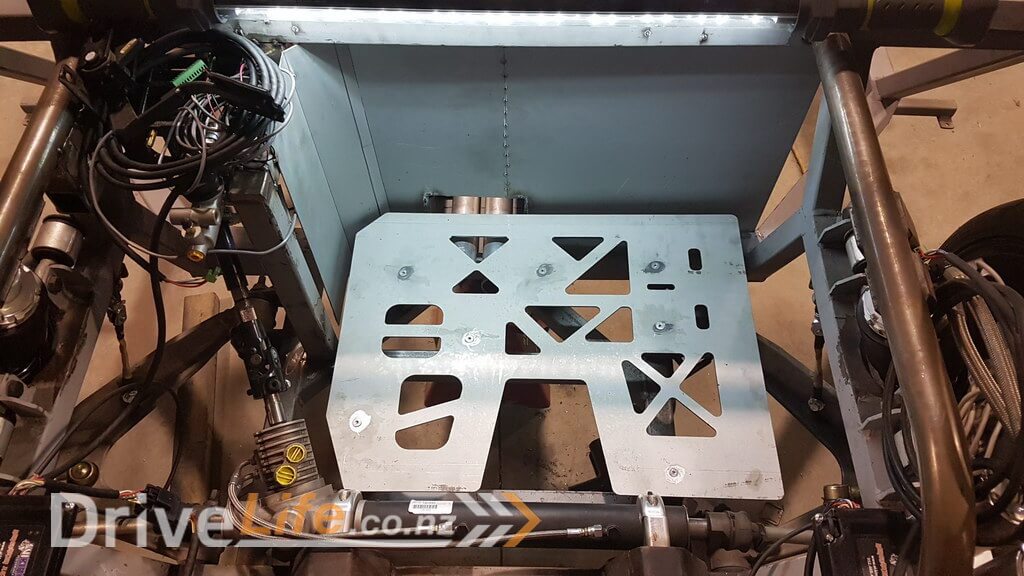
Next I needed to create a platform for the fuel tank to sit on. As mentioned earlier on, ideally we wanted to keep the tank as low and wide as possible for weight balance perspective, but again, our hands are tied with where we can fit it as the water and fuel lines run underneath the tank so we have to lift it a little bit to make room. To do this I just used small box section parts with some caps that OLS laser cut for me. The plan is to drill and tap a thread into these and then the platform itself, which OLS also cut for us, will bolt into those threads. We obviously need the platform to be able to be removed for servicing in case there’s ever an issue with the water or fuel lines etc. We can get to it from underneath also, but not to everywhere so this gives us options.
There’s a newer entry in this story, please click here – FZ12 – Part 26
If you’ve missed the last part of our story then click here FZ12 – Part 24
or if you want to go right to the beginning then click here FZ12 – Part 1


Woah this is cool. I remember something from tv. You guys rock it.