


Welcome back !
I am proud of everything on this car, it’s a massive project with a steep learning curve, but this episode is about one of the top 3 things I’m the most proud of on this build.
One thing I wanted this car to be is usable and there’s nothing worse than a loud exhaust system that sounds great outside and even sounds great inside when you’re pushing it, but drones and booms inside the cabin when you just want to cruise. I’ve previously owned an R34 GTR and had an exhaust that sounded fantastic inside and out as mentioned, but could drone when cruising. I purchased a limited edition HKS exhaust that had an active noise control system built into it that would open and close the exhaust outlets based on RPM and throttle position, so you could get a nice quiet cruise, but also had all the benefits of a free flowing exhaust when you wanted it.
The FZ12 with its short distance from the engine to exhaust tips has the potential to be loud and that in turn means it could be painful to live with day to day and also might get us in trouble with the boys in blue and the LVVTA when trying to get it legalised. Creating an active exhaust system seemed like the only solution so I got started drawing.
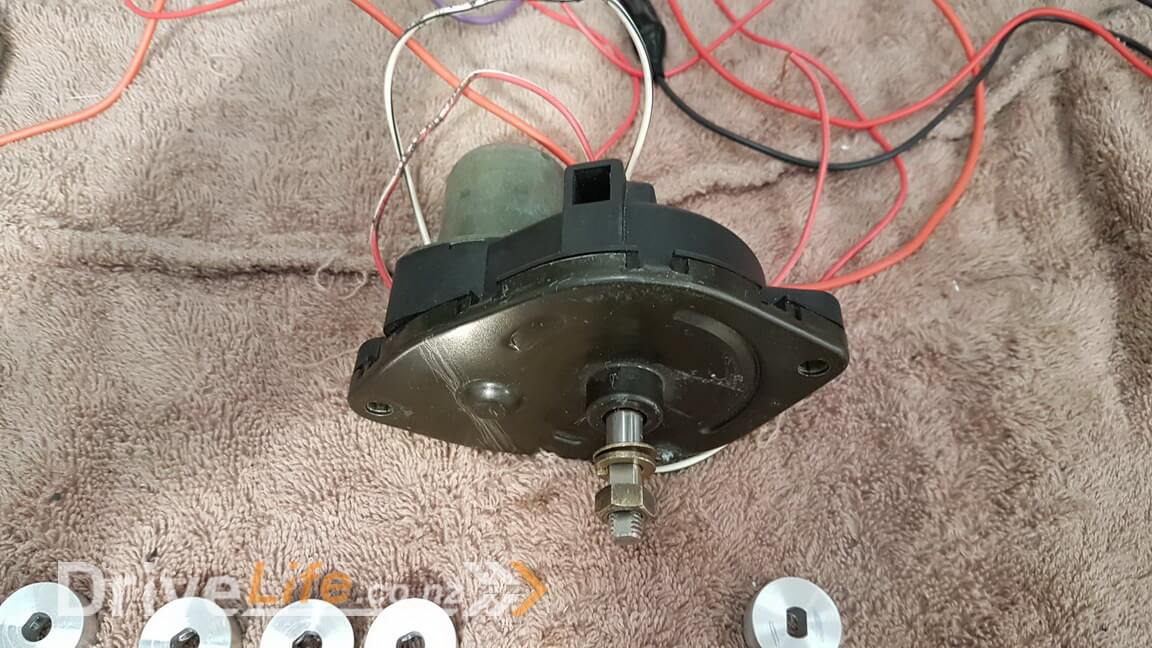
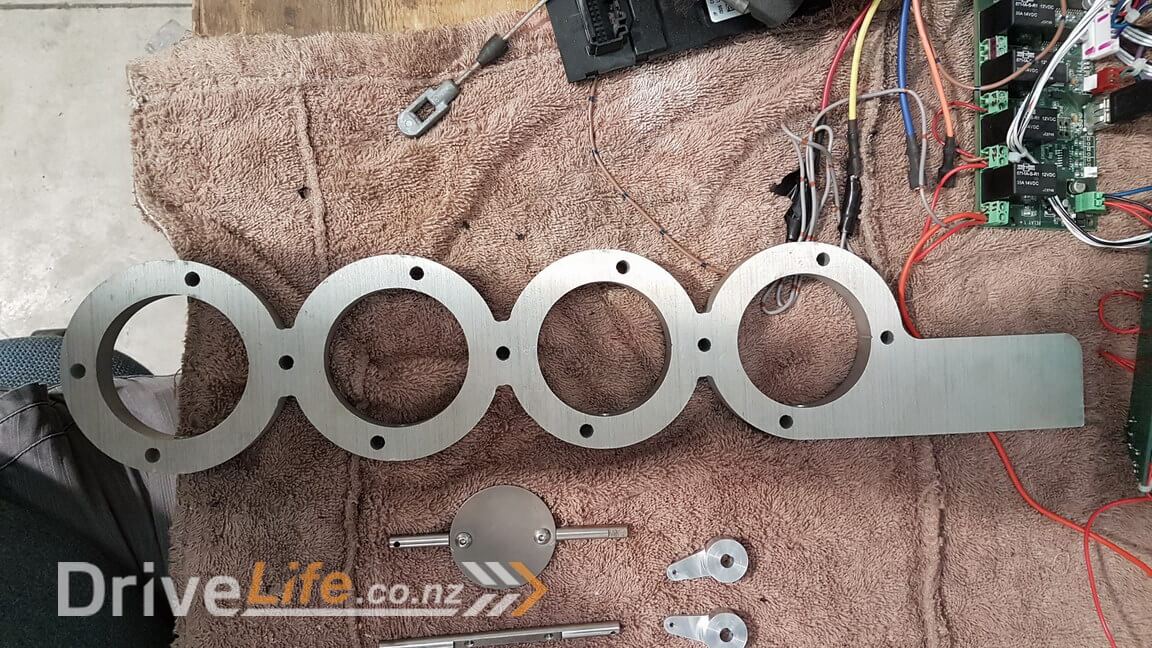
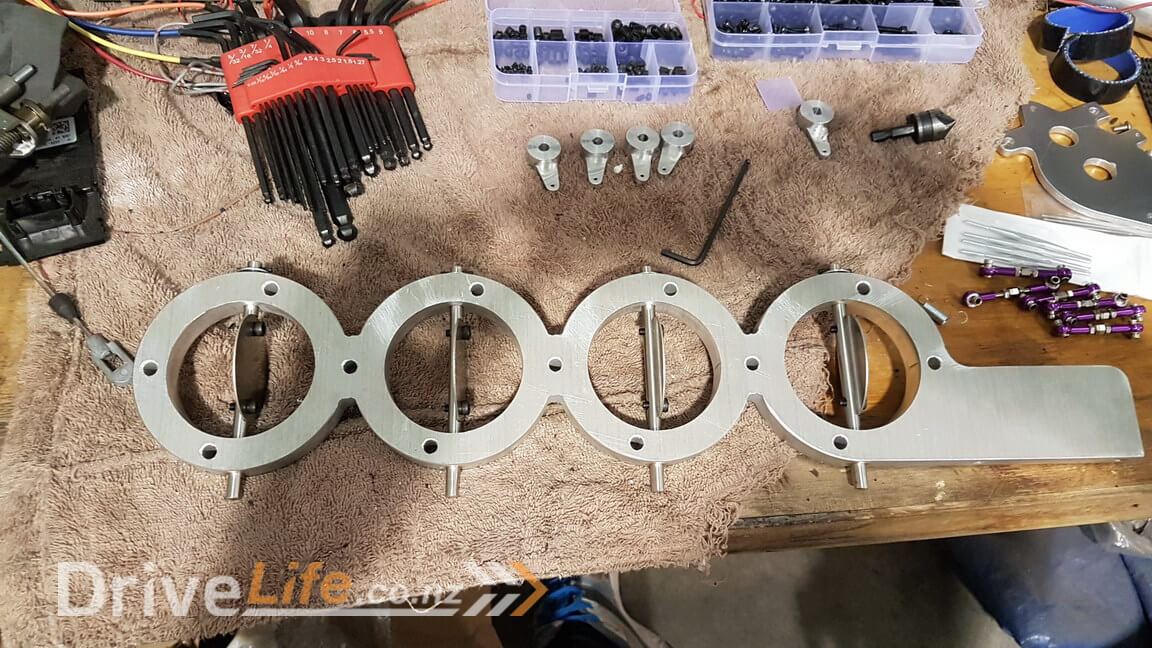
I had purchased 4 of these units thinking that I would be able to use them, but they were quite heavy so having 4 would have been extra weight I didn’t want and also they were designed to fit into a “normal” exhaust system and we didn’t have the same mountings and so I was going to have to redesign anyhow, so I decided to just start again and use a few bits from these and make something much more suitable.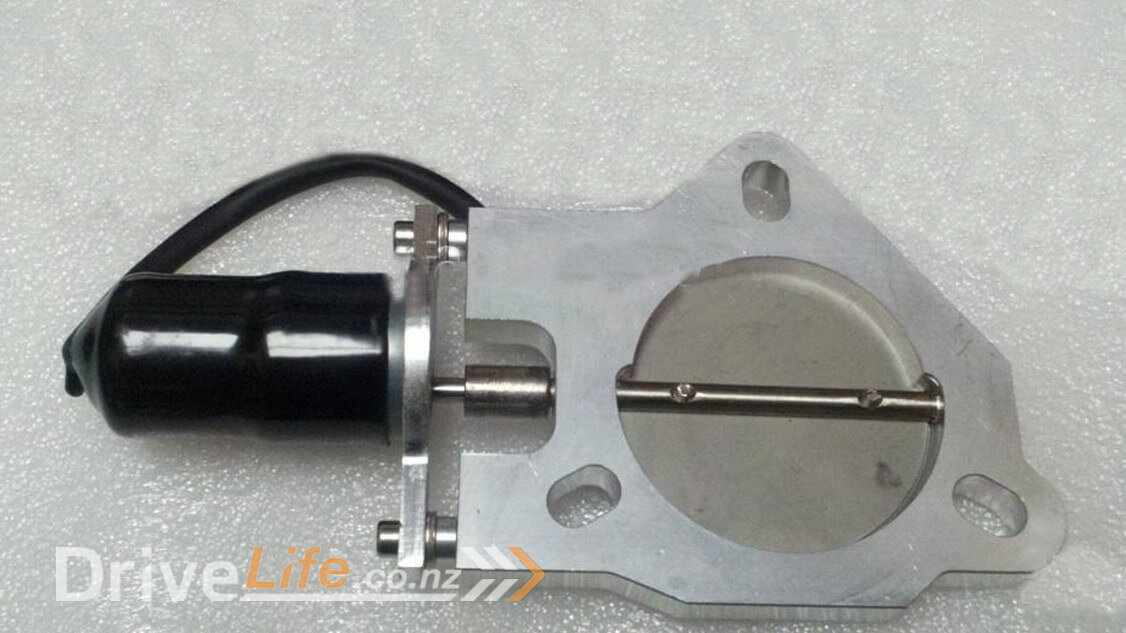
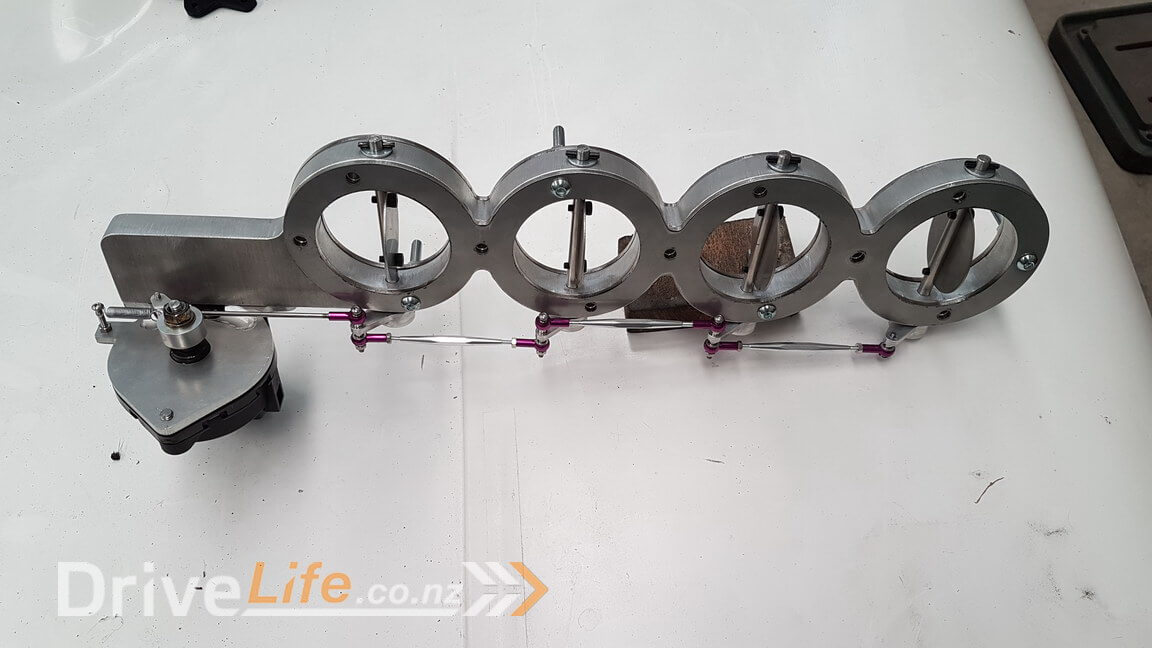
As with everything I 3d printed a mockup to see how things might work. I removed one of the electric motors from the part above and made a mount for that and intended to use it to open and close all 4 butterflies at once since there is no load worth talking about so there was no need to have one motor for each butterfly.
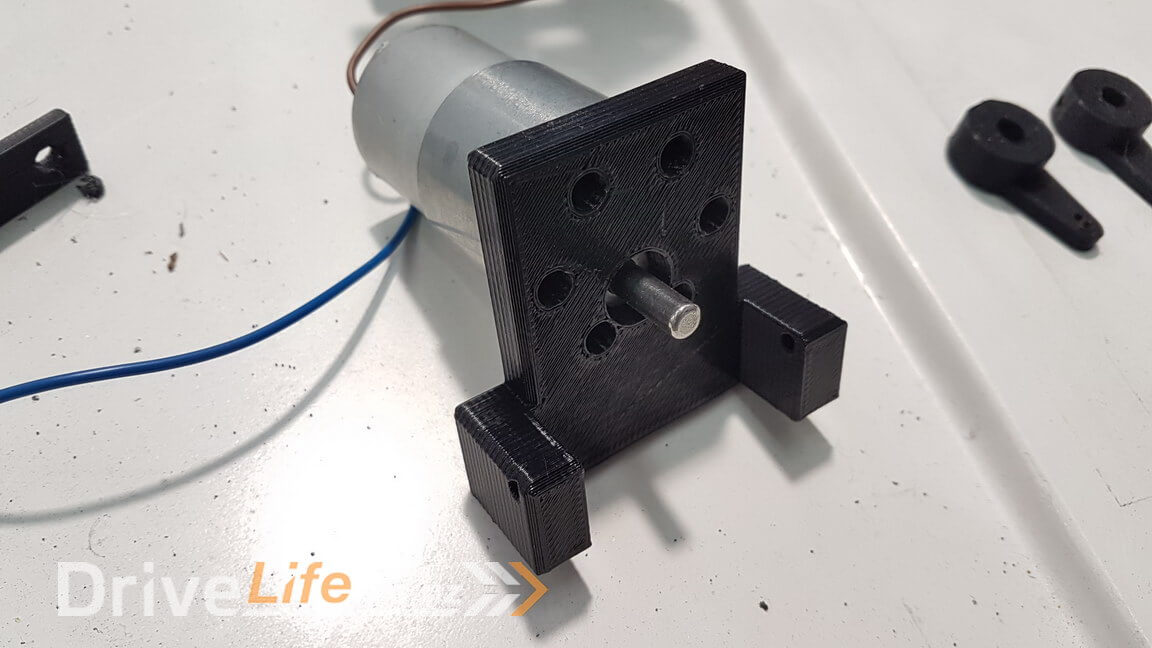
I decided to use the main shafts and the butterfly plates from each of the parts I bought also, but that was all. It didn’t seem worth making those parts when what I had would already do the job.
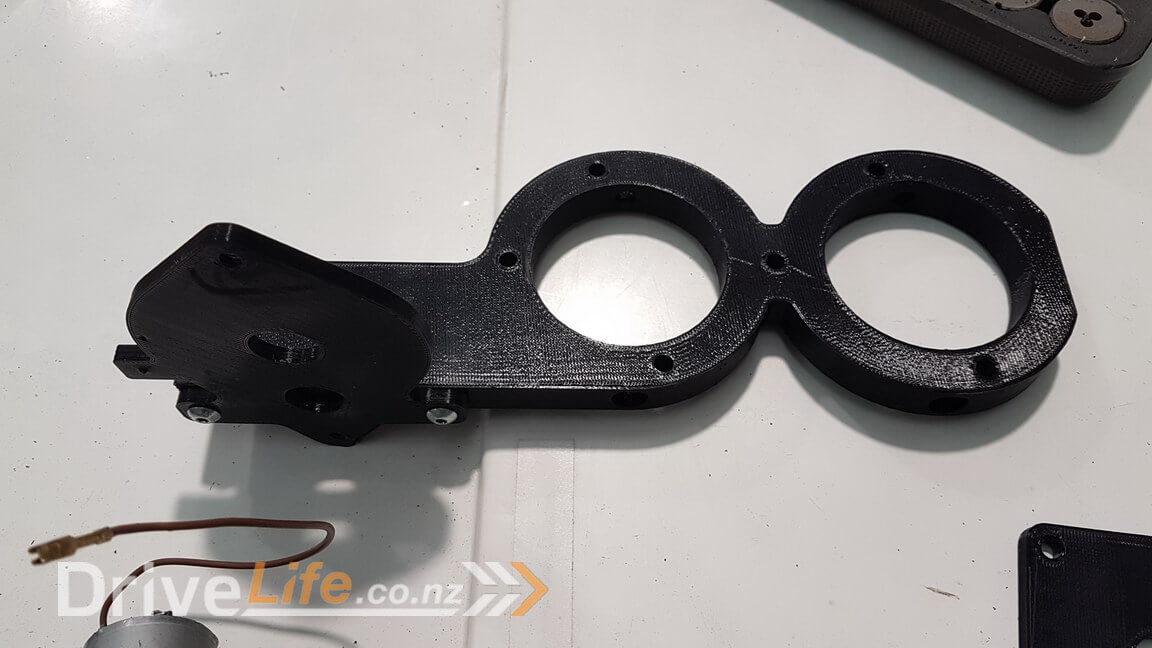
I put my mock up together and tested and it seemed to work well.
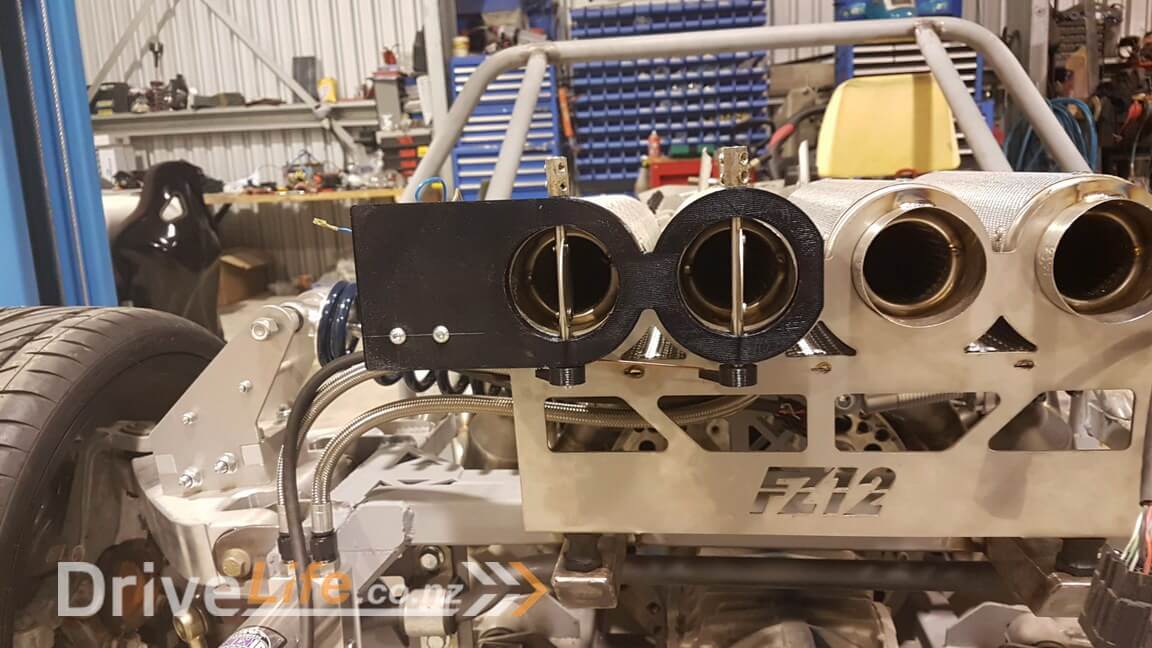
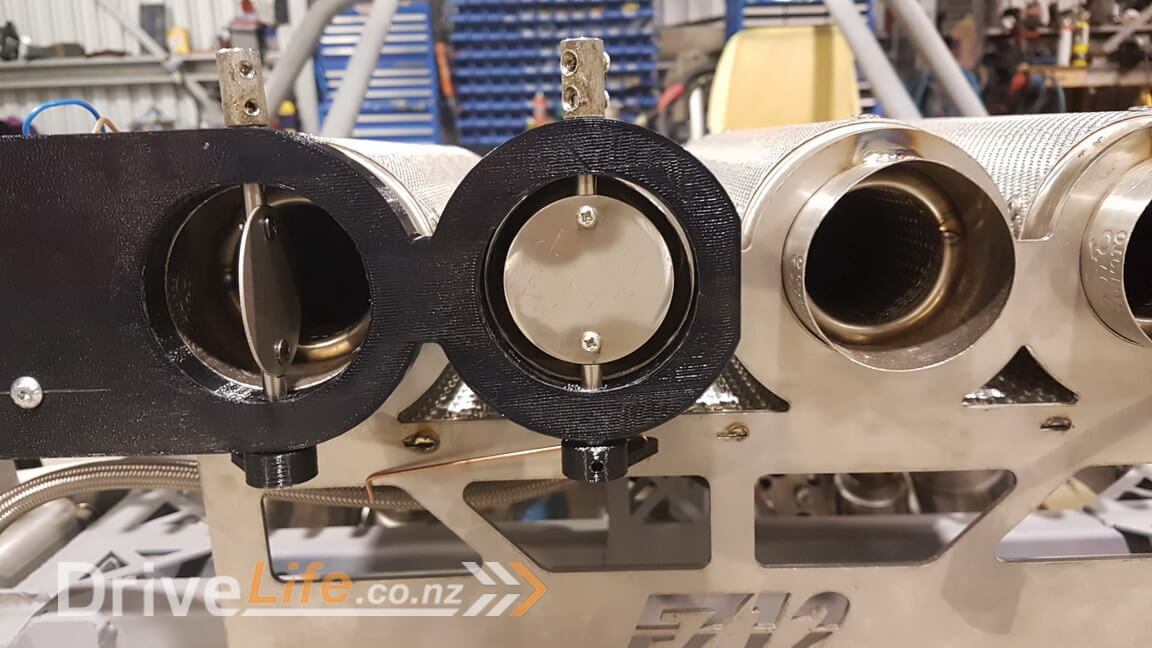
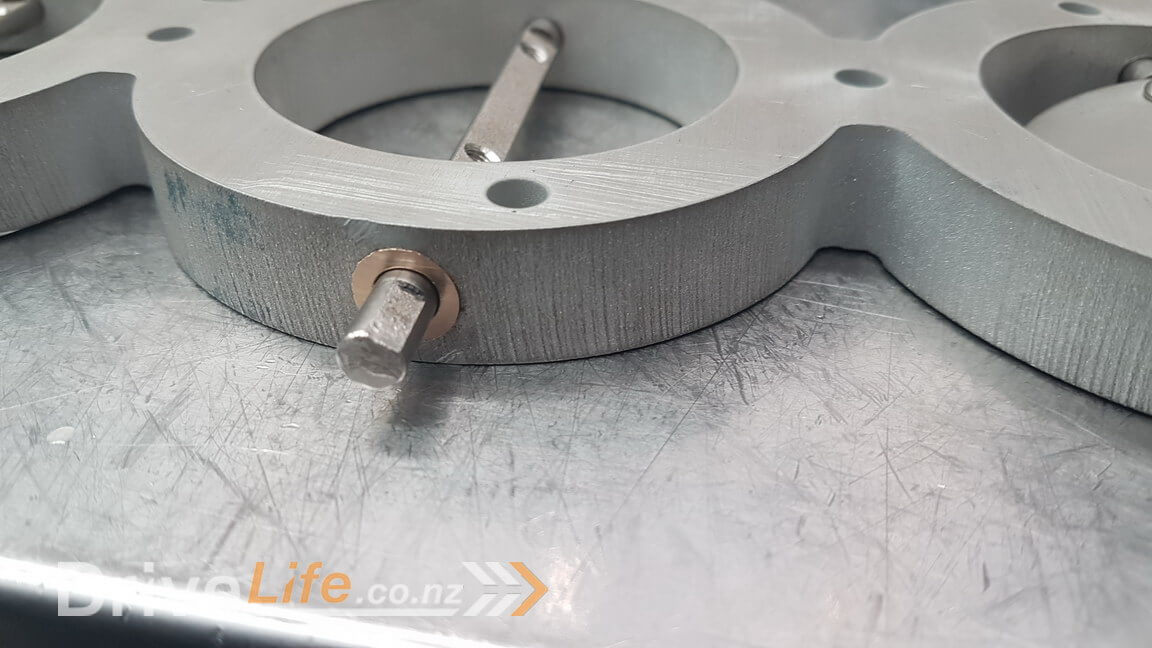
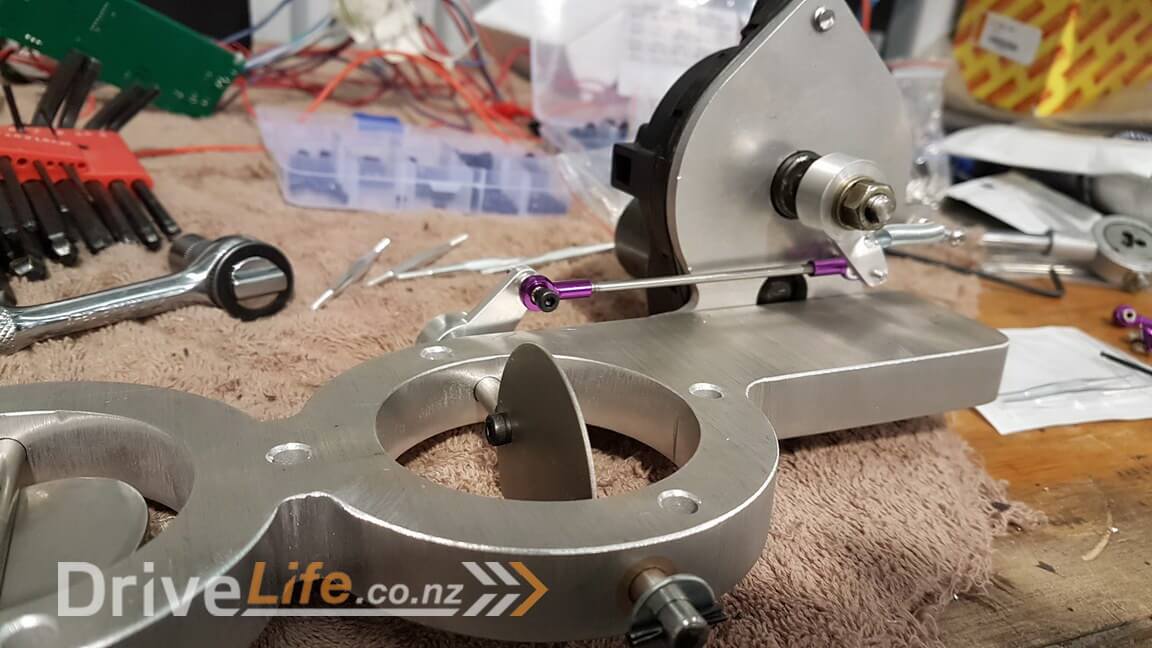
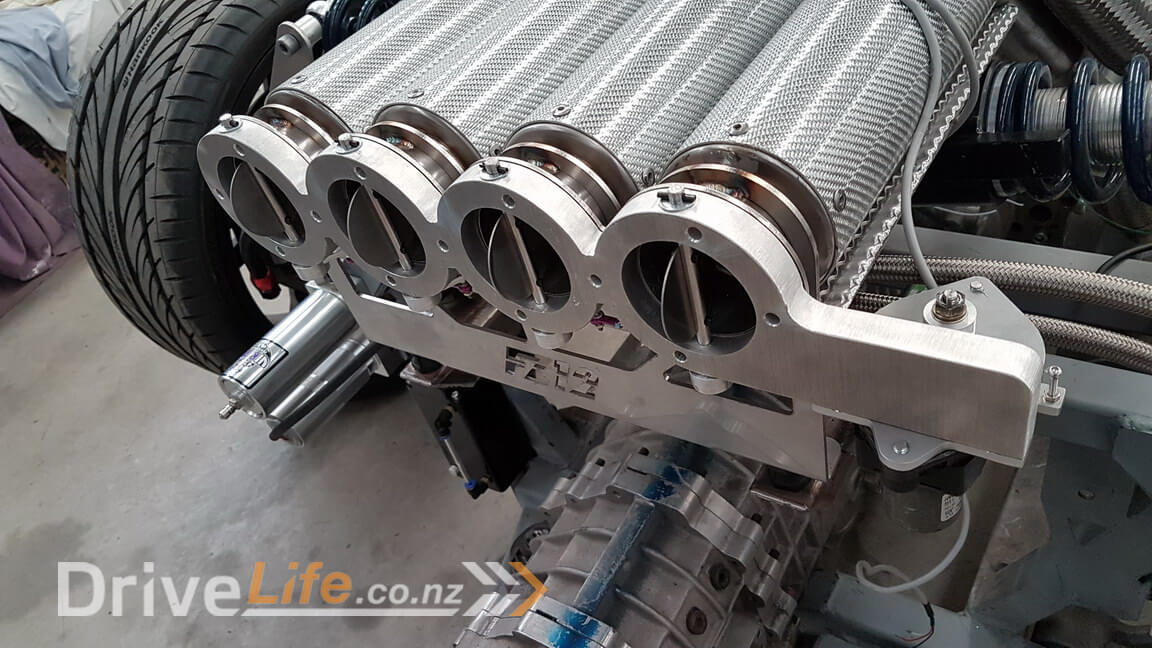
You can see here that even when the butterfly is fully closed, there is still plenty of space for the exhaust gas to flow around the butterfly, but it should help reduce noise and drone……hopefully !
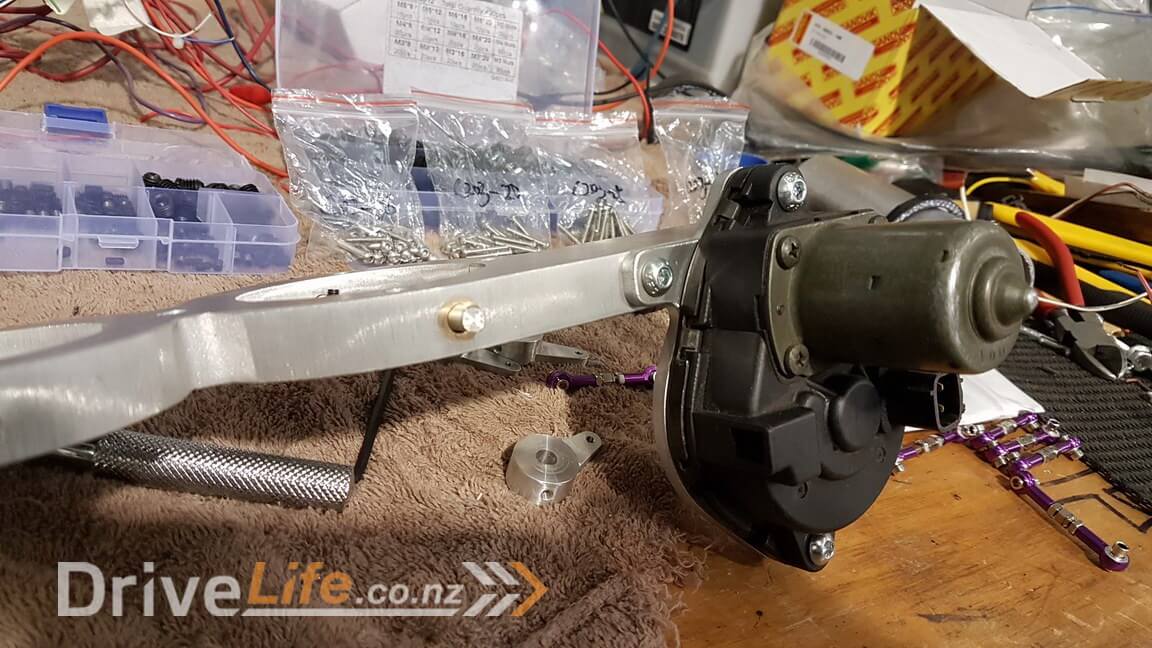
I was really happy that after a few small revisions everything fit and lined up really well. However whilst testing the unit I measured the time it took to open and close and it took approx 2 seconds to open and 1.5 seconds to close. Now although that seems quite quick I wasn’t sure it was ideal. I tried to improve the speed of the electric motor by adding extra winds to the electric motor, but it didn’t help as much as I hoped. I was worried about the speed it was taking to open and close and Chris from Prestige tuning and Motorsport (who will be tuning the car and supplied the Emtron ECU and lots of advice) confirmed that it would be best if it opened “instantly” rather than over a period of seconds.
The reason it is better to open and close quicker is that the amount of back pressure in the exhaust has a large effect on the tuning that the engine will require. We can easily have one tune for open and a compensation to adjust the tune when it’s closed, but it was much more work to have to monitor what would become a variable whilst the valve was closing, the ECU wouldn’t know if it was closed or open or something in between. This headache could be removed if the butterflies opened or closed quickly.
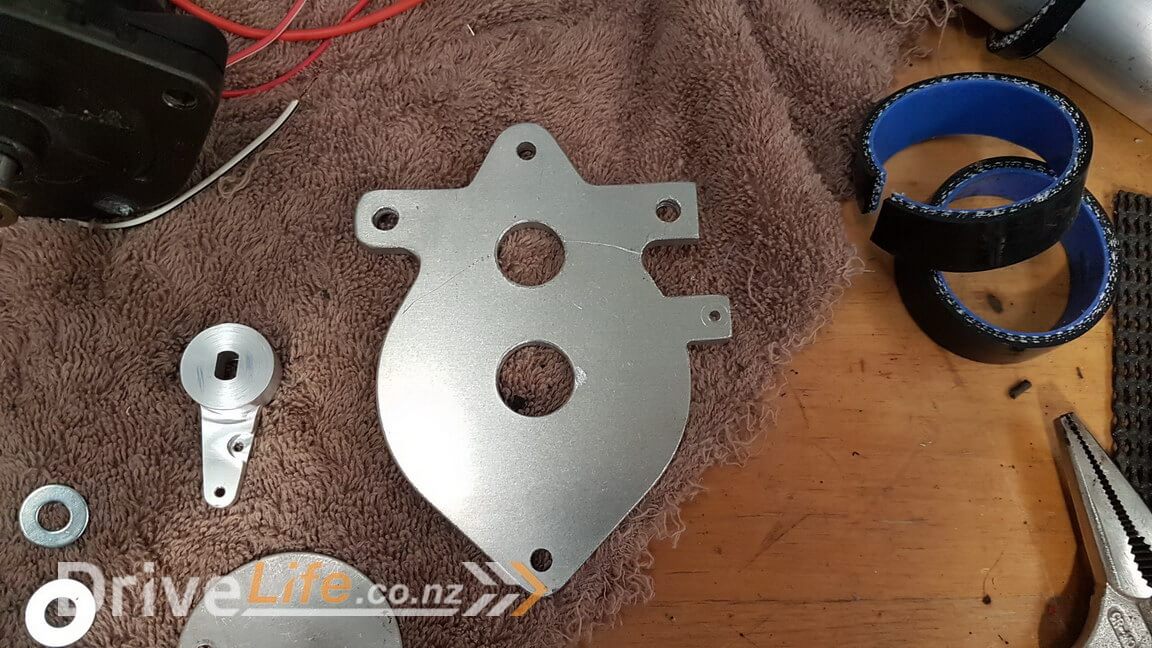
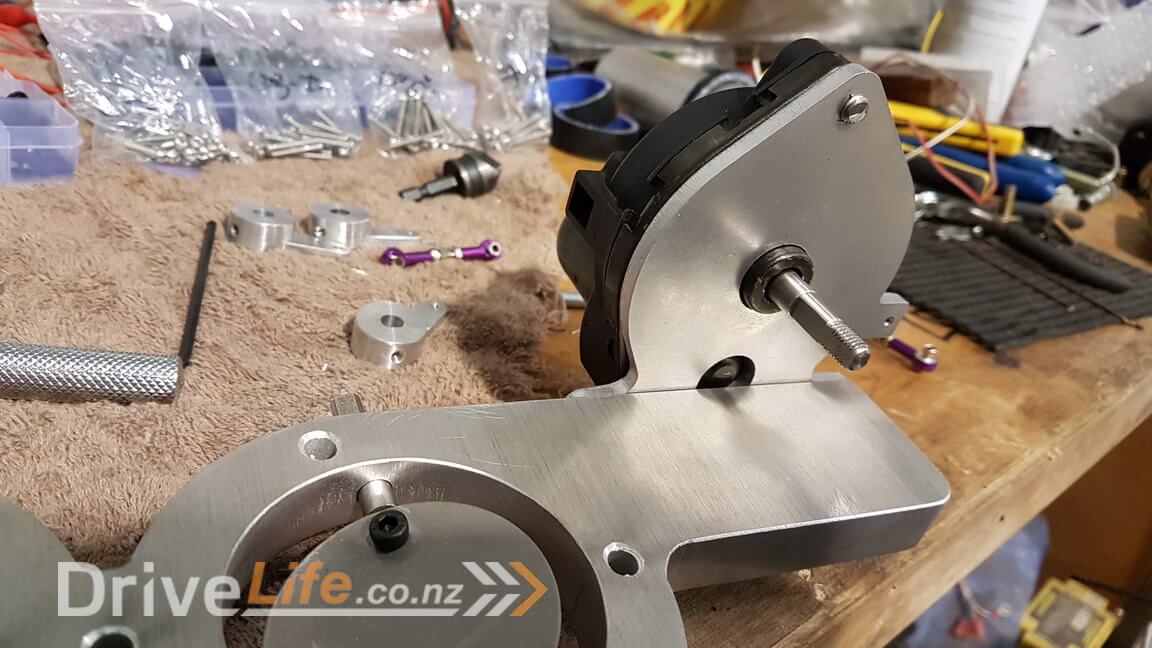
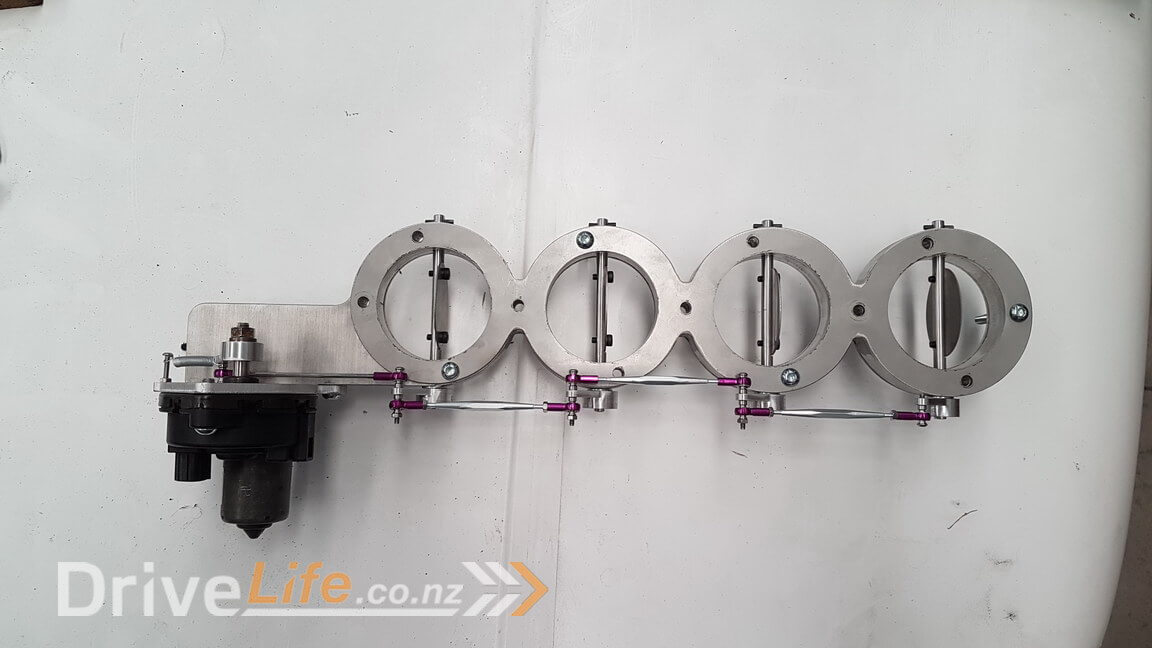
Luckily for me, I just happened to spot a throttle actuator from a Honda engine we had in the workshop for our NSX race car and quickly wired it up and tested it and it was as close to instant as I could get and also had a specific range of motion so was perfect for this. So it was back to Fusion 360 to redesign the mounting plate for the new actuator. The rest of the system I had designed was still good so it was just the motor mounting plate.
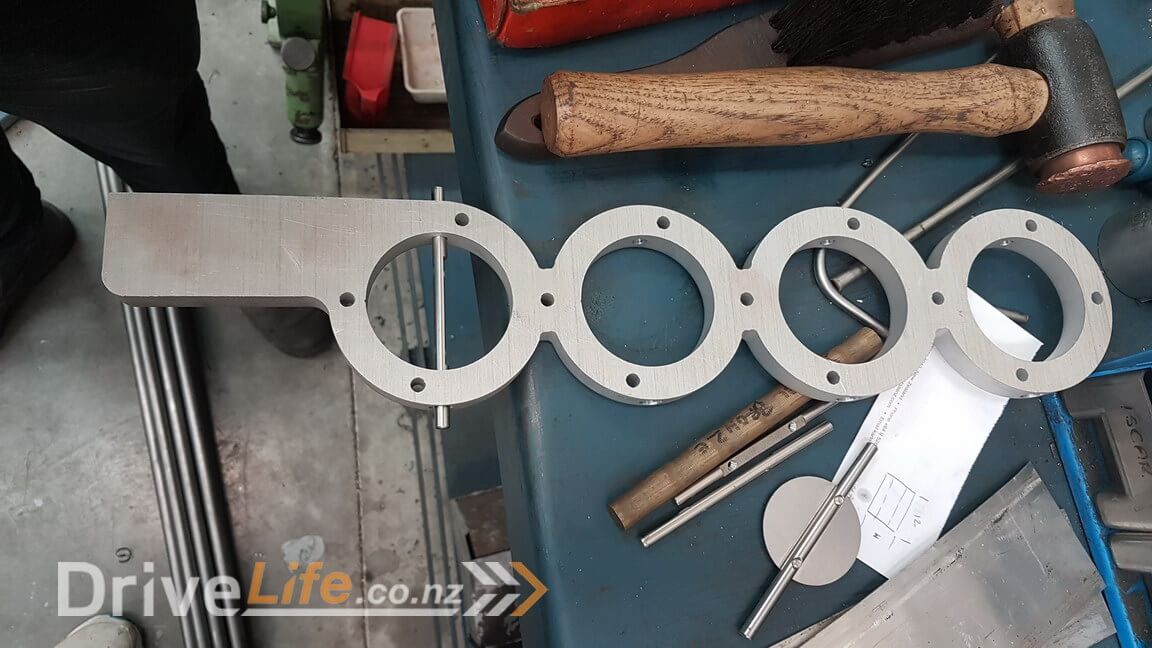
It fit really well, but I needed to swap to having the motor mounted on the other side of the mufflers, but that was easy. So next it was over to the guys from Melbar engineering to CNC all of the parts I needed to make my final unit. Mitch from OLS got the base plate waterjet cut and then I took that to Melbar.
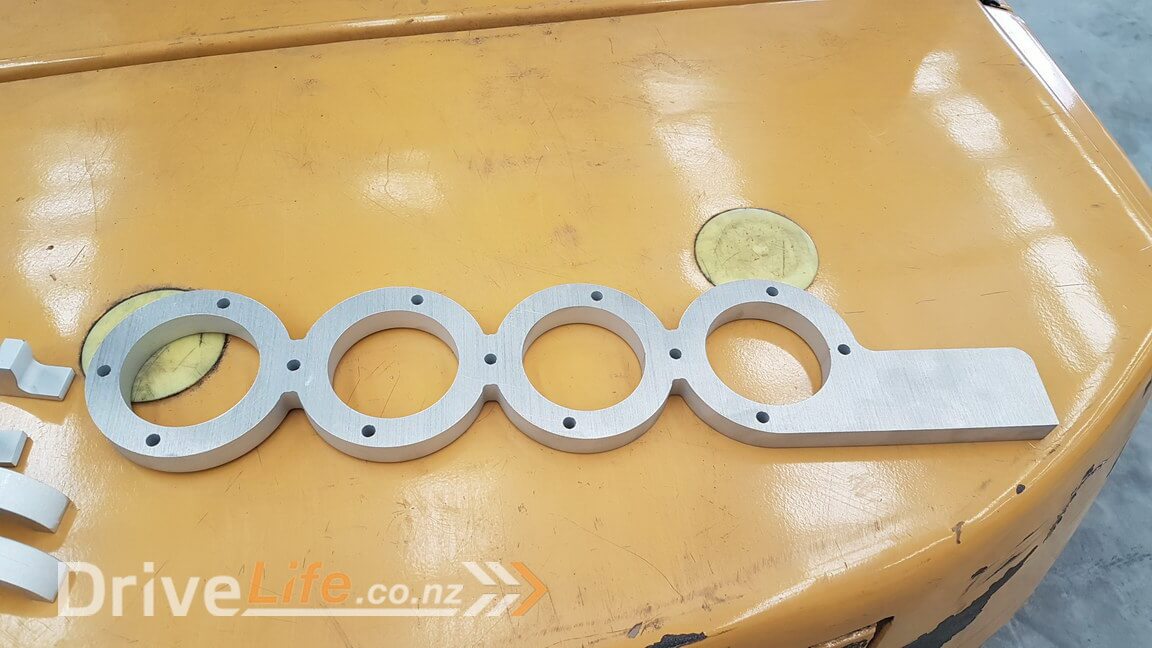

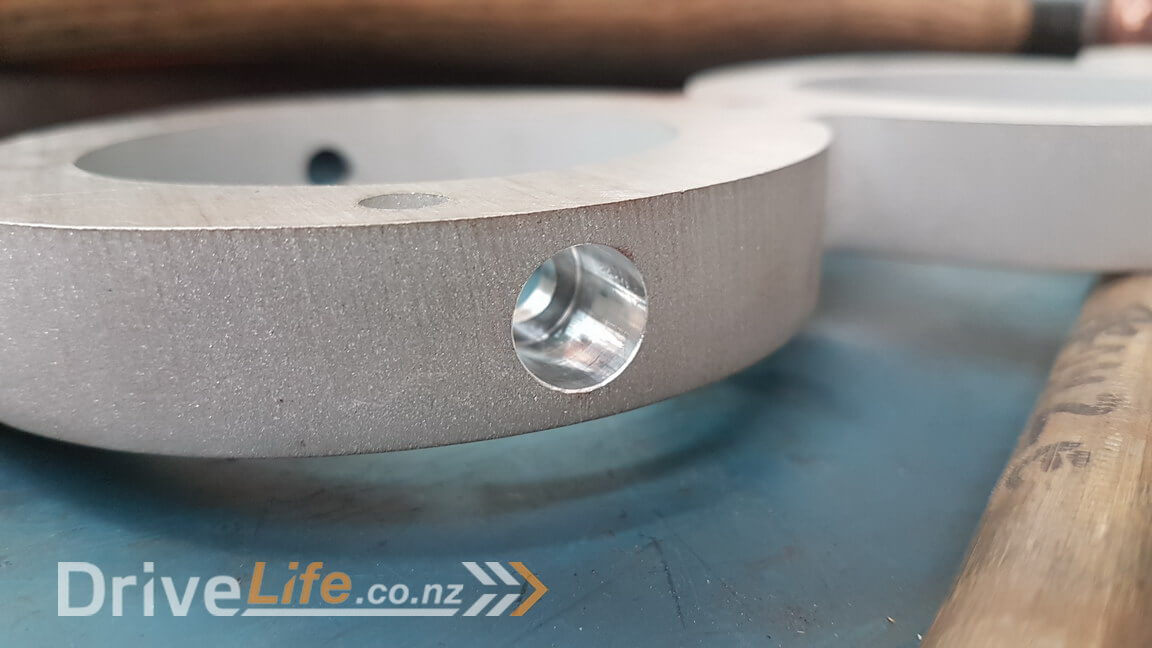
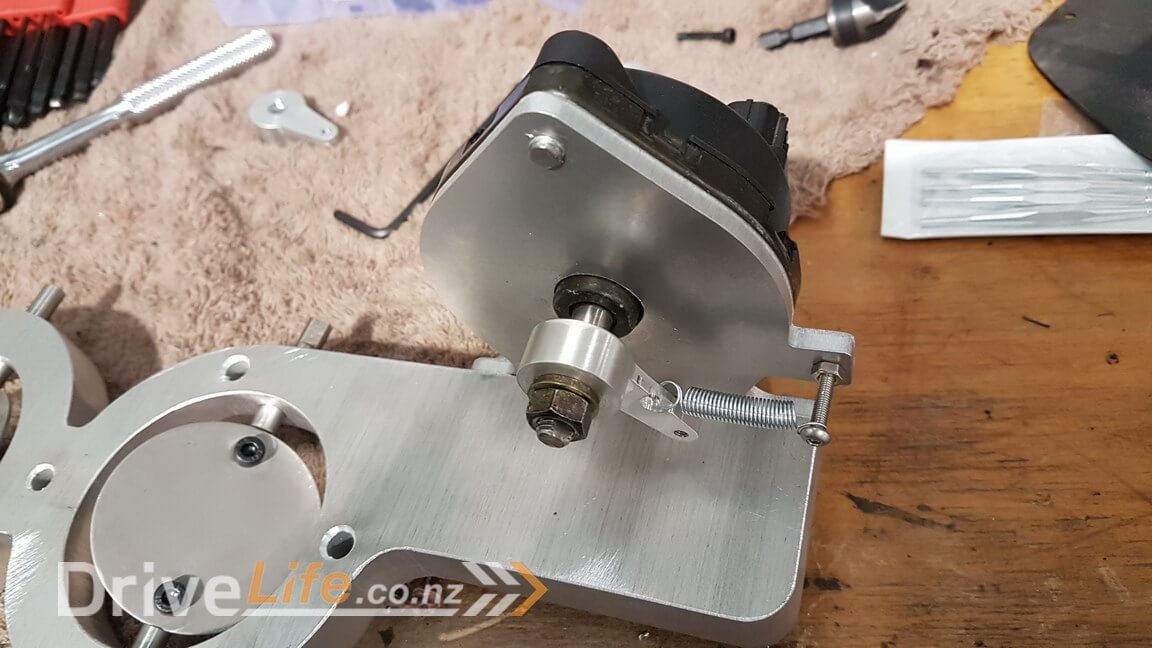
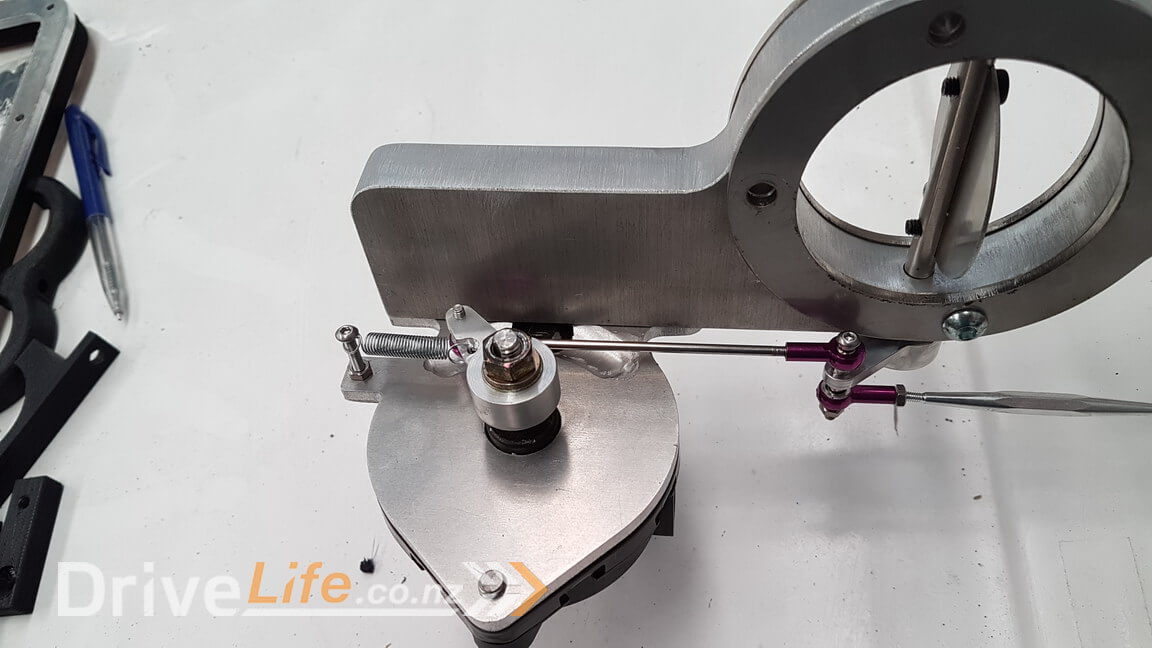
You can see here the first part of the machining where we’ve allowed for a brass insert that won’t expand and contract with heat like the aluminium would and it allows a smooth action for the butterflies.

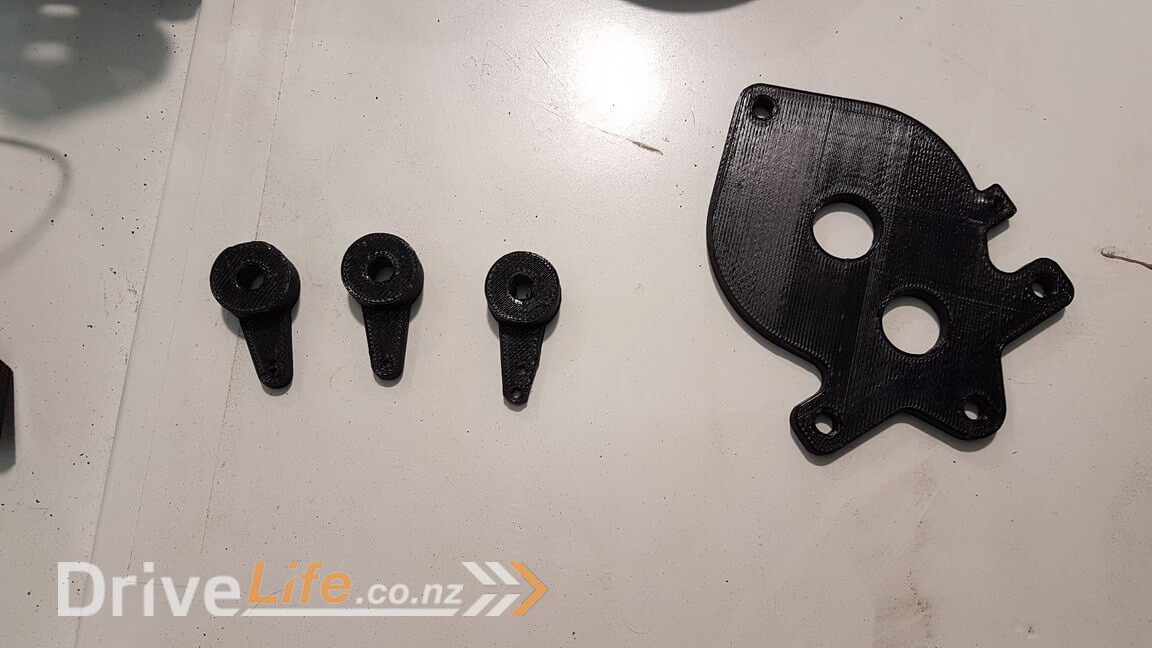
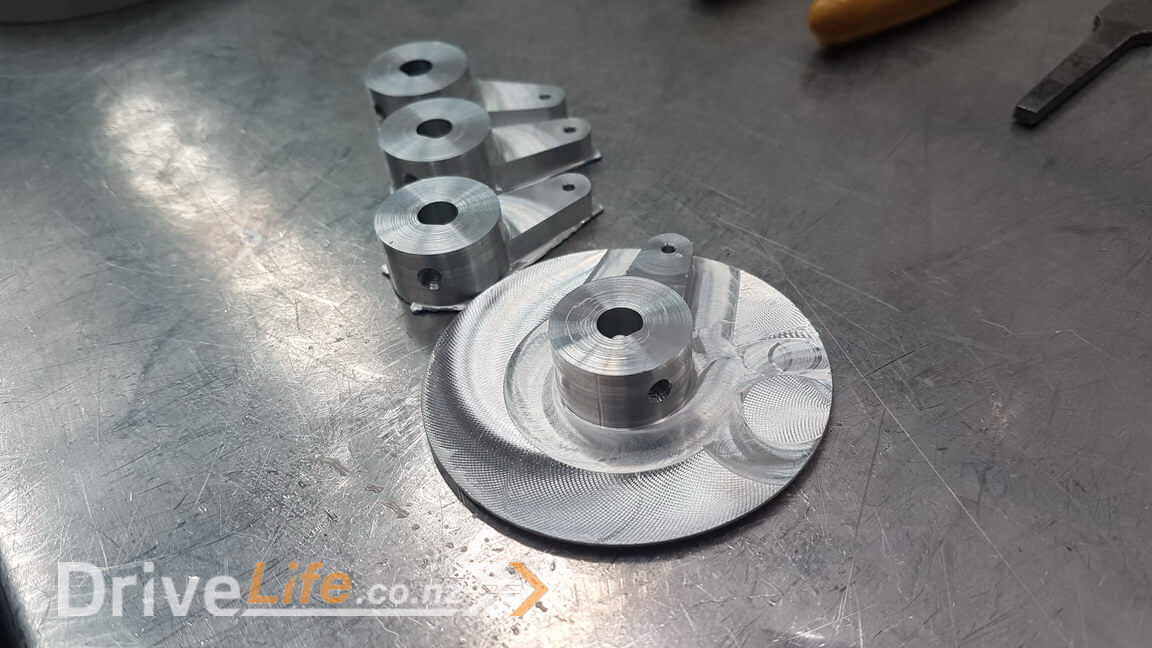
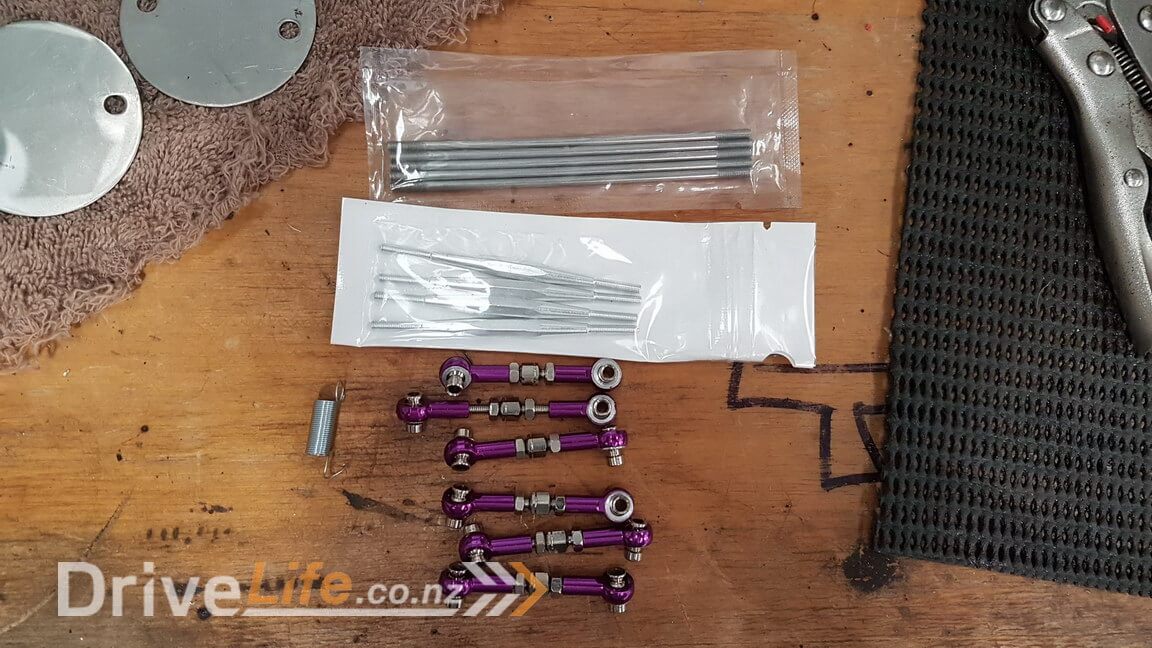
Perfect. This gives you an idea of how the small lever arms are machined. You can see the base that is removed from the part after machining, next to finished parts.
Now all the parts are finished (it took 3 months of testing etc and then getting Melbar to make them) I was really chomping at the bit to get it all assembled so I sat down one night and put it all together.

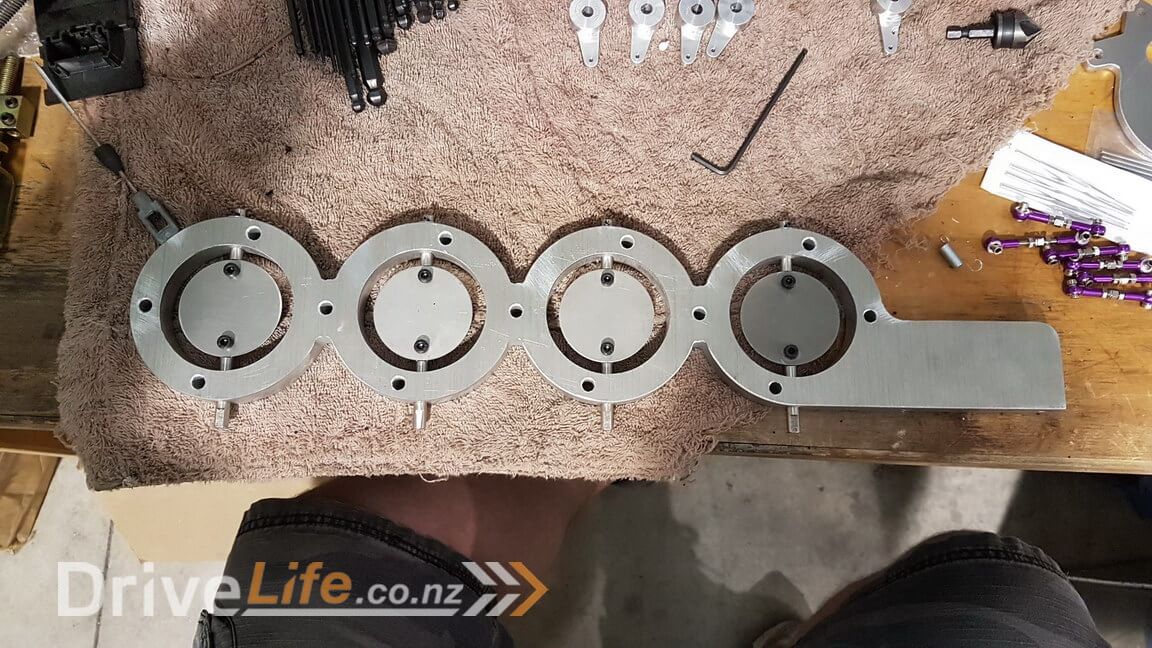
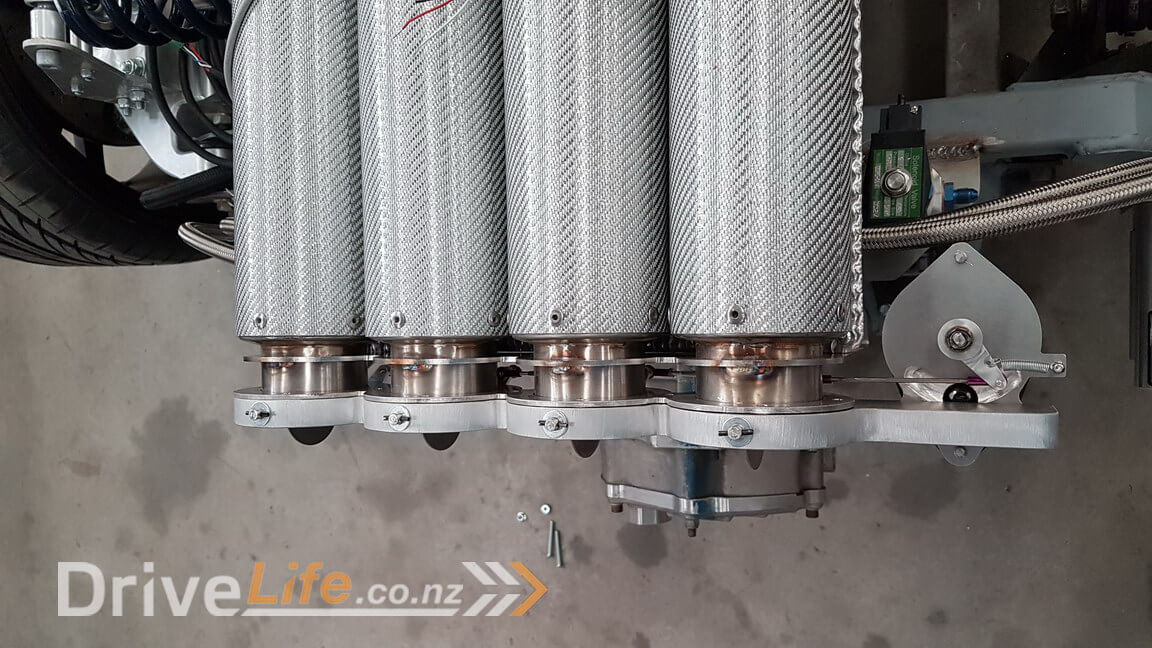
To say I was ecstatic was an understatement. It came out better than I could have ever imagined. It’s hard to know if it will cope with the heat, pressure, vibration etc of operation, but all we can do is try and then adjust as needed if it doesn’t cope, but at this stage it looks great and I think it’ll work great too.
The last part of the exhaust will run from here down to the exhaust tips which will exit from the centre of the rear bumper. I’ll deal with that as a separate episode as we can’t do that till the body is in its final position and we know where the rear bumper will be.
There’s a newer entry in this story, please click here – FZ12 – Part 29
If you’ve missed the last part of our story then click here FZ12 – Part 27
or if you want to go right to the beginning then click here FZ12 – Part 1


Great series. And great detail on what you’re building. Wow. I can’t wait to see how it turns out. But more importantly, how well the car handles. The trick suspension sounds cool. I hope it can put down some serious G’s and be compliant. That’s the one thing about kit cars that concerns me – even with double wishbone, how good is the geometry really? Can it compete with Corvette handling?
Hi Chris,
Thanks for the nice comments…….. it’s also the most important part of any car for me…..handling and braking are first and foremost on my list, so I’ll be working hard to try and make sure this work, however there’s never any guarantees so I’ll make sure I report any ongoing issues once we get that far down the track and work through them as we’ve got to do with everything else so far.
Thanks for following 🙂